Coconut Milk Kefir is coming into demand as a super-healthy food. It’s full with beneficial bacterias, gluten and lactose free- so it’s good for everyone. With only 2 ingredients: coconut milk and milk-kefir grains, you can repeat making this wonder drink everyday!
There are so many good articles showing the benefits of drinking kefir, unfortunately, there are not very many clear and easy-to-understand instructions on how to make Coconut Milk Kefir out there.
With years of making it now, I’m confident to share this simple method with you, so you can easily make your own. Before we jump into making it, let me tell you more about the 2 ingredients and other things you should be aware of.
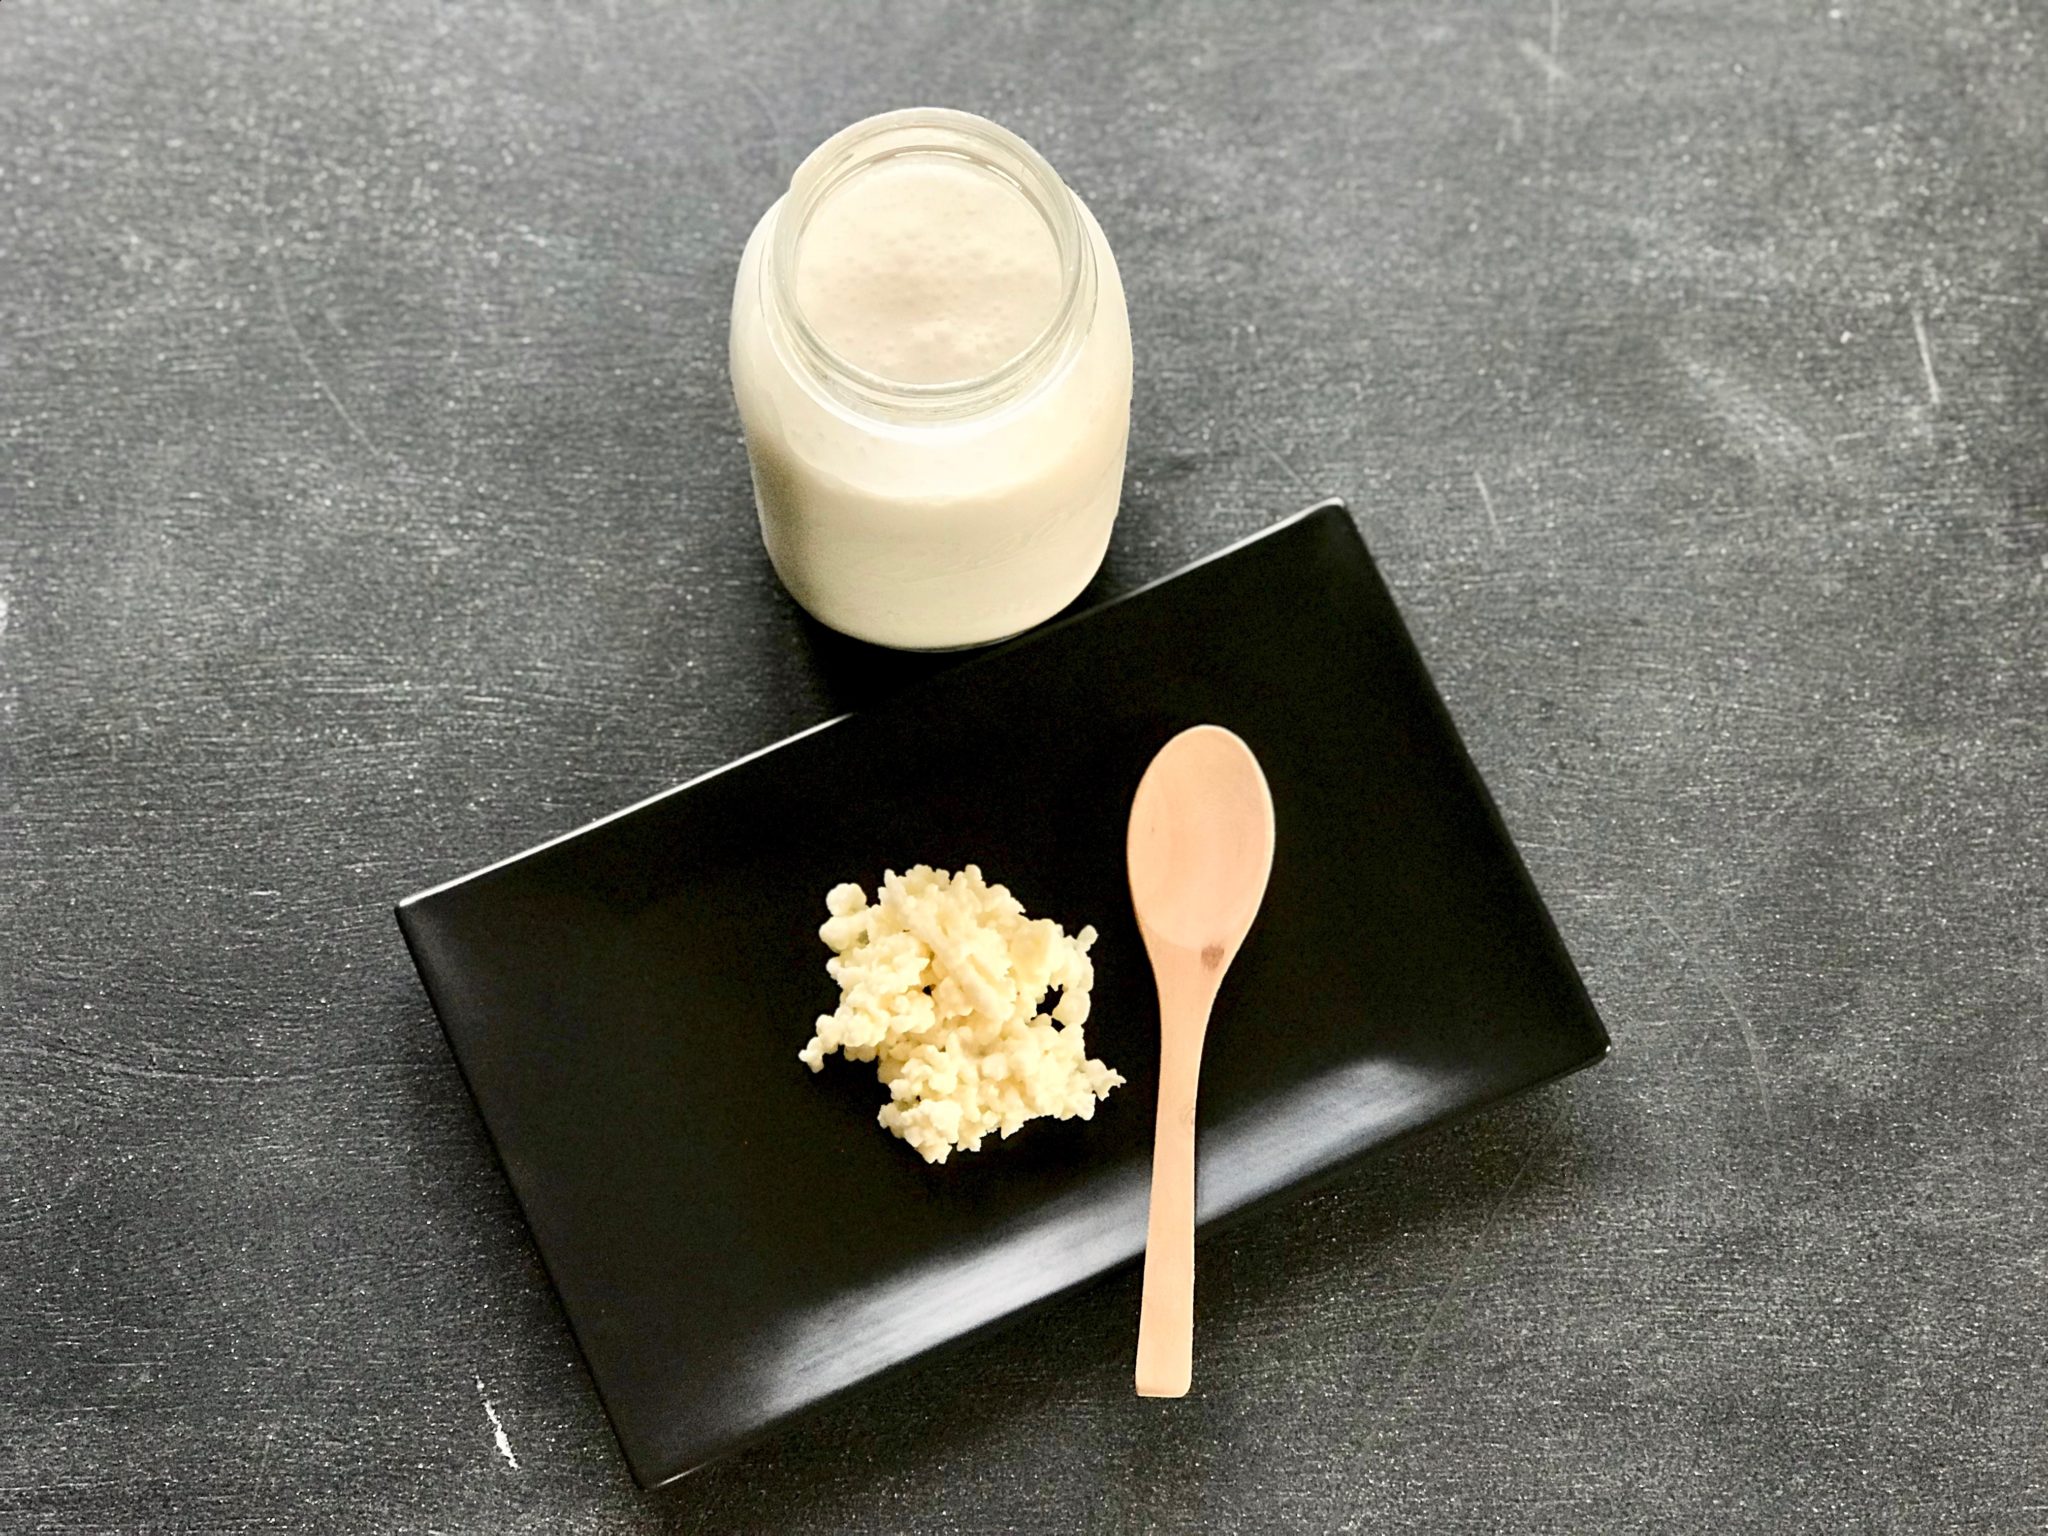
Milk kefir grains: You can either buy or ask to get some from people you know who have them.
Buying kefir grains is a lifetime investment. I bought my grains, about 2 TBSP online, in 2013, and they doubled in volume within 10 days.
So, I shared the extra grains with all my extended family members, and people I know in the U.S. Then, they shared some to their friends, and so on.
Besides that, I also sent some to my family and friends in Thailand. I took some with us to Spain when we spent our year there in 2016, and even left some for friends there too.
I’m very happy to be able to share this goodness with a lot of people, and my kefir grains are now on 3 continents!
Coconut milk: You can make your own coconut milk (from dried-coconut or from fresh-mature coconut meat) or use canned coconut milk if you prefer. Using canned coconut milk is the easiest way to go. However, you might want to research more about the PBA in can linings. You can also end up with a lot of cans to recycle too.
To stay clear of two things I’m concerned about (excess waste and BPA), I make my own coconut milk from dried coconut. Even though I’d love to make coconut milk from scratch so my Coconut Milk Kefir can be raw, that requires too much time and work for me to do it everyday.
Note: Coconut Milk Kefir is gluten free, doesn’t contain any lactose, but its not entirely vegan. In order to keep the grains alive, they need to be put back in dairy milk to recover from time to time. ( lactose is their food)
Another thing to be aware of is not touching the kefir grains with any metal. Metal contact causes the grains to become weak and eventually to die. It has happened to me before, and it took days to cure and bring them back to being healthy again. They are seriously sensitive to metal.
Ready to begin your new adventure?
Here are the things you need to make Coconut Milk Kefir:
- About 1½ cups (15 oz) of coconut milk.
- 1-2 TBSP (15-30 g) of milk kefir grains.
- A glass jar, plastic strainer, and wooden spoon.
Note: This will make about 2-3 servings. If you want more just double the amount according to your needs. You’ll become more and more confident after making it a few times, and you’ll know how to adjust it casually with practice.
How:
- Pour the coconut milk in the jar, add in the kefir grains. Cover the lids loosely and put them in a dark-quiet area to ferment for 24 hours. (you can put the grains in first, then pour the milk over. It doesn’t really matter.)
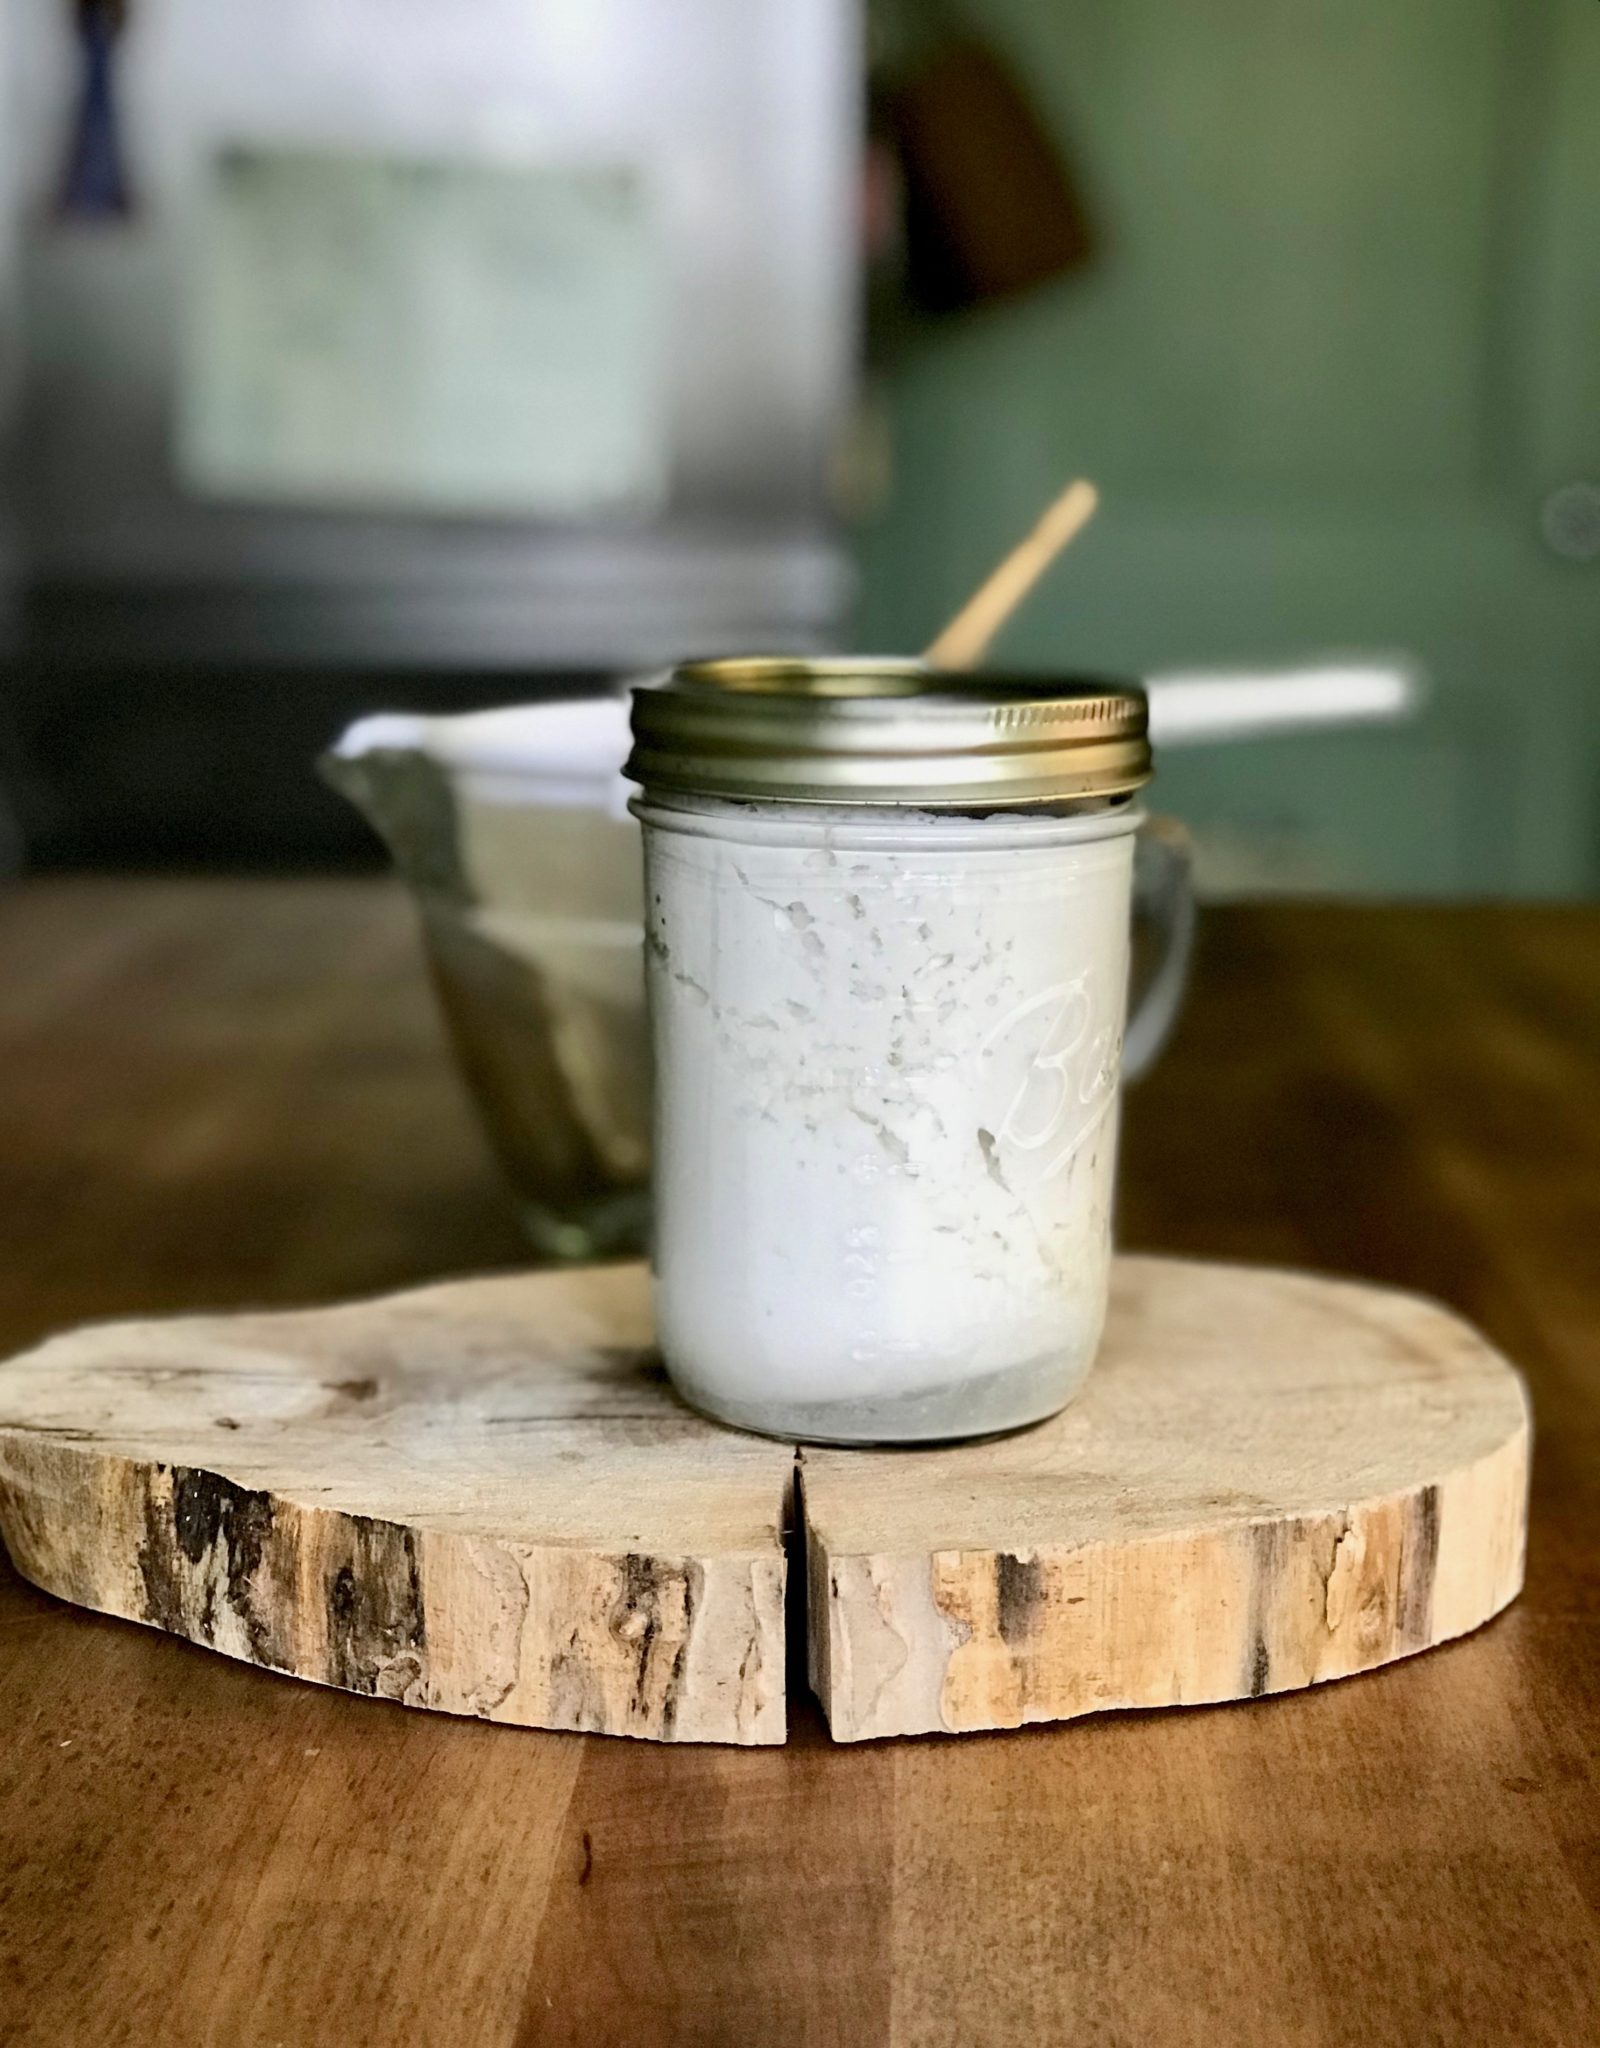
after 24 hours, it should look like this
- Strain the grains, and drink the kefir fresh right away. If you can’t finish it all at once, store it in a glass jar and keep it in a fridge. It keeps about 3 days or even longer. ( I usually make and drink mine fresh daily)
- Repeat the process if you want to make more. However, after 4-5 days in a row of making it, put the grains back in dairy milk to recover. Do the same thing as you do with coconut milk for about 2 cycles before returning the grains to making Coconut Milk Kefir again.
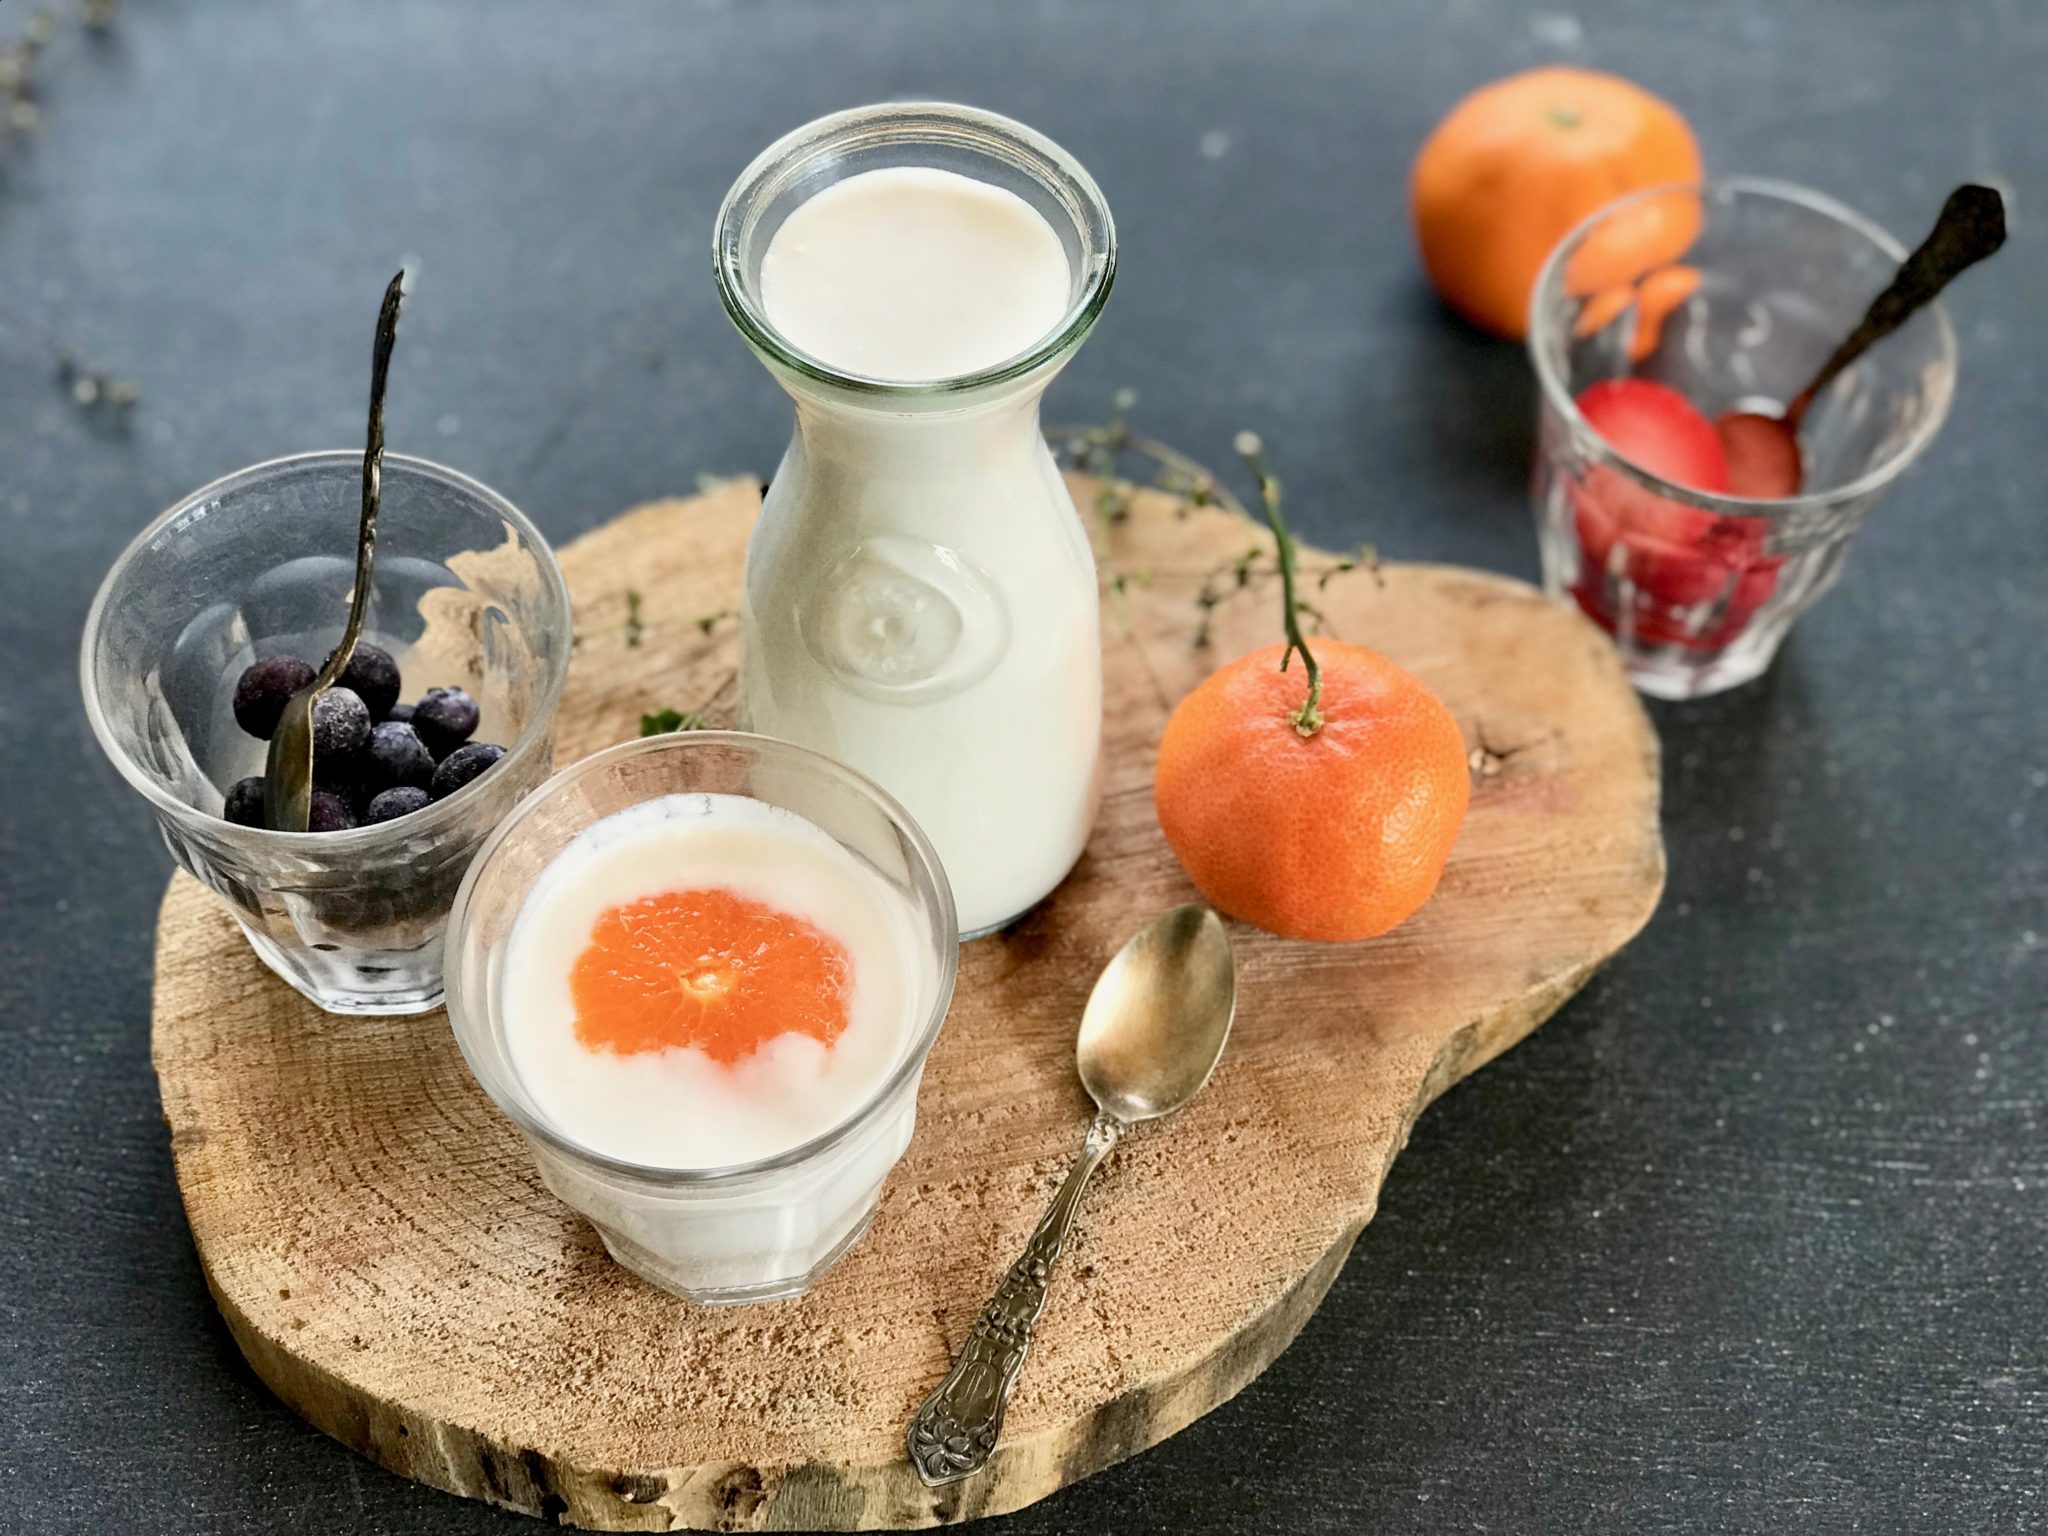
- Enjoy your Coconut Milk Kefir with your favorite fruits, or add some maple syrup. Be creative!
Note: The coconut milk separation is normal, just mix everything well and it will return to normal. The smell should be mildly sour, but aromatic, and the taste is sour, but delicious.
Another note: If you need to take a break from making kefir, just cover them with some dairy milk, and put them in a fridge. They are fine like that for up to 2 weeks. When you are ready to resume kefir production, just strain them to start the routine. However, it might take a few cycles to bring them back to normal, and that’s ok.
Now you know how to make your own Coconut Milk Kefir. It’s simple, isn’t it? Have you made it before? Share it with me–I’d like to hear it from you!
Hi Jeem,
I am using fruit/water kefir grains to make water kefir beverage and was wondering if it would work making coconut kefir with that type of kefir grains ? As I don’t like the idea of dairy milk consumption in my house, it would be easier to feed my grains between two batches of coconut kefir.
What do you think ? Have you tested this alternative ?
Kristina, I also make water kefir, but I have never tried making coconut milk kefir with the water kefir grains before. Same here, I don’t like the idea of switching the grains back and forth, so I don’t make coconut milk kefir much anymore. However, since I have a lot of water kefir grains, I’ll give it a try and I’ll let you know!