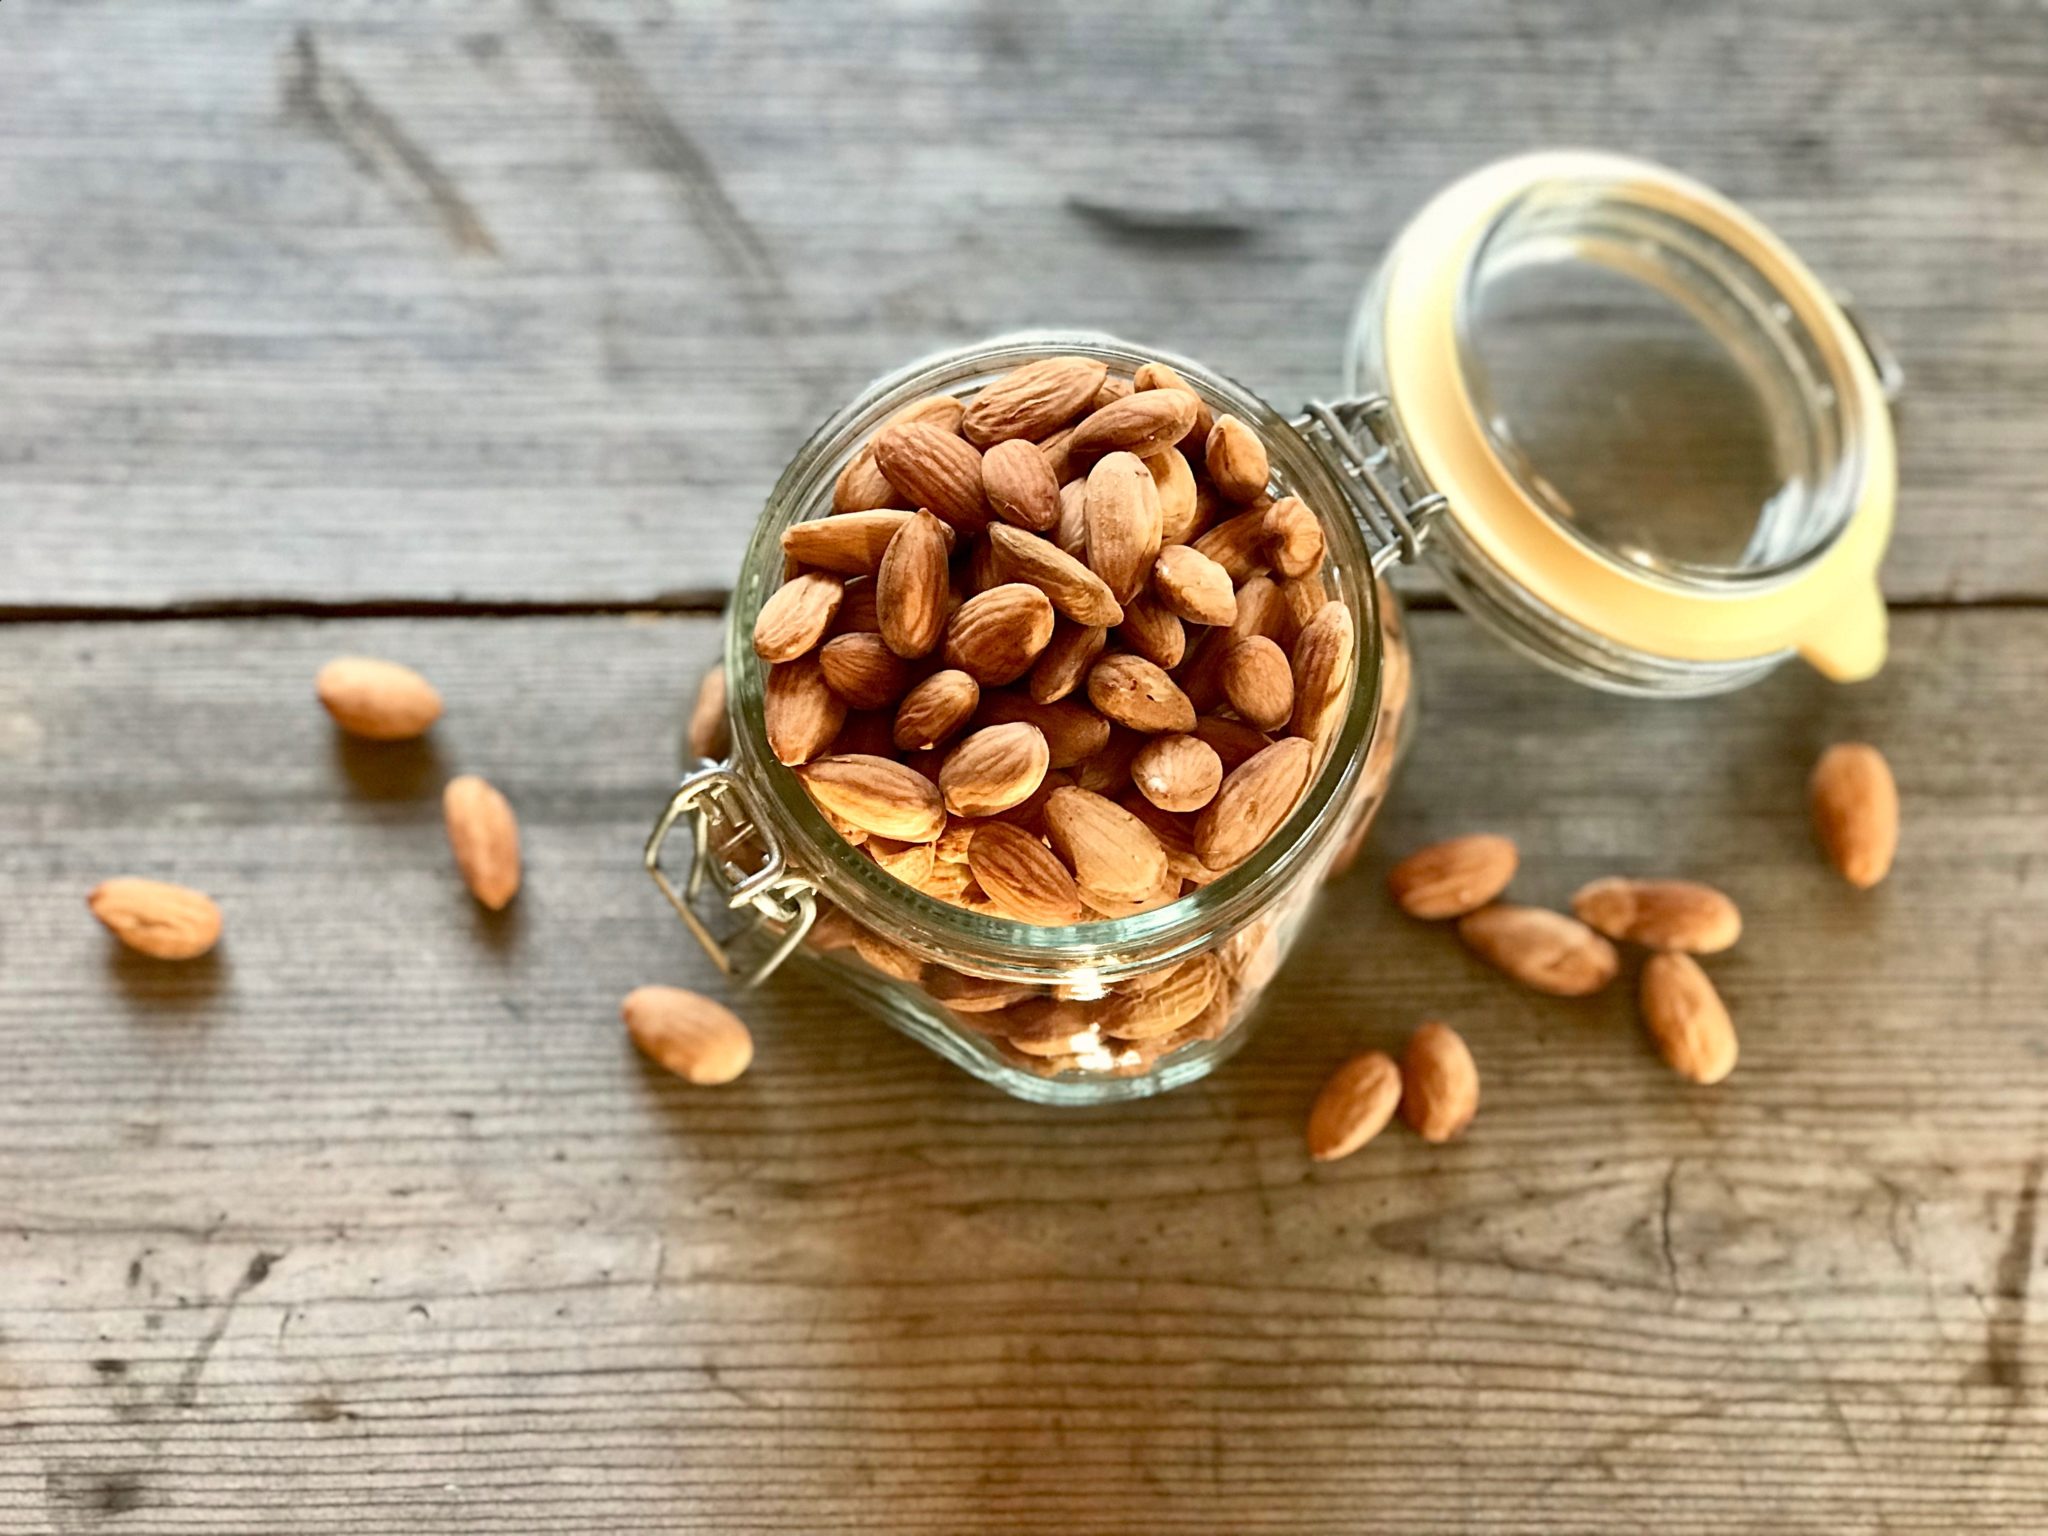
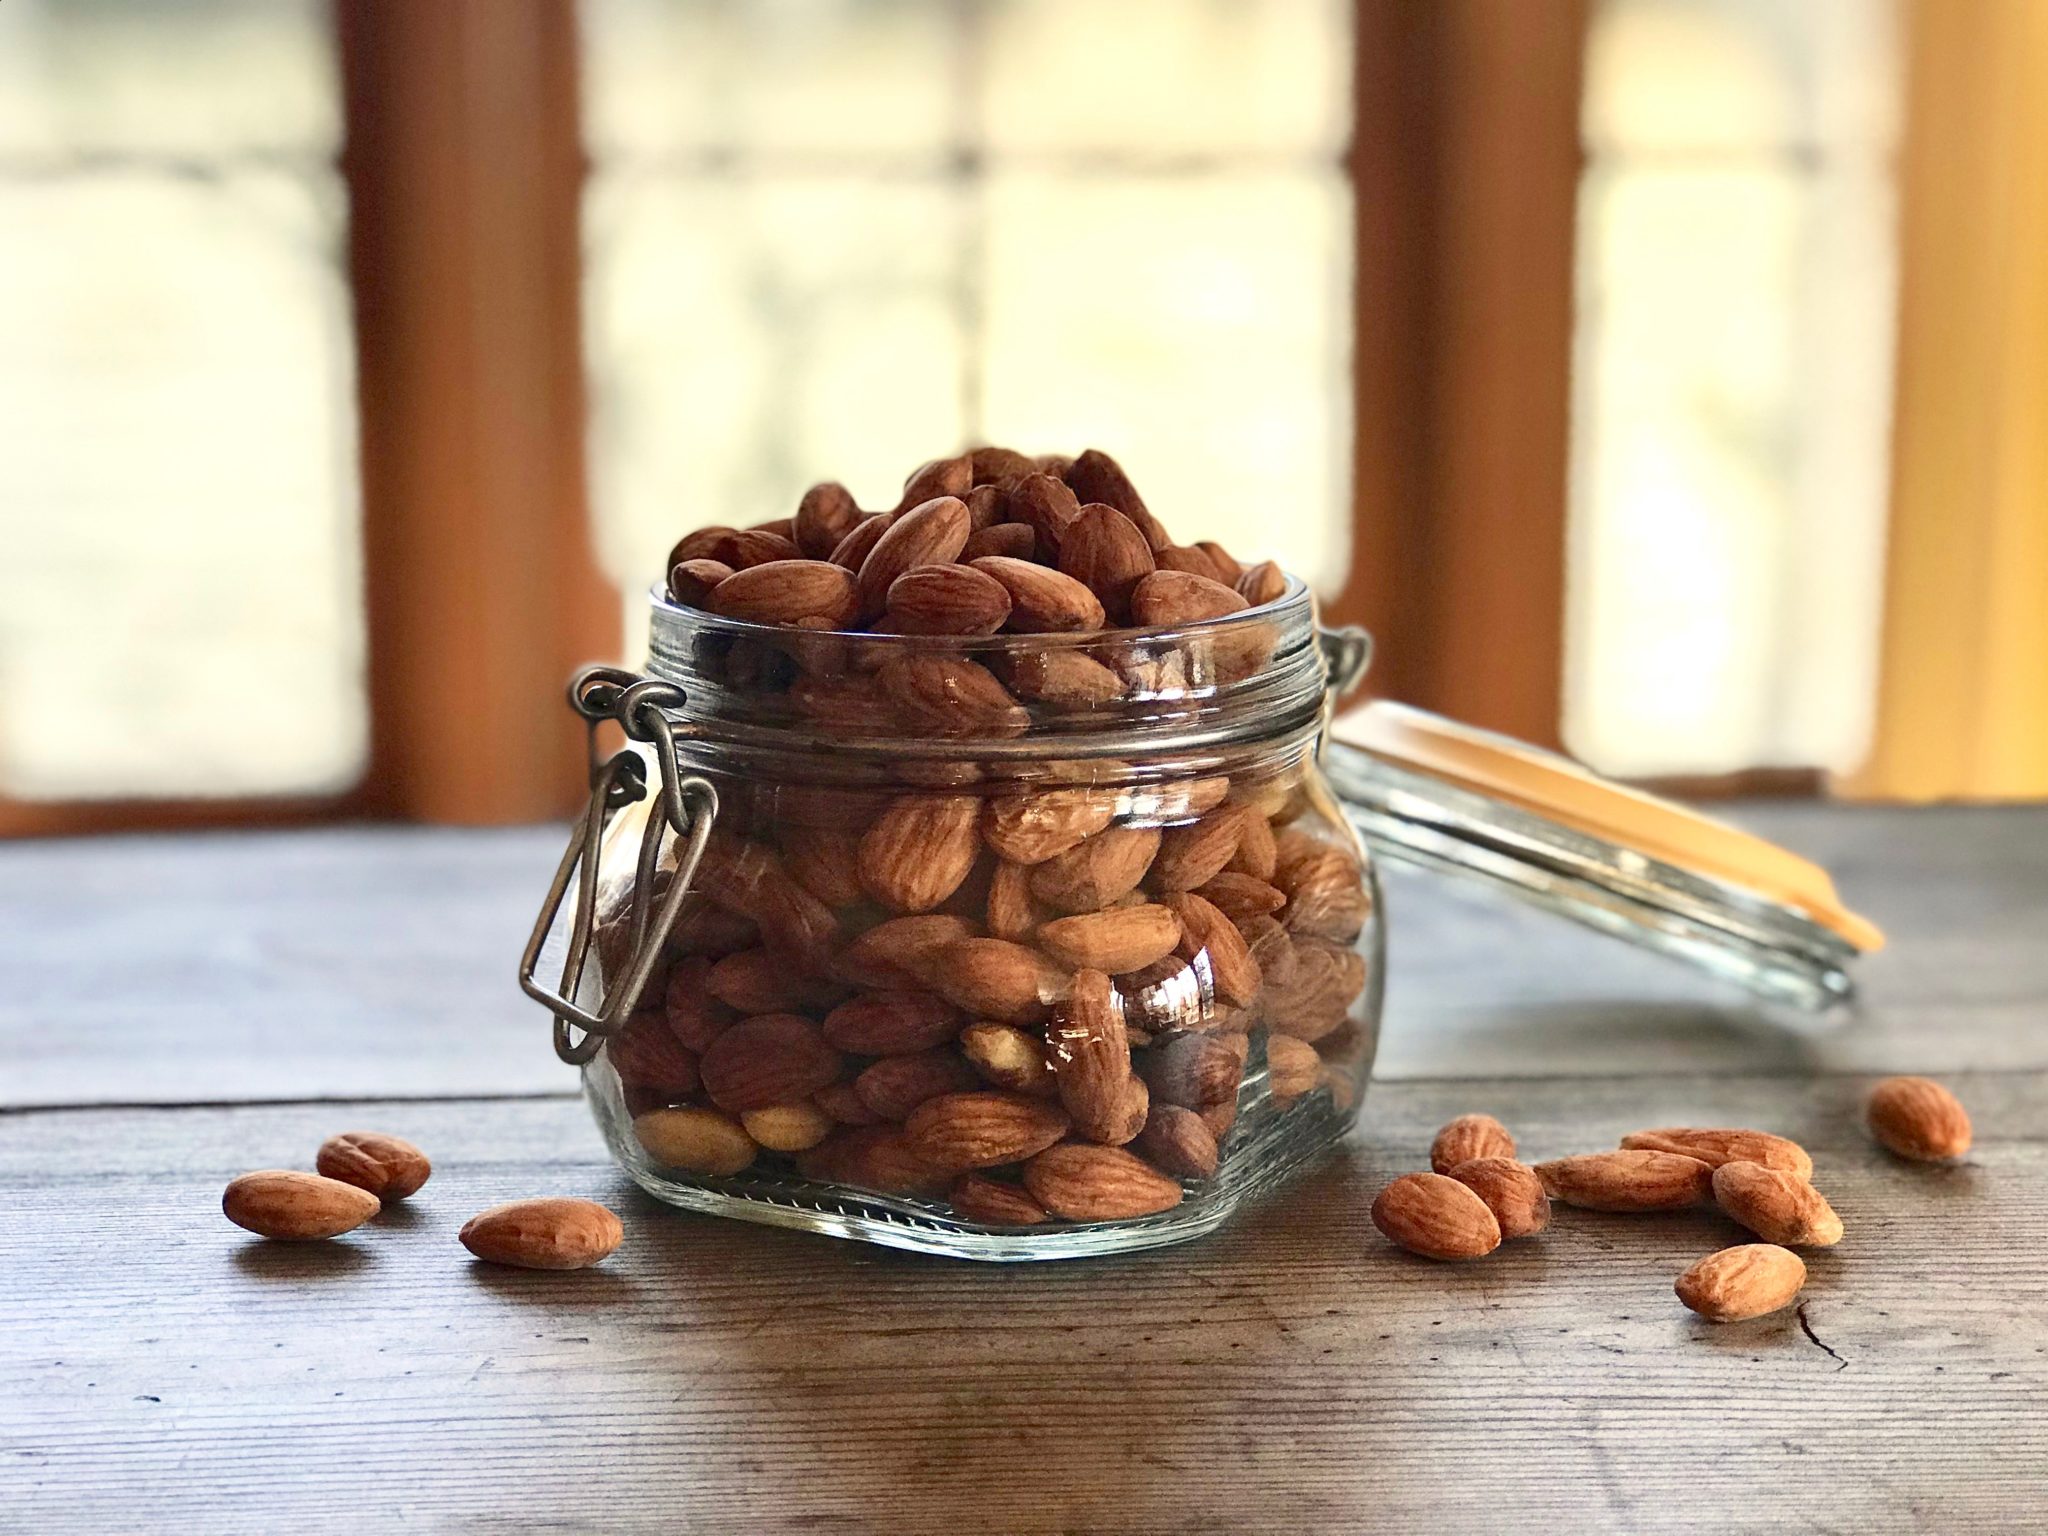
These Sprouted & Dehydrated Almonds are the best to have for an easy snack. The sprouting process makes them more digestible, and the dehydrating process gives you the maximum health benefits you deserve in a raw form!
As you know, Almonds have massive health benefits. Unfortunately, they also contain a high amount of phytic acid. If you want to make sure you get the maximum nutrition from almonds, try sprouting and dehydrating them before consumption. This method is also great if you want to go further and turn Sprouted & Dehydrated Almonds into almond butter.
The process might sound intimidating as it takes up to 5 days from start to finish. However, the actual work only takes a few minutes. Trust me, it’s easy and straightforward. Once you get it started, you’ll know that the process really is simple. If you plan it well, you can always have them on hand!
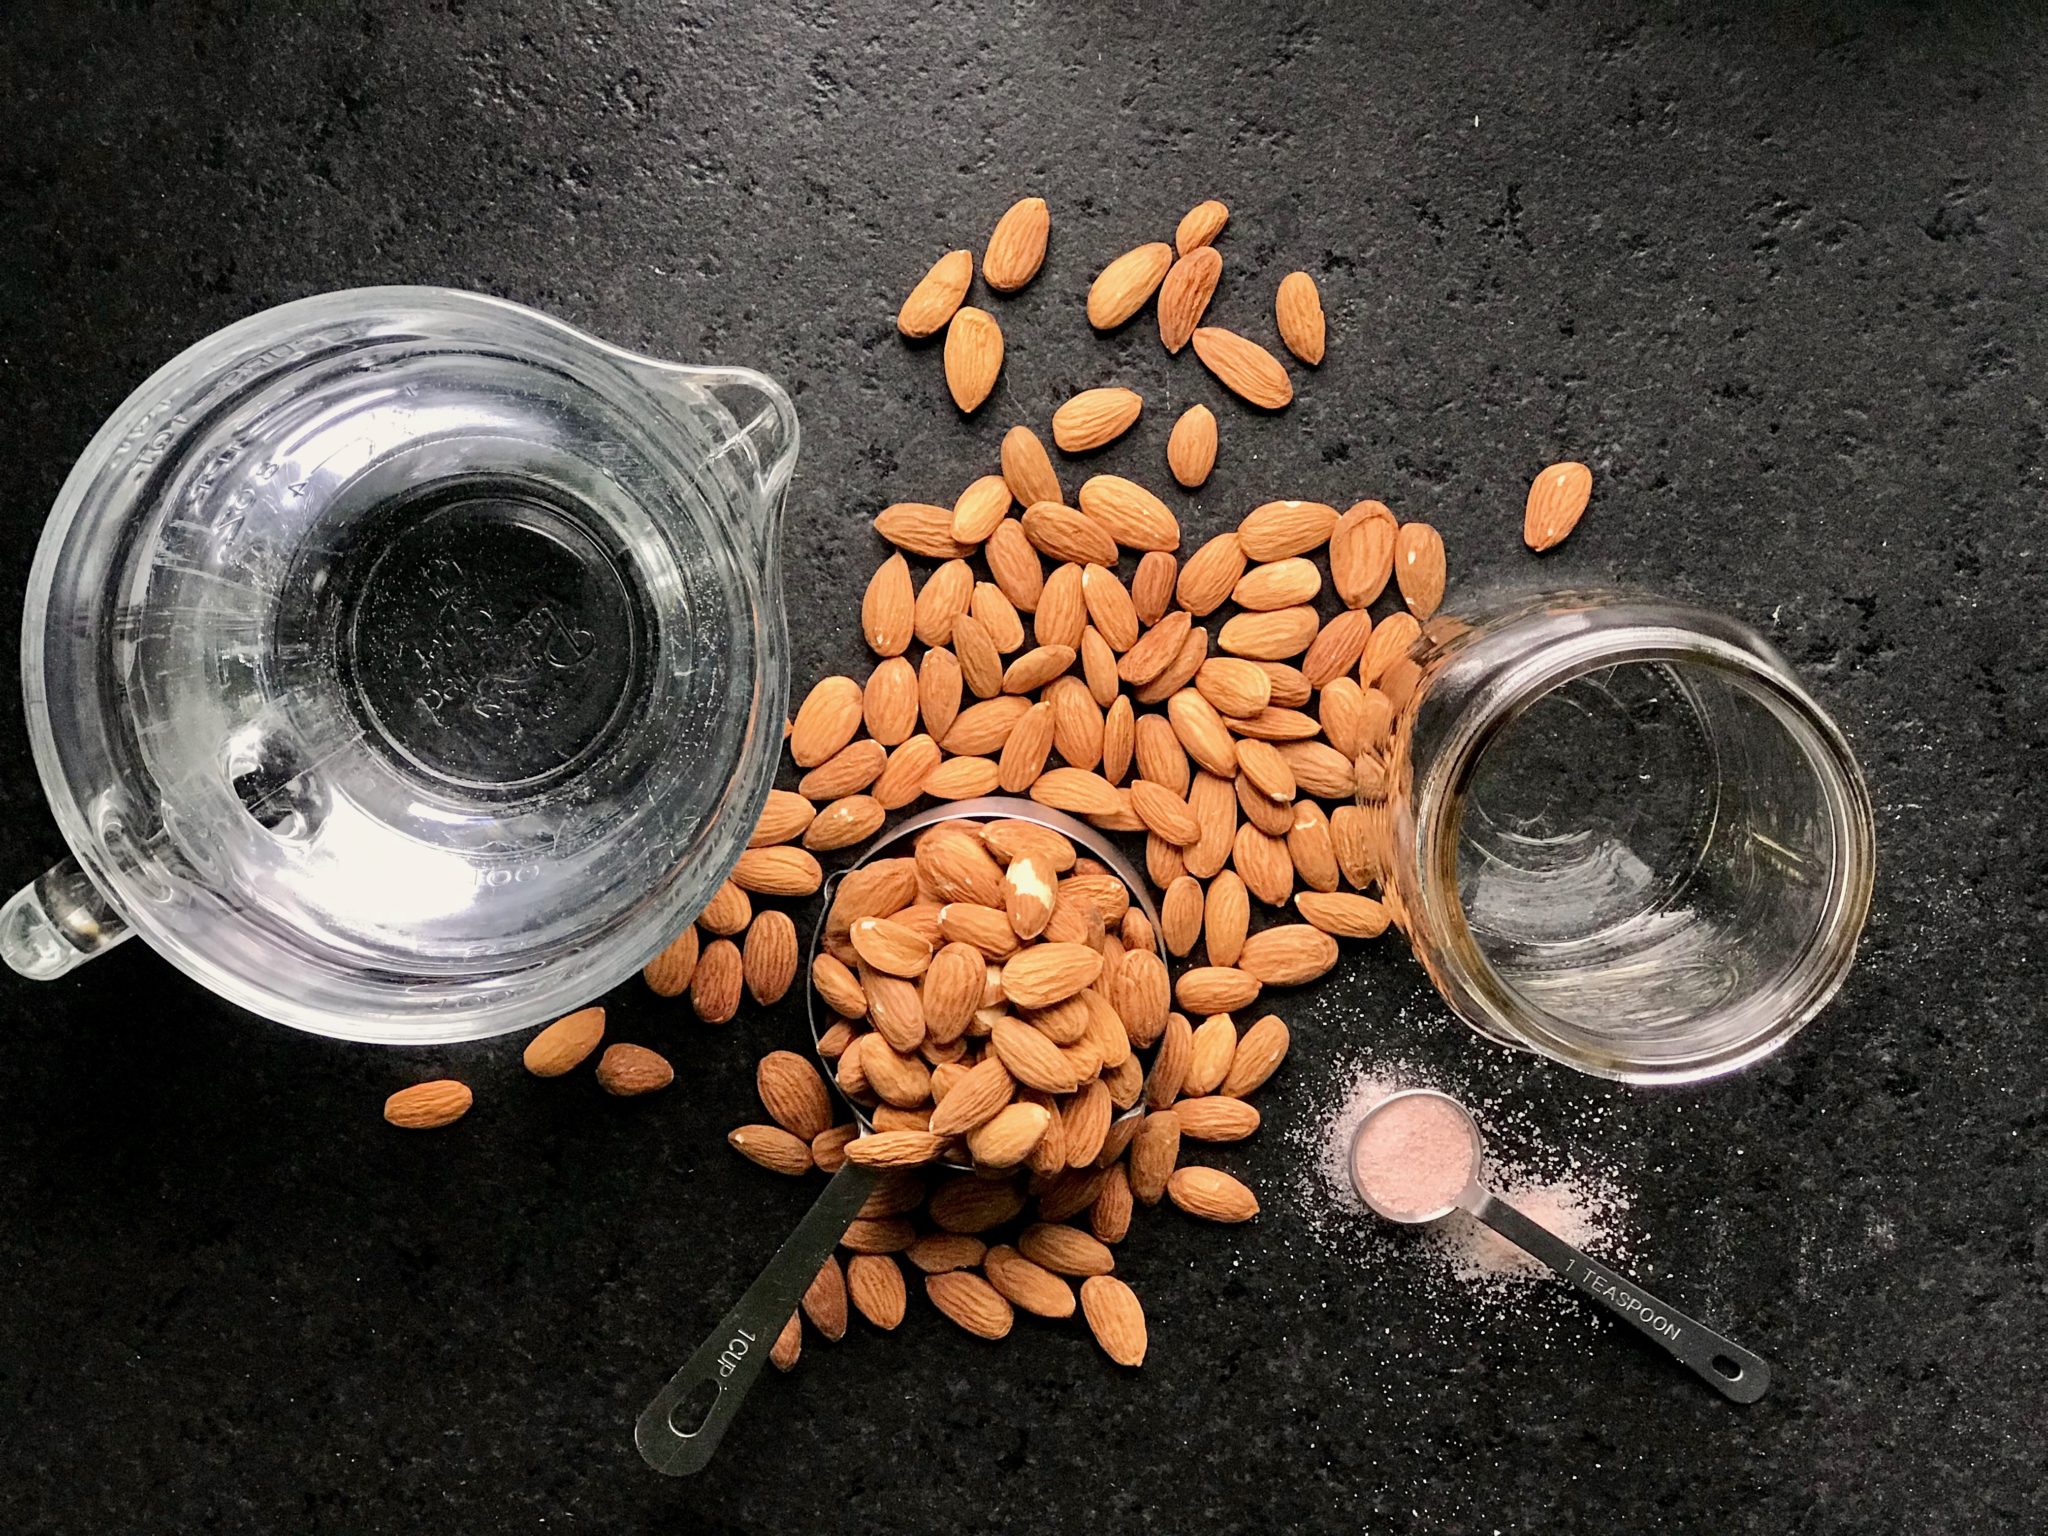
Here is what you need to make Sprouted & Dehydrated Almonds:
Note: I’m showing you to make 2 jars, but you can make as much as you want at a time, using this guideline.
- 2 cups (16 oz) of raw almonds, 2-3 tsp (10 -15 g) of good salt, 2 glass jars (I use mason jars) with 2 pieces of screen and 2 rings. Note: you can use any kind of glass jars you have. Sometimes, I use recycled jars with cheesecloth and rubber bands–be creative!
- 1 container to catch excess water during the sprouting process.
- Filtered water.
How.
- Day 1. Put 1 cup (8 oz) of the almonds in each jar, and add 1 tsp (5 g) of salt in each jar.
- Fill the jars with filtered water, leaving about 2 inches of room to the rim. Leave them on the counter overnight.
- Day 2. Dump the soaking water, and rinse them very well. Put the jars over the container to catch excess water, cover them with a towel and leave them in a dark and quiet area.
- Day 3. Rinse them well, and put them back to sprout for one more night.
- Day 4. You should see tiny sprouts now, rinse them really well. The skin should come off easily, and you can take the it off if you like. I prefer to keep it on as it takes too much time. Now, let the water dry a little bit. Now, let the water dry a little bit Note: If you want to make Sprouted Almond Milk, stop here and transfer them to the blender.
- Add some salt for extra flavor. Gently toss them a few times, so they all get a little bit of salt.
- Spread them on dehydrator trays, and make sure they are not too crowded.
- Dehydrate them in the dehydrator. It usually takes about 24 hours, more or less depending on the dehydrator and settings you use. Tips: Make sure they are completely dried as they go bad fast if they are not.
- Day 5. Done. From this point on you can eat them as snacks or turn them into almond butter–your choice!
Have you done Sprouted & Dehydrated Almonds? Share with me how yours turns out–I’d love to hear about it!
Hi Jeem. What temperature do you set the dehydrator at? I’m looking forward to making my first batch of sprouted almonds! ~Nana
My dehydrator is very old and it doesn’t have the temperature options besides the on & off button. However, I believe it’s at 130 degrees as it only has warm air (not hot) when I touch it during the process. I’m glad you are going to make it!