dry it in a breathable tray
No more equipment than a bamboo steamer is needed. Follow this simple recipe and instructions, and you can make Brown Rice Koji right in your kitchen!
In this post, besides learning how to make Brown Rice Koji, you will also learn how to use it to make healthy & tasty brown rice amazake.
Ever since I learned how good koji is for your health, I always wanted to add it to my dishes. Unfortunately, I couldn’t do this as I didn’t want to buy bag after bag of it.
I was optimistic to try and make my own koji rice, but just couldn’t. All of the recipes and instructions I looked for showed that special equipment is important to making koji. Also, I had to precisely monitor the temperature during the period I was making it.
Sadly, those reasons were enough to scare me away from making it for a long time.
As I always wanted to eat food that is good for my gut, koji kept calling me back.
At one point I decided that buying all the suggested equipment might be the best way to go. It’s so worth it to have homemade koji rice on hand, plus Brown Rice Koji is very expensive and hard to find.
Just before I decided to order the equipment, my thoughts went back a few thousand years into the past. The first koji rice wouldn’t have been made with all this modern equipment. That’s it, I should be able to make it like people used to without having to own so much equipment.
So, I took another look with what I already have and decided to give my bamboo steamer a try. It’s perfect to keep moisture in and it’s also breathable.
As I already have koji kin (koji starter), I didn’t wait to try it out.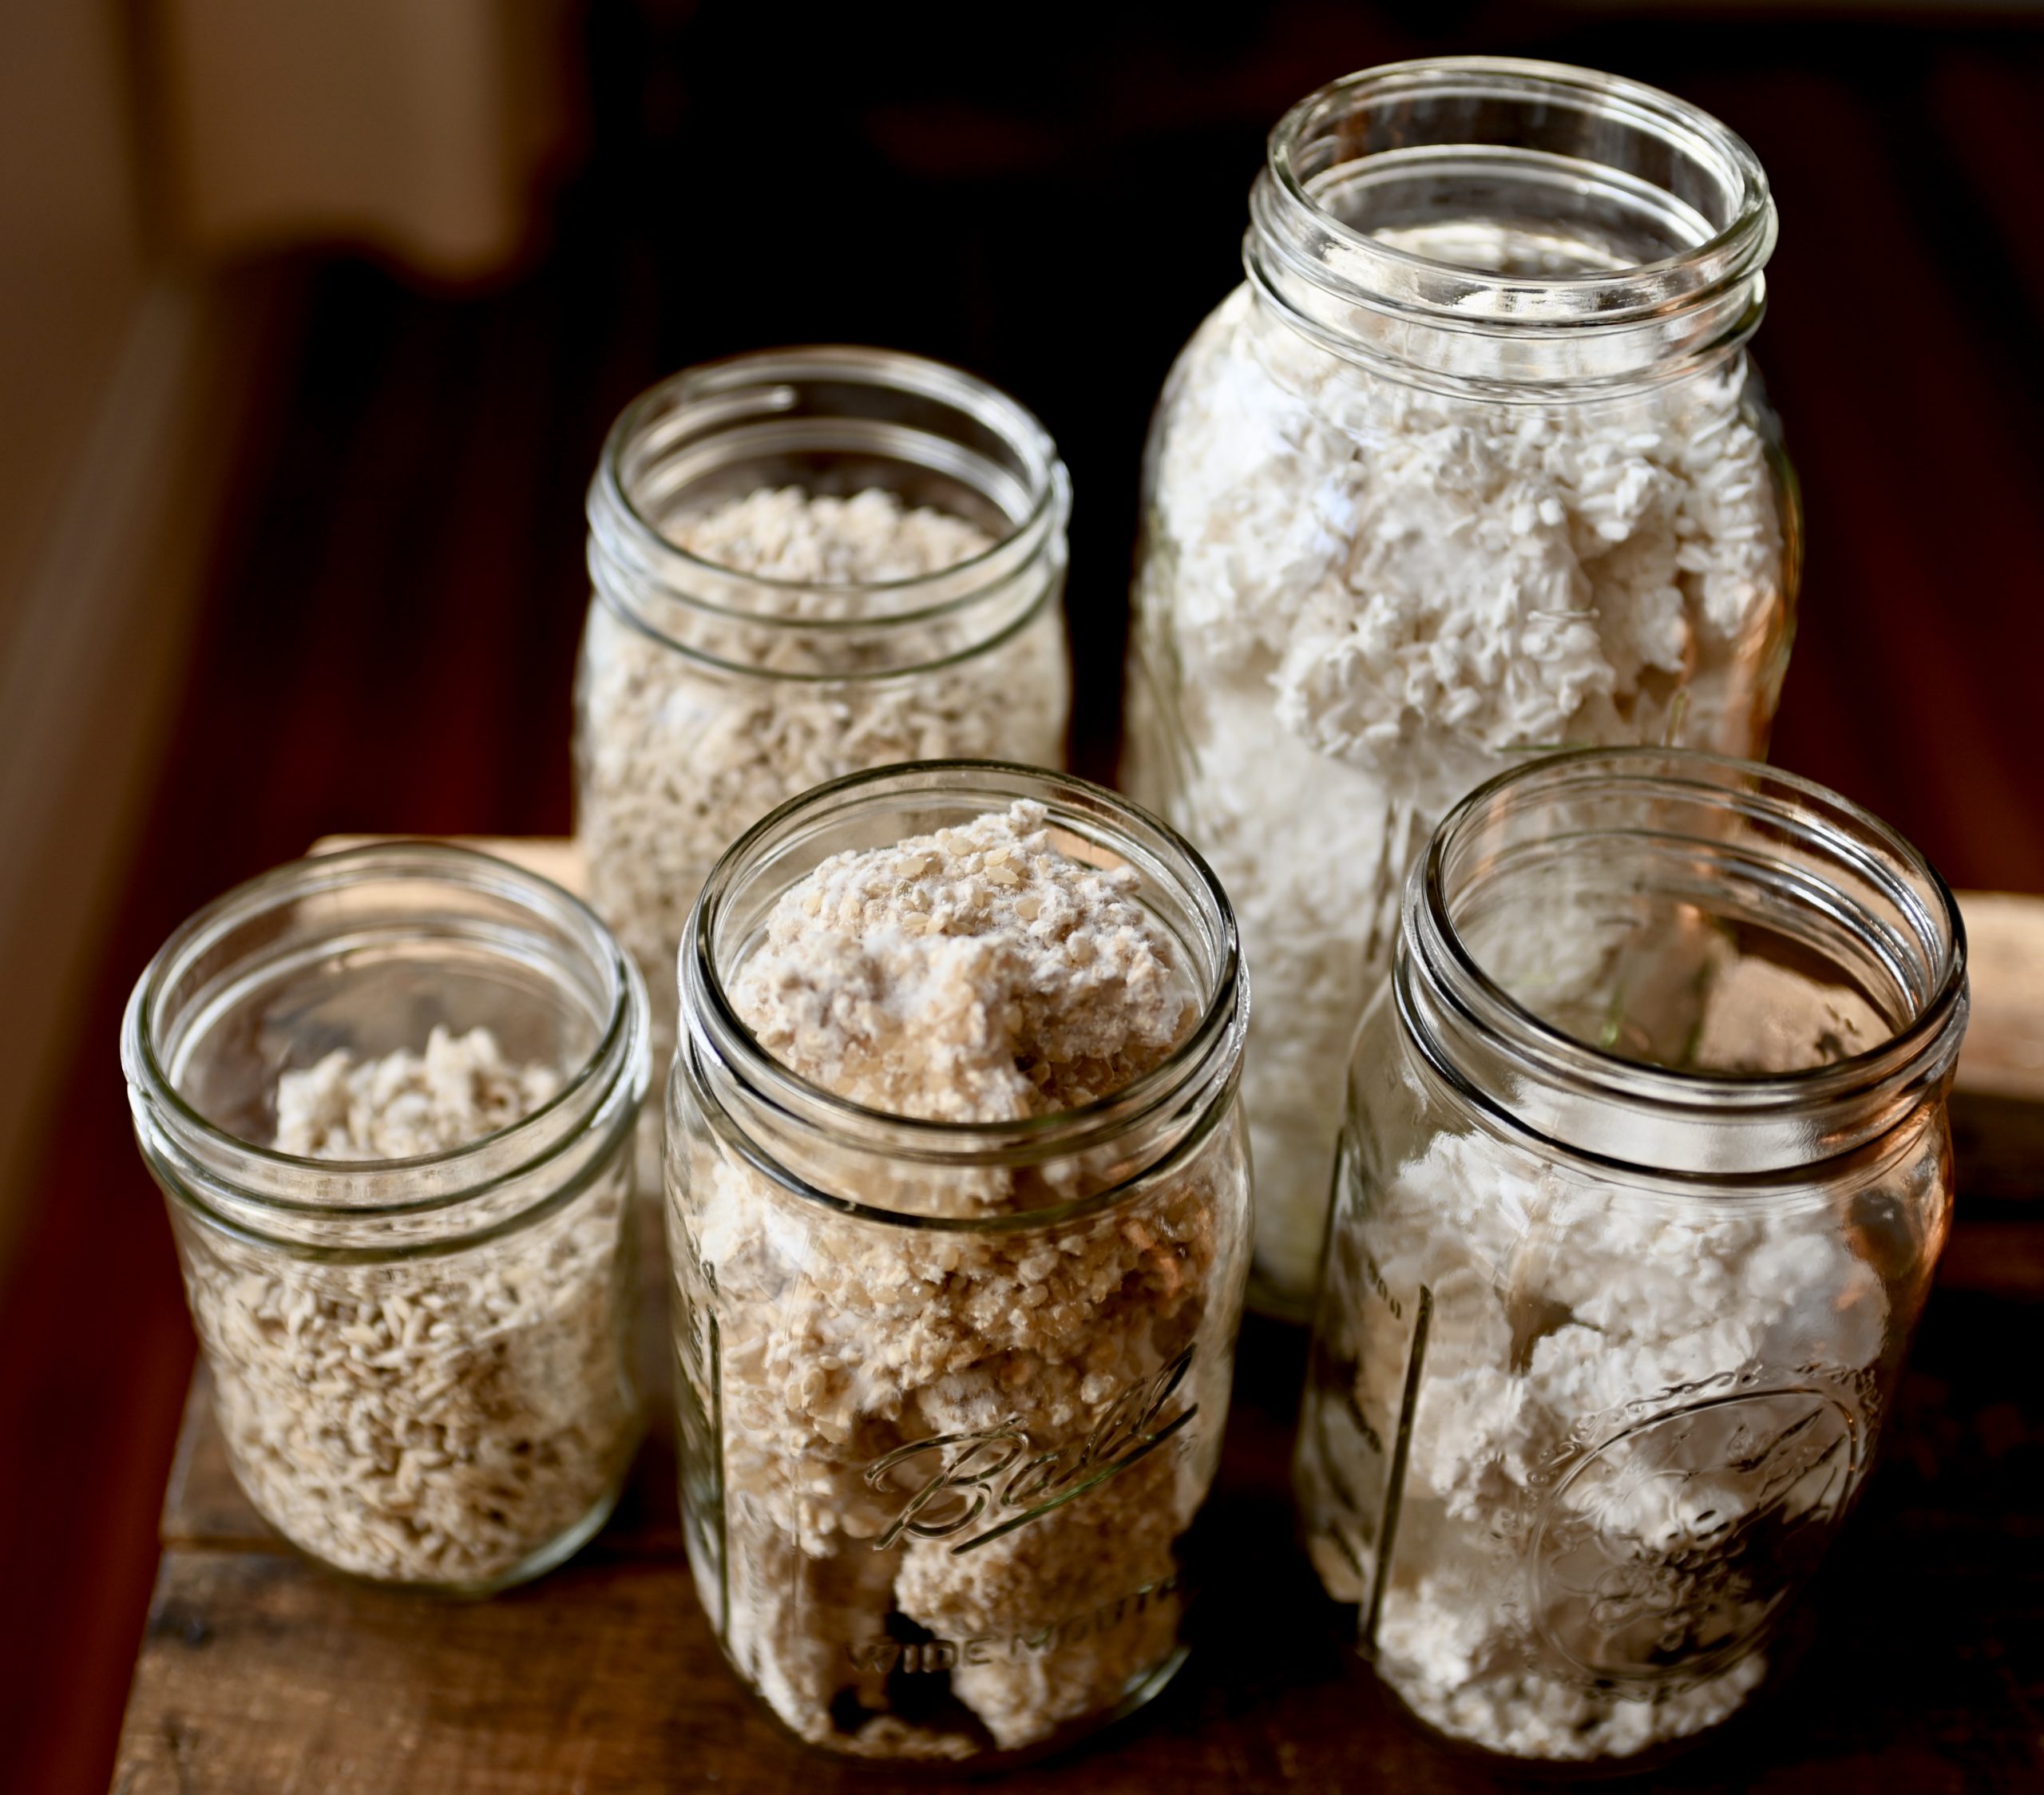
I started out doing exactly the way they do it in Japan, but I used the bamboo steamer to ferment it instead. I created the proper environment by putting a damp cloth inside each tray and leaving it to ferment at room temperature.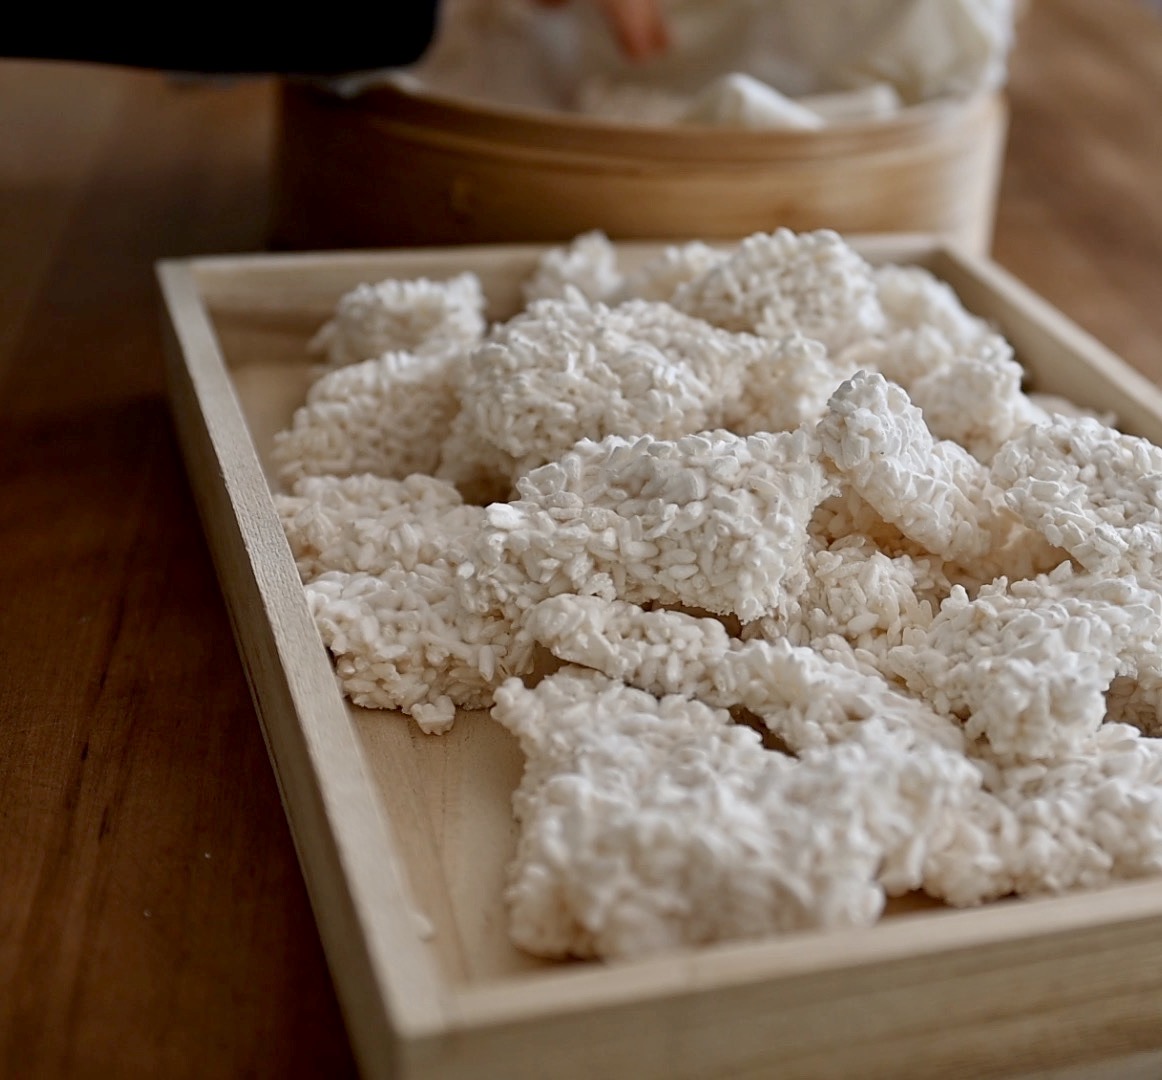
It was a little bit discouraging as the rice looked very dry during the process. There were no signs this would work, but I kept trying. There was nothing to lose if it didn’t work. I could always buy the right equipment next.
Then, on day 3 of fermenting, I saw the magic white mold I was waiting for. It was so precious. My heart filled with hope and I couldn’t wait to see more.
By day 4, all the rice was covered with beautiful white mold. The mold holds the rice grains together in nice big chunks–just like the rice puffs I liked to eat when I was young.
I made it!
I started with white rice and was very happy with the result. Soon I learned that we can get more nutrition from brown rice if we use it instead of white. So I tried making Brown Rice Koji next.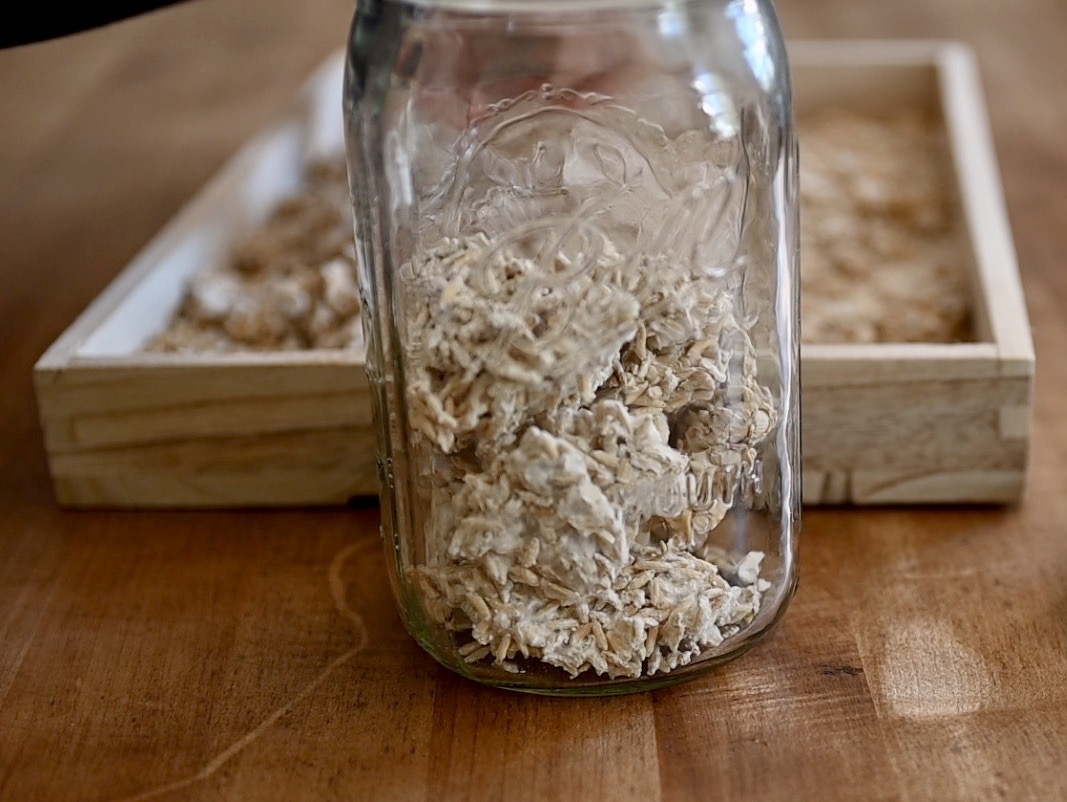
I tried making it with all kinds of brown rice, and they all worked but took a day longer than white rice.
Later, I learned the short grain brown sushi rice I’m showing in the video is the most challenging to work with–but doable.
I like all different rice kojis. They have different textures when it comes to making amazakes. However, my favorite rice to make Brown Rice Koji is brown jasmine rice.
Now that you’ll learn to make koji, you can use it to make your own miso, amazake, soy sauce and all kinds of stuff that requires koji. It’s so good for many things.
Making miso takes a long time, so I don’t use koji to make it as often as other things. However, when I make koji, I like to make enough to last me for a while.
Amazake on the other hand, takes only about 1-2 days. I make it almost every week, and we all enjoy it very much!
Ready to make your own koji– or even better Brown Rice Koji? Choose your favorite kind of rice and let me show you how!
Ingredients and equipment:
Note: If you want, you can start with white rice as it’s easier to make.
- 3 cups (710 ml) of brown rice plus 2 TBSP (30 ml) for making rice flour
- ½ TSP (2.5 ml) of koji kin
- A bamboo steamer (about 10 in. (25 cm) diameter is perfect for this recipe) Note: a slightly smaller should work fine, but if it’s larger, you might need to double the recipe. The key is to have enough thickness in the rice layer to create a warm environment for the koji mold to grow.
- A clean towel for steaming the rice
- 4 pieces of muslin cloth for fermenting and creating a moist environment
Instructions:
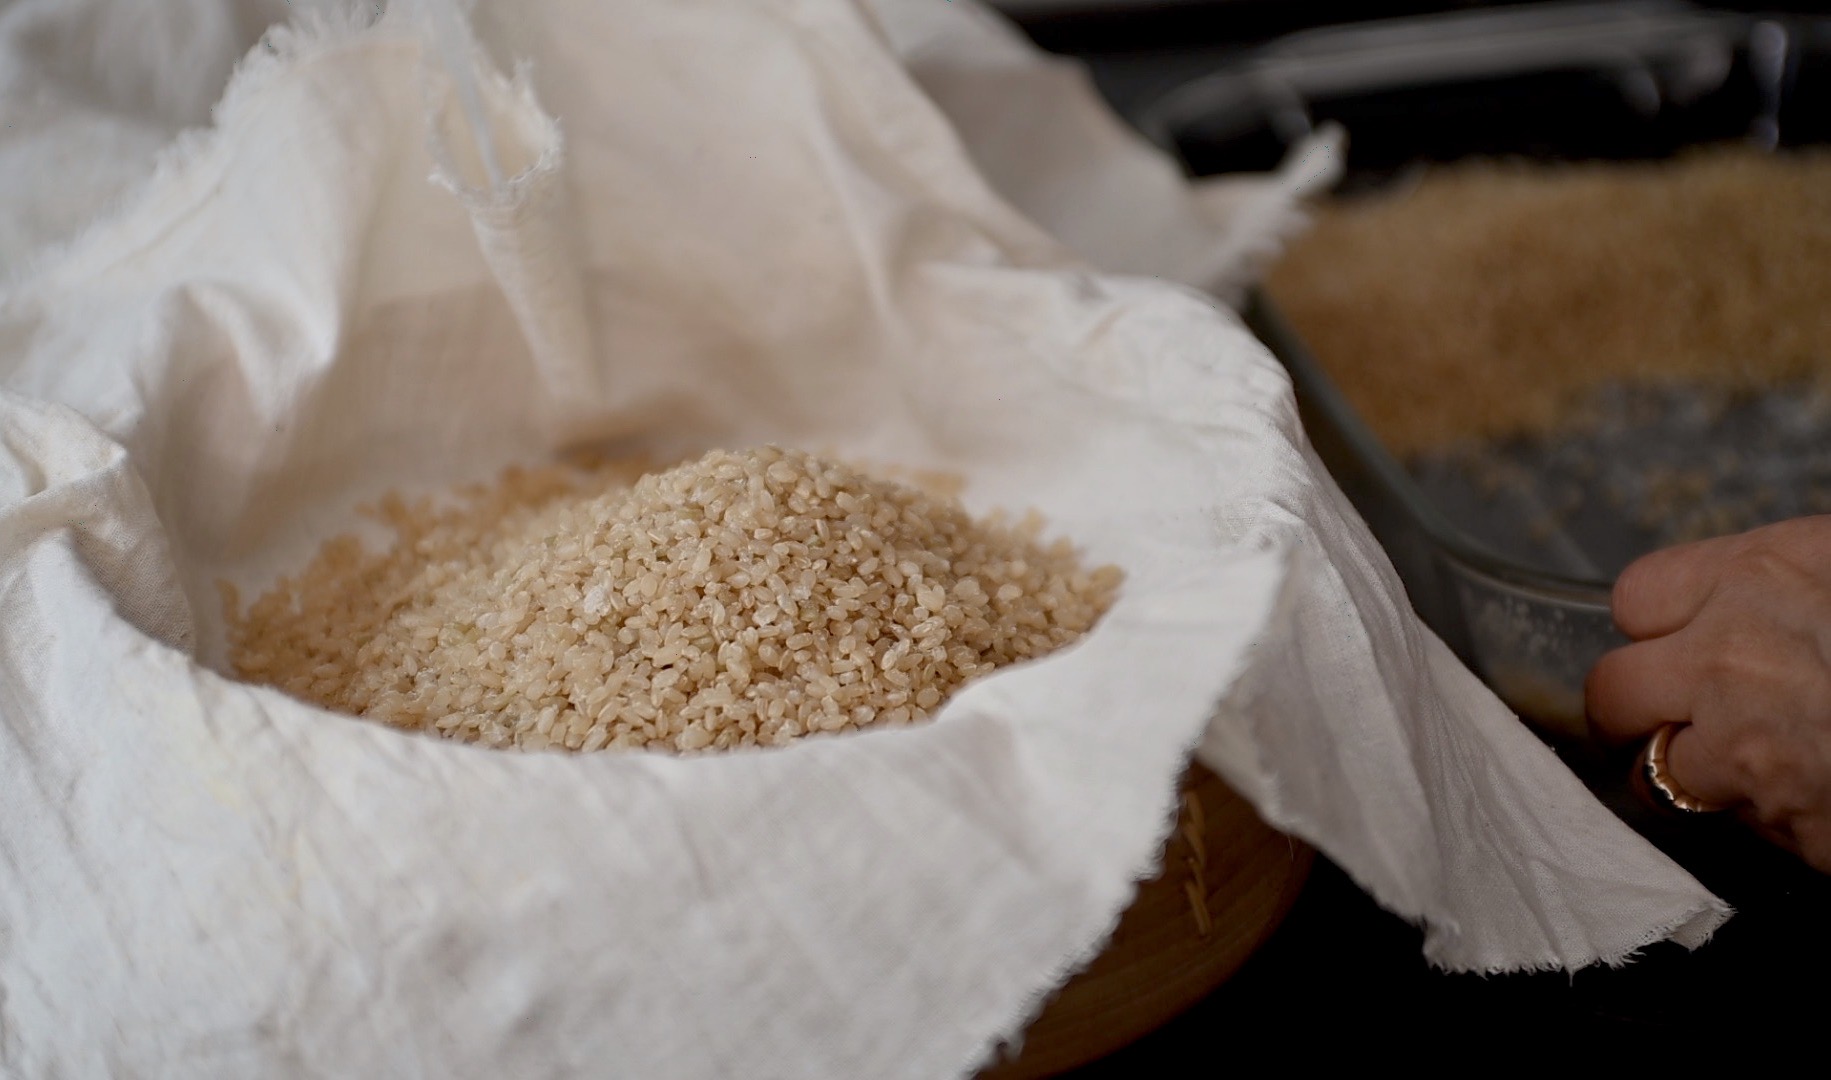
- Rinse the rice and soak it overnight.
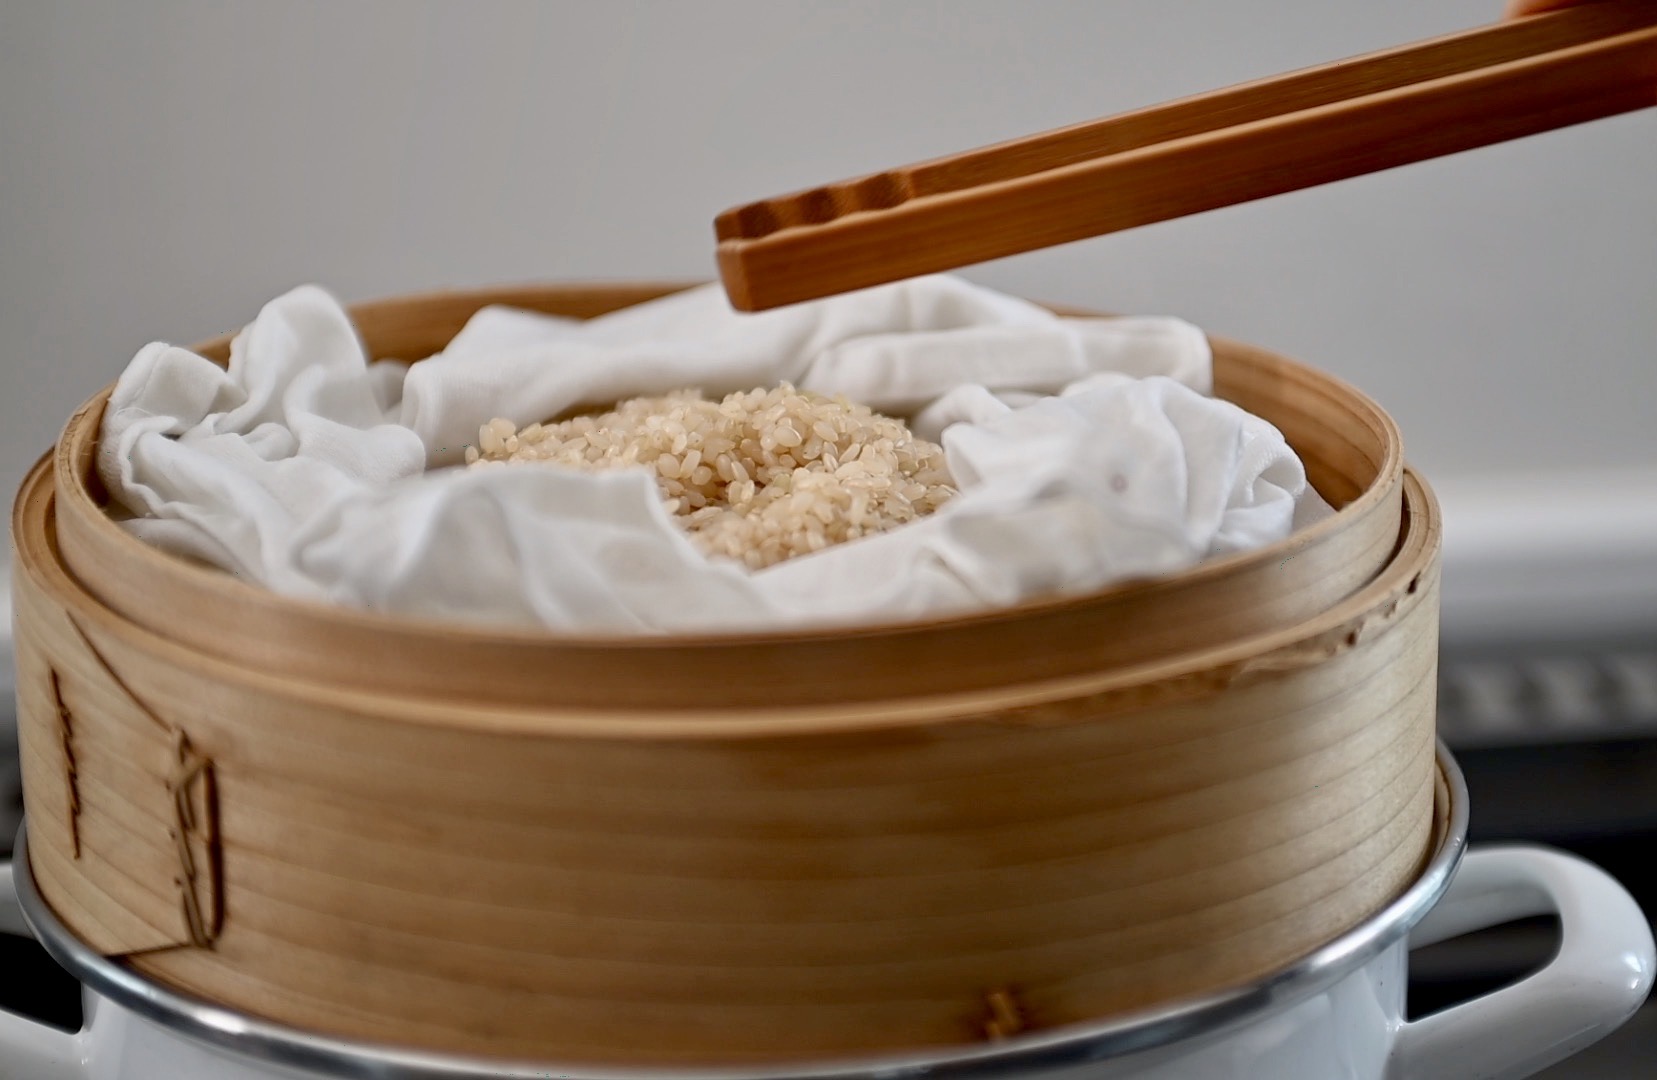
- The next day, drain and rinse the rice again. Wet the tea towel and put it in a bamboo steamer tray, place the rice inside and fold the cloth over the top.
- Steam the rice until cooked. Beware that brown rice doesn’t go soft like white rice does, so taste it to be sure. If it doesn’t have a raw taste after steaming, it’s probably cooked.
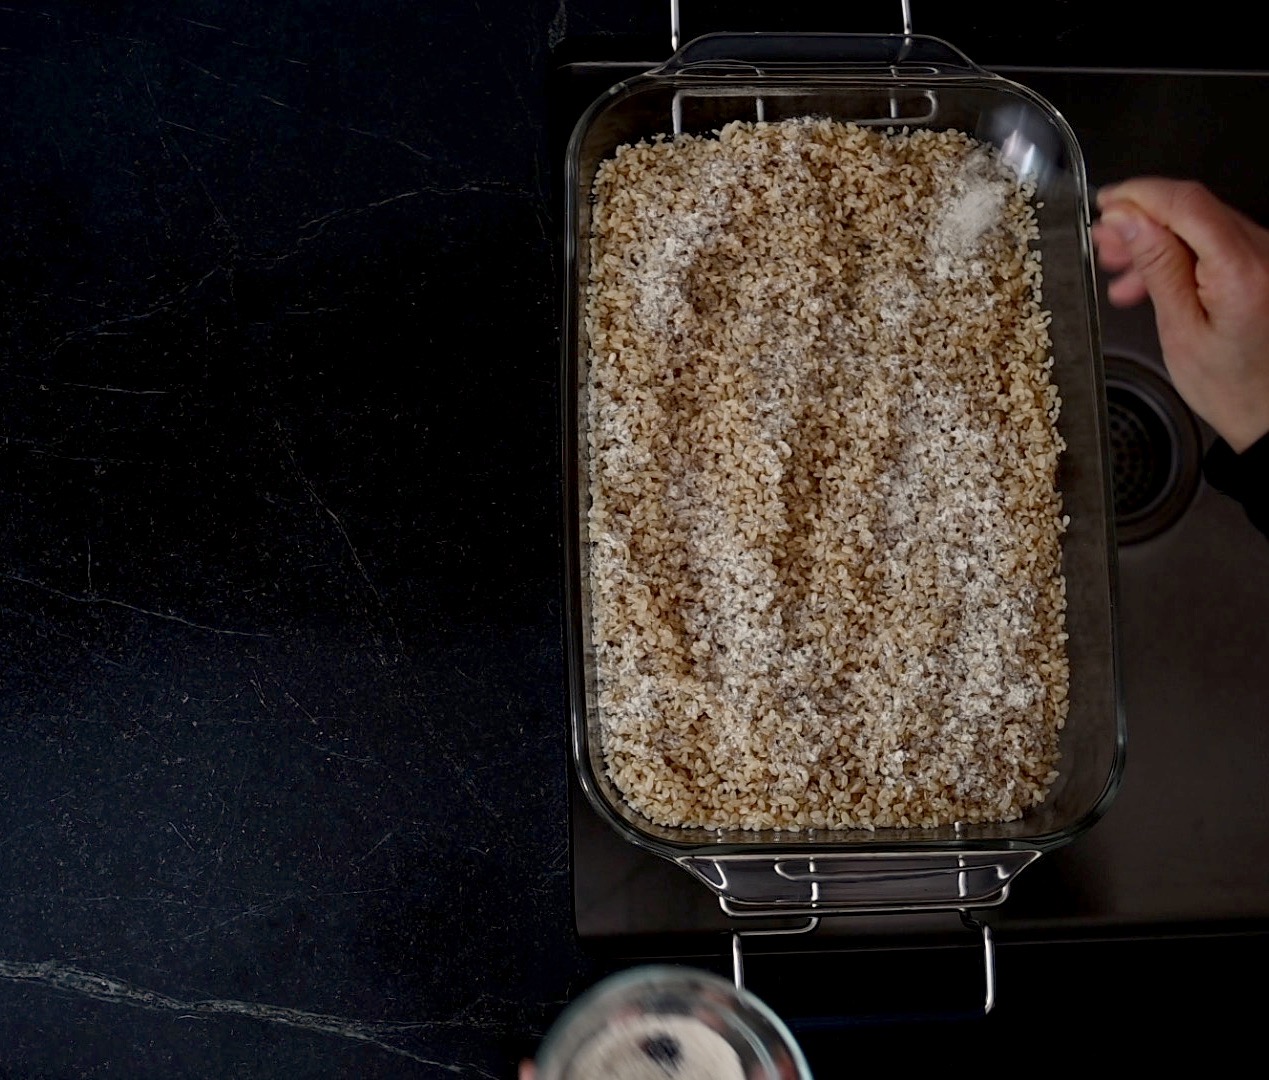
- Put the rice in a baking pan and let it cool. While cooling the rice, let’s grind the rice (uncooked) into flour. Use a coffee grinder to grind it then add the koji kin, mix well.
- When the rice is cool to about body temperature, sprinkle the koji kin mixture in a little bit at a time. Mix thoroughly, and repeat until the mixture is gone. All the rice grains should be covered with the koji kin mixture now. Divide it into 2 portions.
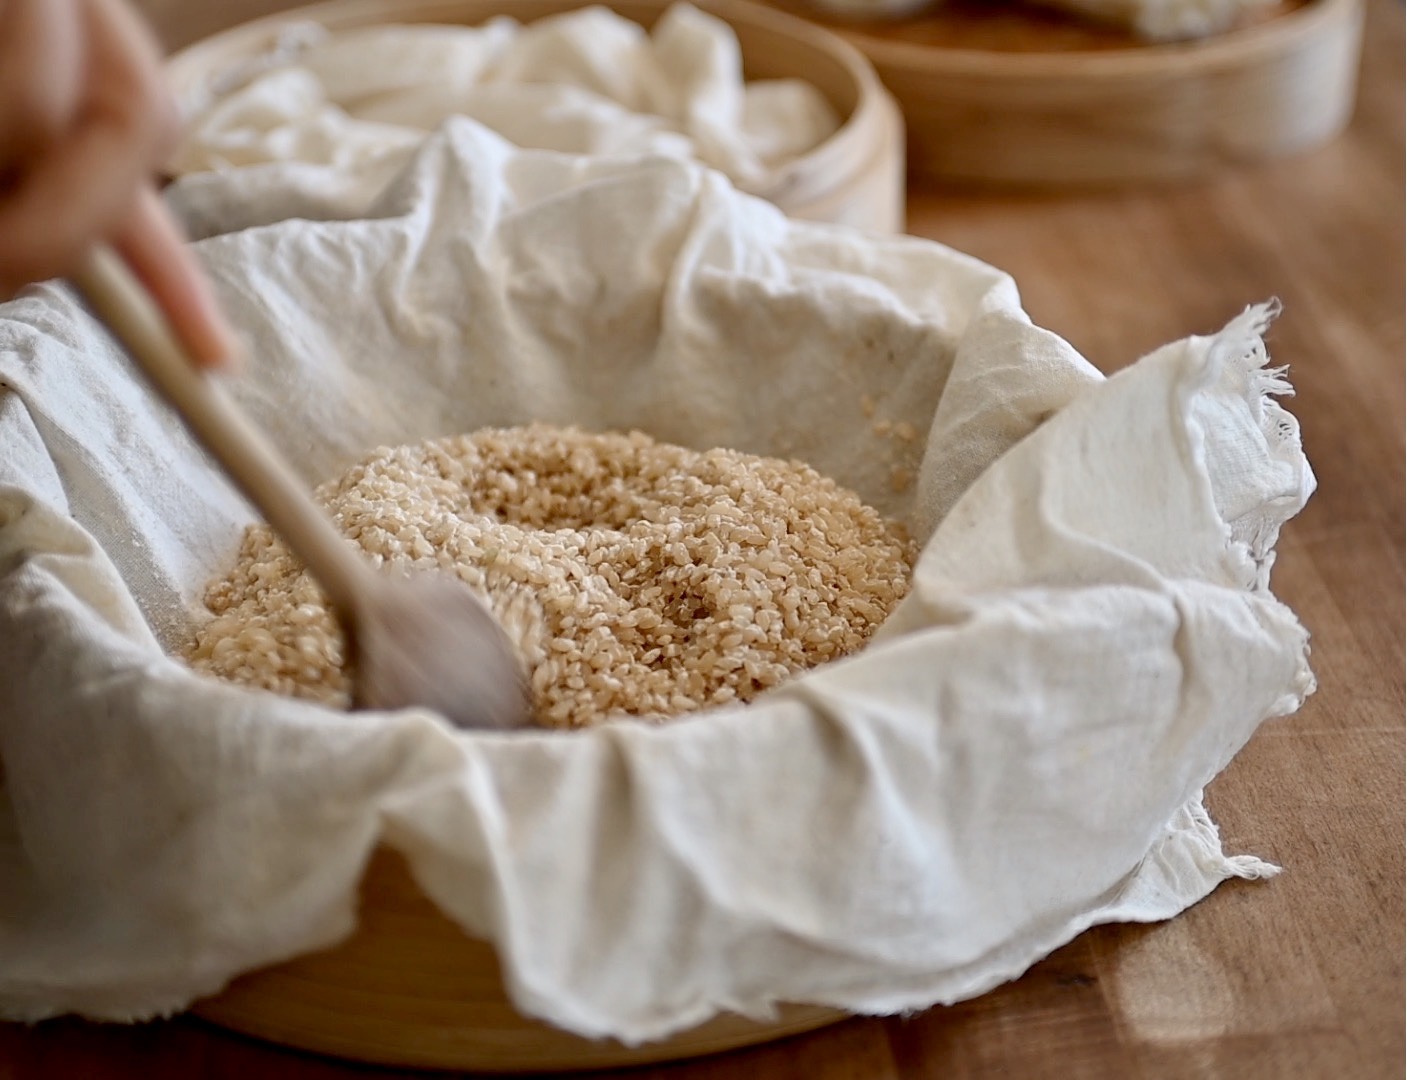
- In bamboo steamer trays, put a muslin cloth in each tray (no need to wet it), and put each portion of the rice mixture into each tray, folding the cloth over to bundle it up.
- Dampen another piece of cloth and put it on the rice mixture, stack the steamers and cover with the lid. Leave the steamers at room temperature to ferment. Note: make sure to put something under the steamers so they can ventilate. Otherwise the moisture will be trapped underneath and might stain the surface they are on. It happened to me before but thankfully it didn’t damage my table!
- For the next 2 days, open and stir the mixture. Re dampen the cloth and put it back. At this point you might think it’s not going to work because it looks so dry, but trust me, it will.
- The next day, you can see that the mold starts to form and the rice grains stick together. You can feel that the trays are warm now too. Open a tray, and scrape the loose grains down, but don’t stir it. Re-dampen the cloth and cover it back.
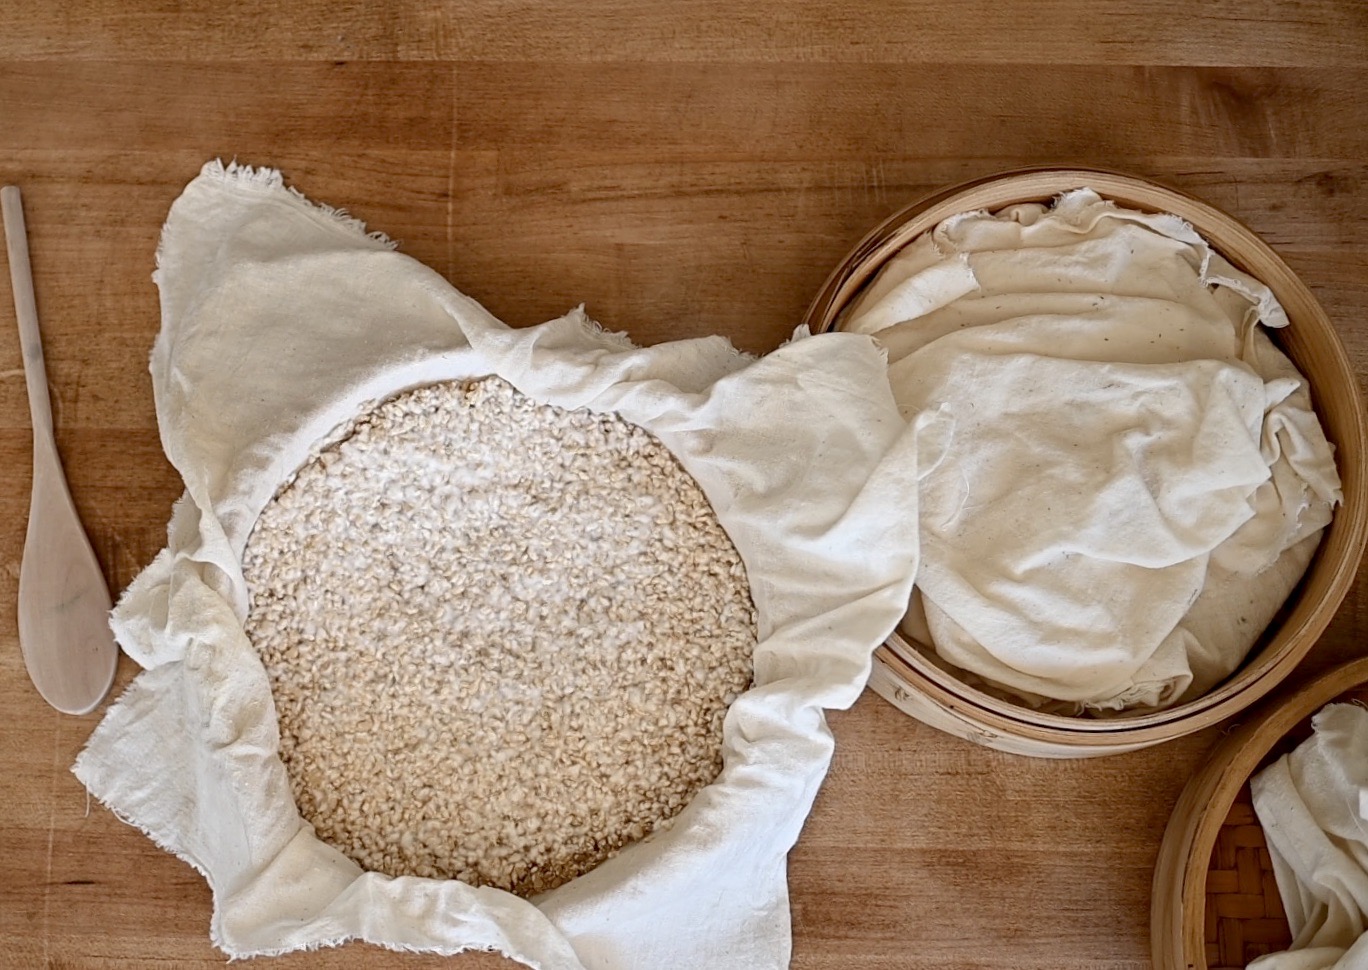
- Finally after one more day, the rice is covered with white mold. The trays are very warm, and the rice grains stick together in one big chunk. You have now made Brown Rice Koji!
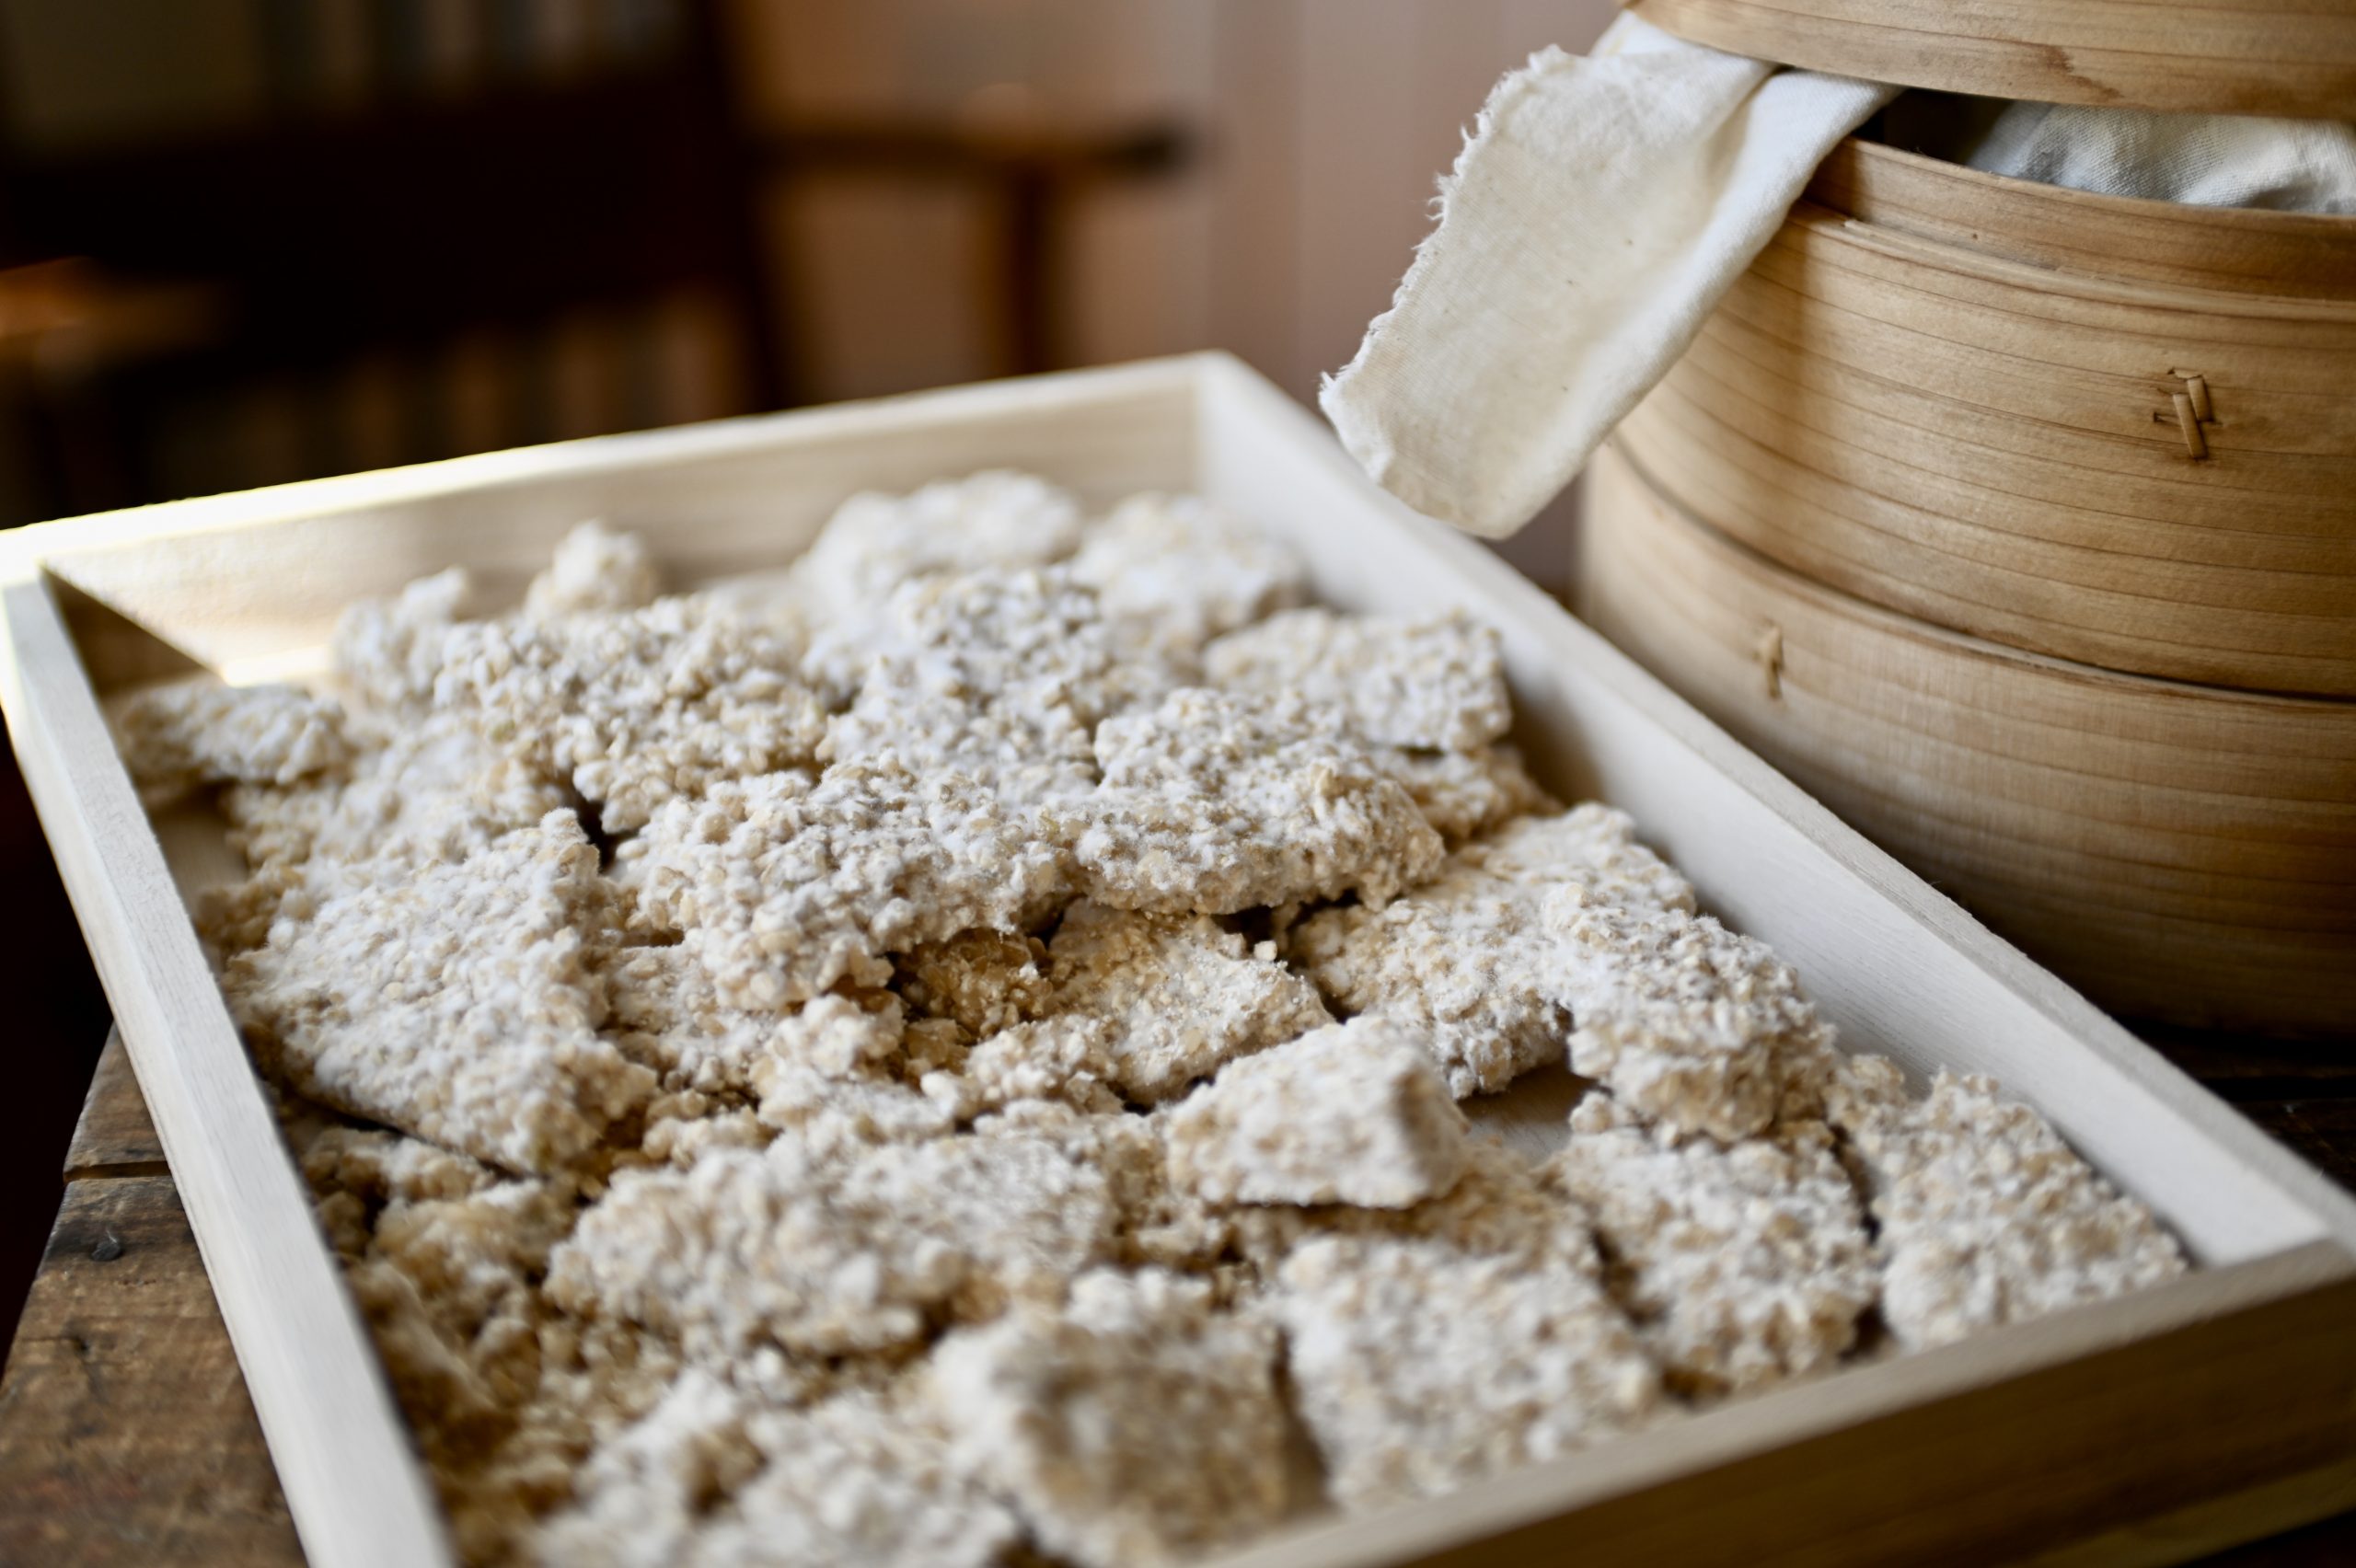
- Remove the koji from the cloth and put it on a breathable tray to dry out. Try to leave it in manageable size chunks. Leave the tray to dry at room temperature: it takes up to 2 days–sometimes more. Make sure it is completely dry before storing it.
- Store the koji in a glass container. Keep it in the fridge if you plan to use it in a week. If not keep it in the freezer. Note: from my experience, koji is fine in the fridge for longer than one week. I’m a little bit afraid to leave in longer than that, so I don’t really know just how long it can last in the fridge. To be on the safe side, keeping it in the freezer is best for longer-term storage.
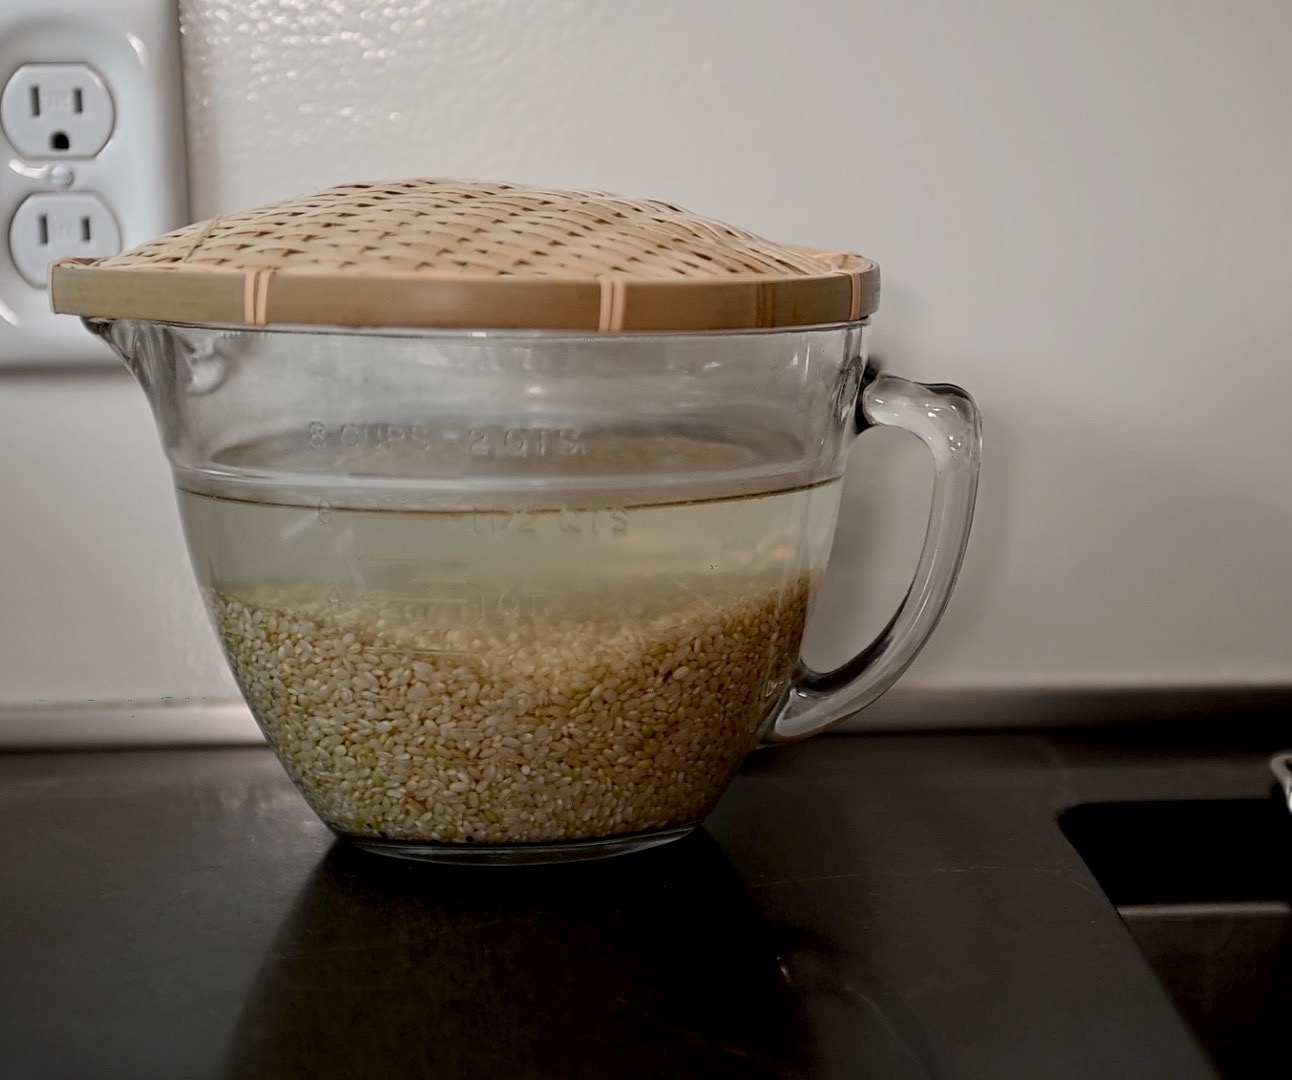
soak the rice in filtered water overnight
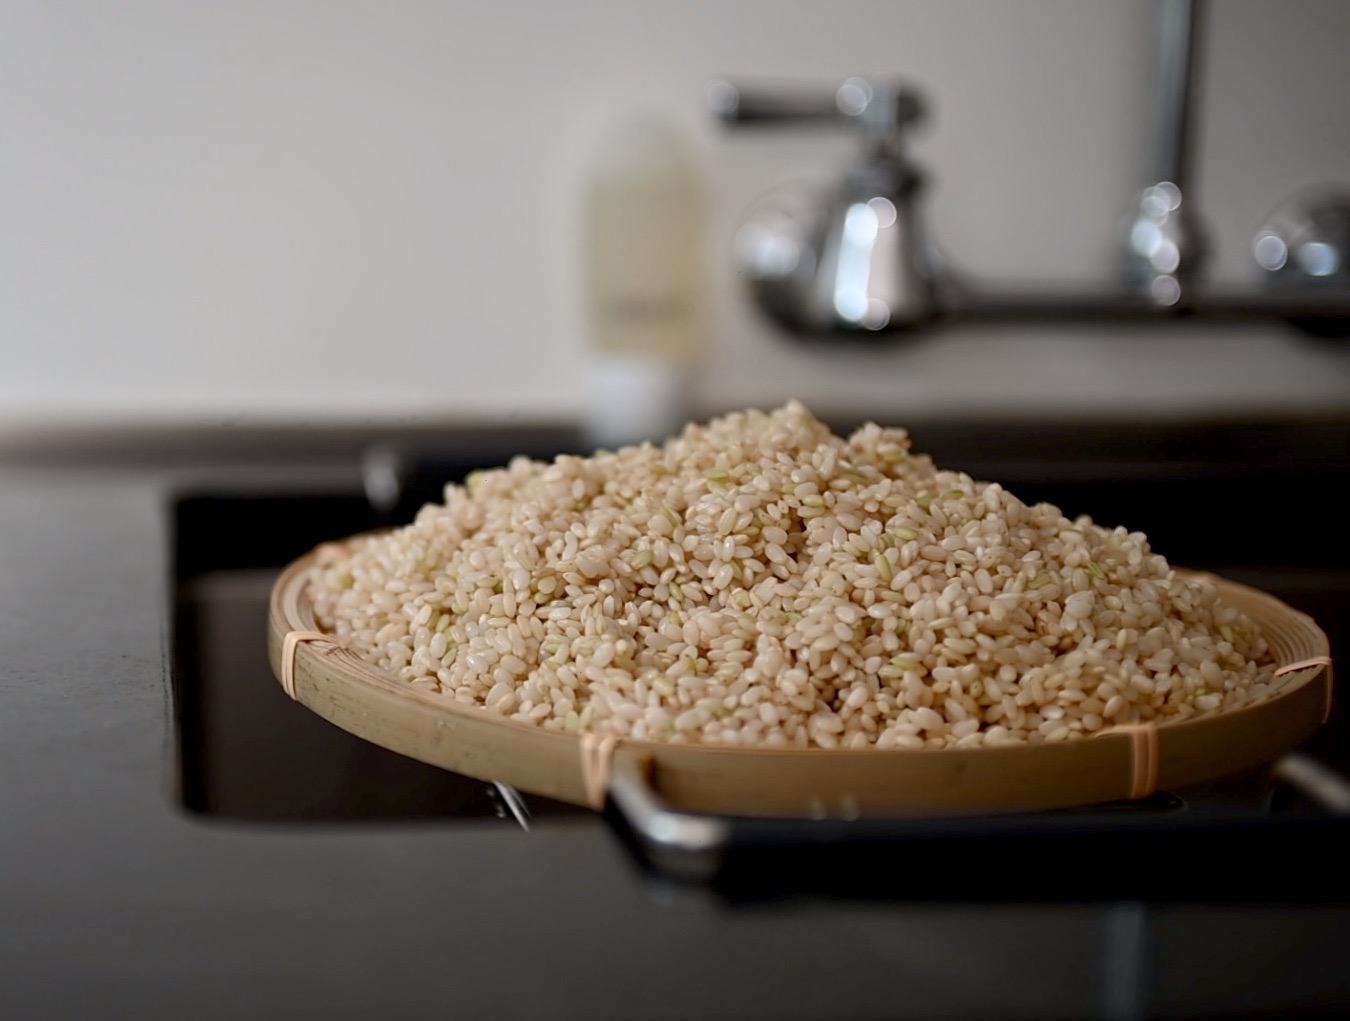
let the water drip
check to see if the rice is cooked
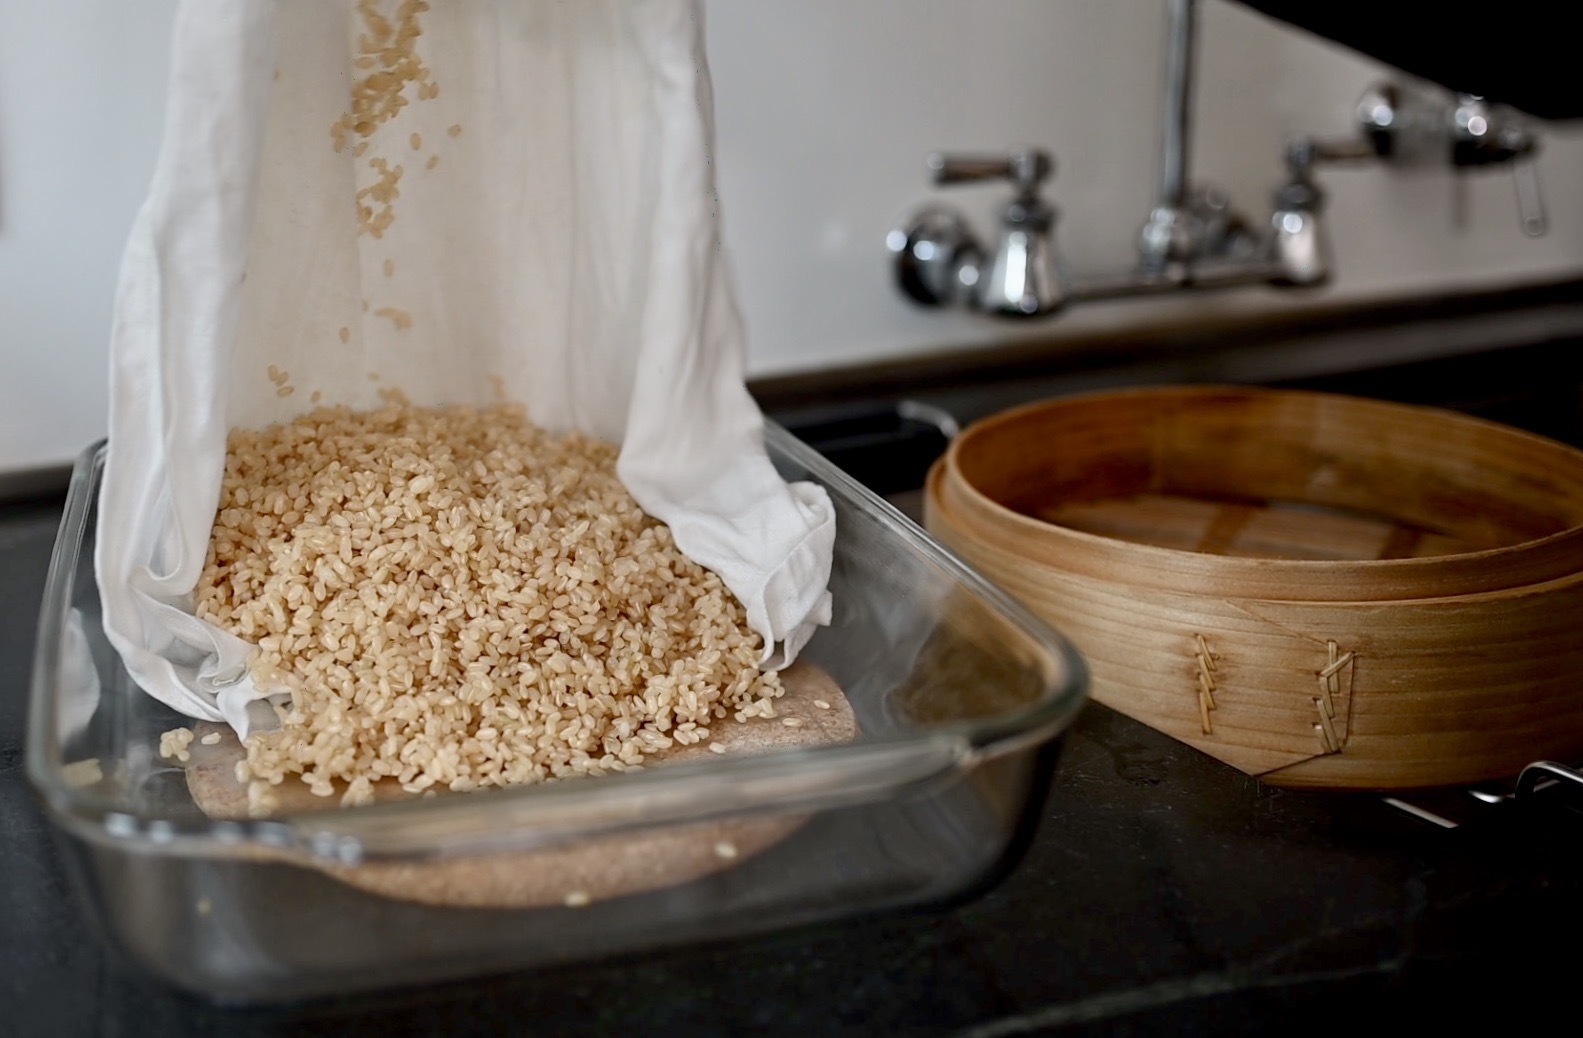
cool the rice in a pan
mixing brown rice with koji
put the rice mixture in the steamer
stir it each day
the koji has formed
dry it in a breathable tray
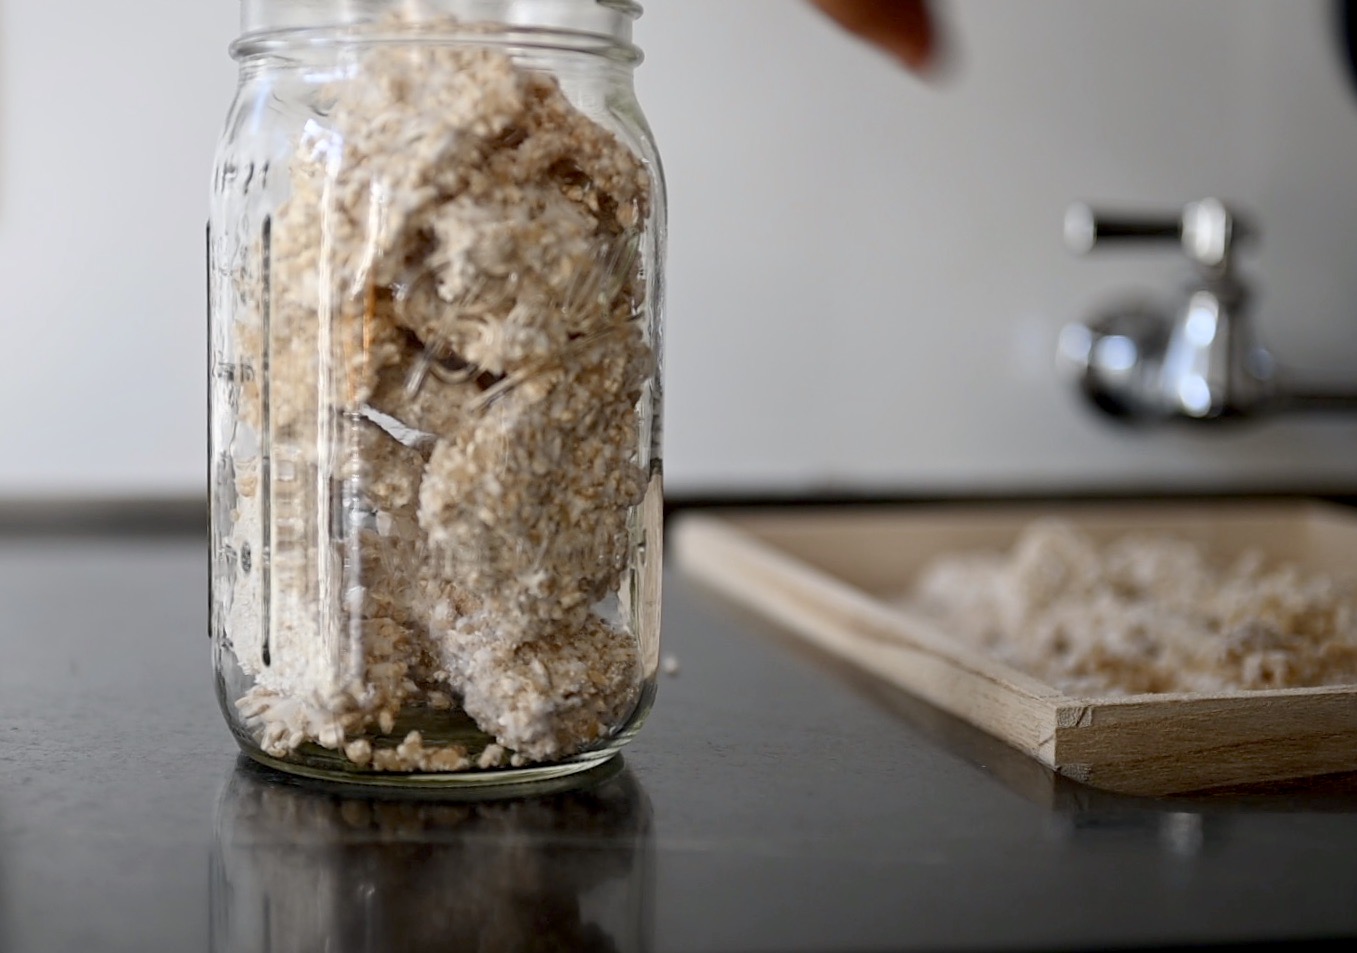
store it in a glass jar
Let’s make Brown Rice Amazake!
Ingredients:
- 1 cup (240 ml) of each dried brown rice
- A cup (240 ml) of brown rice koji
- 1 glass jar
- A make-shift incubator. I use a clean compost bucket, something to put under it, and a towel.
Instructions:
- Wash and rinse the rice. Soak it for at least a few hours, but overnight is best.
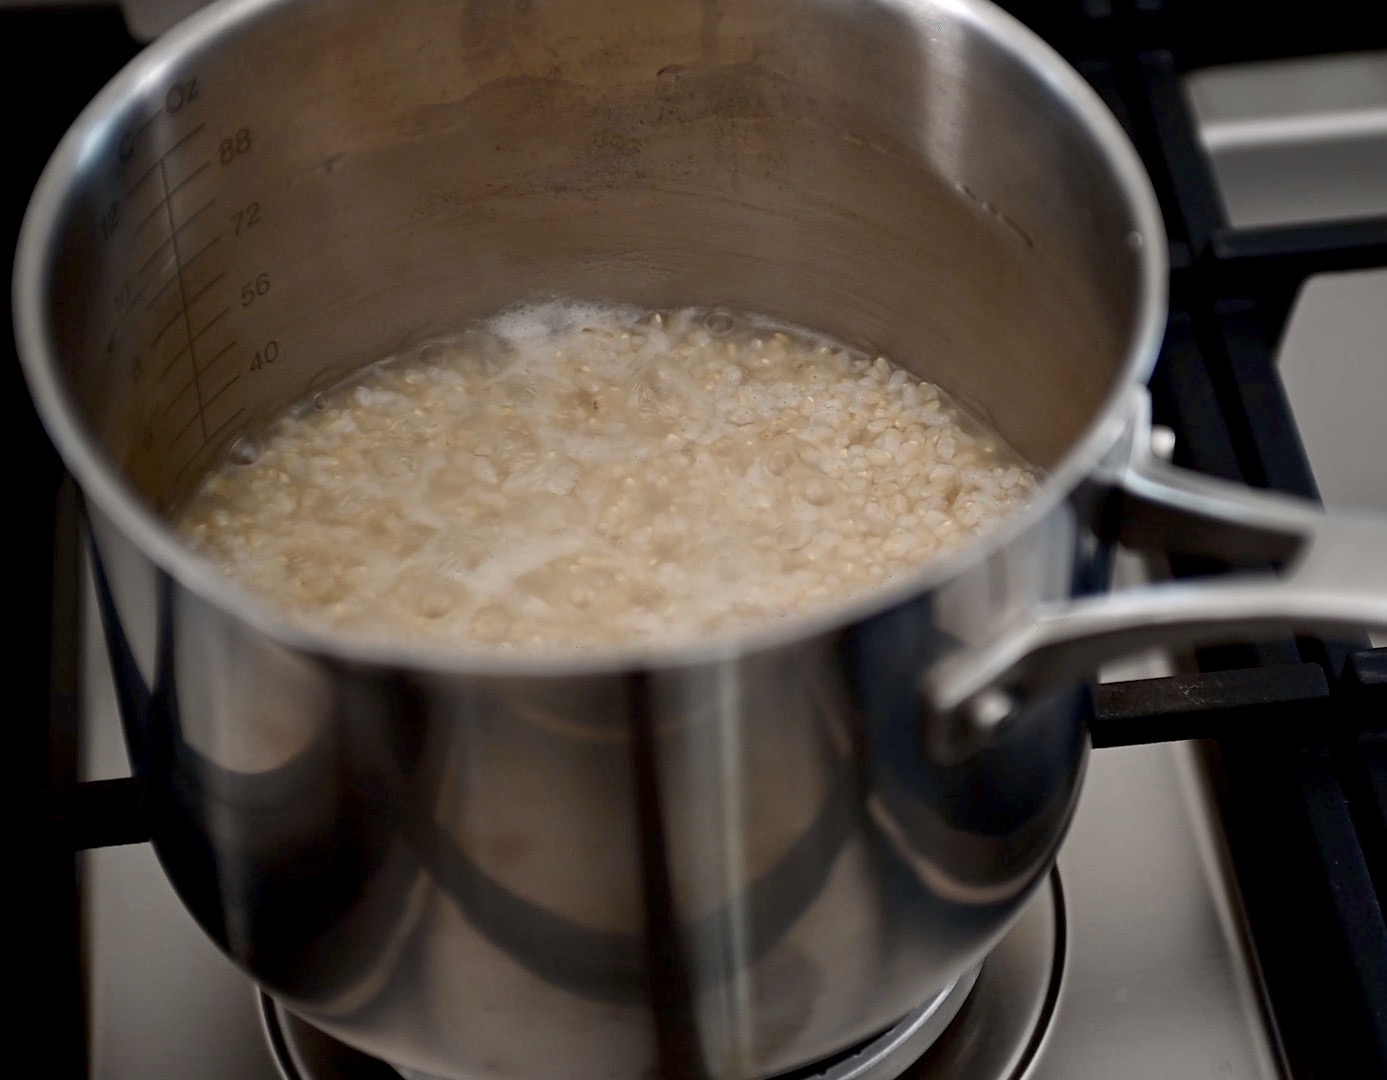
- Rinse well and cook until it is very soft with only a little bit of liquid left after cooking.
- Let it cool to a little bit warmer than body temperature. It should be about 140 °F (60 °C), if you have a thermometer to check it. In the meantime, crumble a cup of Brown Rice Koji.
- When the rice cools to this temperature range, mix the koji in thoroughly. Cover it with a towel and transfer it into a make-shift incubator to keep it warm. Leave it to ferment overnight.
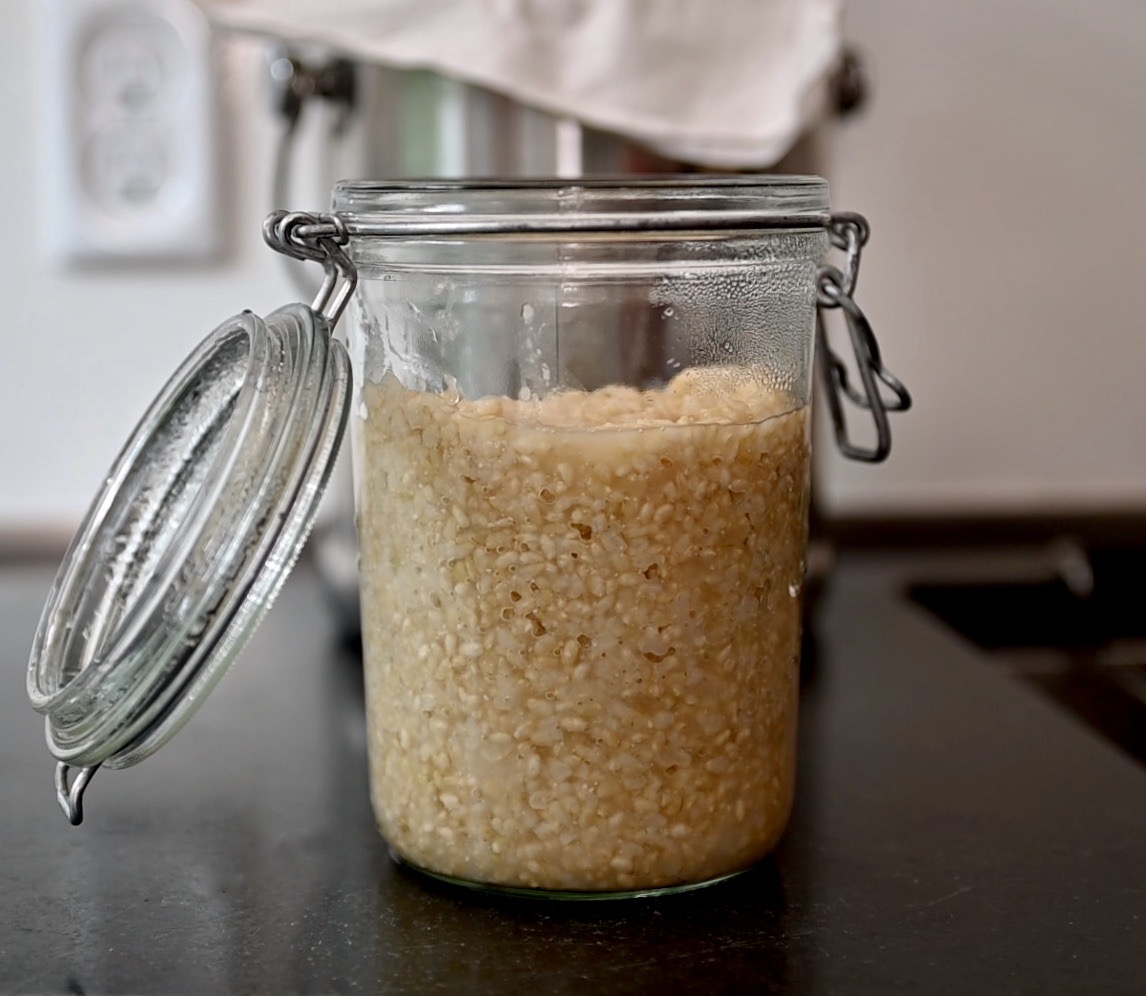
- The next day, you can smell its sweet fragrance and see bubbles in it. It’s done.
- You can eat it now, but I like to keep it in the fridge to develop more flavor for another night.
- To eat it, you can mix it in your smoothies or whatever you like–be creative. I like to eat it with a few kinds of fruits and chia seeds. It’s already very sweet with a very nice nutty texture. However, you can add a little bit of your favorite sweetener if you like too.
- Enjoy.
cook the rice until very soft
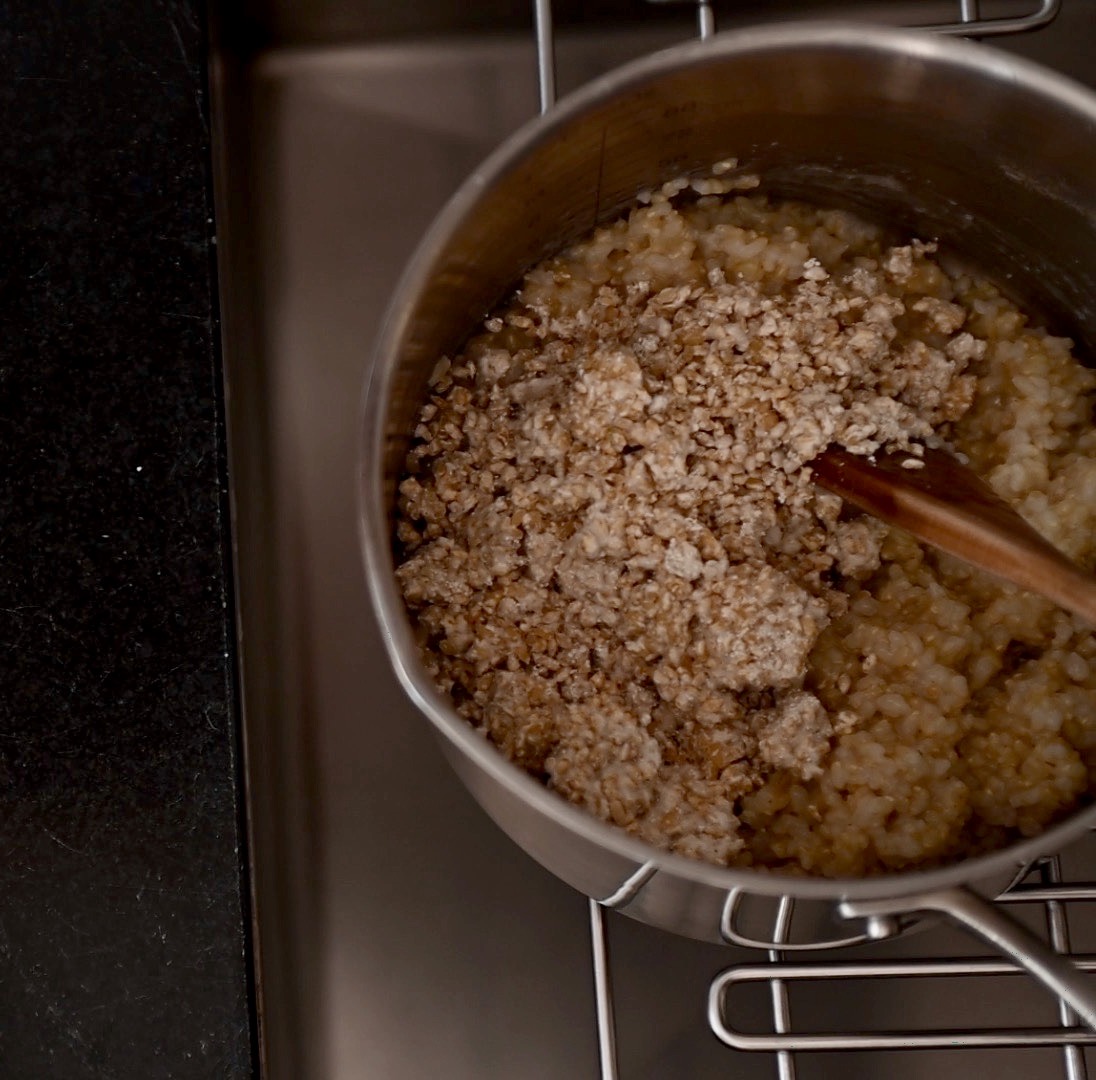
add koji to the rice
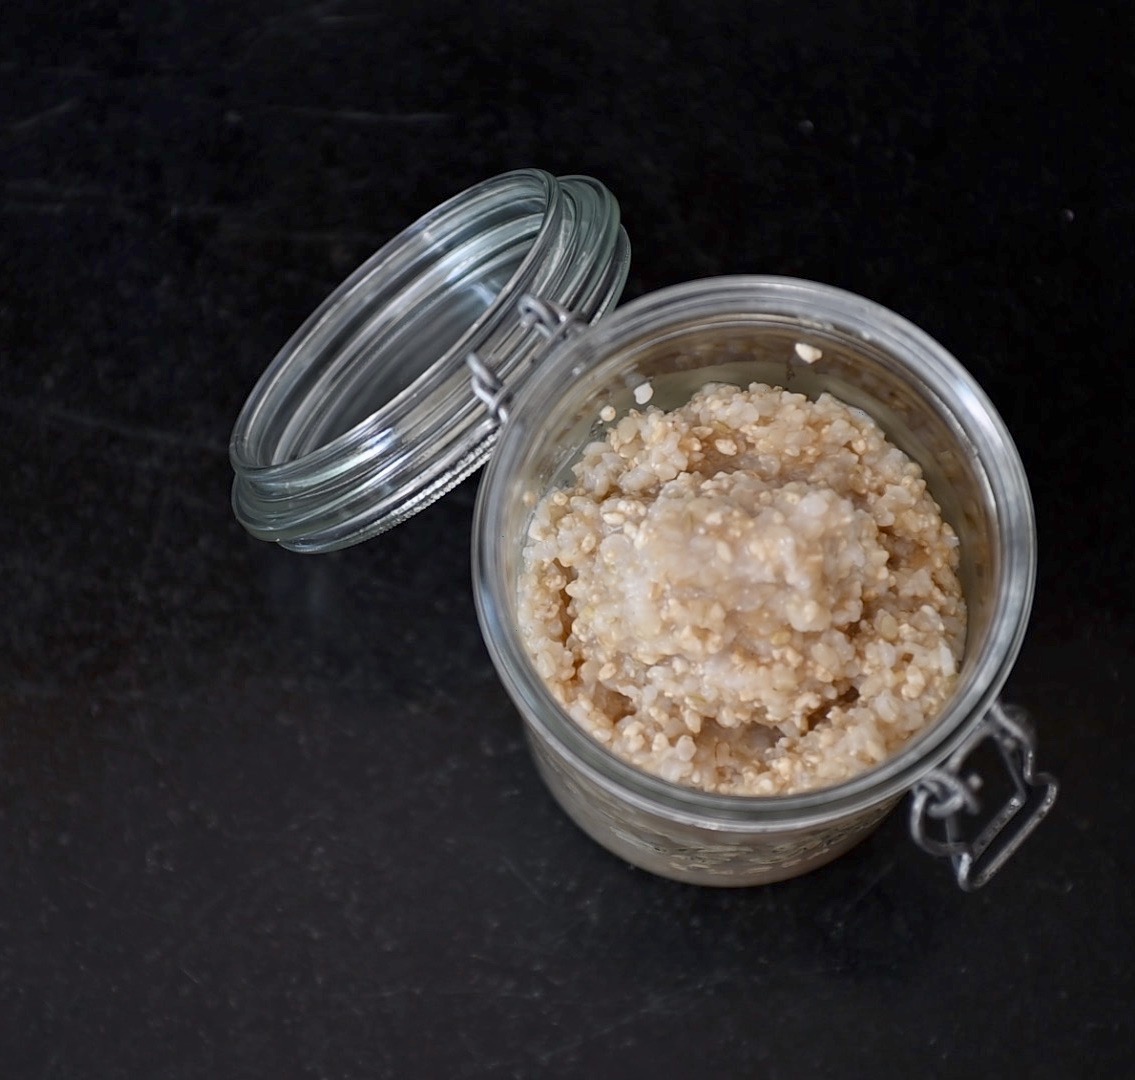
put the mixture in a glass jar
it’s done!
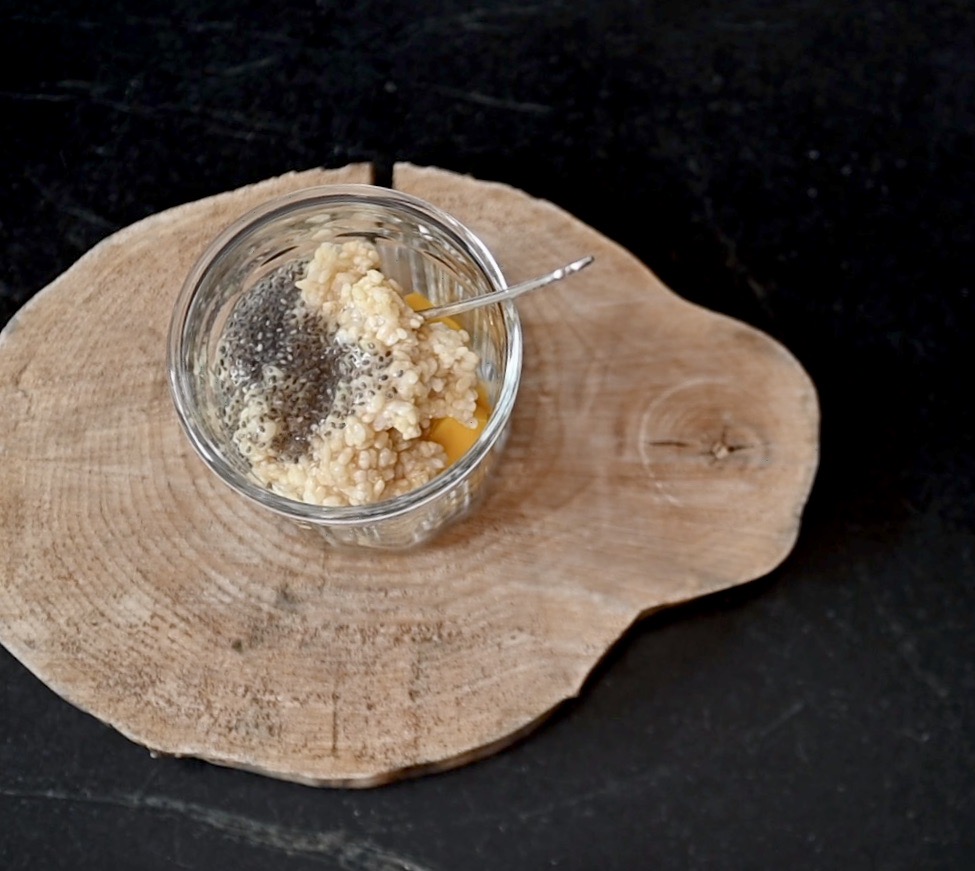
eat with fruits and chia seeds

add your favorite sweetener if you like
Have you made Brown Rice Koji and amazake? Please share it with me, I’d like to hear about it!