It’s hard to believe that with only brown rice, soybeans and water, you can turn them into healthy Cultured Tofu & Yogurt without any special equipment!
As I become more conscious of how I use resources for my cooking, I try to find ways to use less ingredients and equipment to create healthy meals.
Eating foods that contain probiotics have become more important too. This keeps my guts healthy, and yogurt was a big part of my diet for a long time.
When I was no longer comfortable with all the plastic containers from buying yogurt, I tried to make my own. However, the fact that yogurt can’t be made without a yogurt maker or maybe an instant pot wasn’t appealing to me.
I didn’t have any of those machines, and I was not interested in buying them.
After some research, I decided to make my own kefir and stopped buying and eating yogurt altogether.
Making kefir was much easier than yogurt, and I have been making it both with raw goat’s milk and coconut milk.
Now that I consume less dairy, I have discovered new ways to get probiotics into my diet and this is how I learned to incorporate more rejuvelac into my cooking.
Rejuvelac is so easy to make but the benefits are incredible. By simply sprouting whole grains of your choice, and adding water to ferment it, you have rejuvelac to drink and use for other kinds of fermentation.
You can use barley, wheat, quinoa etc. I like to use brown rice to make rejuvelac as I can use sprouted brown rice to cook and eat more often than other kinds of whole grains.
Despite making kefir being so easy, I sometimes miss the texture of yogurt and want to be able to have it from time to time.
How do I get to eat yogurt without buying it in plastic containers? I have to make it myself is the answer!
Out of the blue one day, I decided to mix rejuvelac with the soy milk I just made. I put the jar in a compost bucket to keep it warm, and left it on the counter overnight.
When I checked it in the morning, the milk had become a solid, yogurt-like texture, and the taste was tangy. I knew I just made my own yogurt!
Later, I tried using the yogurt to make tofu, but it took a long time to squeeze and get rid of the water. However, after so many hours of squeezing, I got cultured tofu. It was very silky and soft.
I was happy I could turn the yogurt into cultured tofu, but I still wanted to make it better. I wanted the tofu texture to be firmer.
After a few experiments, I Found out that if I made the milk more concentrated, I would get a better curd that was easier to turn into a firmer tofu.
Yes, with just whole grains, soybeans and water, you can easily turn them into Cultured Tofu & Yogurt!
However, the yogurt’s texture is not as dense as the store-bought kinds. To make the texture denser, I have to use a stabilizer. I find that carrageenan helps make the texture denser. If you don’t mind the imperfection, I don’t think you need to add anything else.
Ready to make your own Cultured Tofu & Yogurt? Let me show you how!
Ingredients:
To make rejuvelac:
Note: feel free to adjust the amount for how much you want to make.
- 1 cup (240 ml) of brown rice or other grains of your choice
- Filtered water
To make soy milk:
Note: feel free to adjust the amount of soy milk you want to make using this formula.
- 2 cups (480 ml) of non-GMO soybeans
- Filtered water
Instructions:
To make rejuvelac:
- In a glass jar with a sprouting lid, wash the rice well and soak it overnight.
- The next day, dump the soaking water and give it a quick rinse. Place the jar in a container to catch the excess water, cover it with a kitchen towel and let it sprout. Note: From my experience, it takes about 2 nights for brown rice to sprout, but only a night for whole barley and whole wheat.
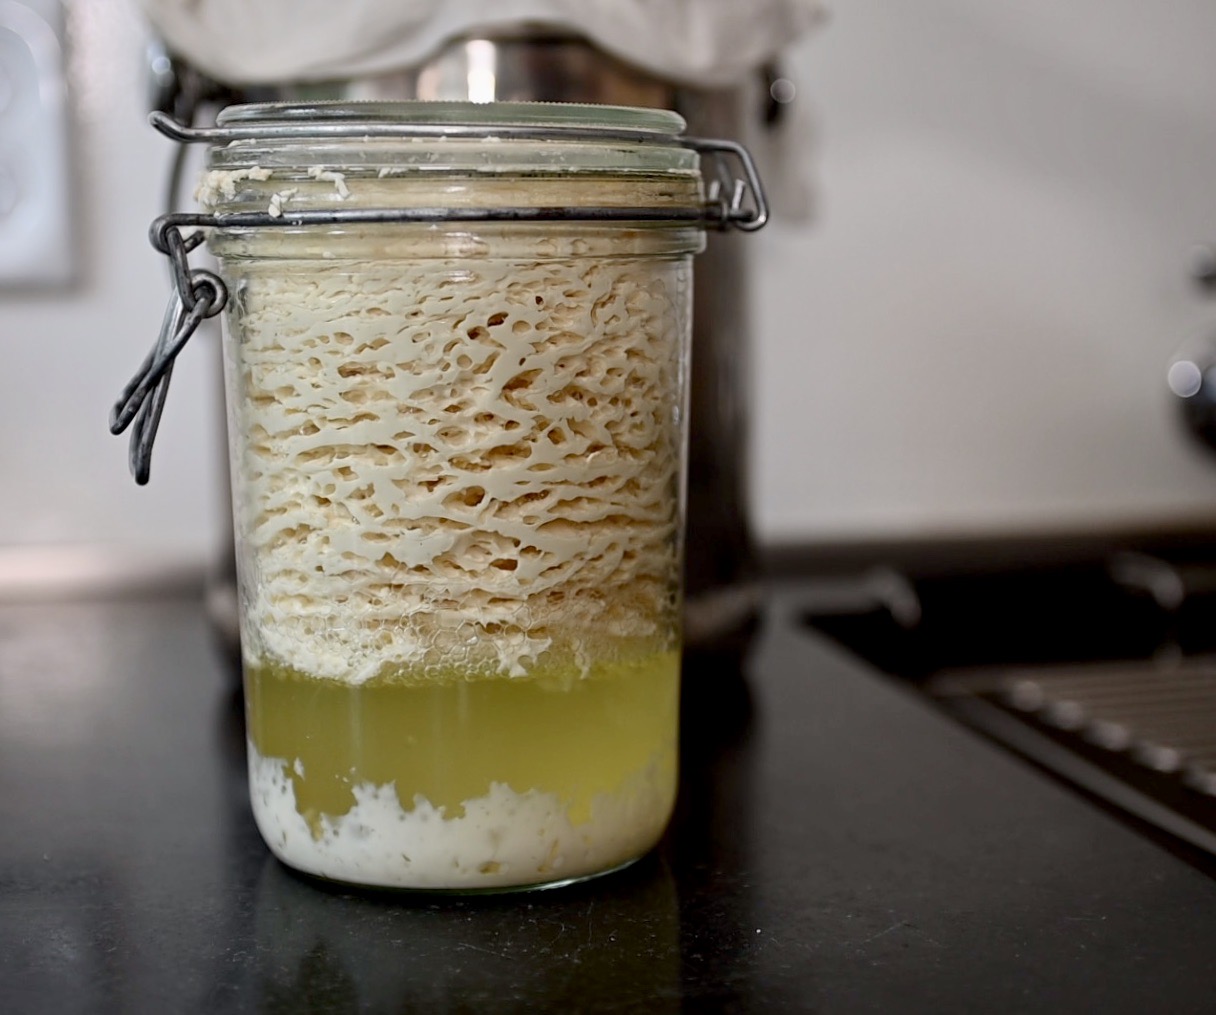
- When the rice sprouts, rinse well. Add filtered water and let it ferment. You can see some bubbles right after the first night. The bubbly water is rejuvelac. You can use it now, but from my experience, letting it ferment for 2 nights makes it more fizzy and tastier to drink.
- Strain the rejuvelac, and keep it refrigerated. You can use it for other fermentations or drink it as is.
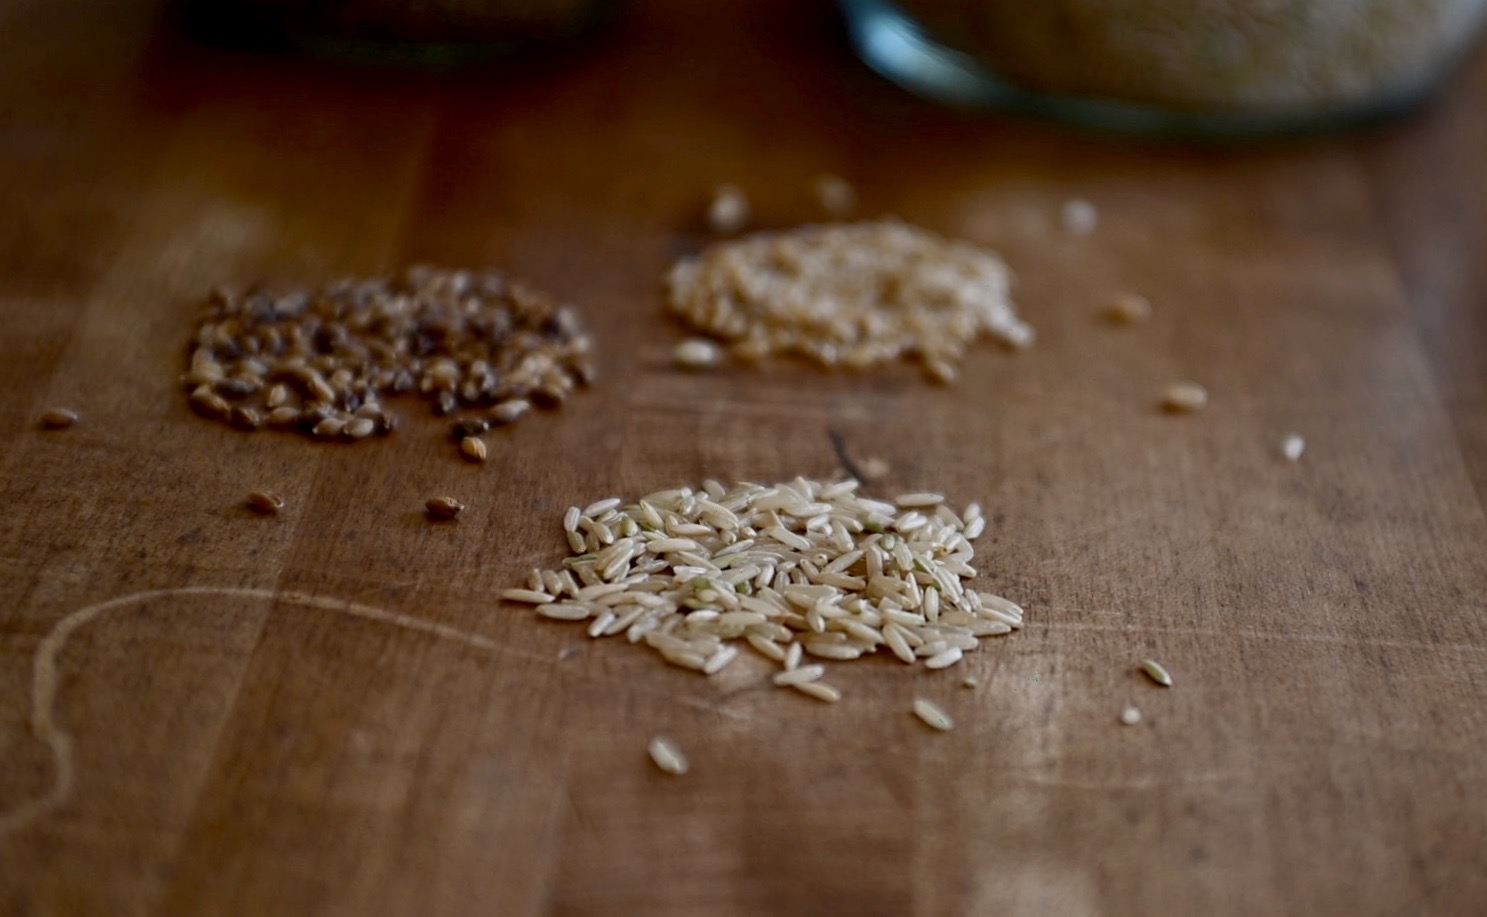
brown rice, whole wheat, and whole barley
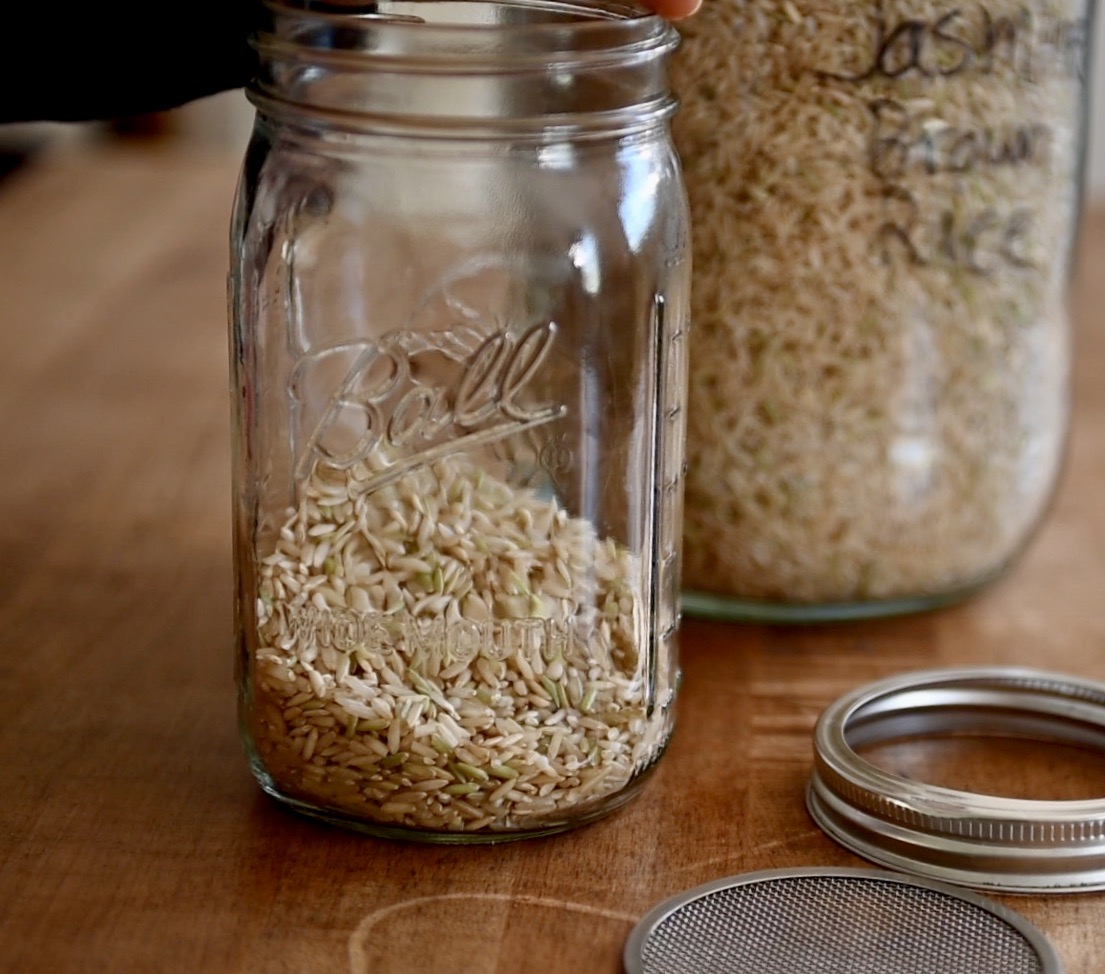
brown rice in a glass jar with a sprouting lid
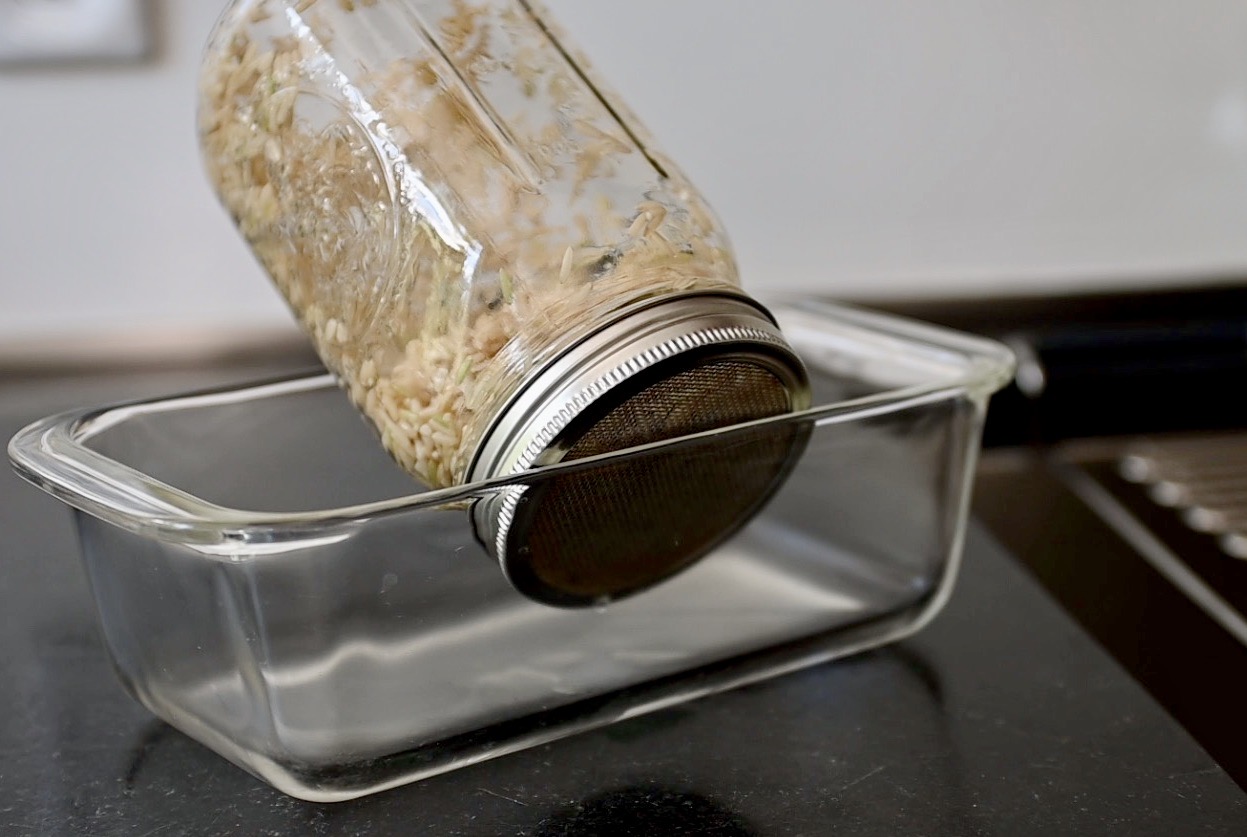
sprouting the brown rice
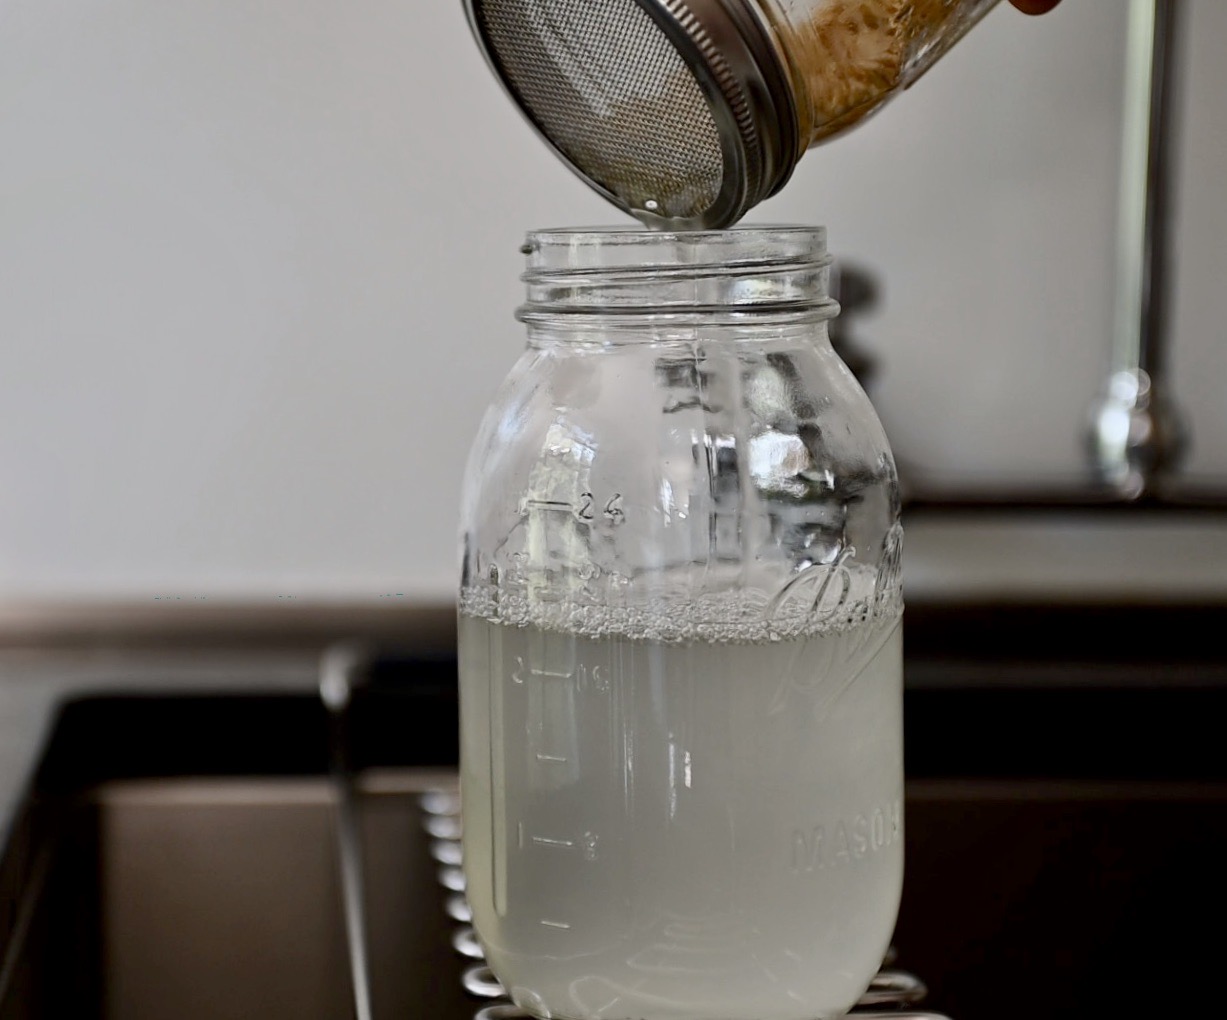
transfer the rejuvelac into another glass jar
To make soy milk for yogurt
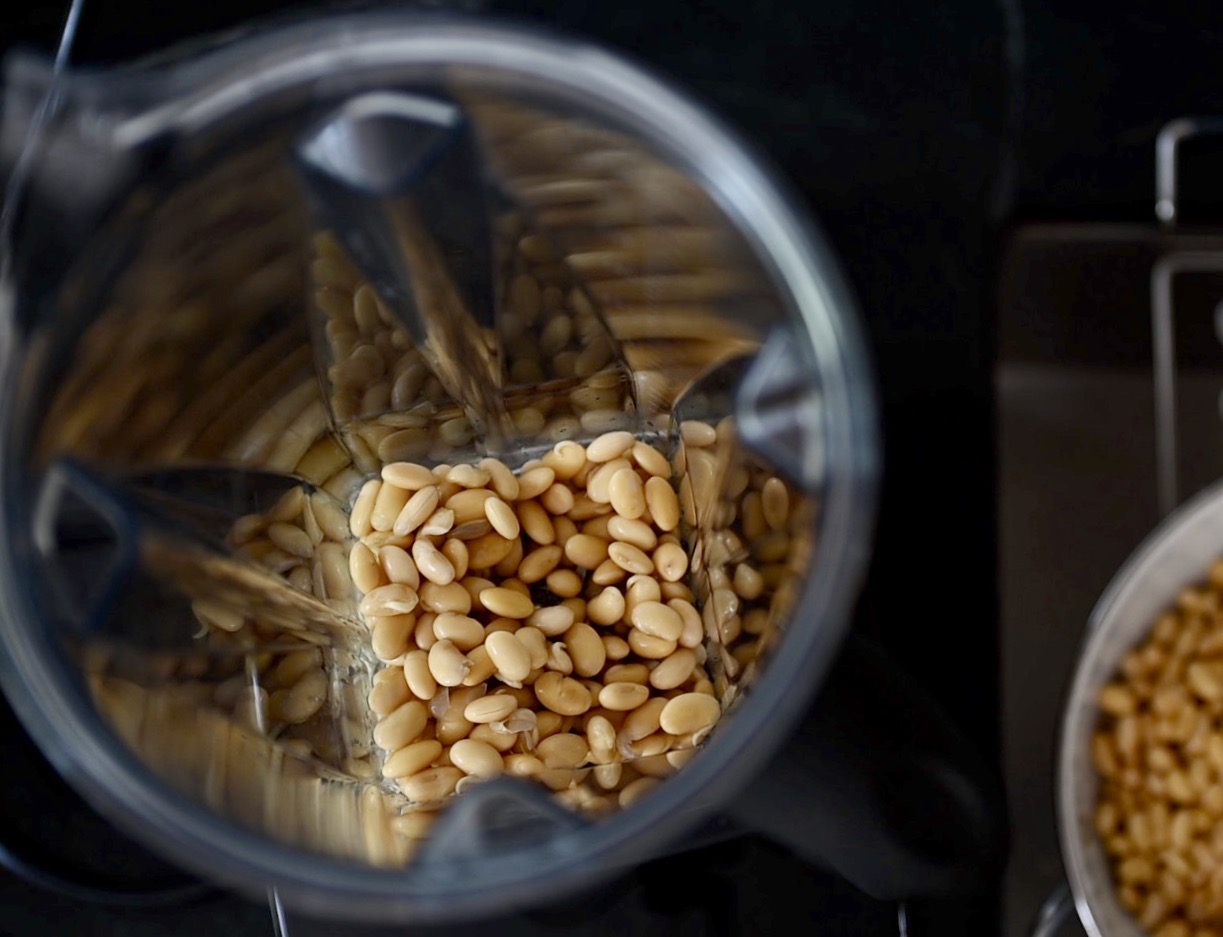
blend sprouted soybeans on high speed
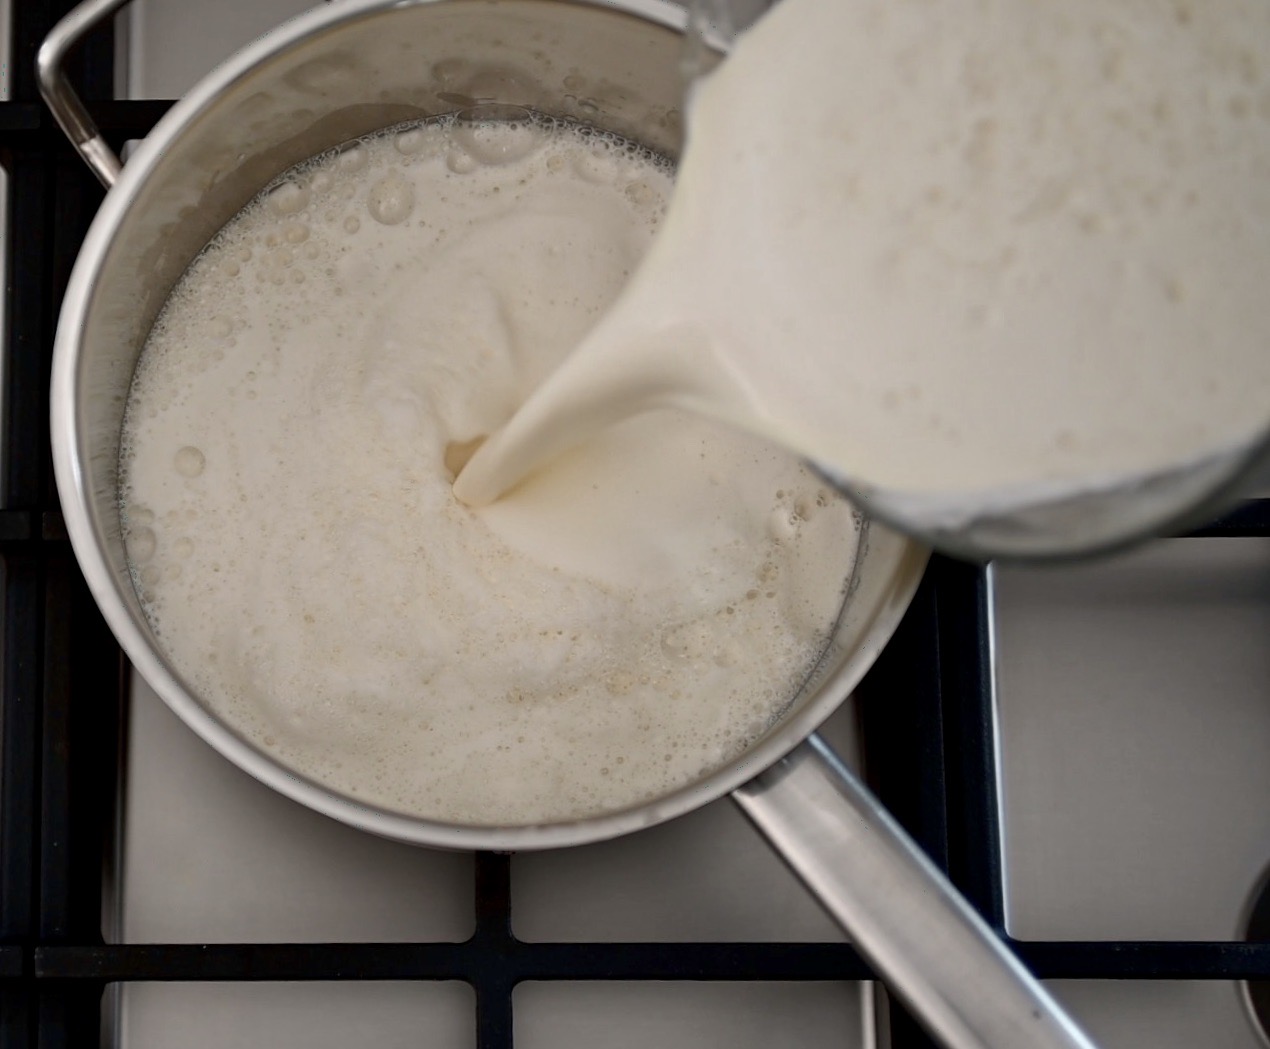
transfer the milk into a pot
- In a glass jar with a sprouting lid, add 1 cup (240 ml) of soy. Wash and soak them overnight.
- The next day, if you want to make sprouted soy milk, rinse and let them sprout. It takes about 2 nights, be sure to rinse it each day.
- When the soybeans are ready, rinse them thoroughly and let the excess water drip.
- In a blender, add 2 cups (480 ml) of soybeans per 5 cups (1,200 ml) of filtered water. Blend until smooth, then pour the mixture into a nut milk bag. Squeeze as much milk as you can.
- Transfer it to a pot. Boil it on medium. Skim off the foam if you like. Bring it to a boil, and let it cook until you see the tofu skin form. Turn the heat off and let the milk cool.
To make yogurt:
- When the milk’s temperature is about the body temperature, put the amount you want to make yogurt into a glass jar. Add the rejuvelac and mix well and loosely cover the lid. (The ratio of milk to rejuvelac is about 1 cup (240 ml) per 1 TBSP (15 ml))
- Put the jar into a make-shift incubator to keep it warm and leave it at room temperature overnight. I use an extra compost bucket and it works wonderfully.
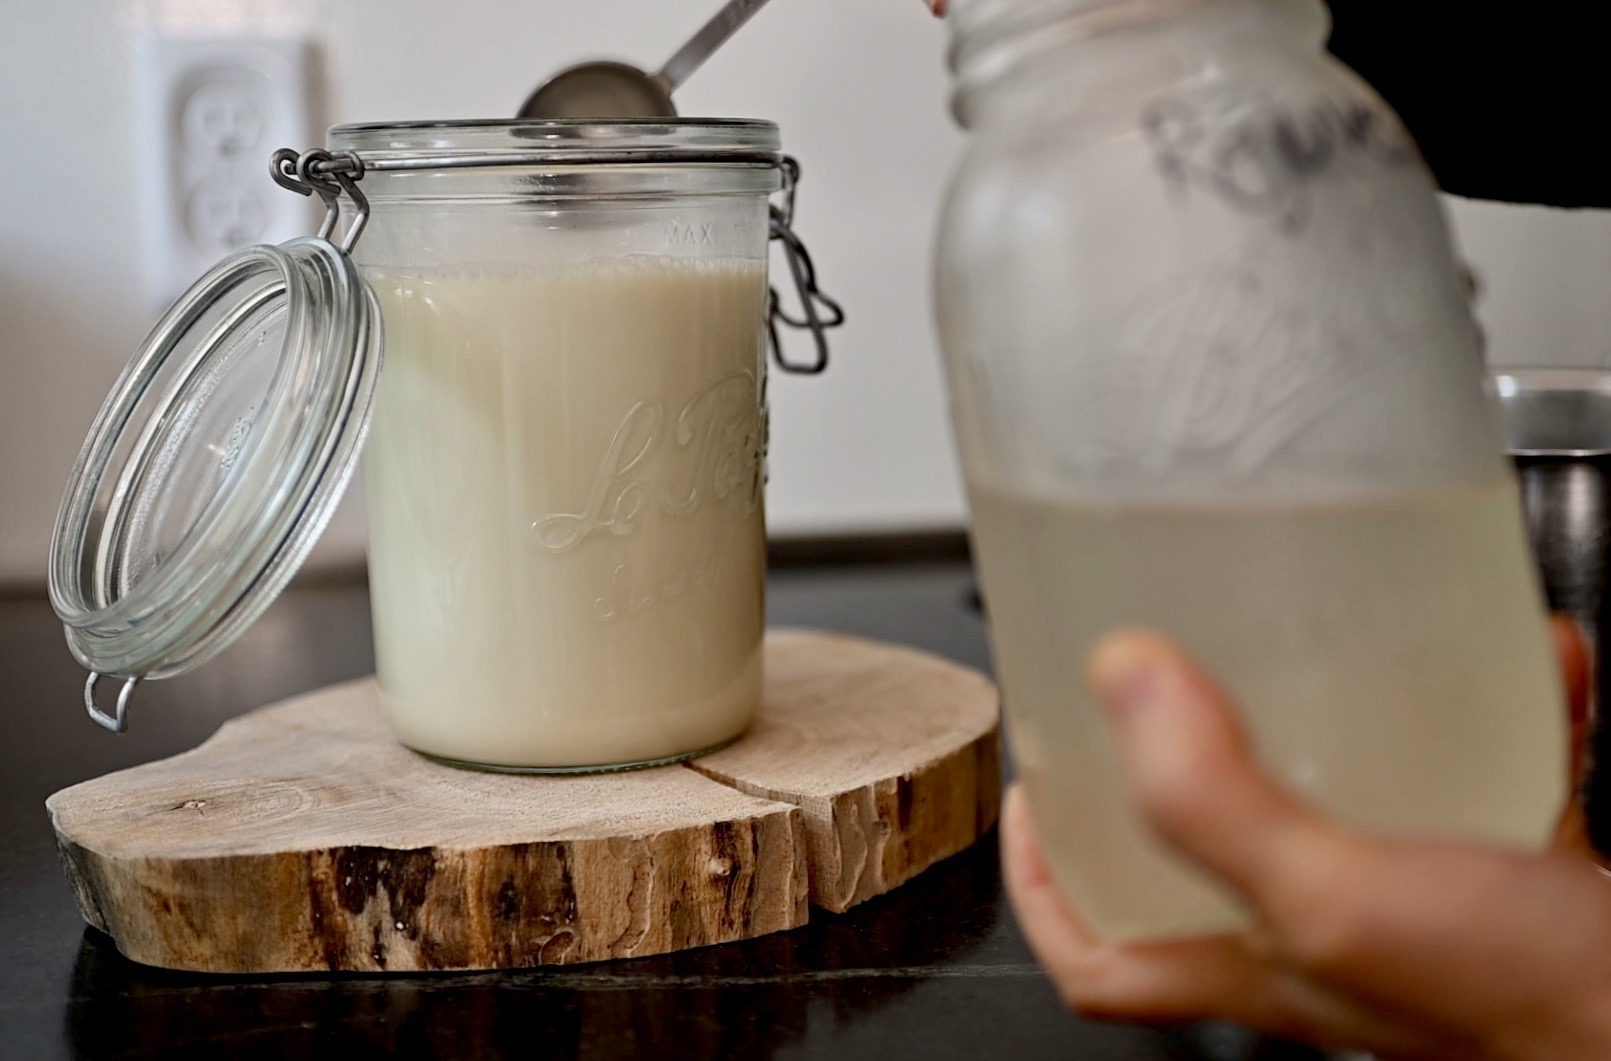
- The next day, you should see the milk is solid and turns into yogurt. You can eat it now, but I like to keep it in the fridge for another day to develop more tangy flavor. Eat it with your favorite fruits. This yogurt tastes so good, it’s a mildly tangy, but very creamy. It stays fresh for a week in the fridge.
add rejuvelac to soy milk
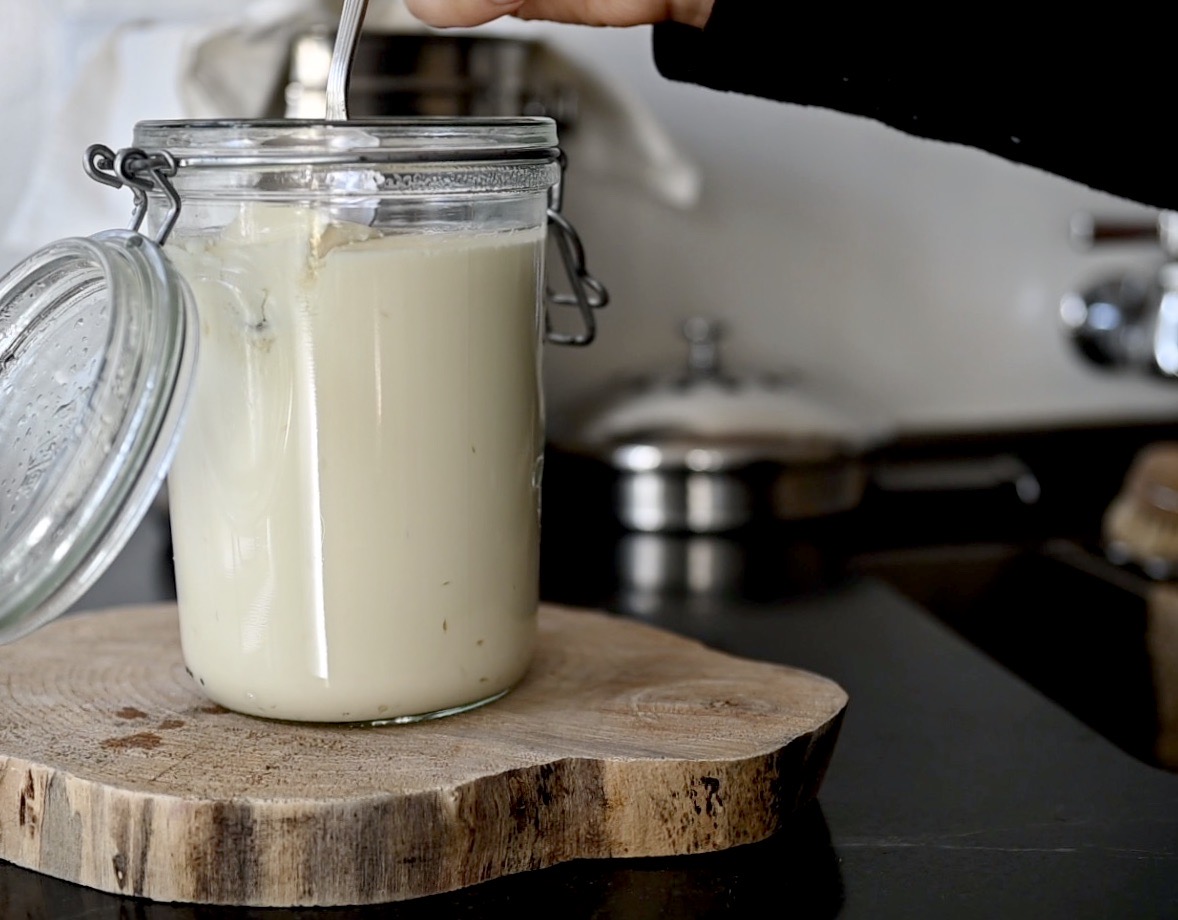
the milk turns into yogurt overnight
To make the milk for cultured tofu:
- Add 2 cups (480 ml) of soybeans per 3 cups (720 ml) of filtered water and do the same to make soy milk for yogurt above.
To make cultured tofu:
- Use the milk made for the cultured tofu, and use the same process as for the yogurt above.
- The next day, you can see that the milk has formed into curd and separated from water. The water is whey–you can drink it if you want.
- In a tofu mold, place a cheesecloth inside and scoop the curd into it. Use a knife to help get the curd into the corners. Fold the cloth, put some weight on and let it sit for a few hours.
- Remove the mold when it’s done. You can leave the tofu in the fridge and it stays fresh for 2 days. I like to use it right away as a side dish with some olive oil and soy sauce.

milk curd
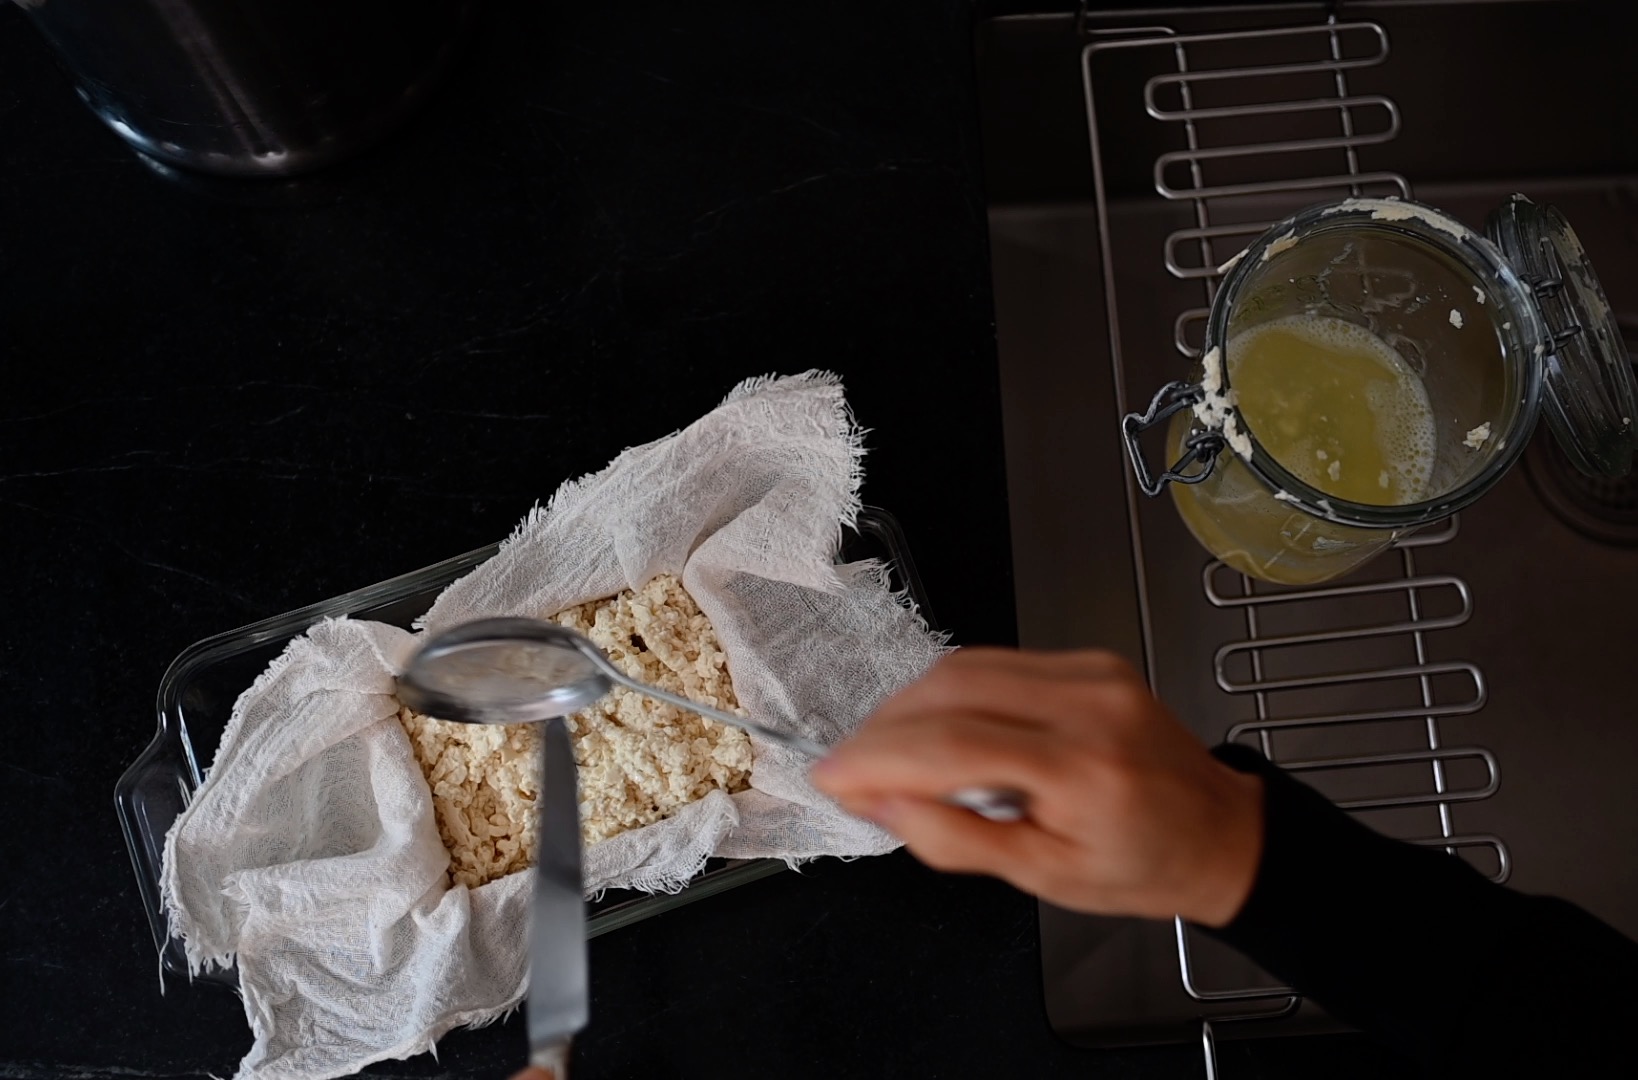
add the curd into a tofu mold
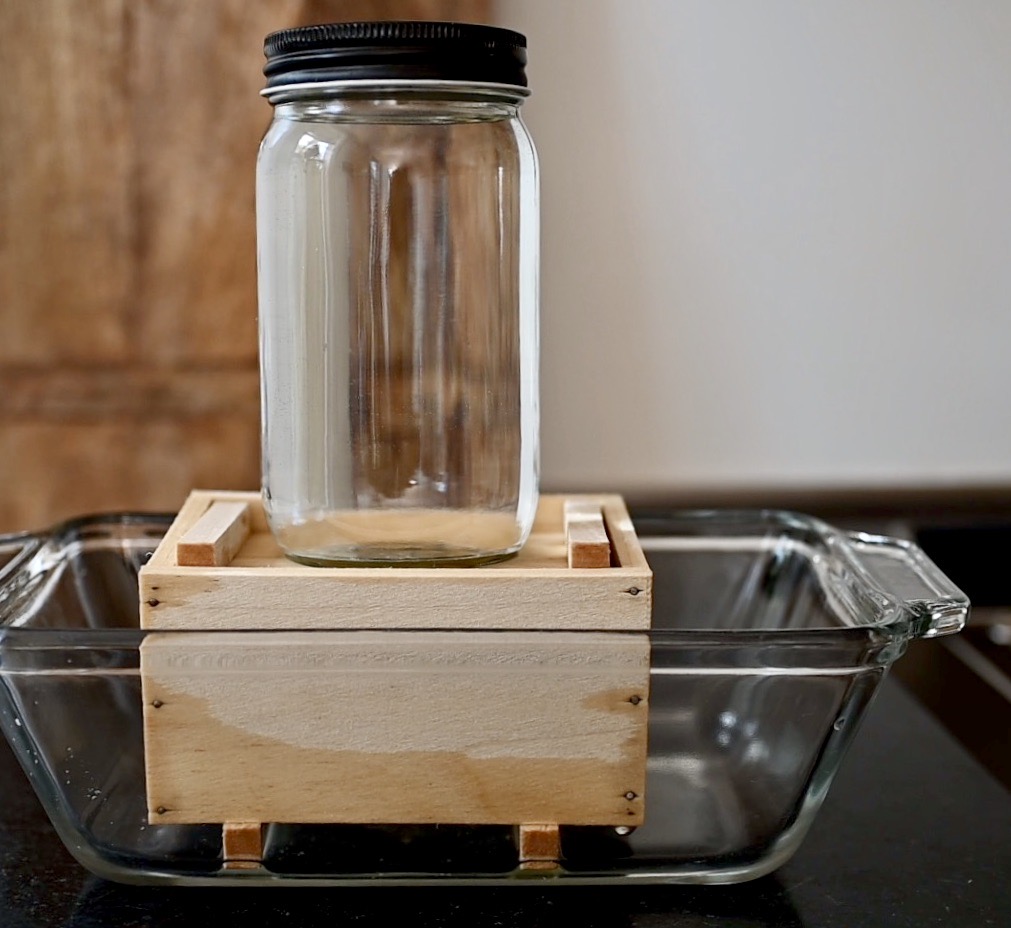
put some weight on the mold
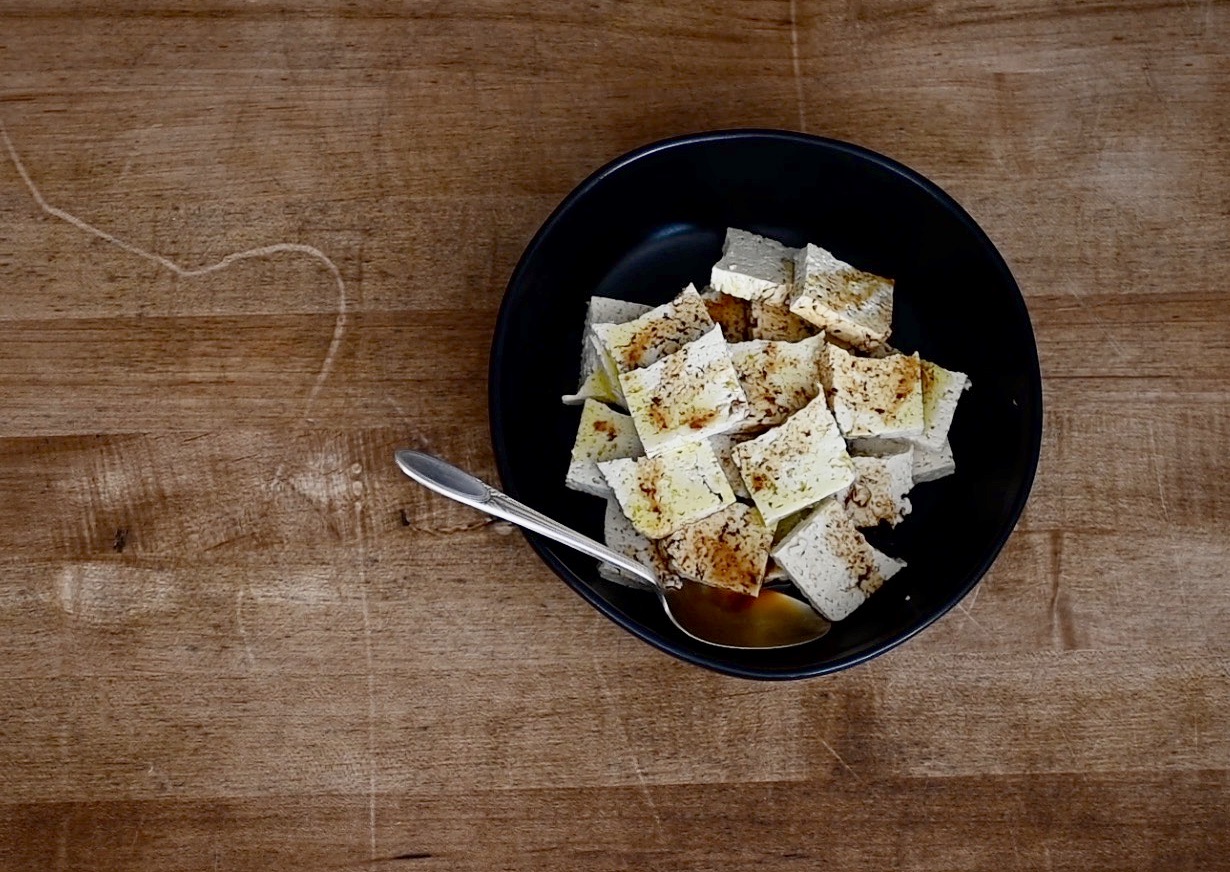
enjoy it fresh with extra virgin olive oil, soy sauce and some sesame seeds
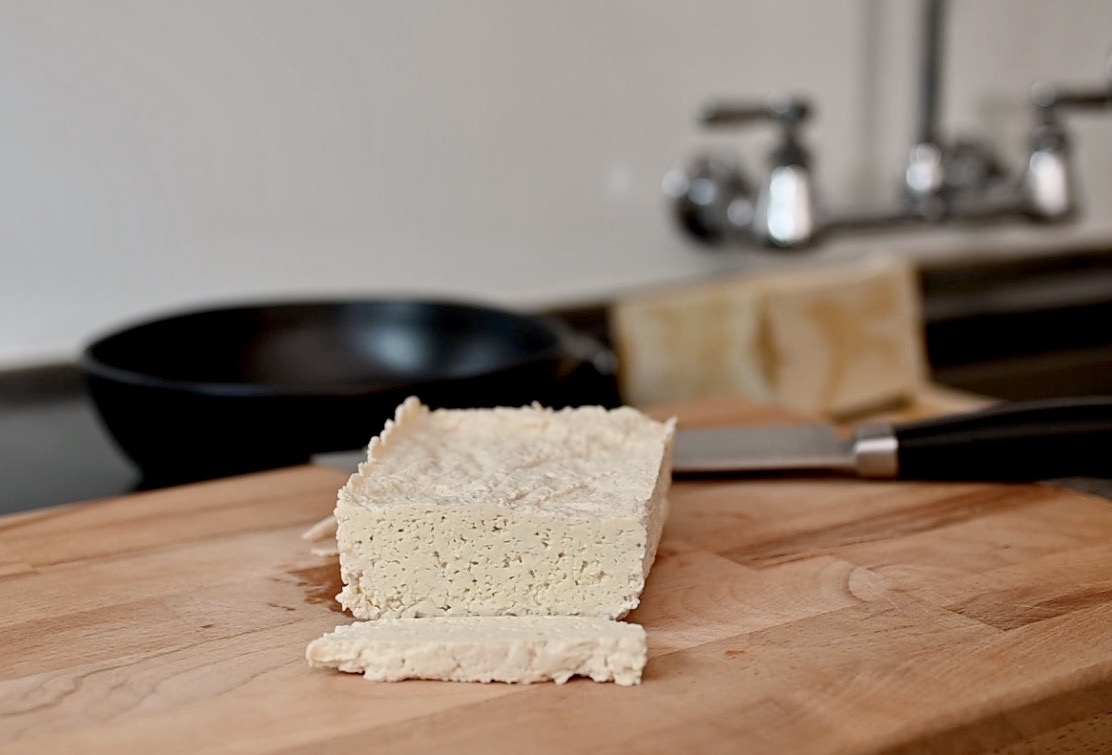
a block of cultured tofu!
Have you made Cultured Tofu & Yogurt with rejuvelac before? Please share it with me–I’d like to hear about it!