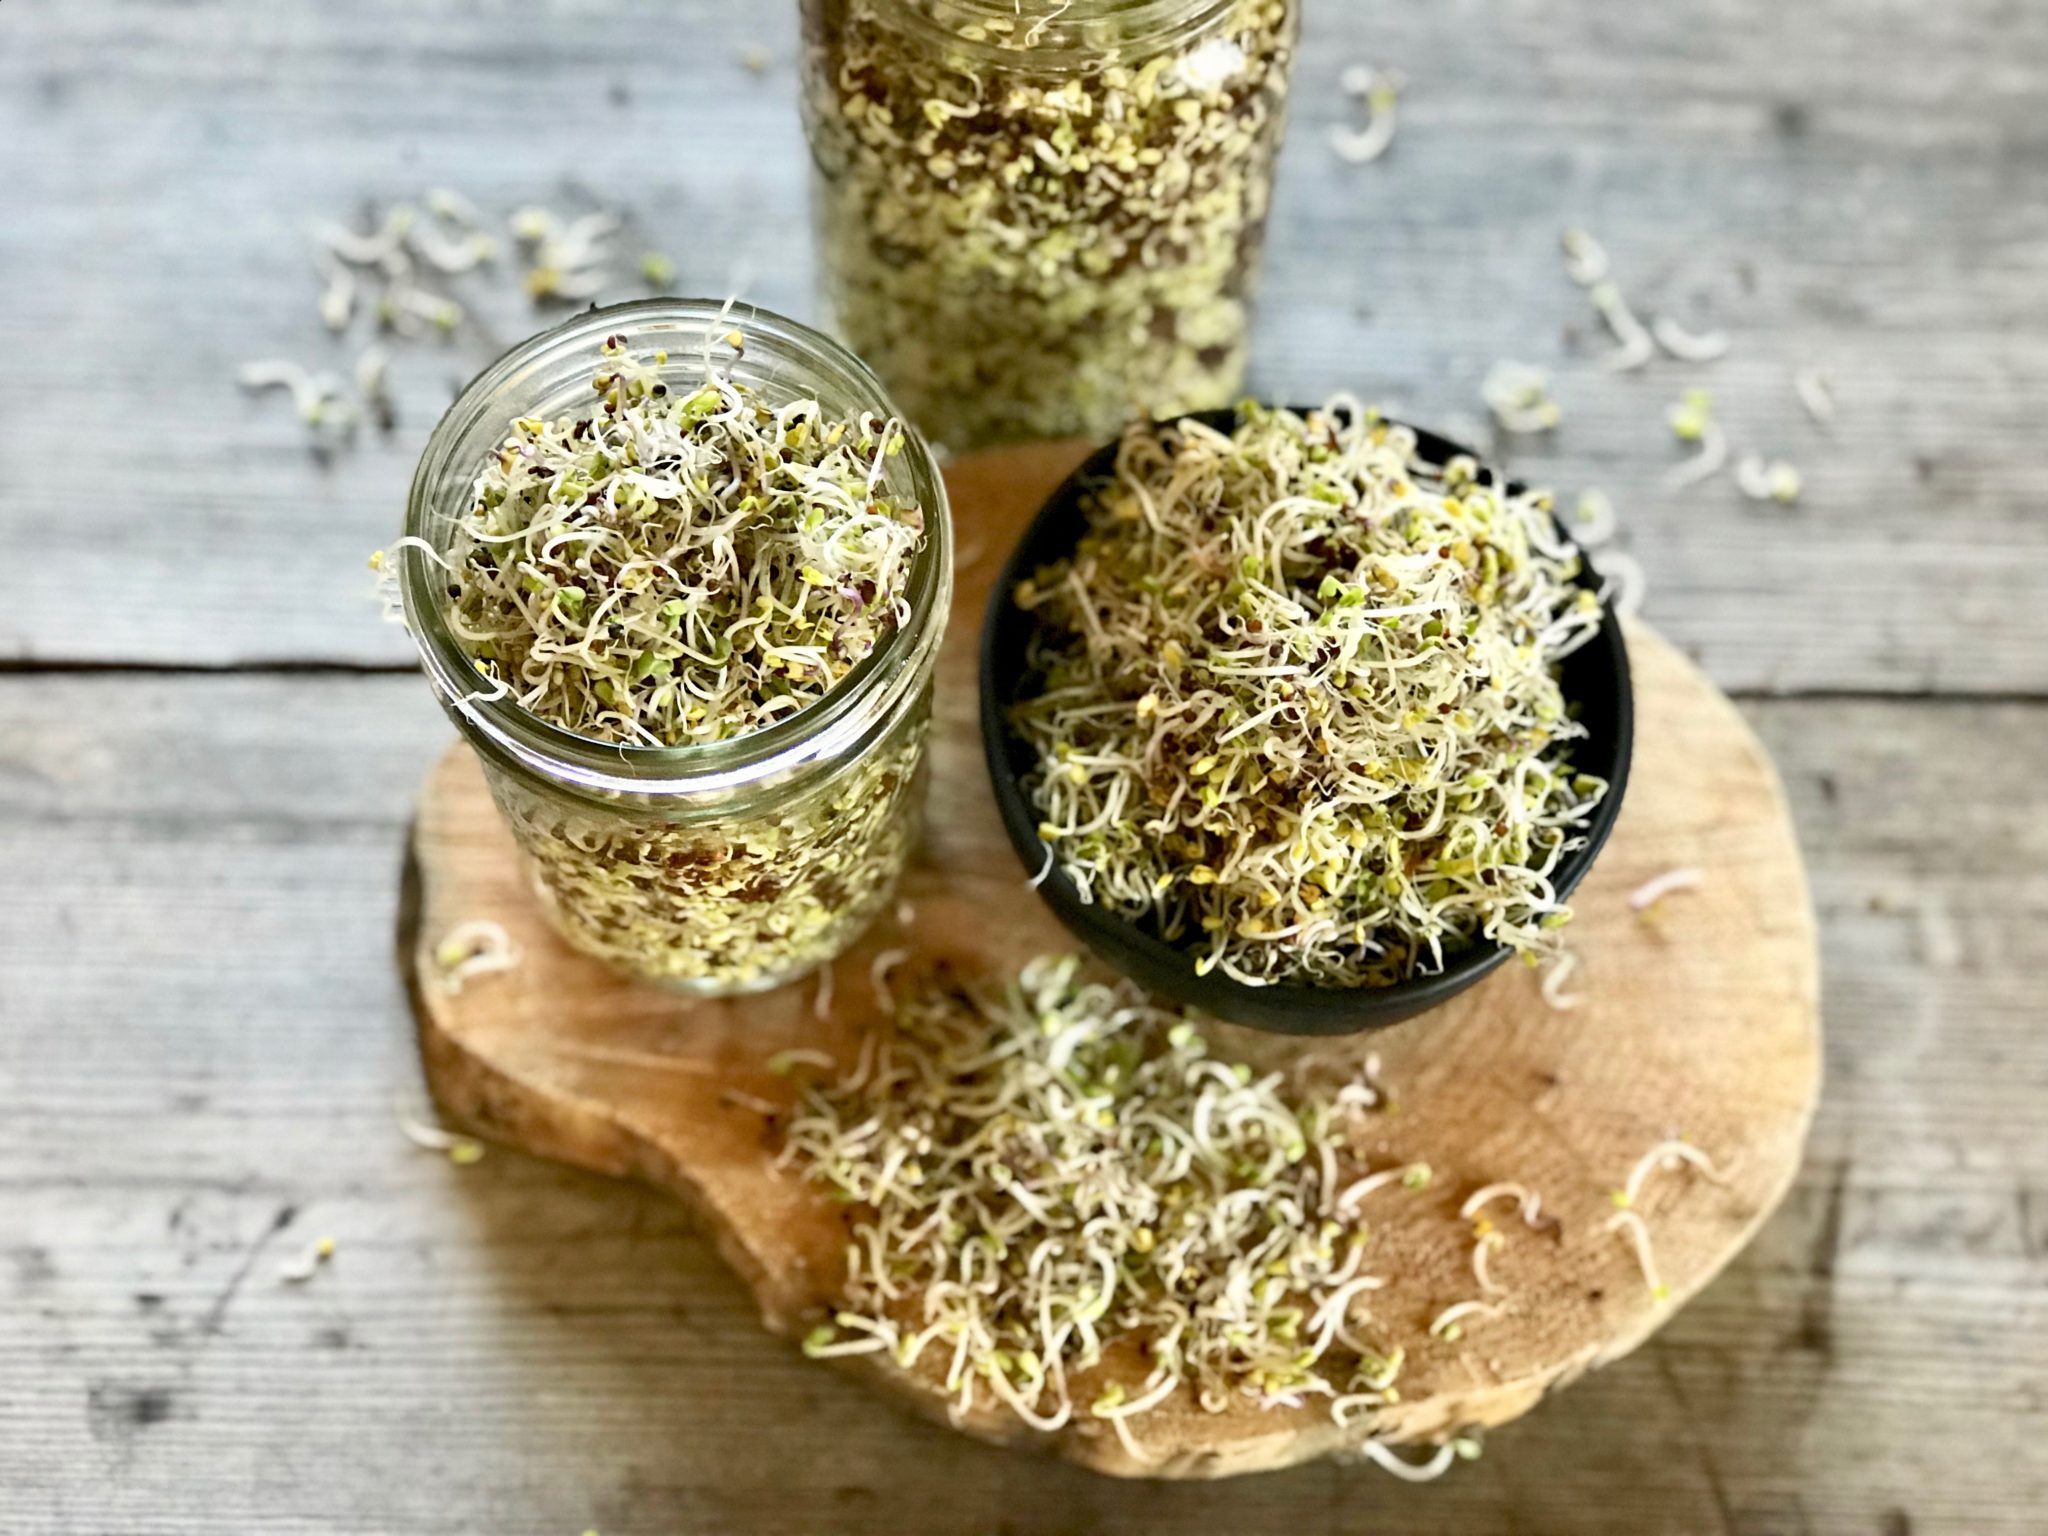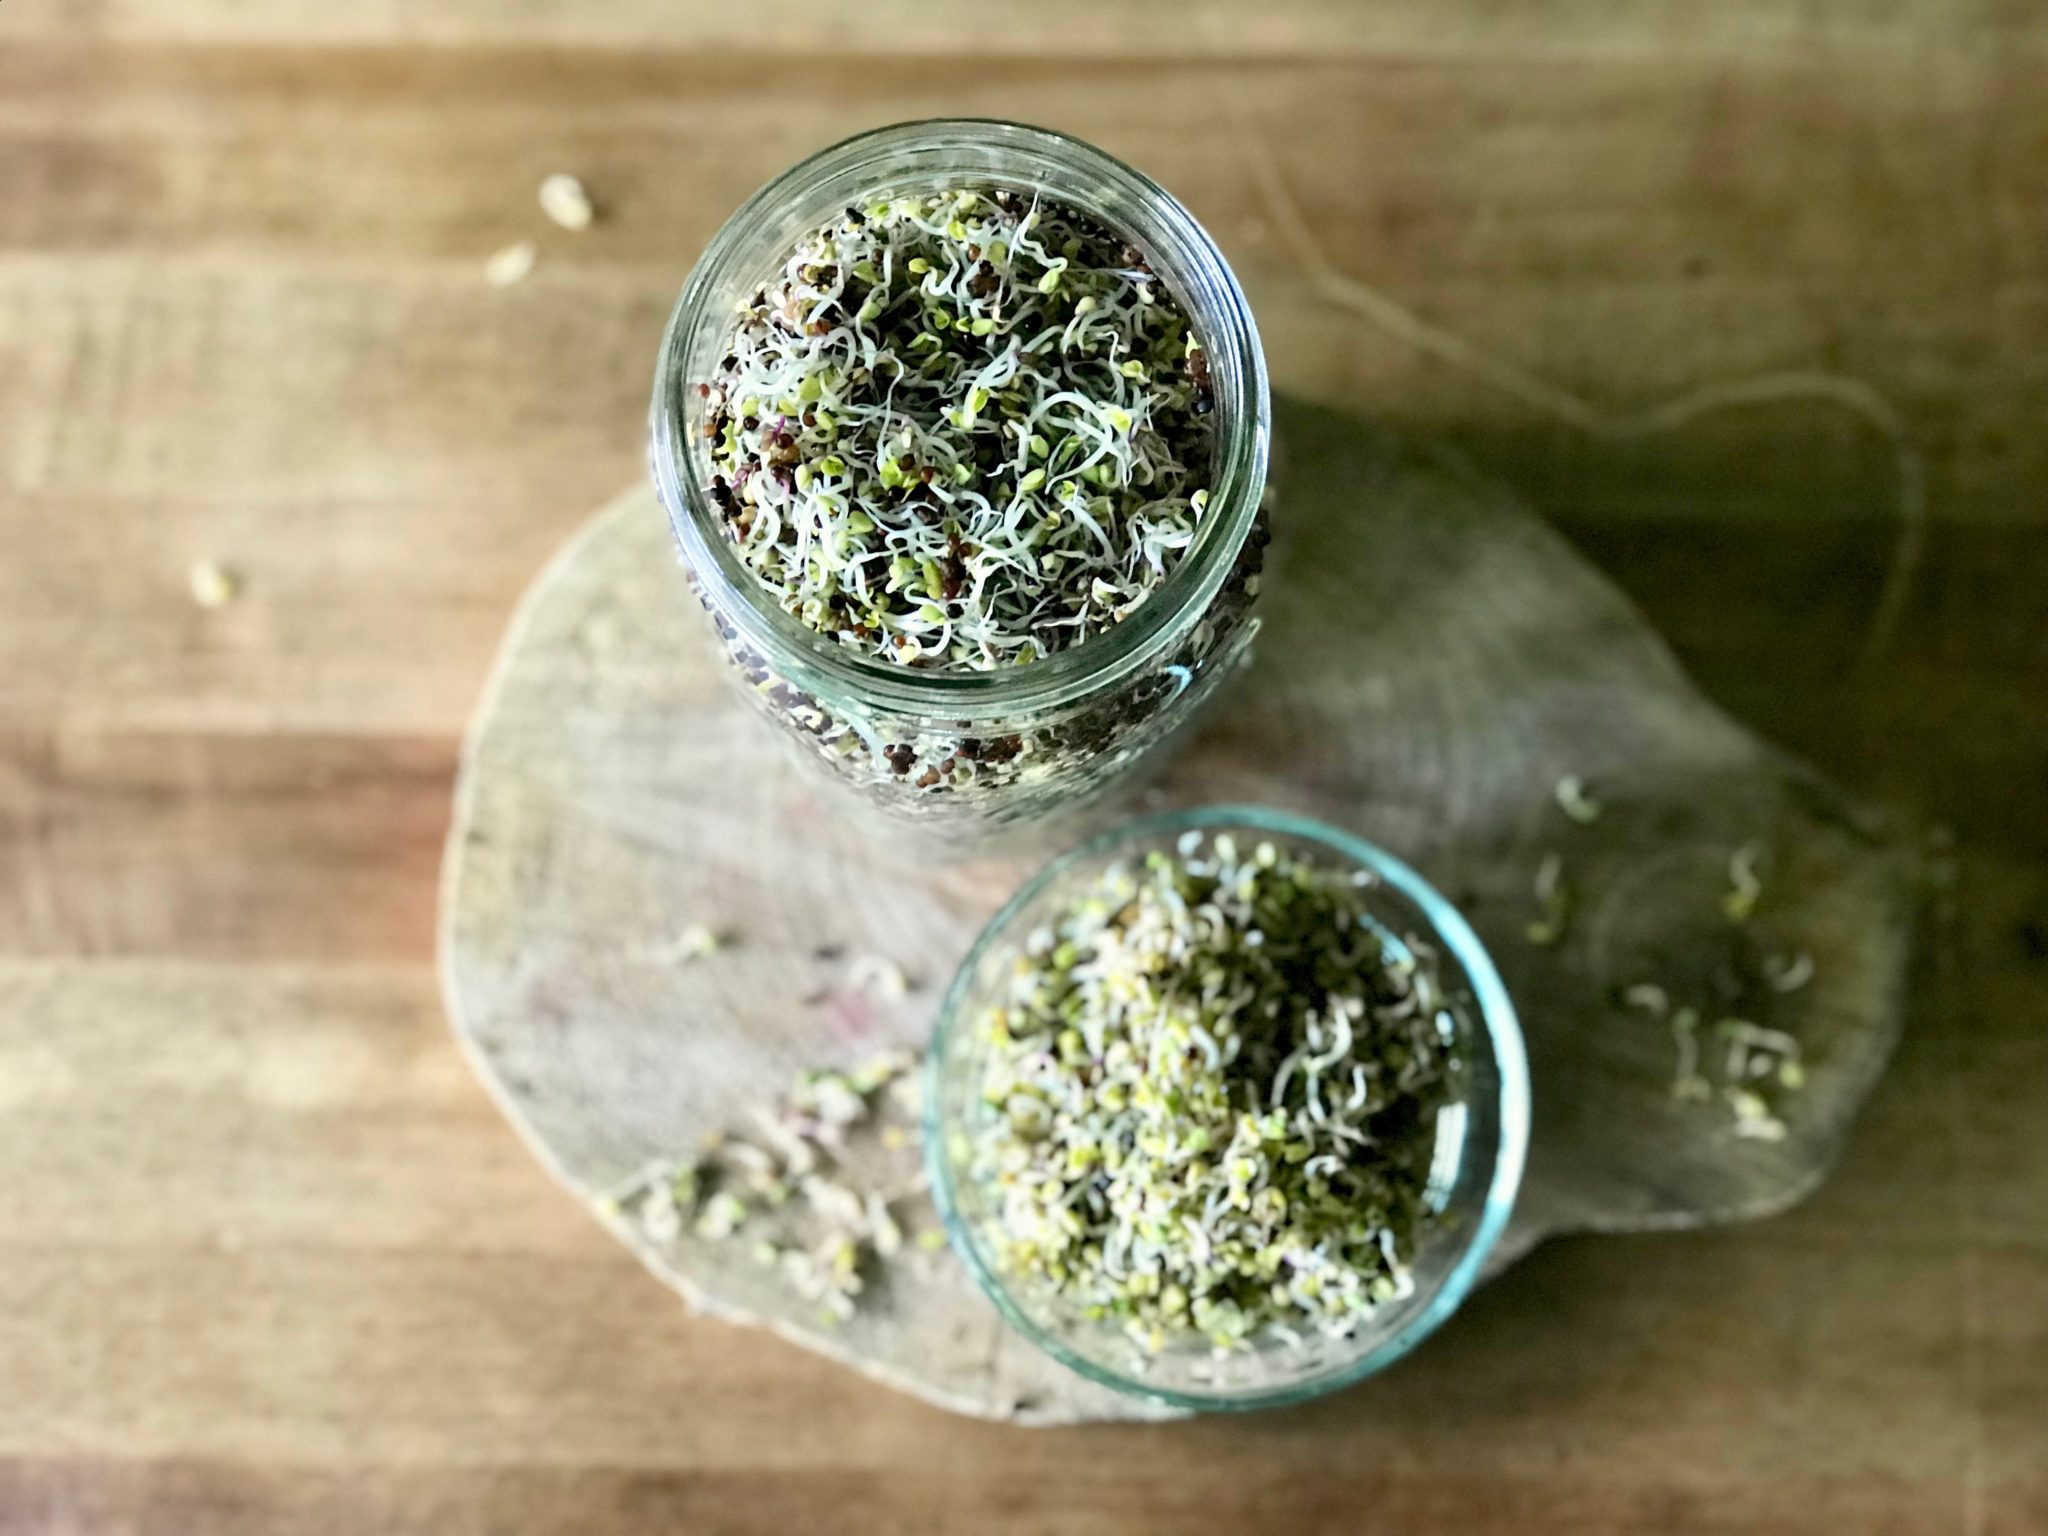
No doubt Sprouted Broccoli and Kale are great to consume raw. They are packed with all kinds of vitamins like calcium and antioxidants–you name it. If you are looking for clear instructions on how to grow your own, wonderful. I’m confident to show you how!
Sprouted Broccoli and Kale are not something you can buy from any grocery store easily. They are very delicate, and need to be handled gently. These might be the reasons why they don’t sell them in grocery stores, and the best way to get them is to grow your own. Fortunately, they are easy to grow right in your own kitchen!
When I first started growing my own Sprouted Broccoli and Kale, I wanted to grow them as microgreens. Even though microgreens and sprouts have pretty much the same health benefits, to me, microgreens look more appealing as the leaves are bigger and greener.
However, growing microgreens requires more equipment and space. It’s almost impossible to grow in a kitchen. I did a lot of research and tried to grow them according to what I learned a few times, but it was very messy and took too much effort.
 I finally stopped trying to grow microgreens and started my Sprouted Broccoli and Kale in mason jars.This method is much easier as it requires just a little space.
Despite being easy, to grow your own requires patience. You have to make sure to rinse them REALLY thoroughly to make sure that they don’t have mold every day during the process. However, the health benefits you get from eating Sprouted Broccoli and Kale really worth your effort–trust me!
Ready to take another step in eating VERY nutritious foods?
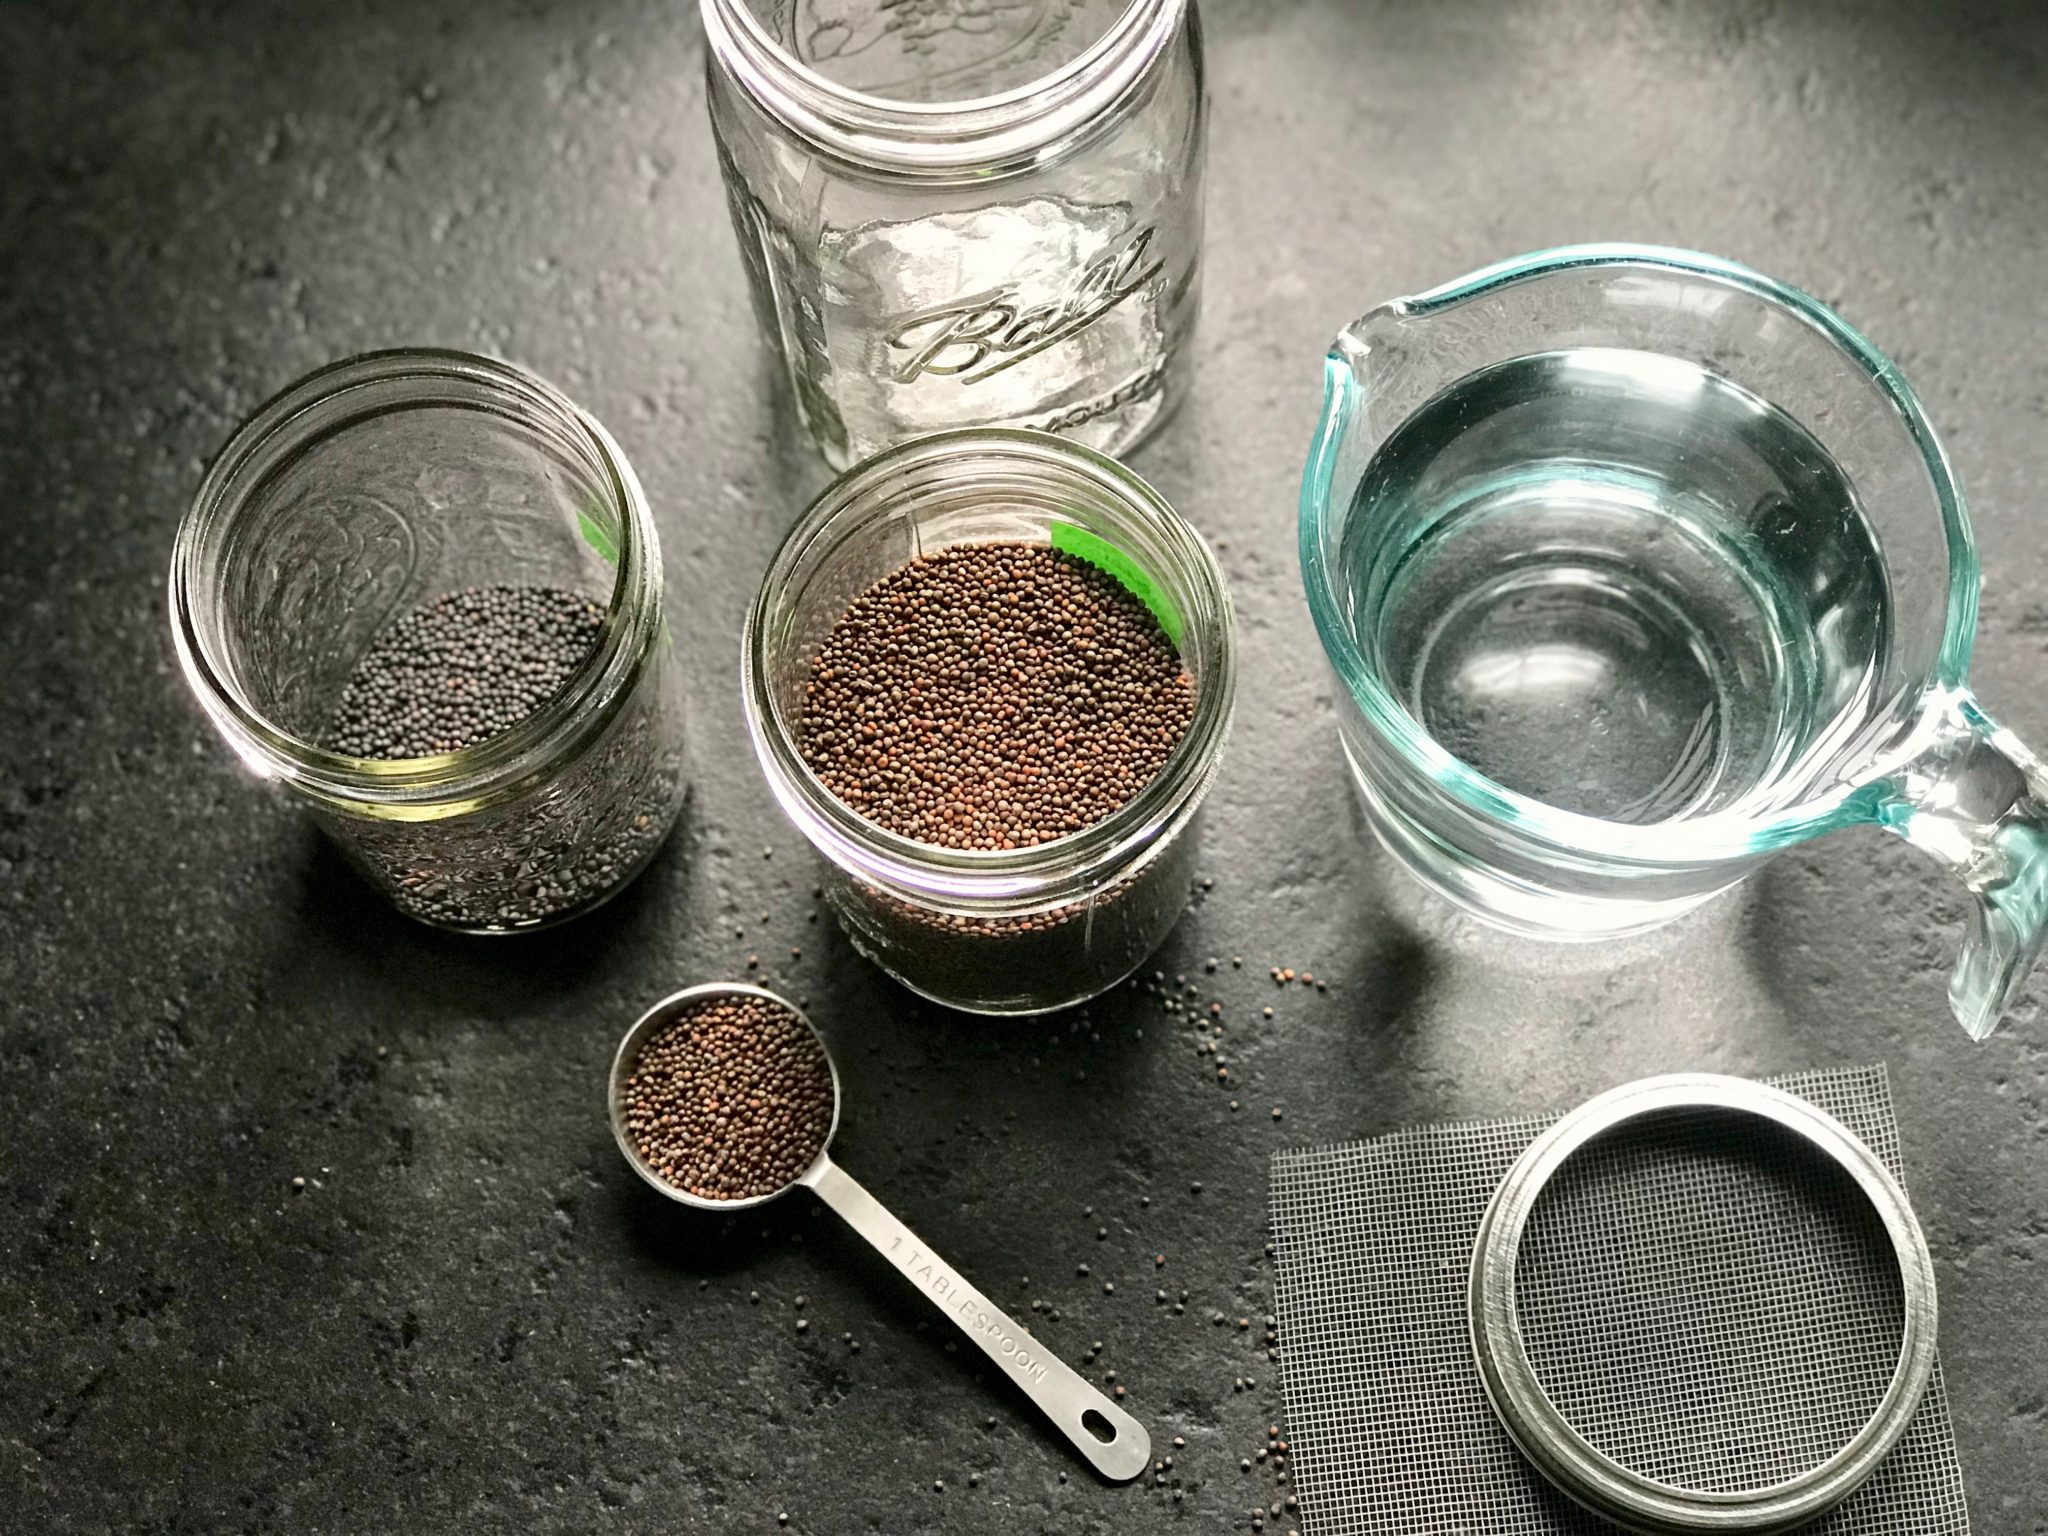
Here is what you need to make Sprouted Broccoli and Kale:

- 1- 1 ½ TBSP (14- 21 g) of each broccoli and kale seeds. I get mine locally from a health food store in my area.
- A glass jar. I use a wide-mouth mason jar.
- A screen, and something to secure it. I use a mason jar, and a lid band to secure the screen, but you can use rubber bands too.
- A container to catch excess water.
How:
- Day 1: put both kinds of seeds in the jar, and soak with filtered water overnight. Note: You can start with 1 TBSP (14 g) each seed, but from my experience 3 TBSP (42 g) all together is perfect for a jar.
- Day 2: Dump the water and rinse the seeds very well. Cover the jar and put it in a dark area. If you put it in a cupboard, I don’t think you need to cover it.
- Day 3- 5: Repeat the rinsing process. You can see the sprouts get longer and longer every day.
- Day 6: The sprouts should be long enough to eat. Rinse them very well like usual, and take off the the screen. Let the water overflow so the seed shells can float to the top. Try to get rid of the shells as much as you can, then cover back up with the screen.
- Give them a final rinse with filtered water, and let them drain the excess water so they are as dry as possible. When they dry enough, put the jar on a window sill or in a spot that the sprouts can get some light for a few hours. It’s amazing when you can see the tiny leaves turn green.
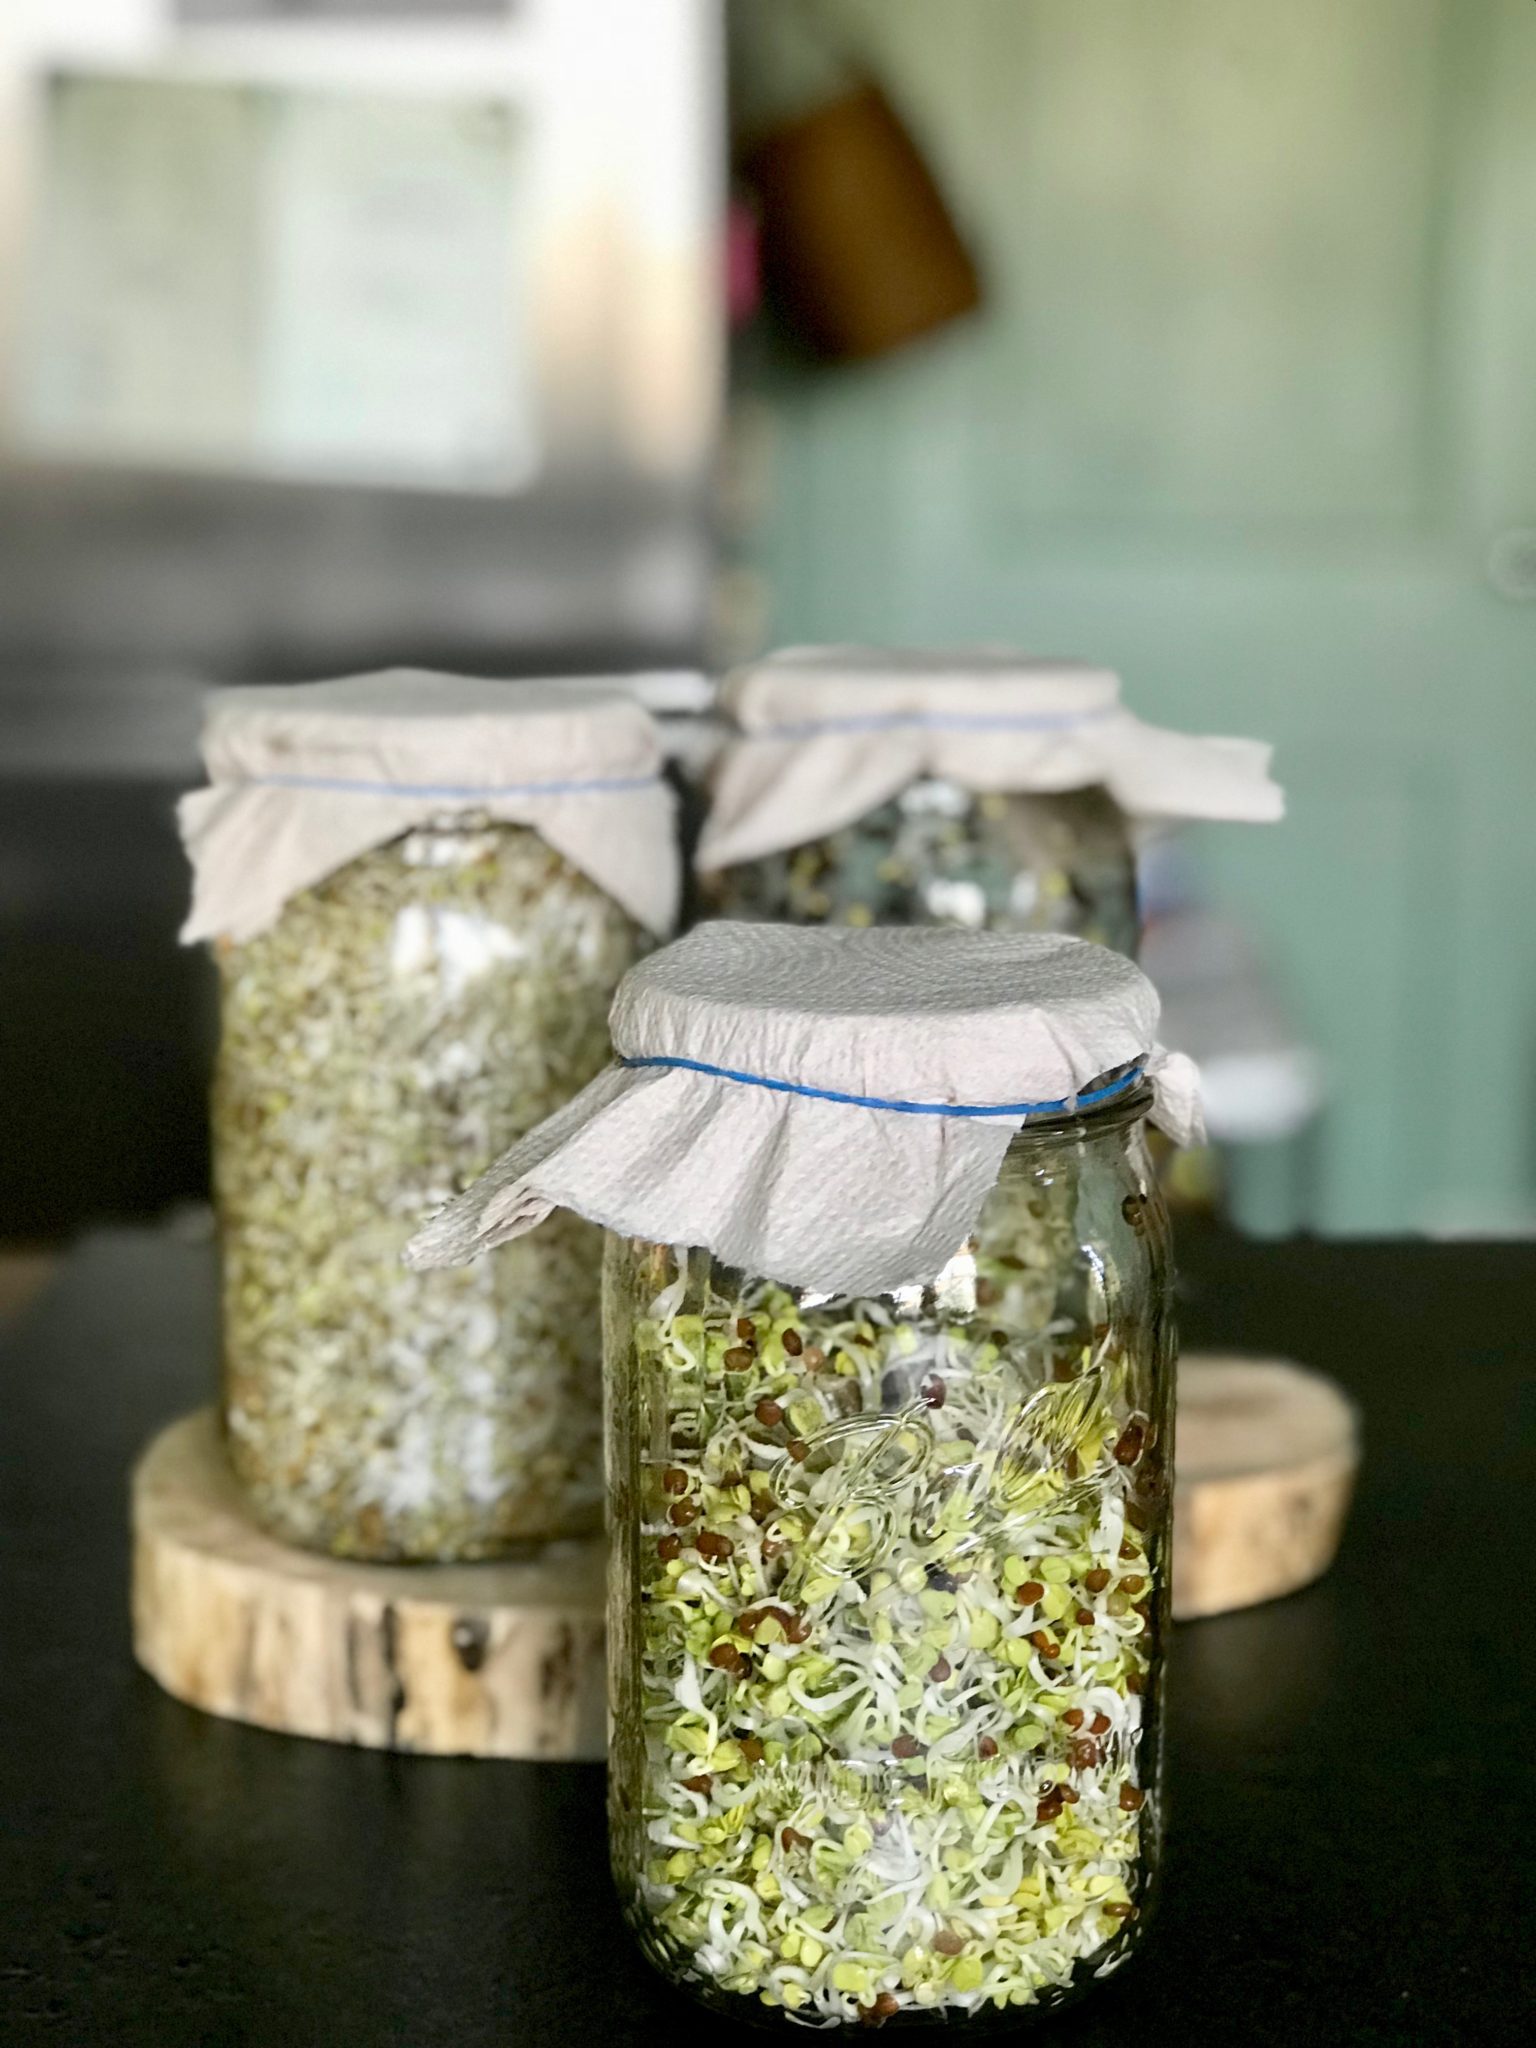
- Take the band and the screen off, and cover the jar with a small piece of paper towel or cheesecloth. Keep the jar in a fridge, and consume them as you like. They stay fresh for about 4-5 days. (I eat them with my morning fruit bowl everyday)

Have you grown Sprouted Broccoli and Kale before? Share it with me, I’d to hear about it!
Nice video! What size mason jars are you using?
Thank you. I use quart size mason jars as they are easier to handle, and to get the right amount of sprout you need each time.
i want to try that some time!