Would you like to make Mung Bean Sprouts with long, crunchy, easy-to-remove hulls, without the need to water them more than once a day? if yes, this method is for you!
There are so many ways to grow Mung Bean Sprouts out there, but not all of them offer the best results. Most of the recipes require you to make more than you can eat at a time, and to water them a few times a day.
These recipes are hard when you only want to eat a little bit at a time and don’t have a lot of time to water them during the workday.
I created my own easy way of sprouting them in a mason jar for a long time. The result was never great though, and I only got short sprouts full of hulls. To make the sprouts more appealing, I had to spend hours and hours removing the green hulls afterwards.
Despite how much I enjoy the crunchiness and nutty taste of Mung Bean Sprouts, I didn’t want to spend a lot of time standing and removing the hulls. Therefore, I didn’t make it as often as I wanted.
Even though the hulls are edible, they don’t look that good, and they are kind of messy on your dishes.
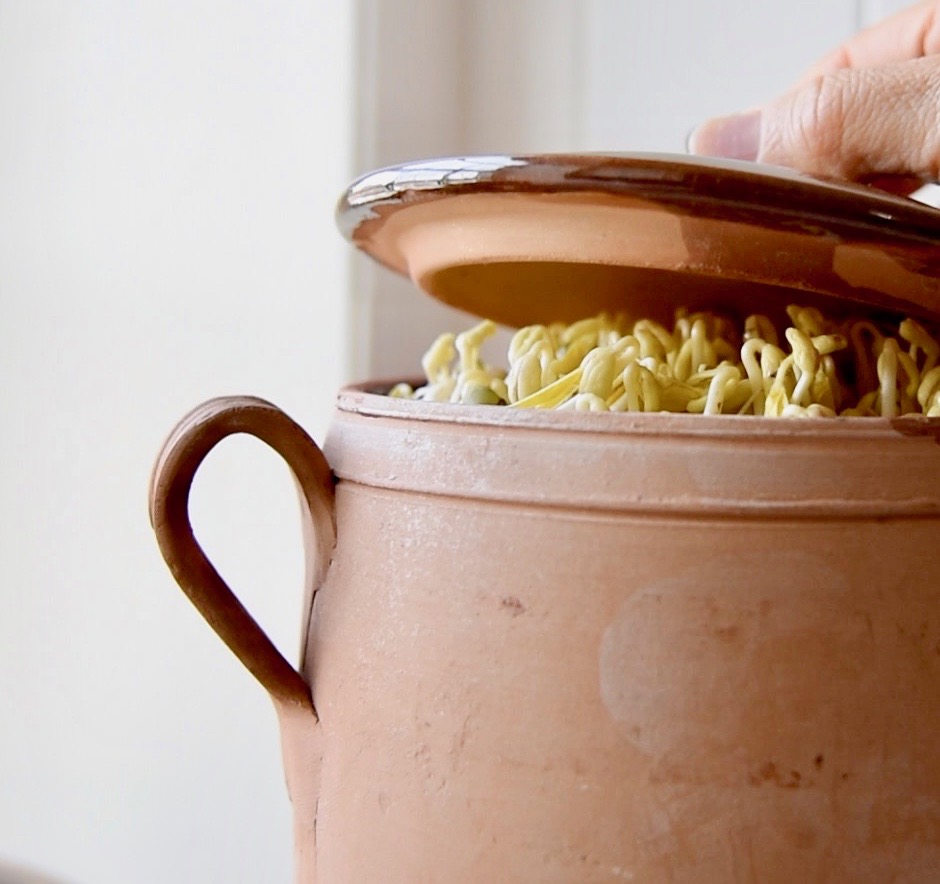
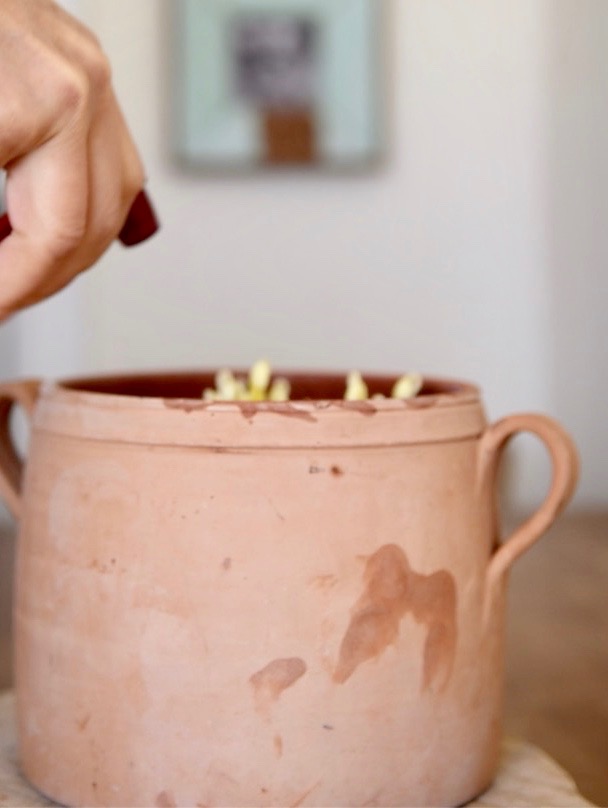
I wanted to try making Mung Bean Sprouts in a different way, and luckily, I got an idea to grow them in a food grade terra cotta container (which I got from a garage sale a while ago). It worked beautifully, and the best thing about it is I don’t have to water them more than once a day.
Now, I am eating beautiful, long and easy-to-clean Mung Bean Sprouts right in my small kitchen–whenever I want!
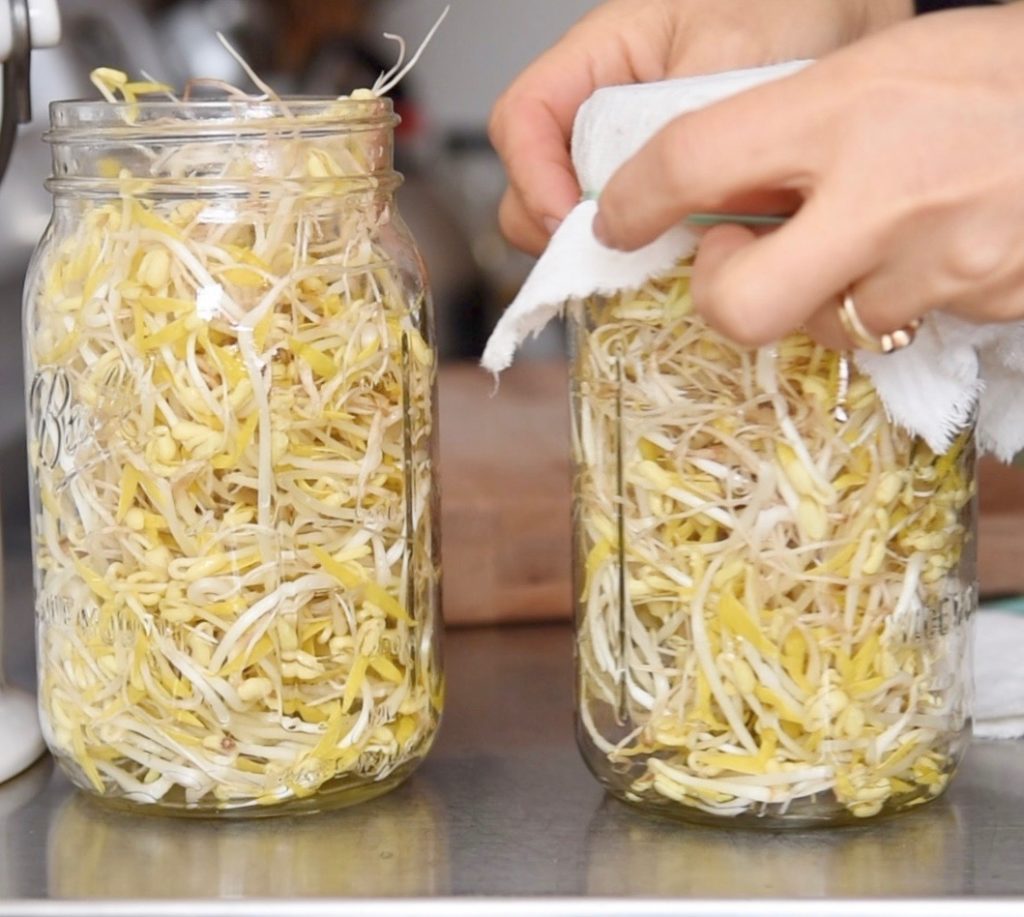
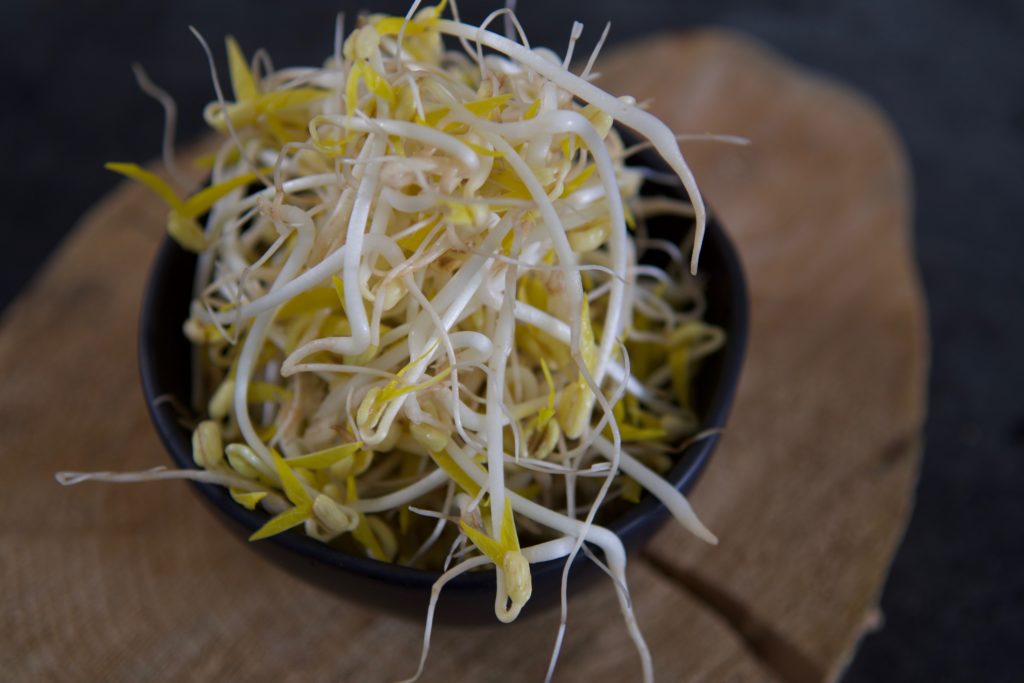
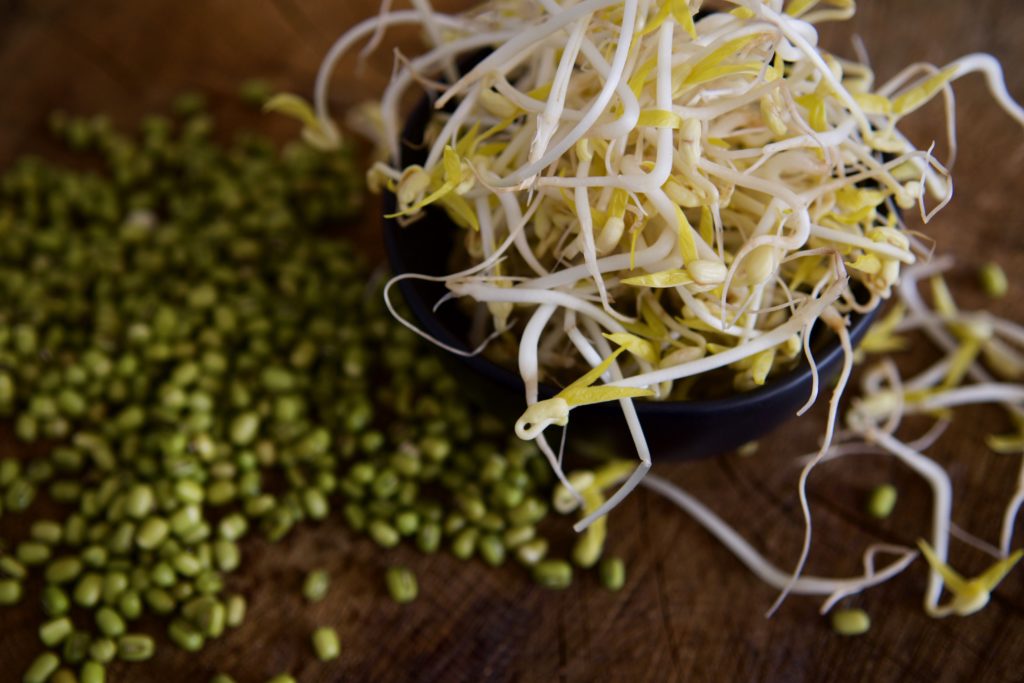
Would you like to join me in growing them? Here is what you need.
Ingredients & Equipment:
- A makeshift container of your choice with a lid (anything you don’t mind seeing in the kitchen for 6-7 days at a time), it has to be deep enough so the sprouts have room to grow long.
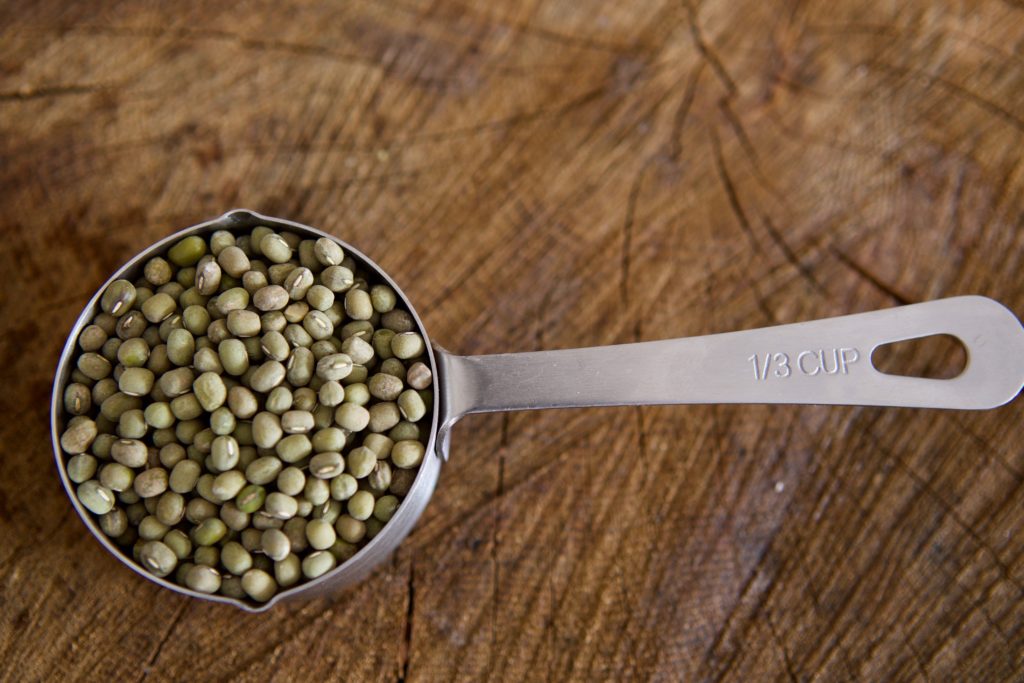
- ⅓ cup (114 g) of whole mung beans. I use organic whole mung beans. Note: this makes 2 one-quart mason jars of sprouts.
- Filtered water
- A spray bottle. I use a small apple cider glass bottle and a spray nozzle.
Instructions:
- Day 1: Rinse the mung beans a few times and cover them with filtered water, and soak them overnight.
- Day 2: Dump the soak water and rinse well a few times. Final rinse them with filtered water and reserve some water.
- Prepare the makeshift container. Put something underneath so the beans don’t get flooded with water (I use a few bamboo sticks). Line some paper towels over the sticks, and spread the beans over the paper towel. Cover the lid and let the beans rest to sprout.
- Day 3- 6: Spray them at least once a day, and you will see them grow longer every day.
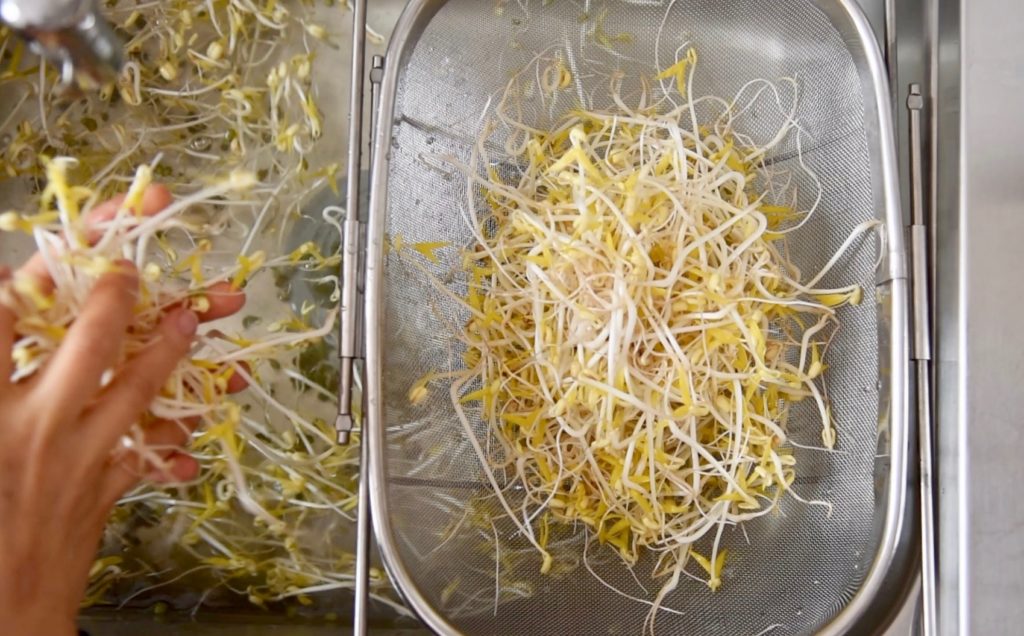
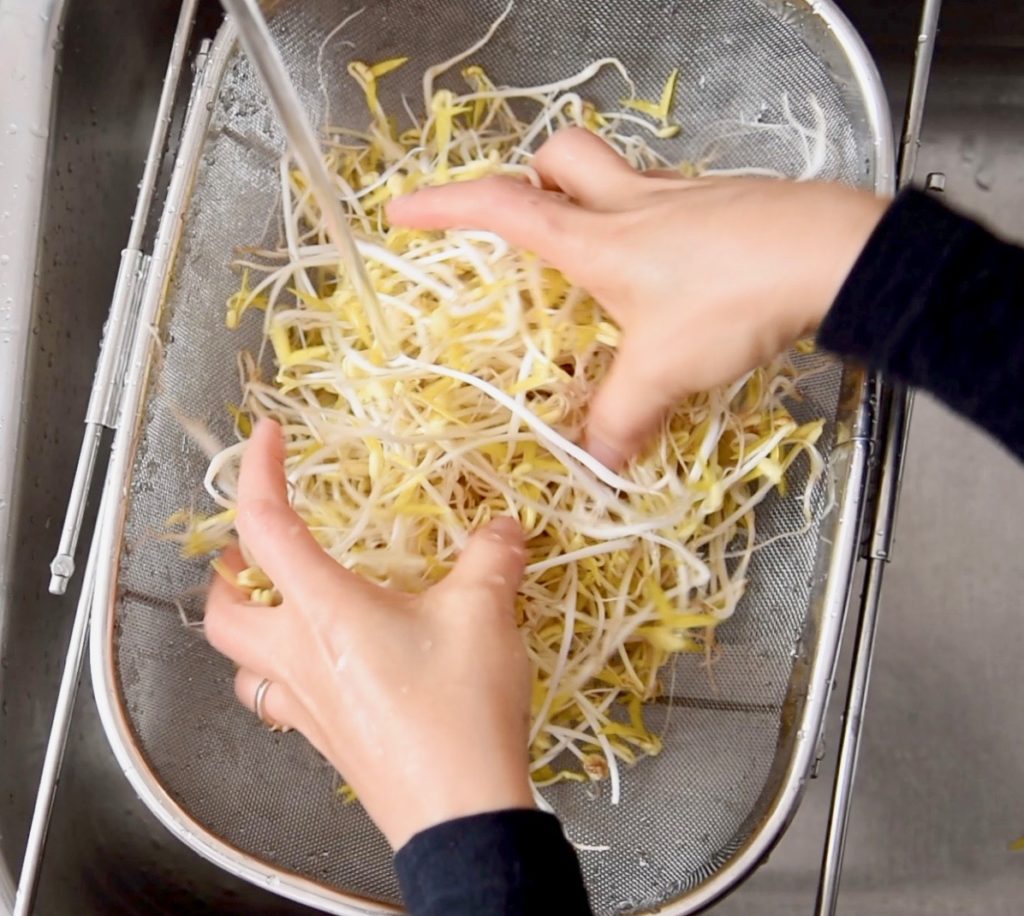
- Day 7: It’s time to harvest. Pull out the sprouts and put them in a big tub or a clean sink. Discard the bad ones, and get rid of the paper towel. Gently rinse the sprouts. Now, you can see that most hulls have detached and sunk to the bottom of the tub. Try to get rid of all the hulls, and rinse them again with filtered water. Let the excess water drain. Store them in glass jars and keep them refrigerated. They stay fresh up to 4 days, but after 4 days, they don’t taste as good and fresh. Enjoy!
Have you made Mung Bean Sprouts before? Share it with me, I’d like to hear about it!