Lacto-fermented cauliflower is one of the easiest ways to eat raw vegetables, and to consume prebiotics to keep your gut healthy at the same time.
As I try to balance my diet with both cooked and raw vegetables, lacto-fermented vegetables are an important part of what I eat.
It amazes me how simple it is to get good bacteria to keep our bodies healthy–just by mixing any kind of vegetables you want to eat with salt and water, and letting the wild yeast work for a few days. Before you know it, it’s ready to eat.
This time, I happened to see some local, fresh, multi-color cauliflower and I knew exactly what I wanted to do with it.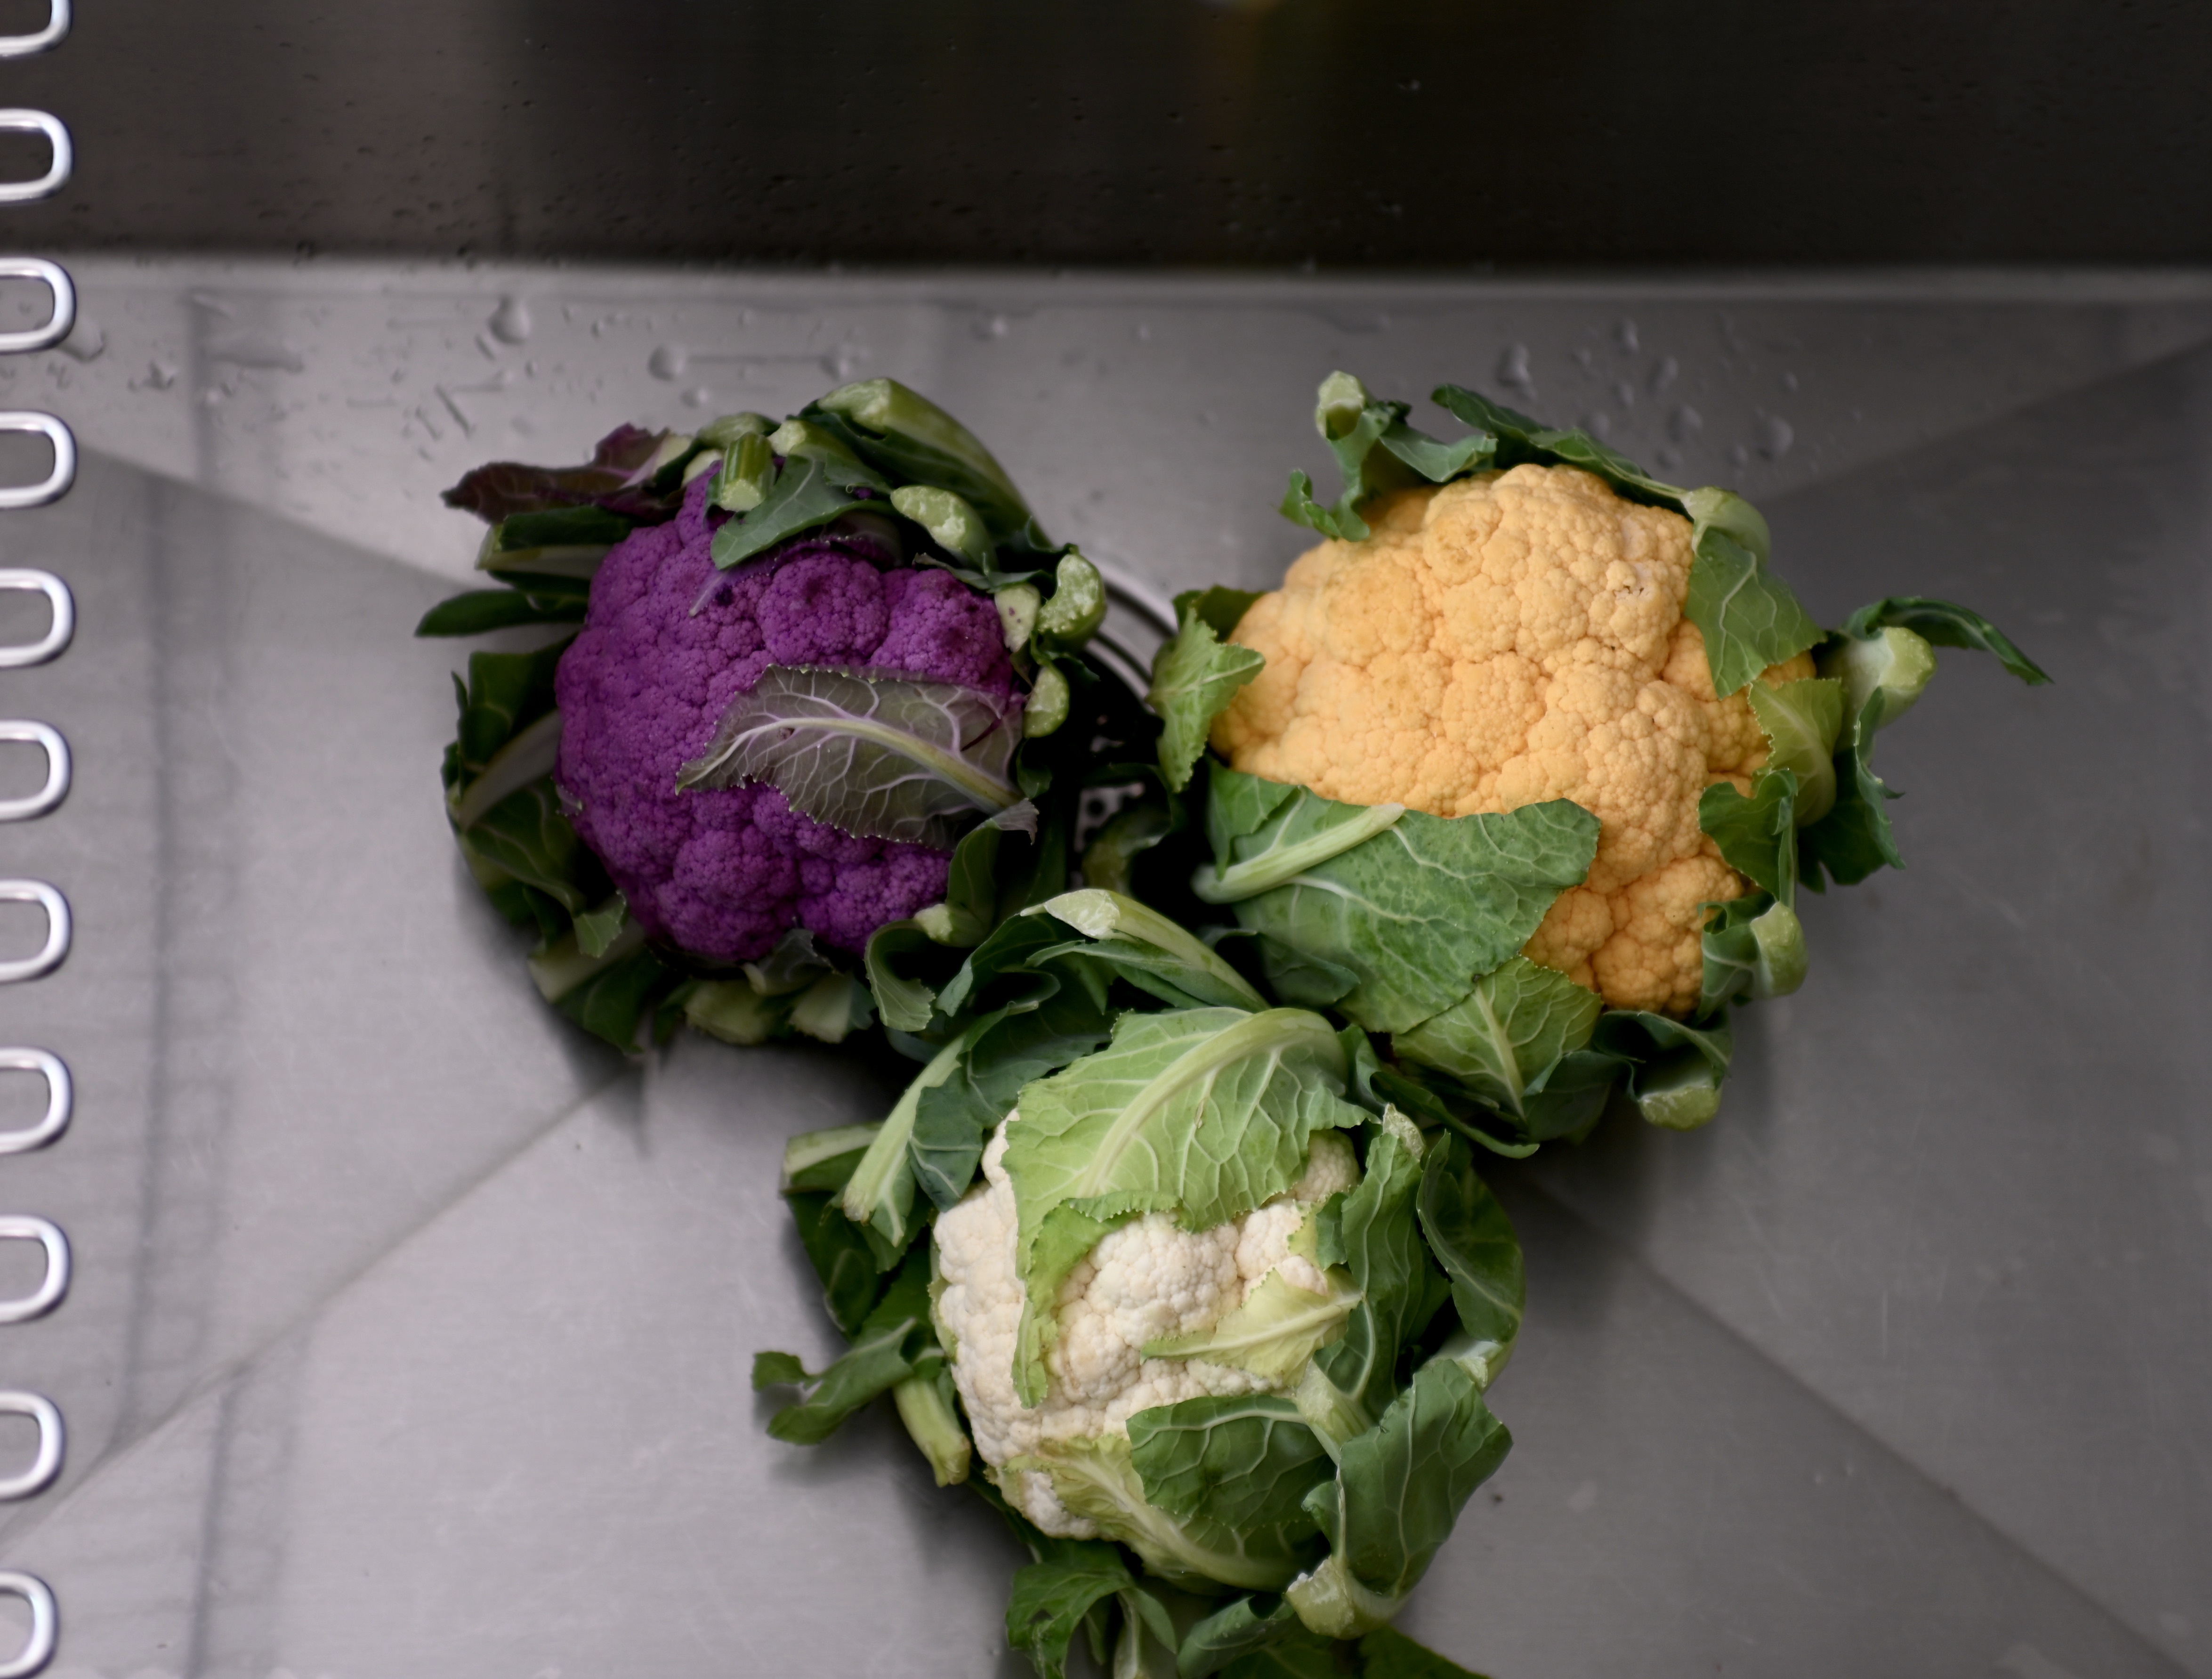
Lacto-fermented cauliflower is one of the things I used the beautiful cauliflower for.
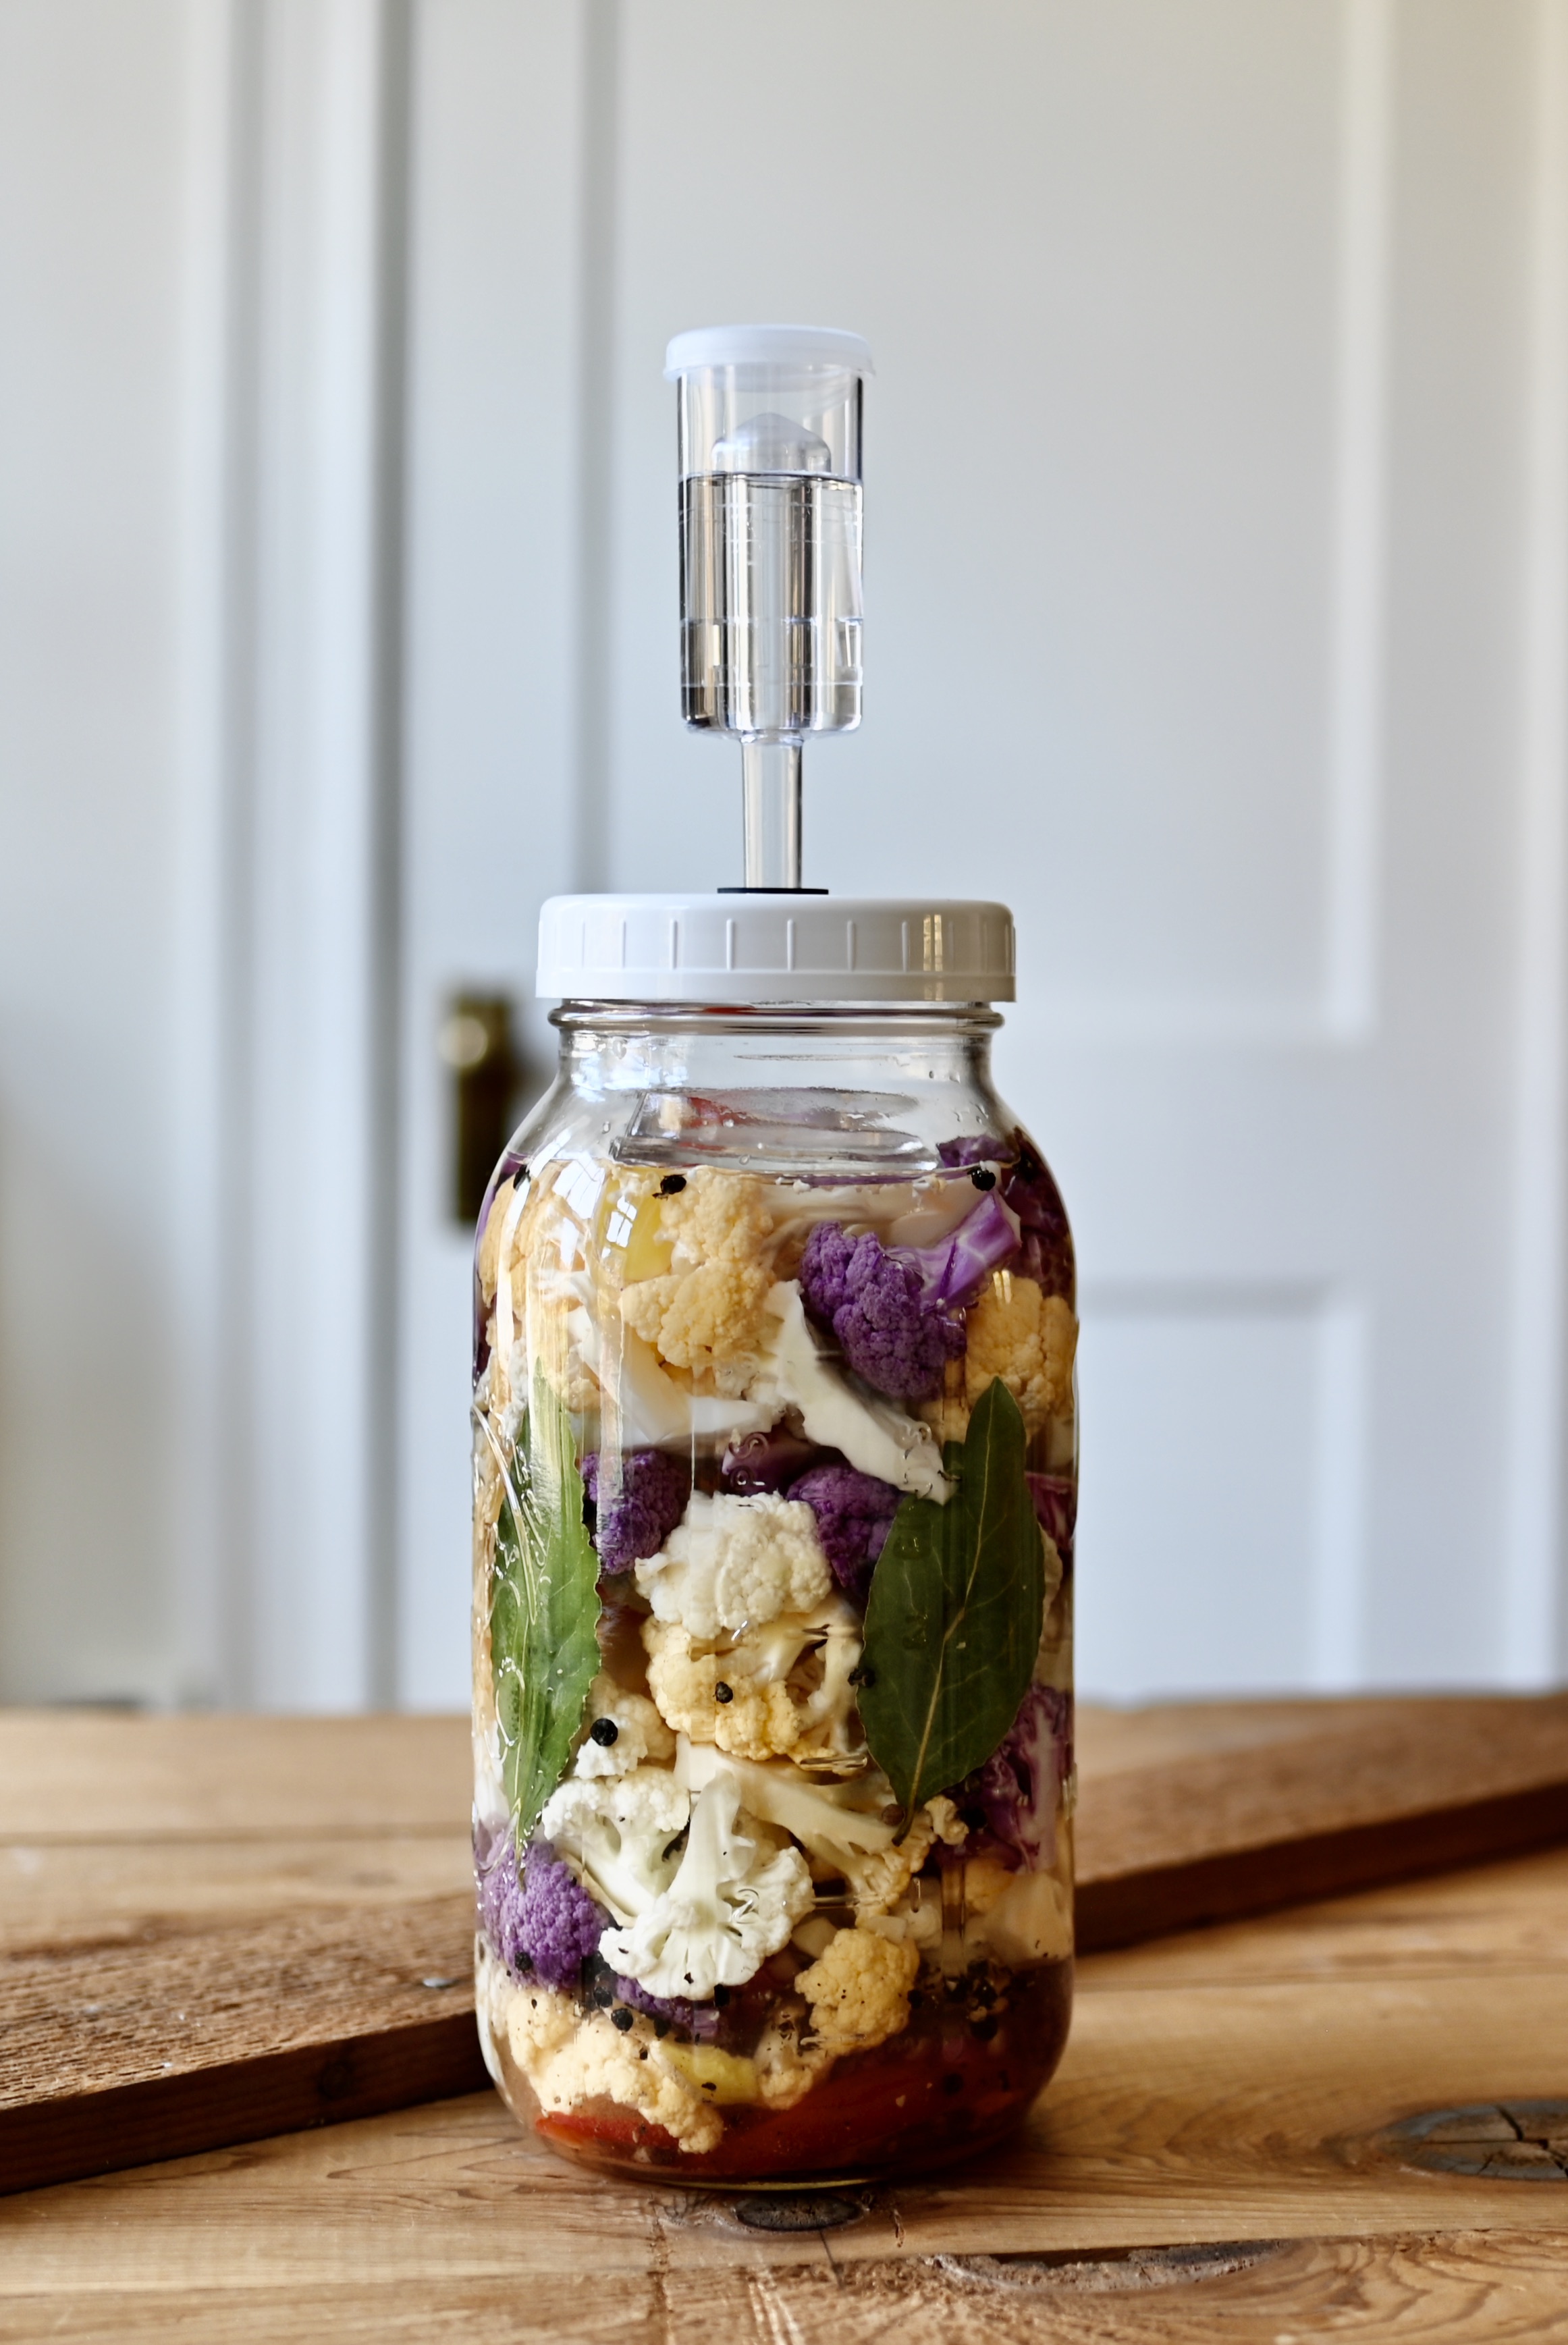
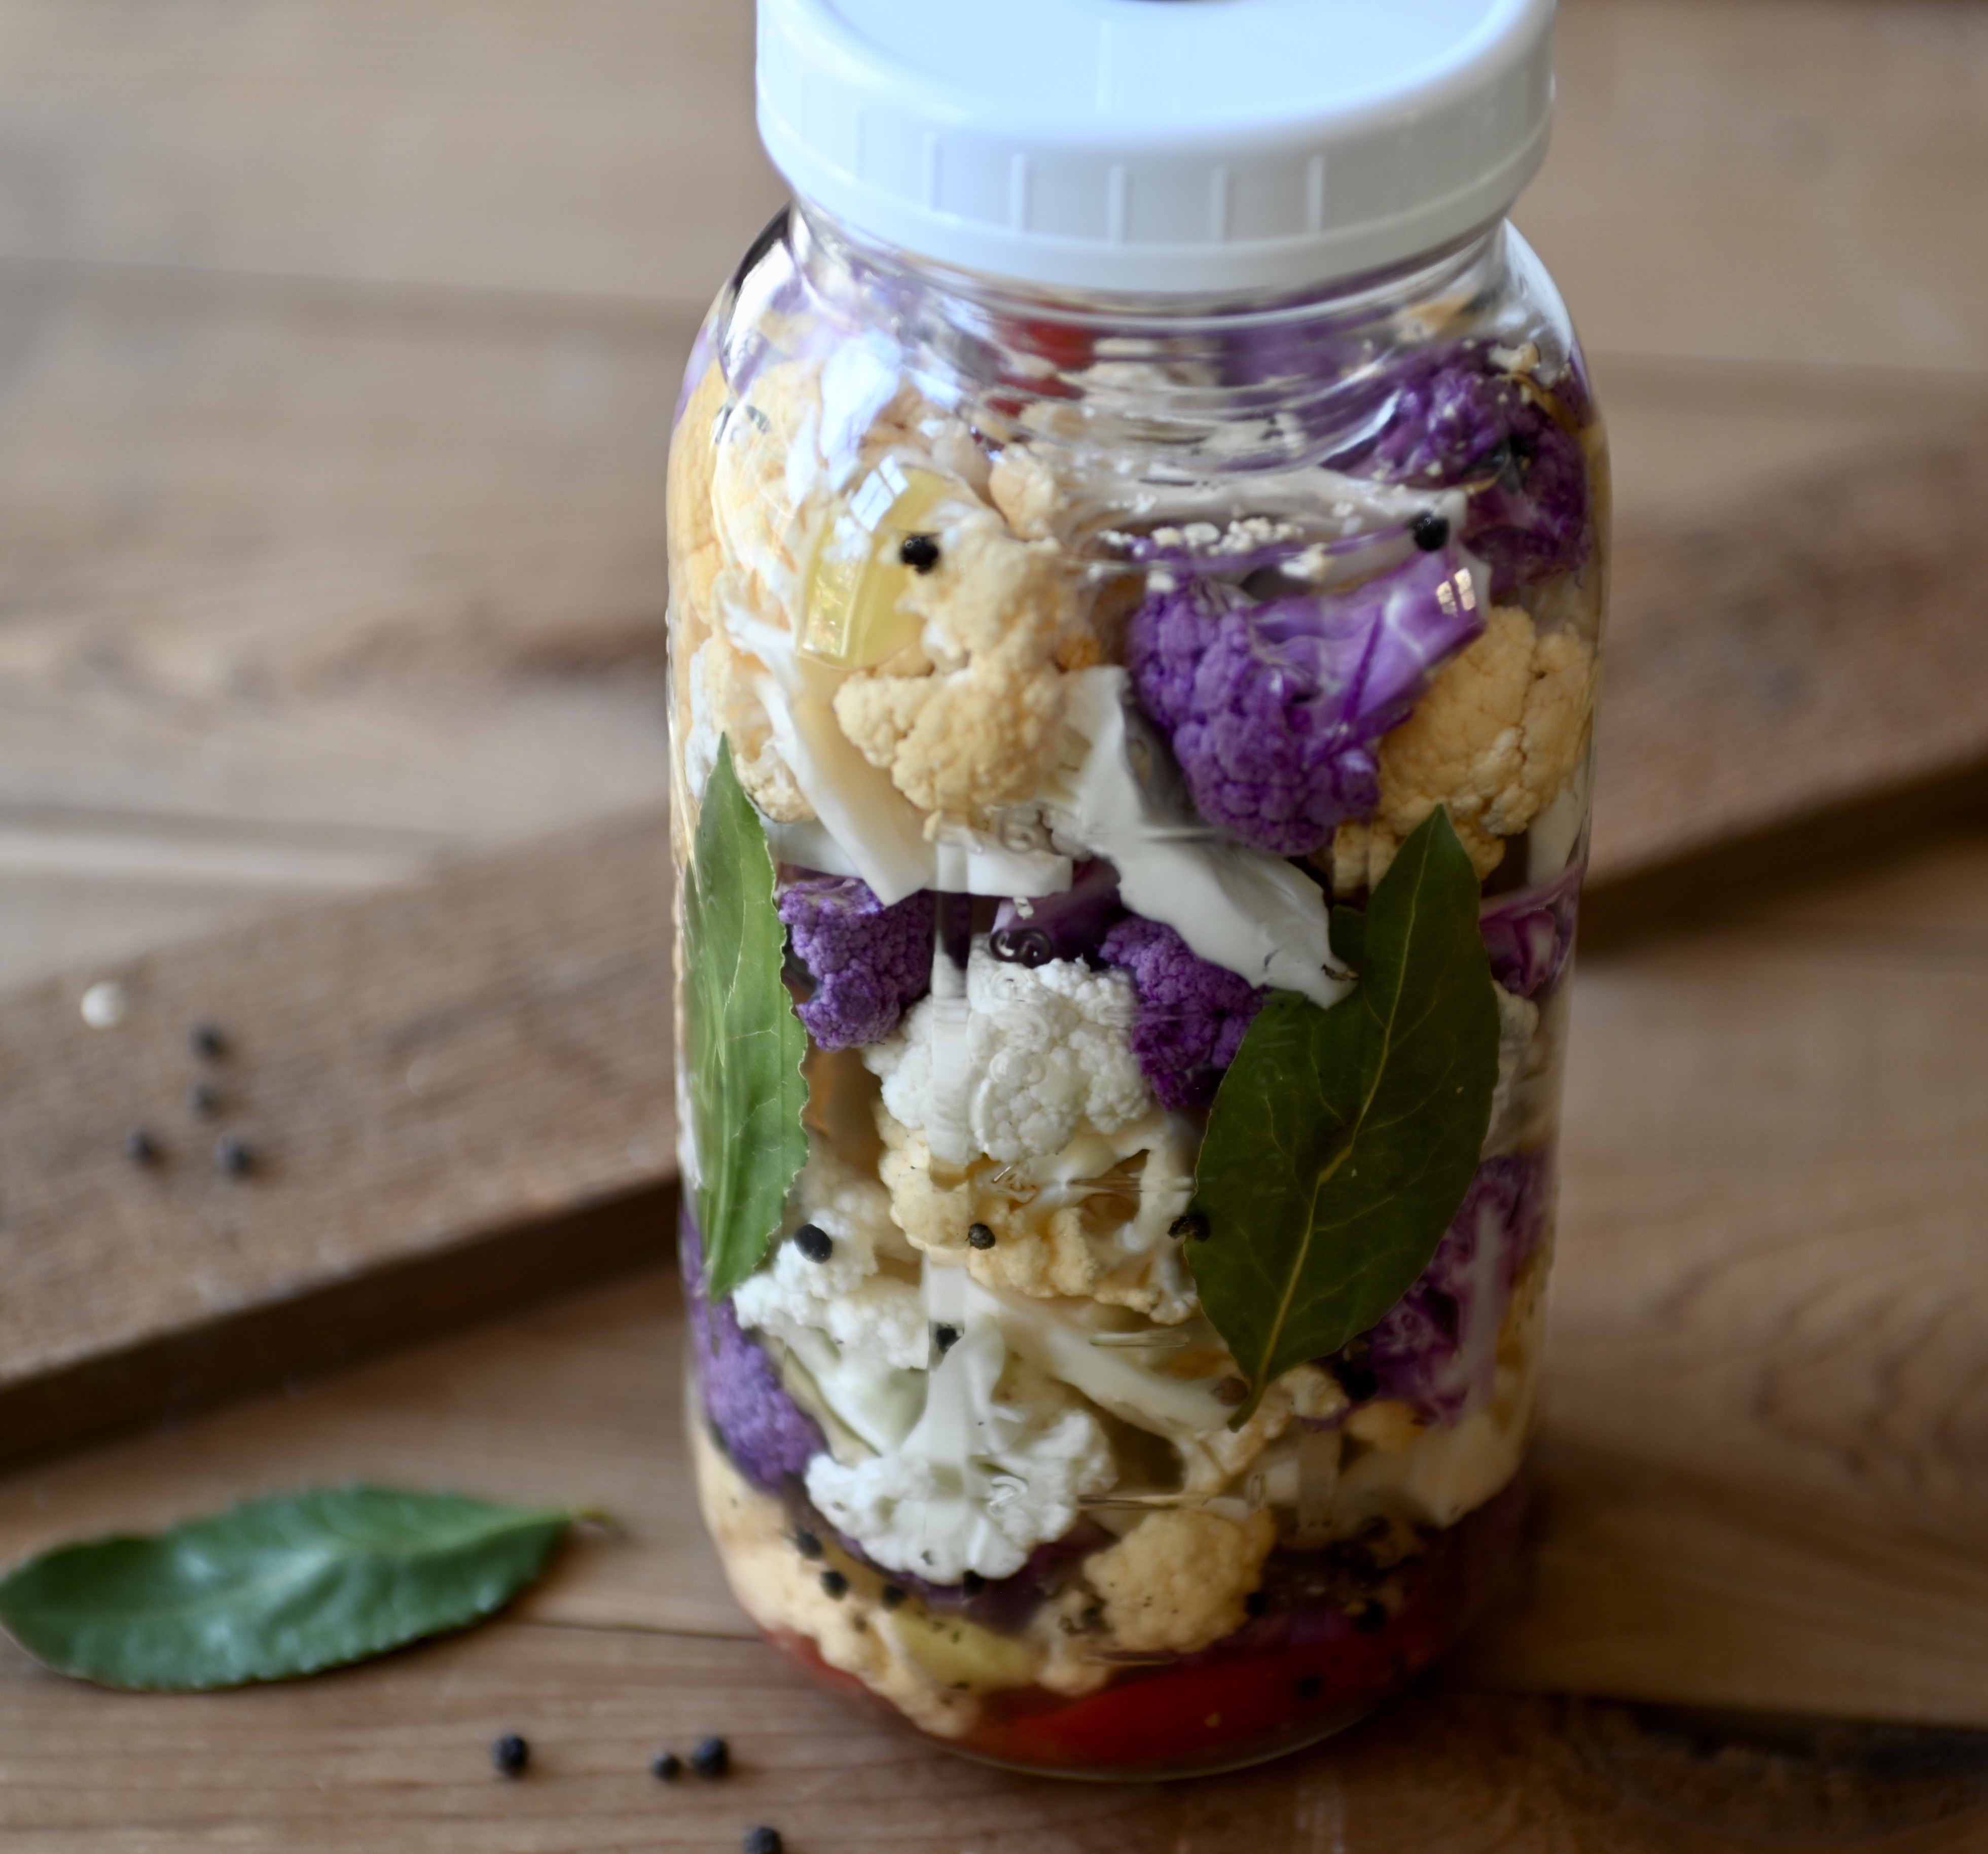
I have heard that using bay leaves helps the vegetables to stay crisp, so I added a few leaves to the lacto-fermented cauliflower. However, I can’t tell much difference with the bay leaves, but it sure makes the color brighter!
Besides the bay leaves, I add some hot peppers, crushed black peppercorns, garlic, and ginger to the salt water. The combined flavor is so tasty, and we all really enjoy eating this beautiful lacto-fermented cauliflower.
It’s salty & tangy, and it’s just good all around.
Ready to try making this beautiful goodness? Let me show you how.
Ingredients:
Note: Feel free to adjust the amount you want to make using this as a guideline
- Cauliflower. I use 3 colors of them as they were in season when I made it, but one color is just fine.
- 3 TBSP (45 ml) of good salt
- About 1 TBSP (15 ml) or more of crushed black peppercorns
- 1 inch (2.5 cm) of ginger
- 1 hot pepper (optional)
- A few bay leaves (optional)
- 3-4 garlic cloves
- Filtered water
- A half gallon glass jar (2 l)
Instructions:
- Wash the cauliflower very well along with the hot pepper and ginger, and set them aside.
- Crush the black peppercorn. Put it in a sterilized glass jar, followed by the salt.
- Add some filtered water, mix, and let the salt dissolve.
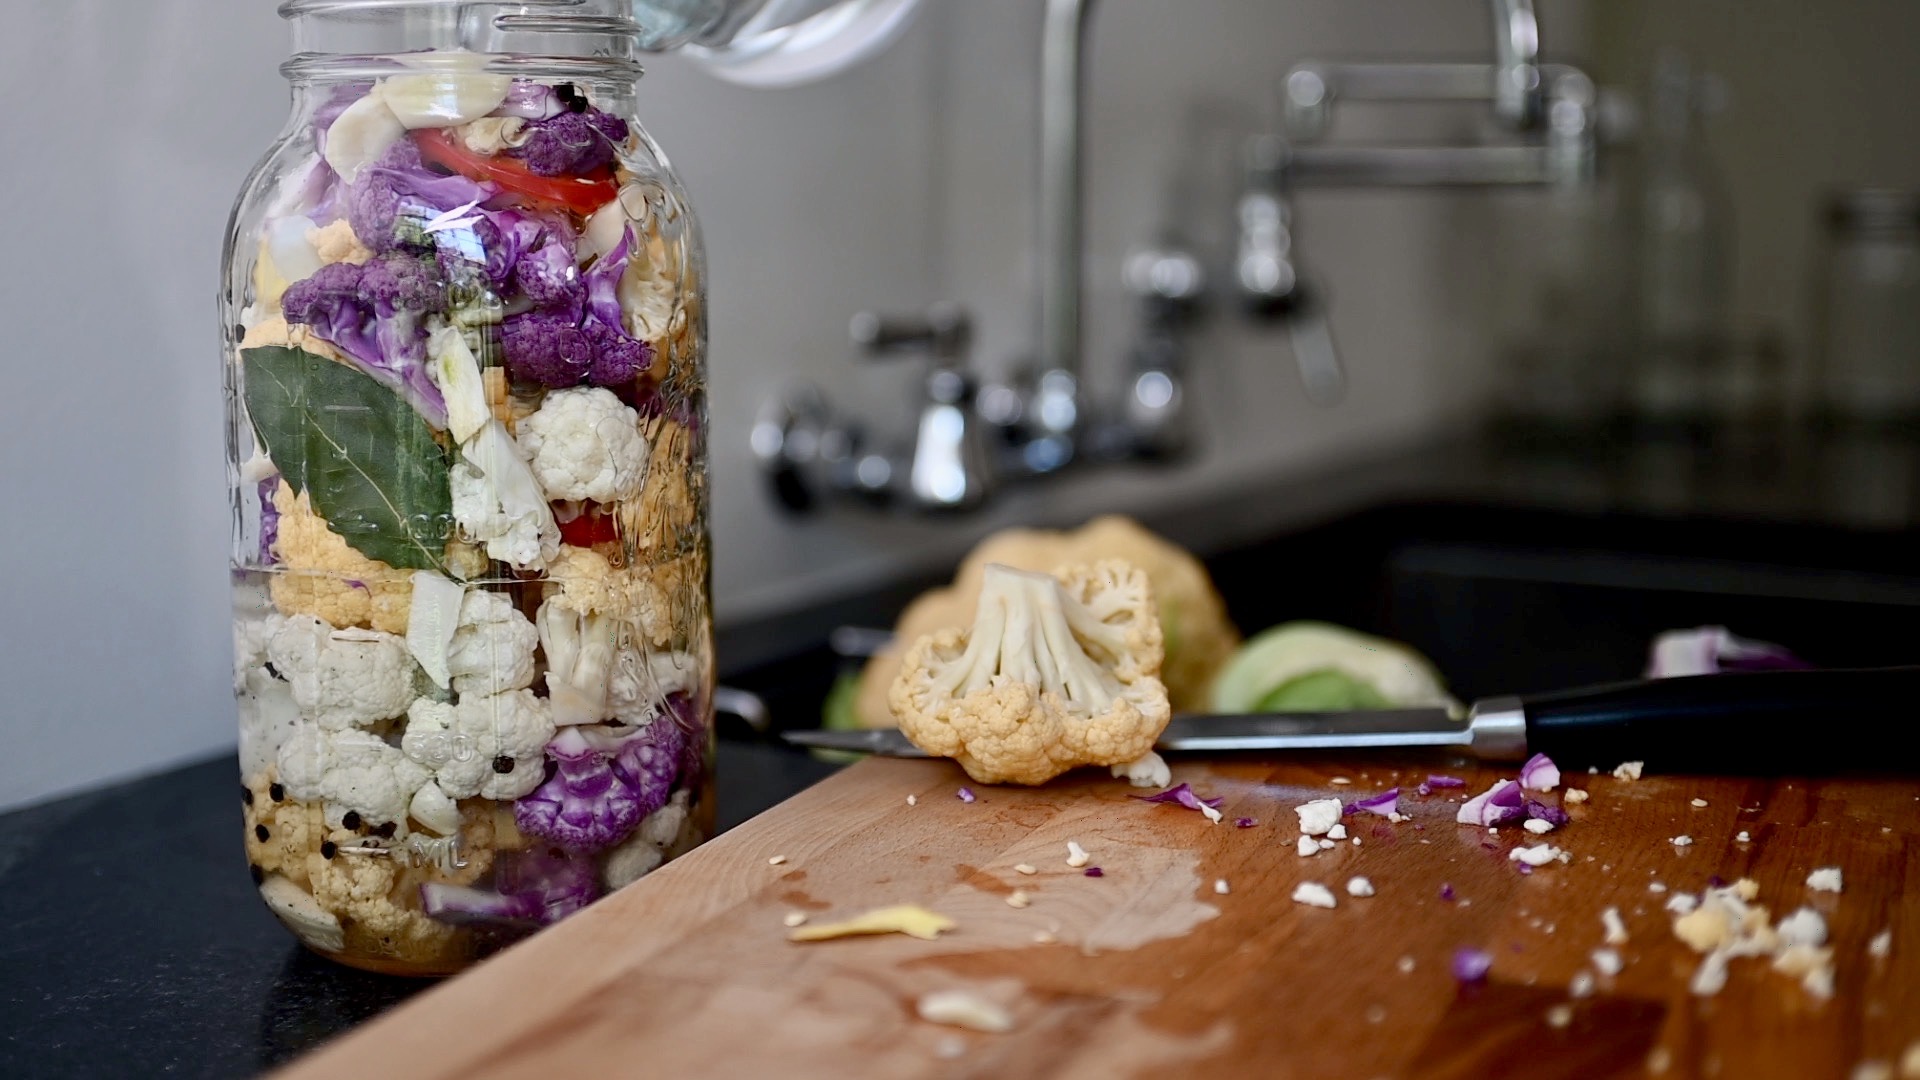
- Slice the ginger and hot pepper into thin slices, smash and peel the garlic. Set them aside.
- Cut the cauliflower florets. I like to use the tip of the knife to break them apart instead of actually cutting through the florets. This way I don’t end up with a lot of floret crumbs.
- When you have everything prepared, add it to the jar. Rotate it to make sure to spread everything around the jar.
- Add the bay leaves in the middle of the jar so they can be trapped and don’t float.
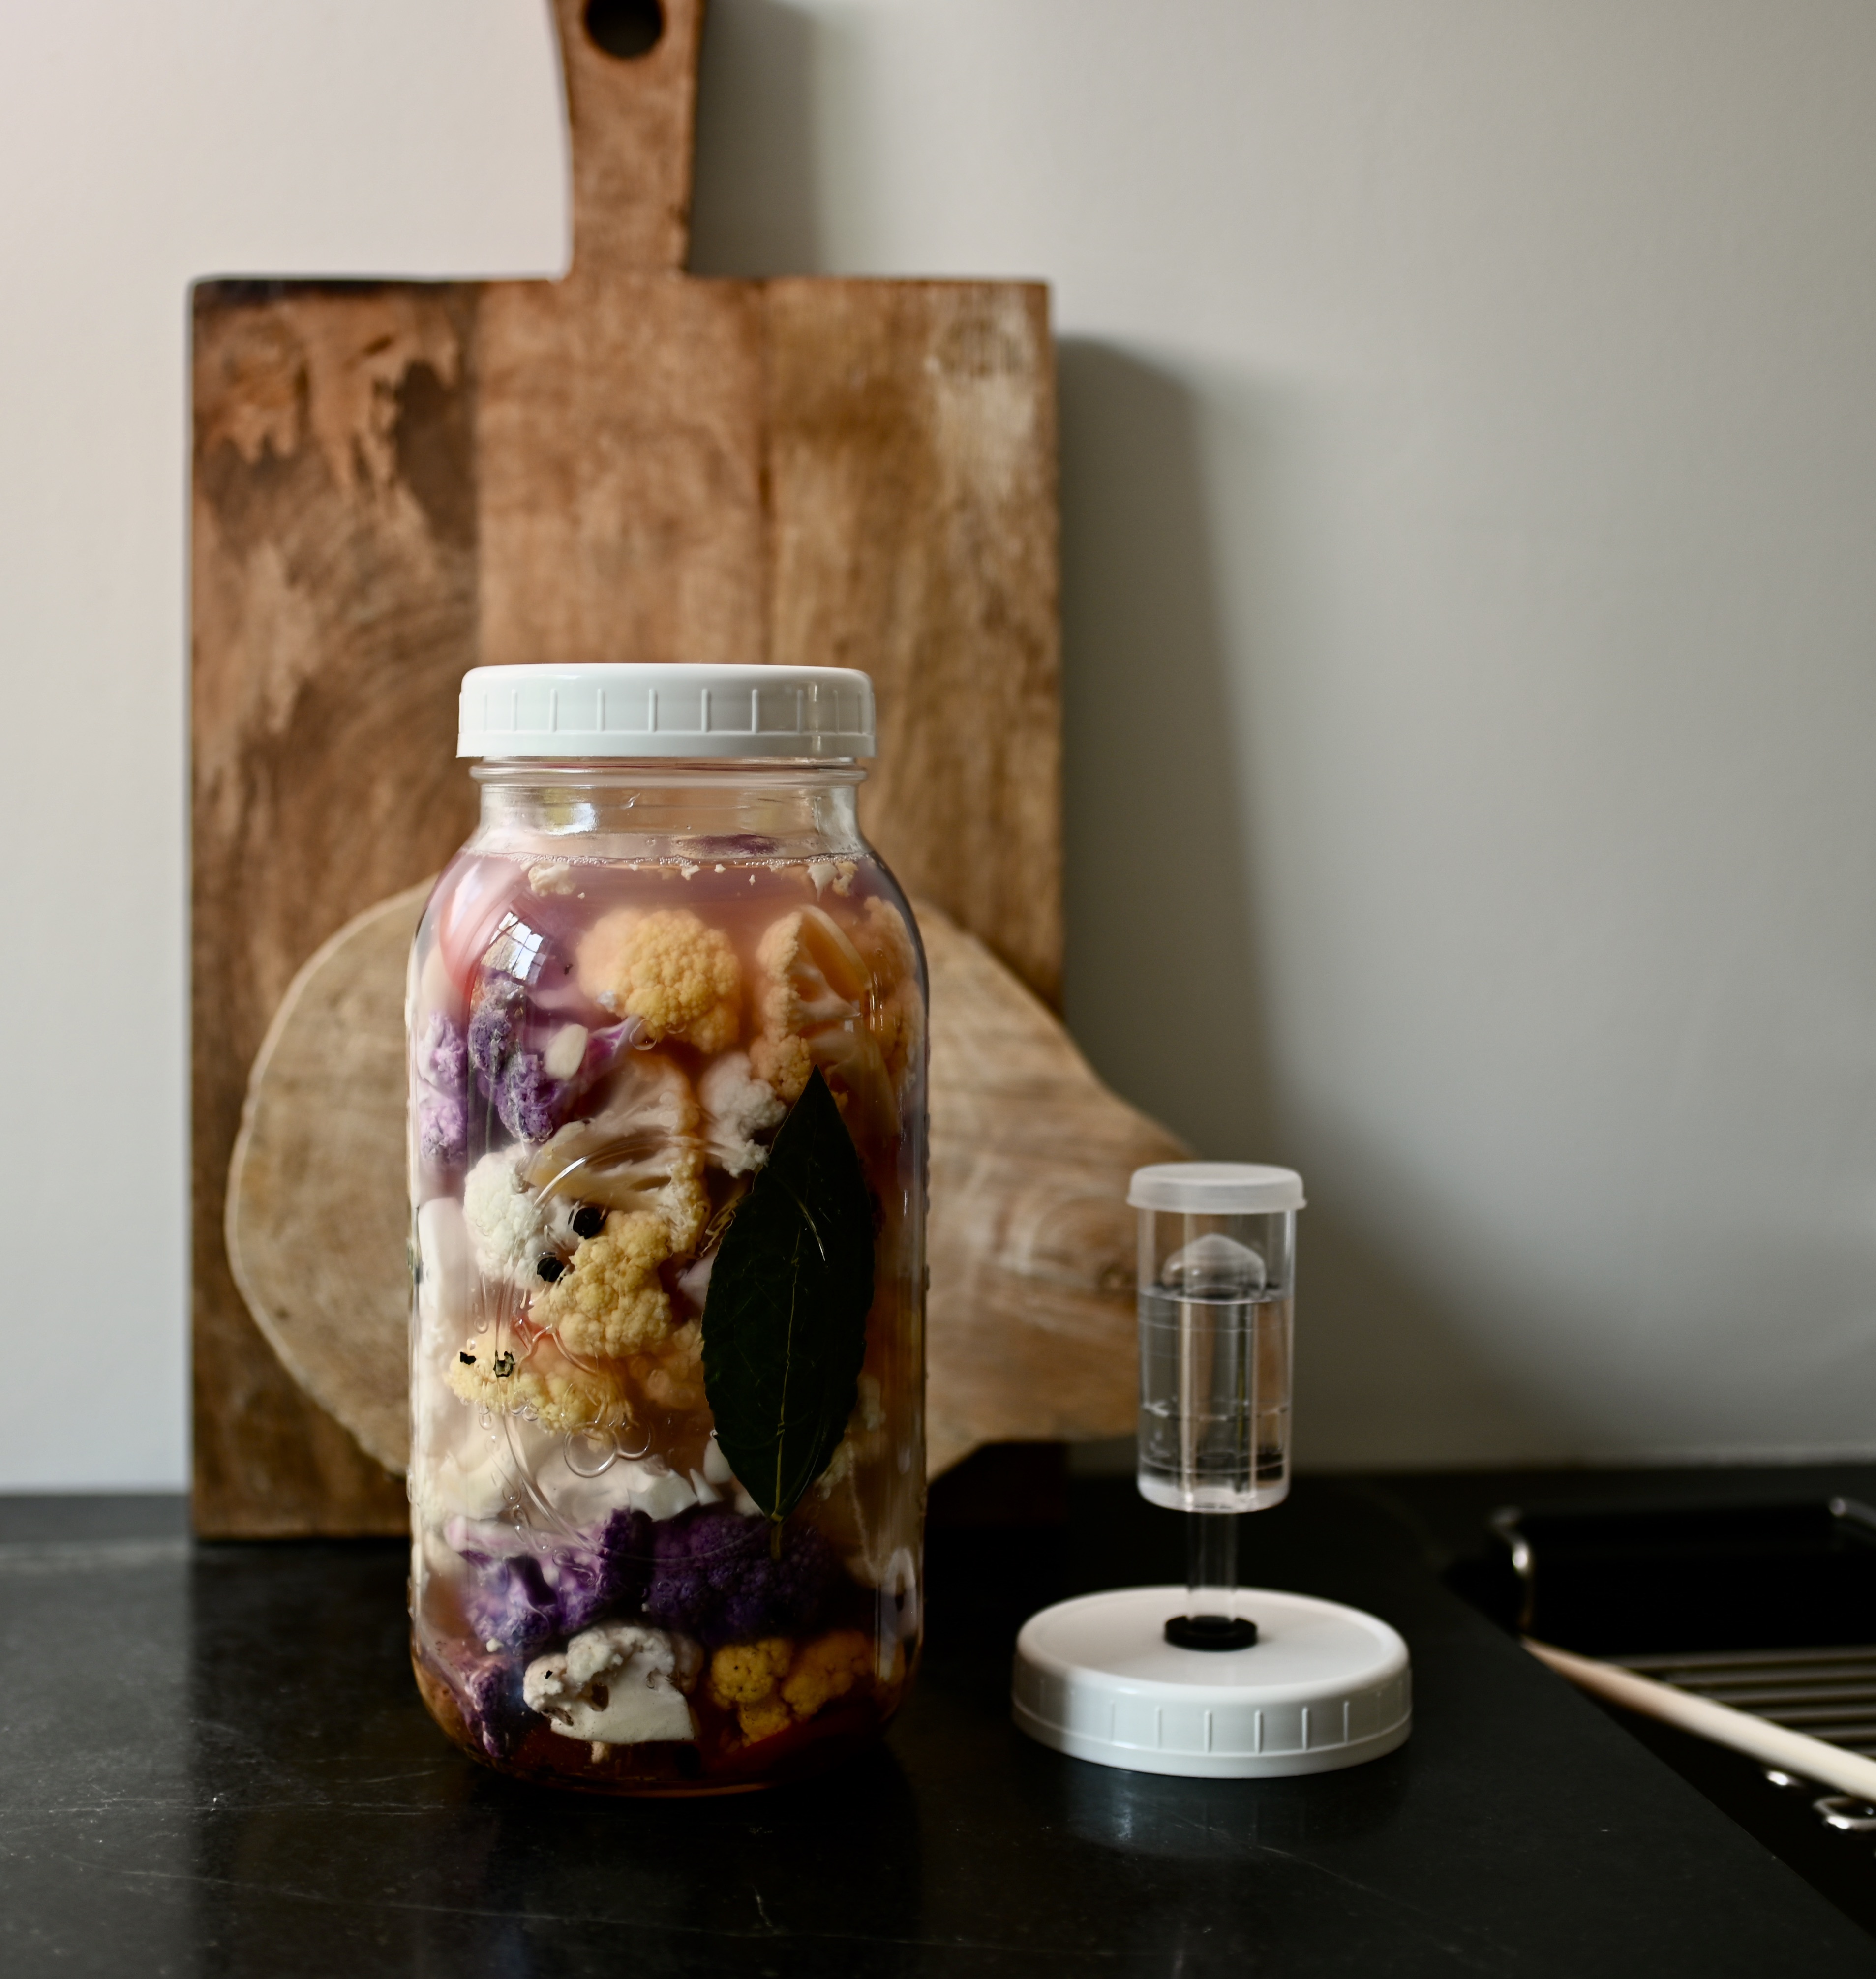
- Fill the jar with filtered water up to its shoulder.
- Use a stick to push down and remove air bubbles. Put a weight on top of the vegetables to keep them submerged. Note: I have done it so many times without any weight on top, and it works fine. I just keep checking and pushing down the vegetables so they can rotate to be under the brine. Keeping a weight on top is easier as I don’t have to worry about checking it during the fermentation process.
- Cover it with a fermenting lid and airlock. You can also use a regular lid, but then make sure to burp it once a day during the fermentation process.
- Let it ferment at room temperature for 3-5 days, then move it to the fridge for slow ferment for at least 7 days. This process is to slow down the fermentation and let it develop more flavor.
- Taste it to see if you like the taste. Sometimes, it takes more or less days to get the flavor just right. From my experience, the longer it’s in the fridge the better it tastes. So, most of the time, it tastes so best around the time I finish the jar.
- To stay healthy, enjoy it a little bit at a time, but often.
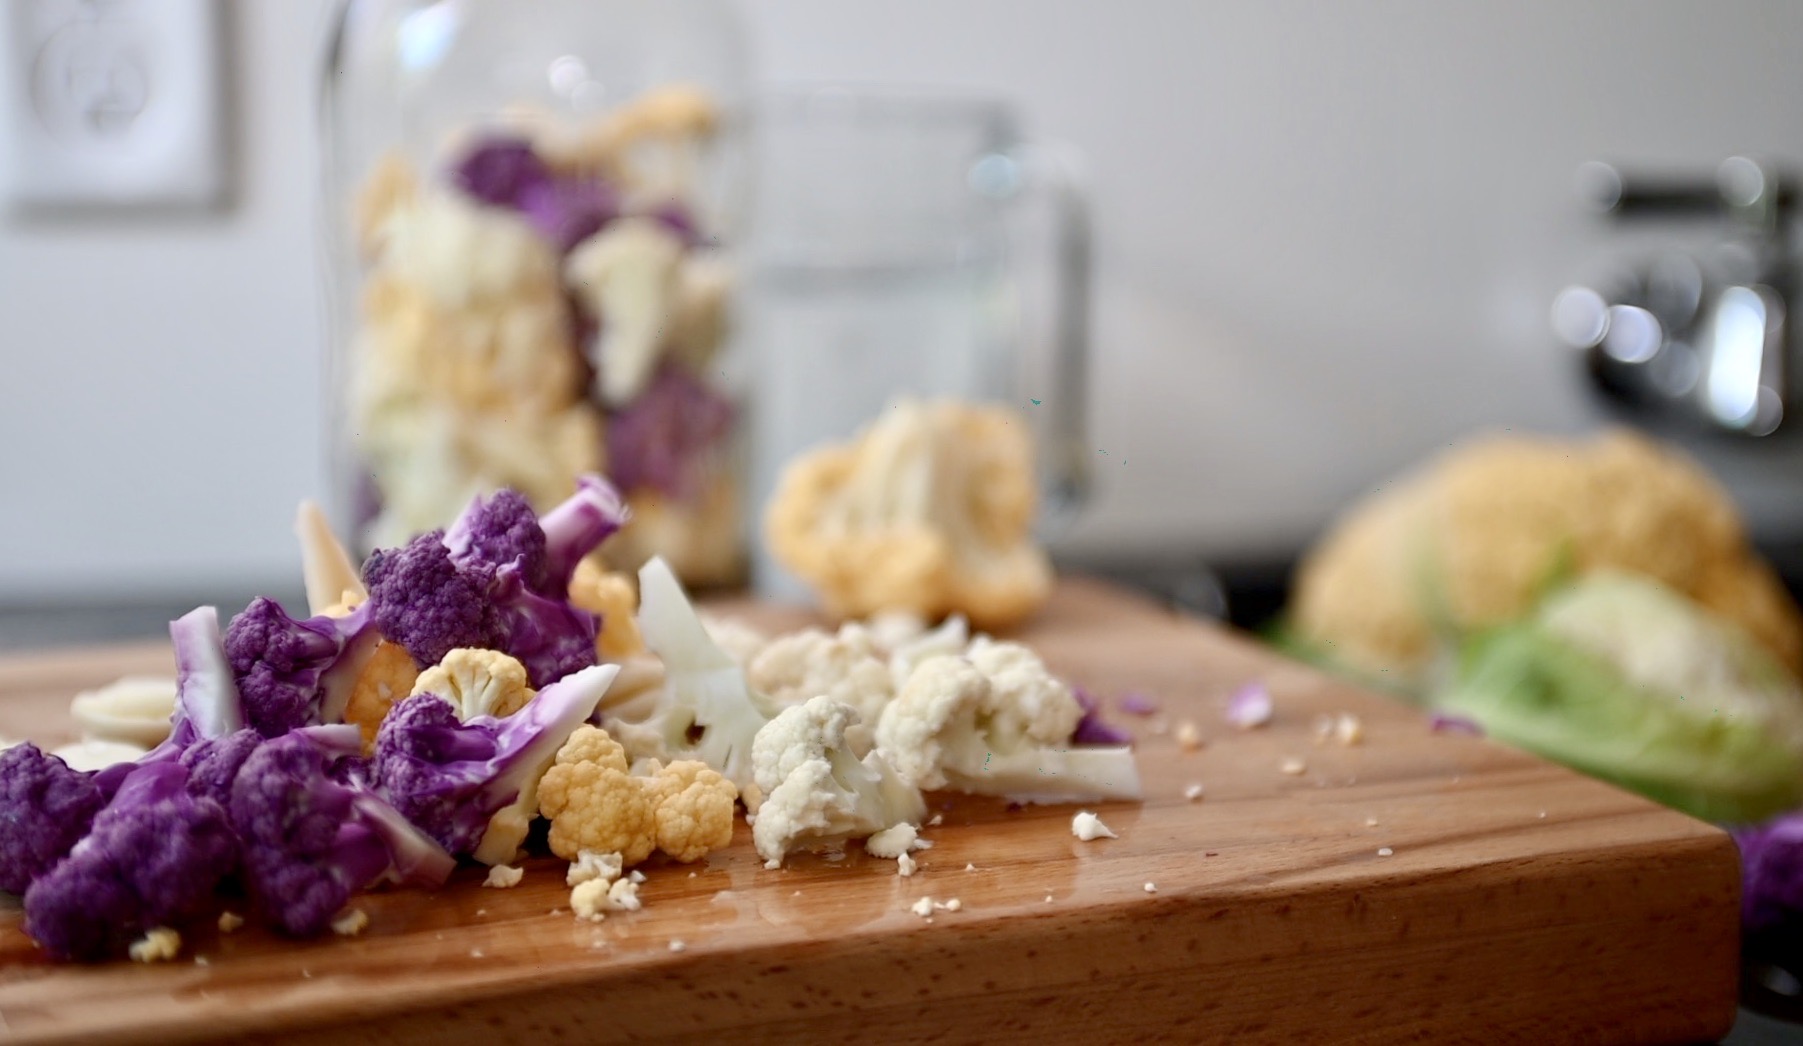
break the cauliflower florets into bite size pieces
add bay leaves in between so they don’t float
let it ferment at room temperature for 3-5 days
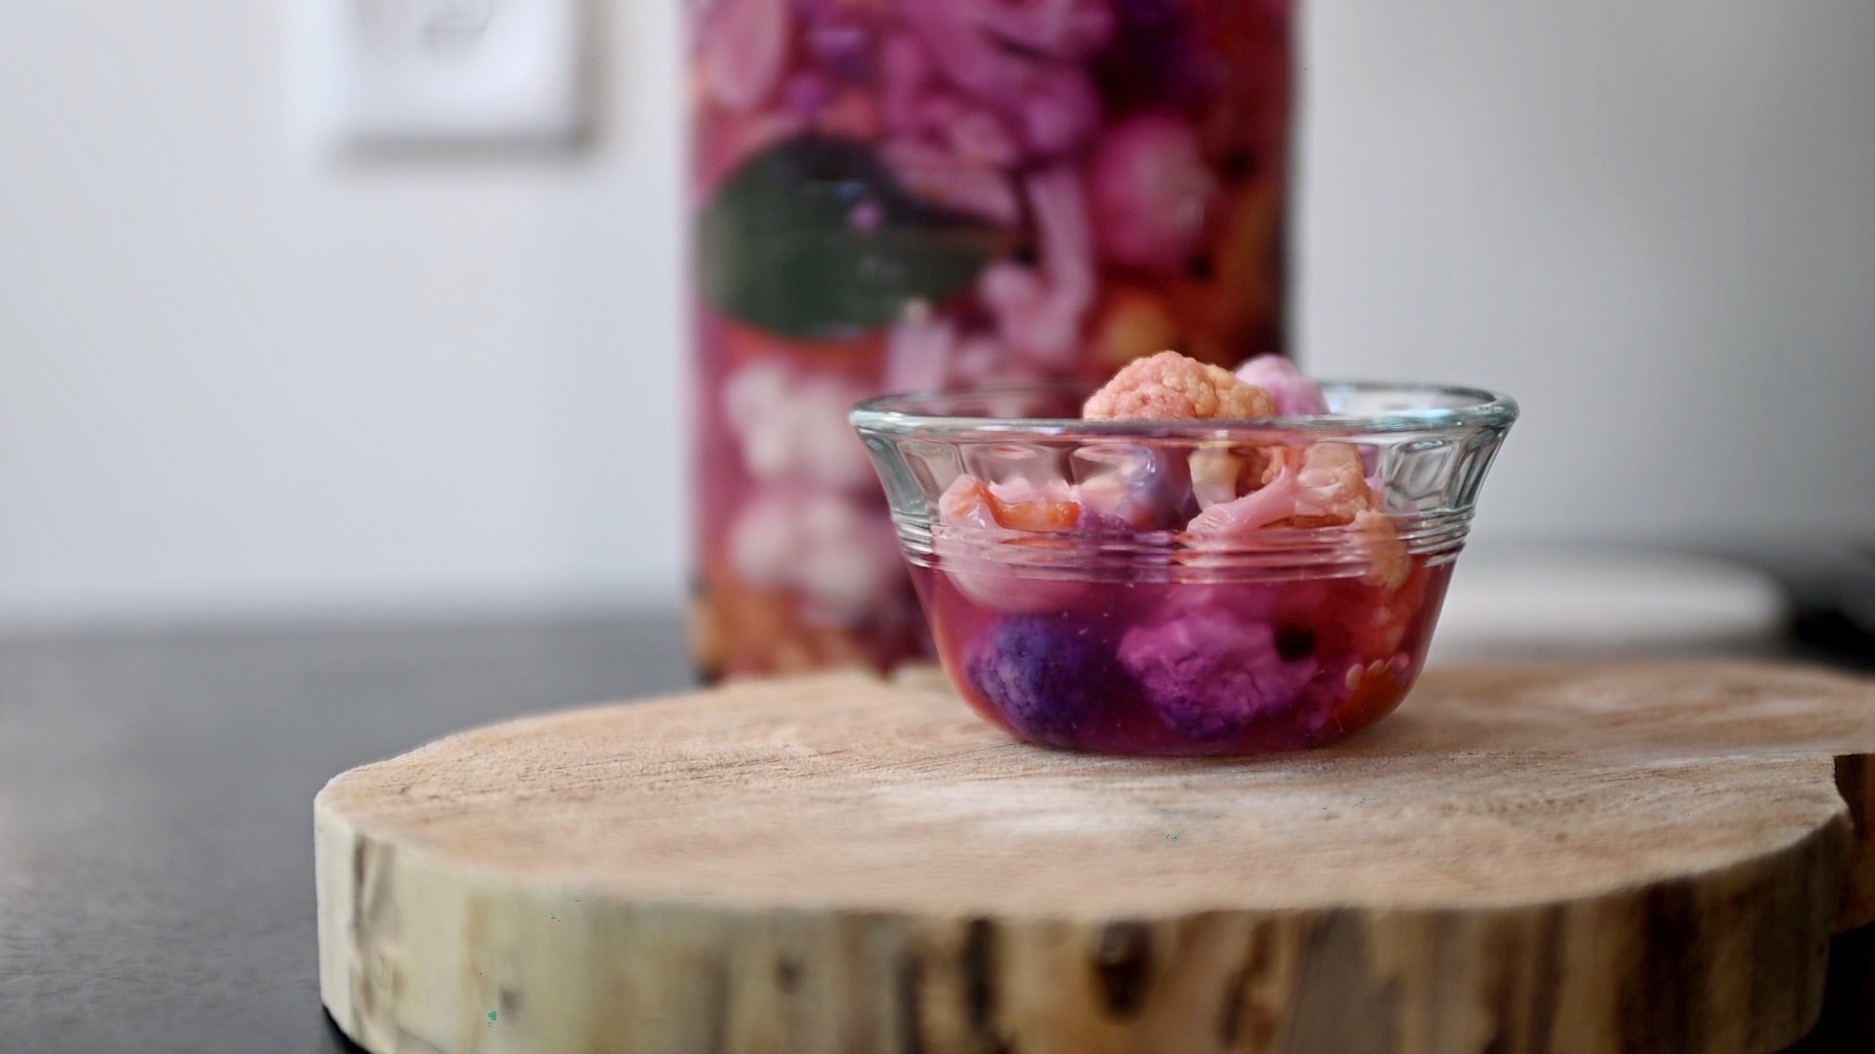
the brine looks cloudy with lots of bubbles after 3 days
after 7 days in the fridge, the color is brighter
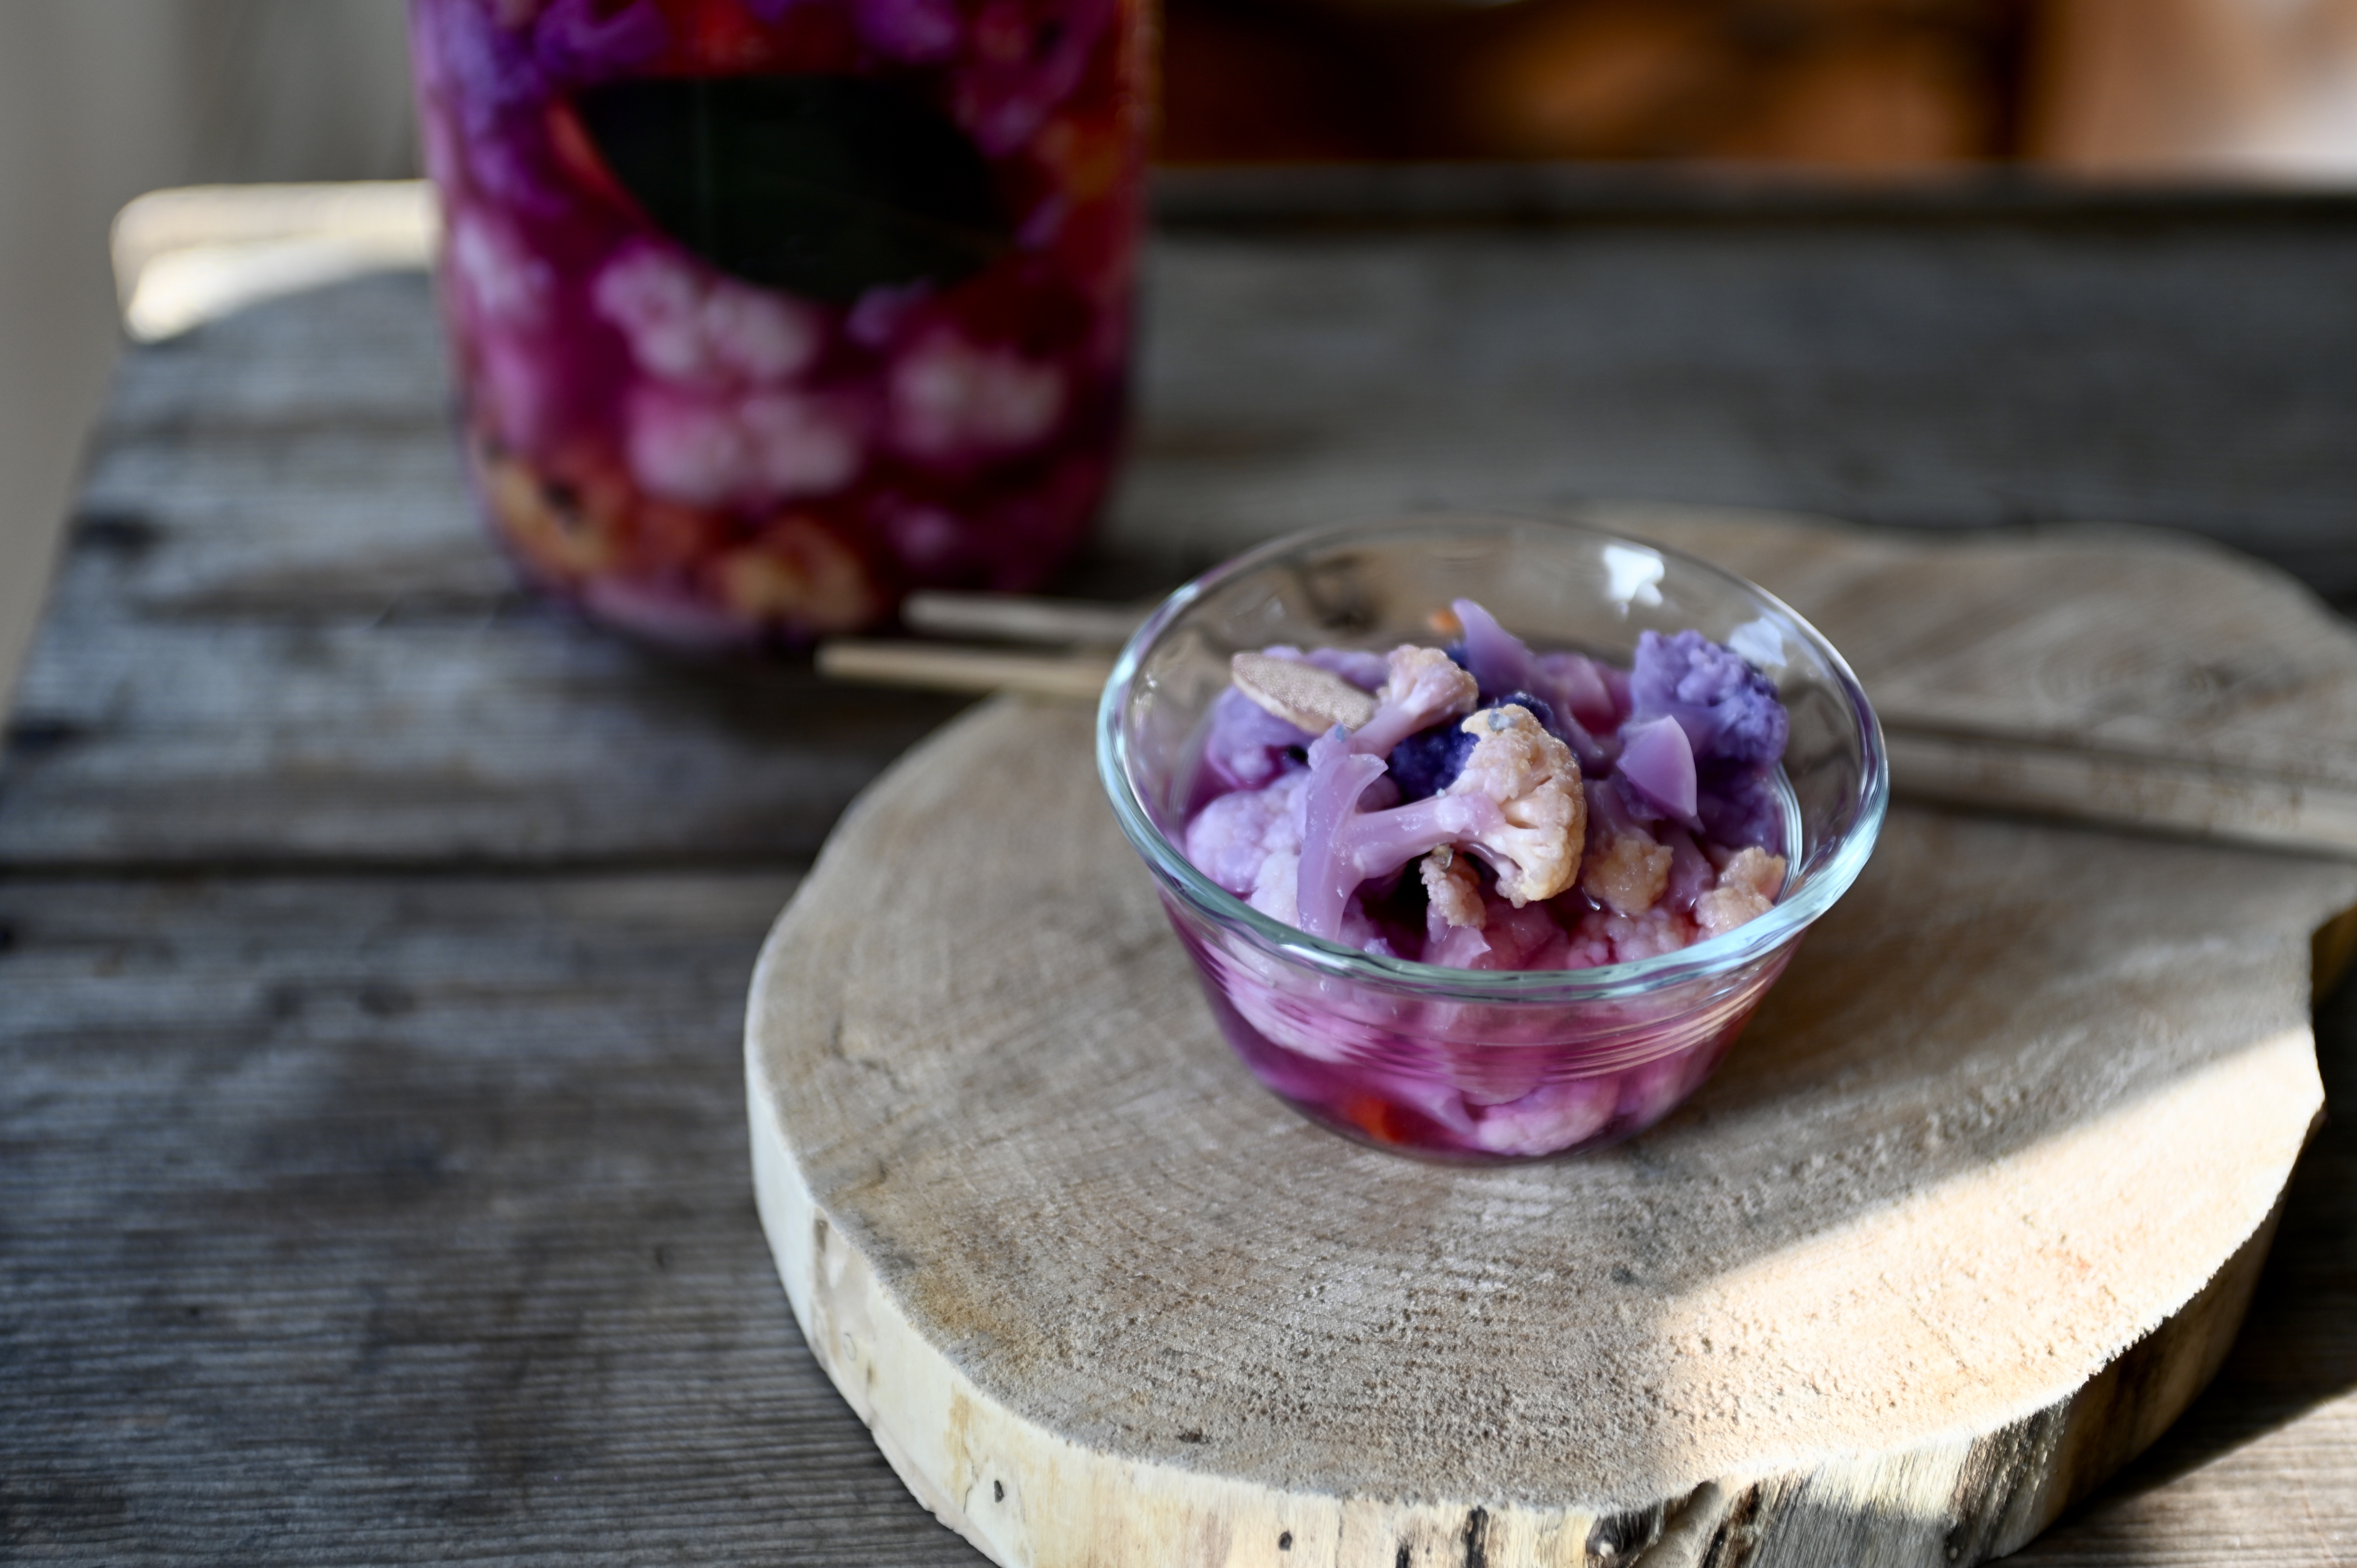
enjoy a small portion with its juice often
Have you made lacto fermented cauliflower? Please share it–I’d like to hear about it!
I love all your recipes and your you tube channel. Is there a way to print your recipes? I cannot find any print button. Thank you kindly.
I’m so sorry that I don’t have a print button on my blogs. I’ll look into it and try to add it in the near future. Thank you so much for your kind comment!
Those colors look so beautiful! Makes me want to ferment my own cauliflower. Thank you for sharing!
You’re welcome. Hope you make it with your cauliflower soon. Yes, the colors are incredible!