Even if you don’t think you will ever make your own soy sauce, I think you’ll enjoy knowing how Japanese Soy Sauce is made–it’s truly amazing!
After a lot of traveling and living in other countries a few times, I realized we don’t need a lot to live happily. Ever since, I buy and own fewer and fewer things–only things I need.
However, I have to admit there are a few things I can’t live without, and one is soy sauce–I use it every day. Soy sauce makes ordinary foods taste extra-ordinary!
What is in it that makes food taste so good?
The curiosity has made me want to know how the soy sauce I eat every day is made. So, I did a lot of research and became fascinated by the whole process!
There are two different ways of making soy sauce that amaze me. One is the Japanese way, and the other one is the Korean way. I value both, and either one of them require natural mold for fermentation.
Japanese Soy Sauce requires Koji mold, and Korean soy sauce on the other hand, doesn’t. However, Korean soy sauce needs wild yeast to grow on cooked soybeans instead. The process of growing wild yeast is needs more work, but it’s also fascinating.
As I wasn’t familiar with koji mold, and was a bit nervous to go wrong, I decided to start my first soy sauce the Korean way.
So, in December of 2017, I started to experiment and filmed my first Korean soy sauce making. It was a long memorable process that took me 14 months to finish. I enjoyed every step of making and filming it.
Now that I have made Korean soy sauce, I wanted to make Japanese Soy Sauce too. So, I went back to continue my research on how to do this. I read so many books and articles, both from physical libraries and online resources. However, not all of them gave me the information I sought, but this http://www.mitoku.com/products/tamari/making_tamari.html is the most inspiring resource I found. I read it over and over until all the words stuck in my head and I could picture what happened when Japanese people in the past made soy sauce.
Most soy sauce makers mix 50% wheat with 50% soybeans, which was too much wheat for me. I wanted to have the real taste of “soybean sauce” more than “wheat sauce.”
I know that whole grains such as wheat help with fermentation, so it must be an important part I should not leave out. As the article I like the most says, they use barley.
After a lot of research, I knew all the process by heart. However, none of the articles I read share a recipe to make it at home. So, I adapted what I learned and created my own recipe.
In stead of mixing 50% of soybeans and wheat, I use 80% soybeans and only 20% freshly ground barley meal. I know it should be enough as I learned that real Tamari happened when people in the past made miso, and making miso doesn’t require wheat.
I felt more and more confident, but didn’t have enough courage to get it started until I found this video from the National Geographic channel. https://www.youtube.com/watch?v=EMmyamL4VGw&t=22s
I watched it over and over picturing myself going back in time to watch Japanese people make soy sauce. That’s it–I knew I really wanted to make it happen at my home far away from Japan.
In order to make Japanese Soy Sauce, I had to learn about koji mold. I was overwhelmed with all the information on how important koji mold is for making food healthy and tasty in Japanese cuisine. It makes me want to add koji to all the food I make!
As for the equipment, I want to have a big wooden barrel like they do in Japan too. Since I don’t, I just use 2 gallon glass jars instead. They worked great for me when I made Korean soy sauce, so I’m going to use them for making Japanese Soy Sauce as well.
They are easy to move around and I can see what is really going on inside the jars during the process.
With all the research I have done, I gained so much confidence, and I’m not intimidated by koji mold anymore.
I am so ready for this project, and plan on filming and publishing the first part on its own. If you are inspired and want to do the same, we might be able to finish and taste it about the same time when it’s done–14 months or more from now.
Ready to start your own journey of making Japanese Soy Sauce? Let me show you how!
Ingredients:
- 6 cups (1.4 L) of organic non-GMO soybeans
- 4 cups (0.95 L) of good salt of your choice
- 16 cups (3.8 L) of filtered water plus more for soaking and cooking. If you are in an area you can access spring water, use it instead–you are lucky.
- 2 cups (0.5 L) of barley meal. (about a cup and a half of toasted barley berries)
- 3 tsp (15 g) of Koji culture
Equipment:
- 2 one-gallon (4 L) glass jars
- 2 pieces of breathable cloth and 2 rubber bands
- A wooden tray. If you don’t have one, try baking trays with parchment paper
- Some clothes to cover the tray
- A few bamboo sticks to put a cross the tray
Instruction for making Japanese Soy Sauce:
- Day 1, sort out the bad soybeans and discard them. Wash, and cover with double the amount of filtered water and soak them overnight.
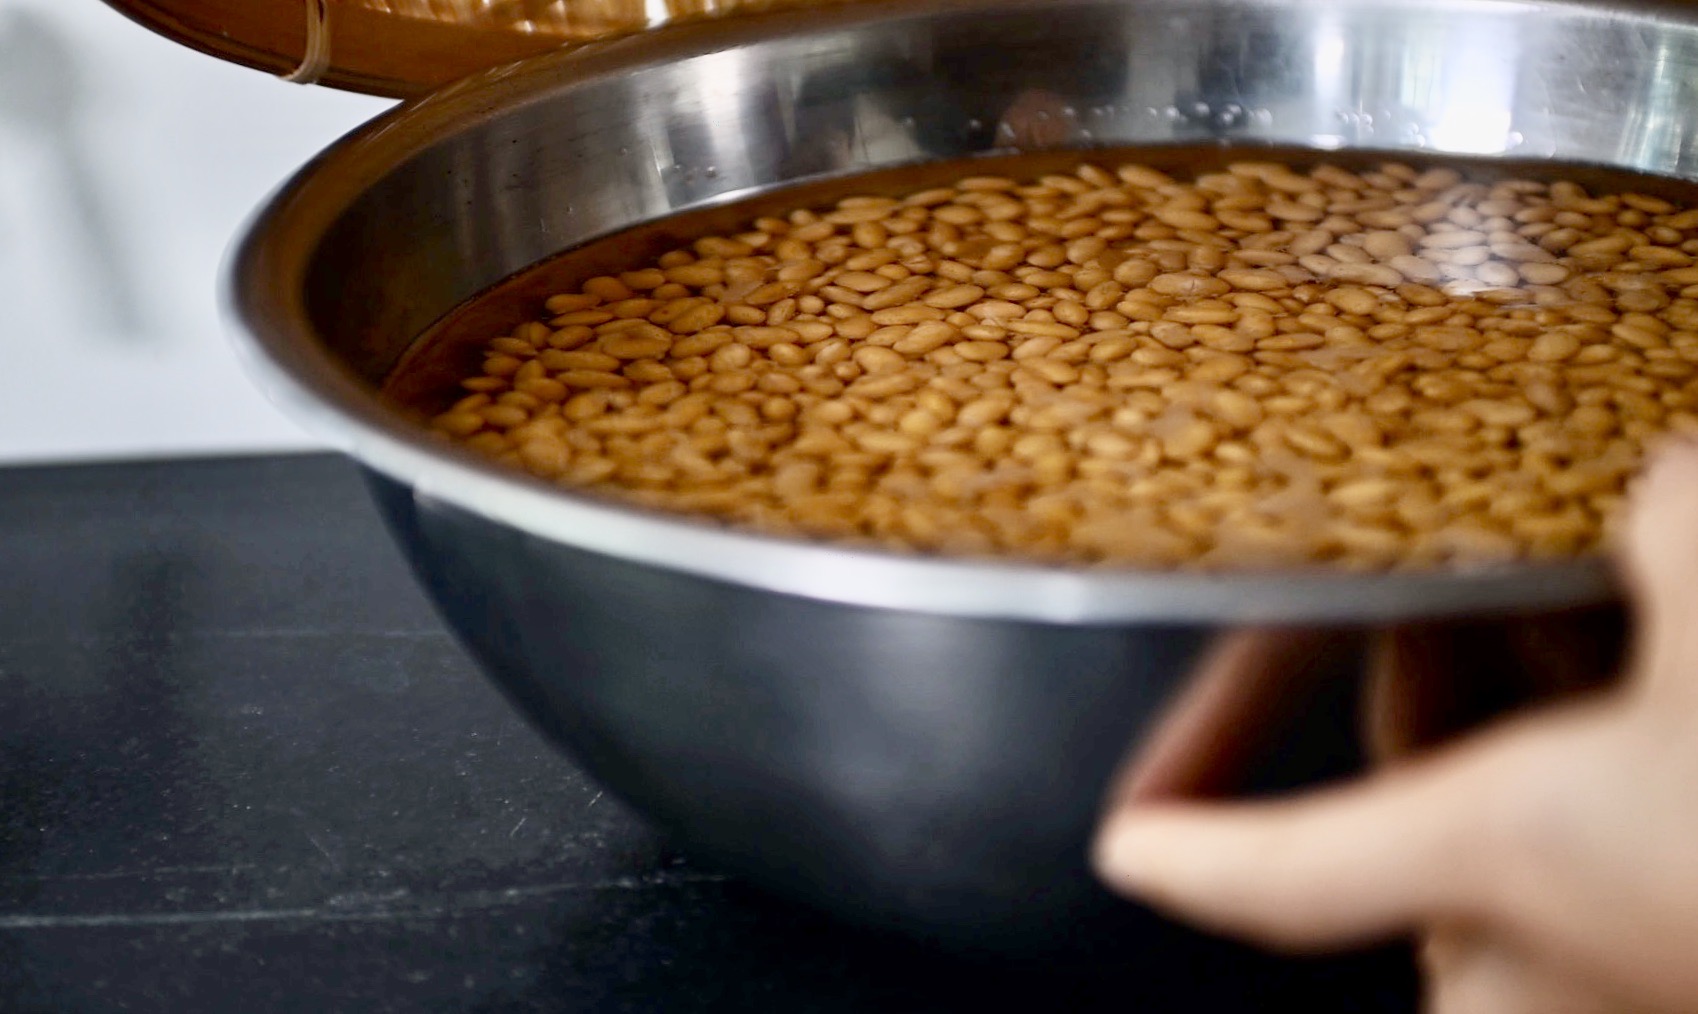
- Day 2, dump the soaking water and rinse them well, then let the water drip for a few minutes.
- Put the beans in a big pot, cover with filtered water, and cook. Start with medium to high heat, close the lid and leave a small crack. This way the steam can escape, but you still need to watch the pot closely as it overflows easily. When it boils, skim off the scum if you like (I do), then reduce the heat to medium to low. Stir it frequently to prevent burning, then reduce the heat to low with the lid still cracked open.
- When the beans are easy to smash, turn the heat down and let them cool.
- In a frying pan, toast barley berries until crispy. Use a corn grinder to grind them into barley meal. Note: Barley berries are very hard to grind. I tried using a food processor and it didn’t work, but the corn grinder works great. If you have a dry container for a Vitamix blender, try using it. I hear that it works for grinding wheat into flour, but I don’t have one, so I haven’t tried it myself.
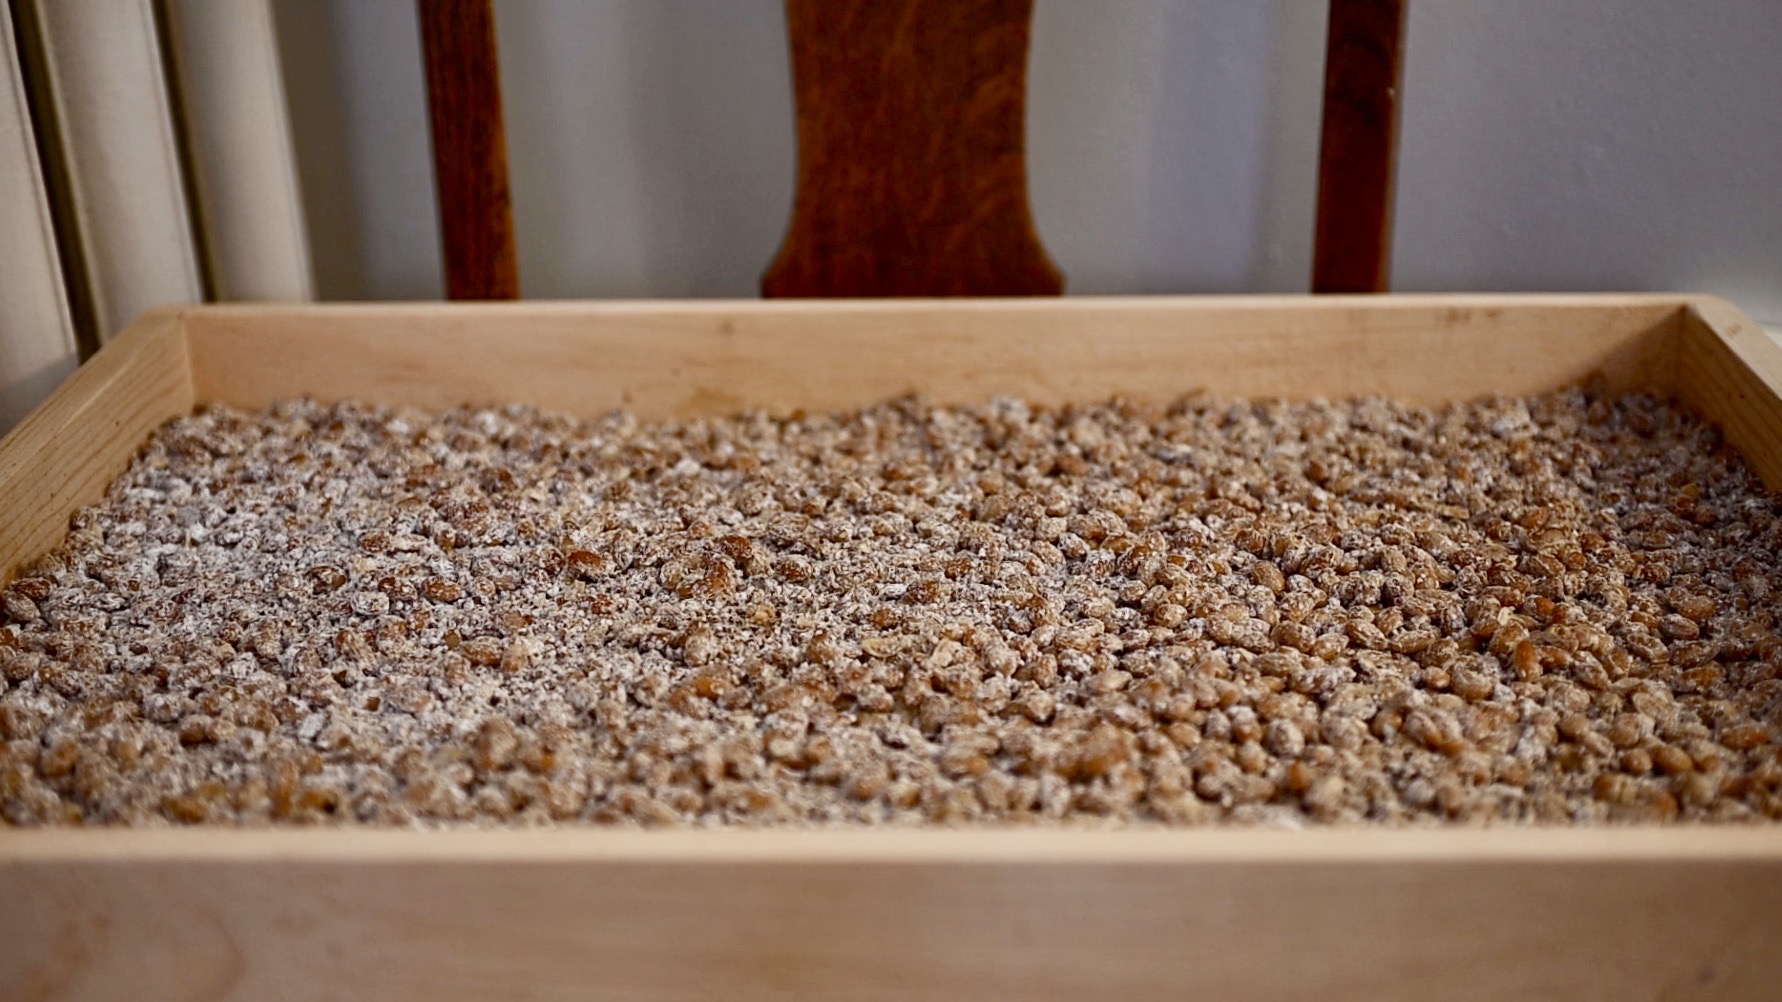
- Transfer the beans to a wooden tray and spread them evenly. Add the barley meal and mix thoroughly.
- Add the koji mold, and make sure everything is mixed well.
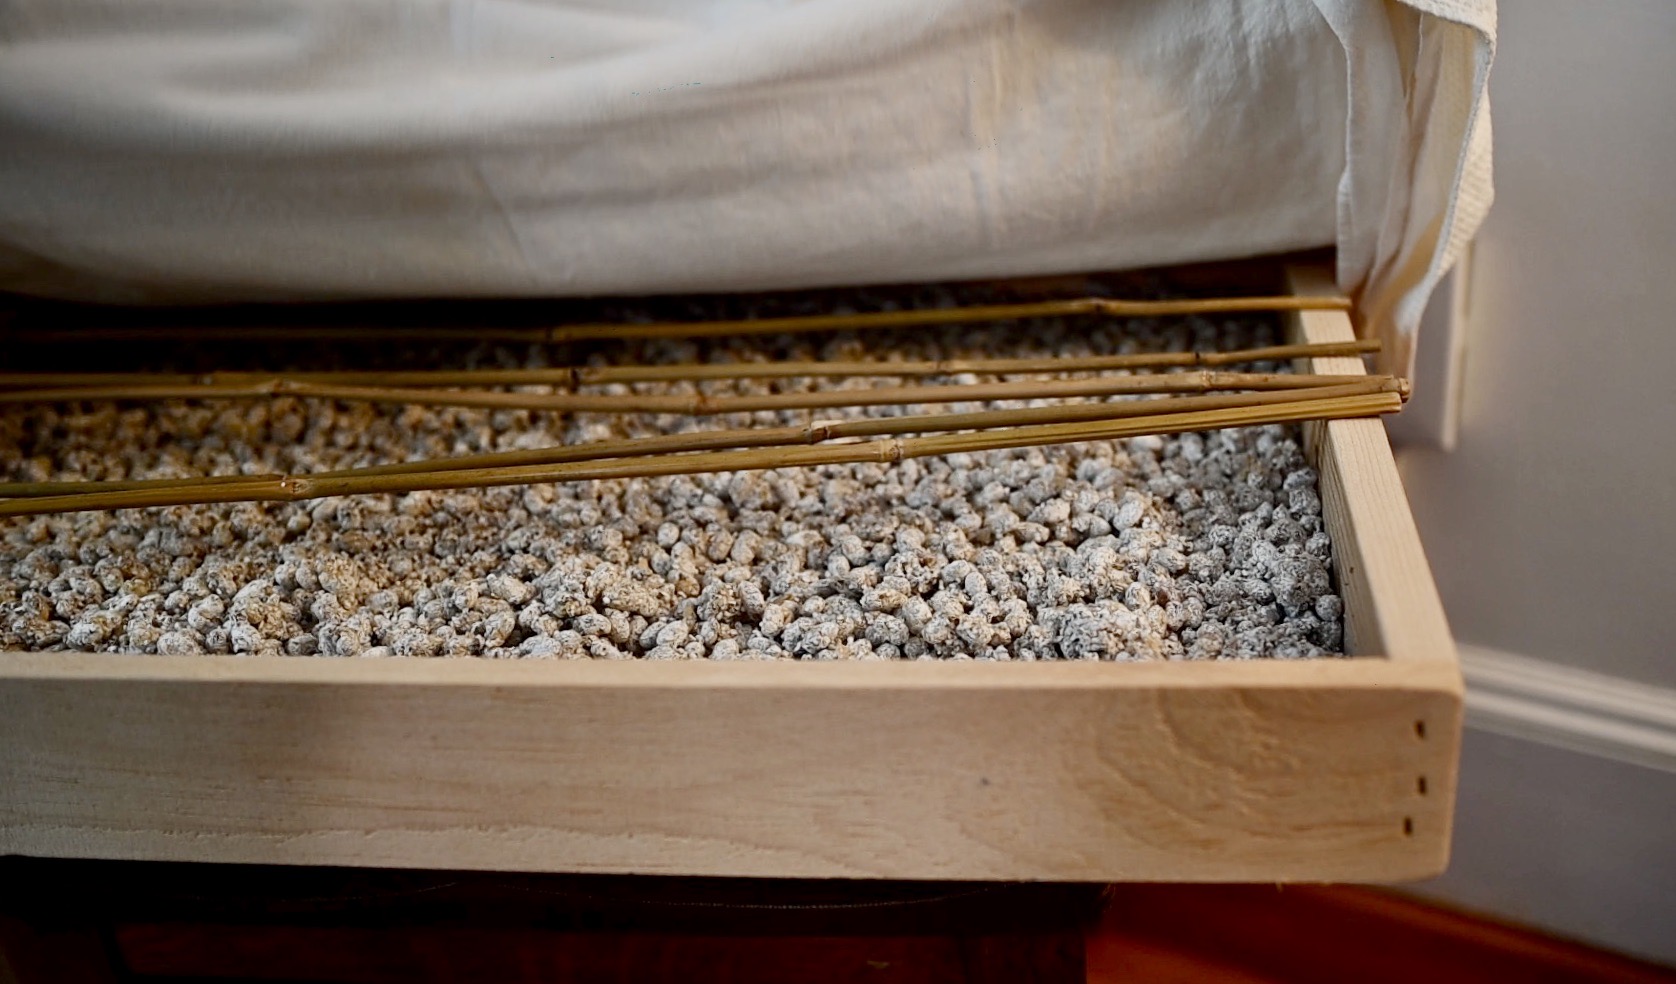
- Put the tray in a warm area of your house for the mold to grow. Make sure the tray is well-ventilated, and cover it with clothes to keep it warm and retain moisture for the mold to grow. It takes about 3 days depending on the environment–check it daily. Note: I use a plant stand on a chair and put the tray on it, and leave it near a heater. I use some small bamboo sticks to put across the tray to help stabilize the clothes.
- Day 3, there is no sign of new mold yet. Leave the tray alone and do nothing–be patient.
- Day 4, there is some new mold growing. You can feel that the tray is warm and musty. The environment is perfect for the mod to grow. Stir and turn the beans to reduce the heat in it. Cover it back to let the mold grow some more.
- Day 5, check and repeat day 4.
- Day 6, now all the beans are covered with white mold, the same color as the koji mold sprinkled on during day 2. Stir and check the beans, they should look like healthy white beans without any suspicious mold. Roughly divide them into 2 halves.
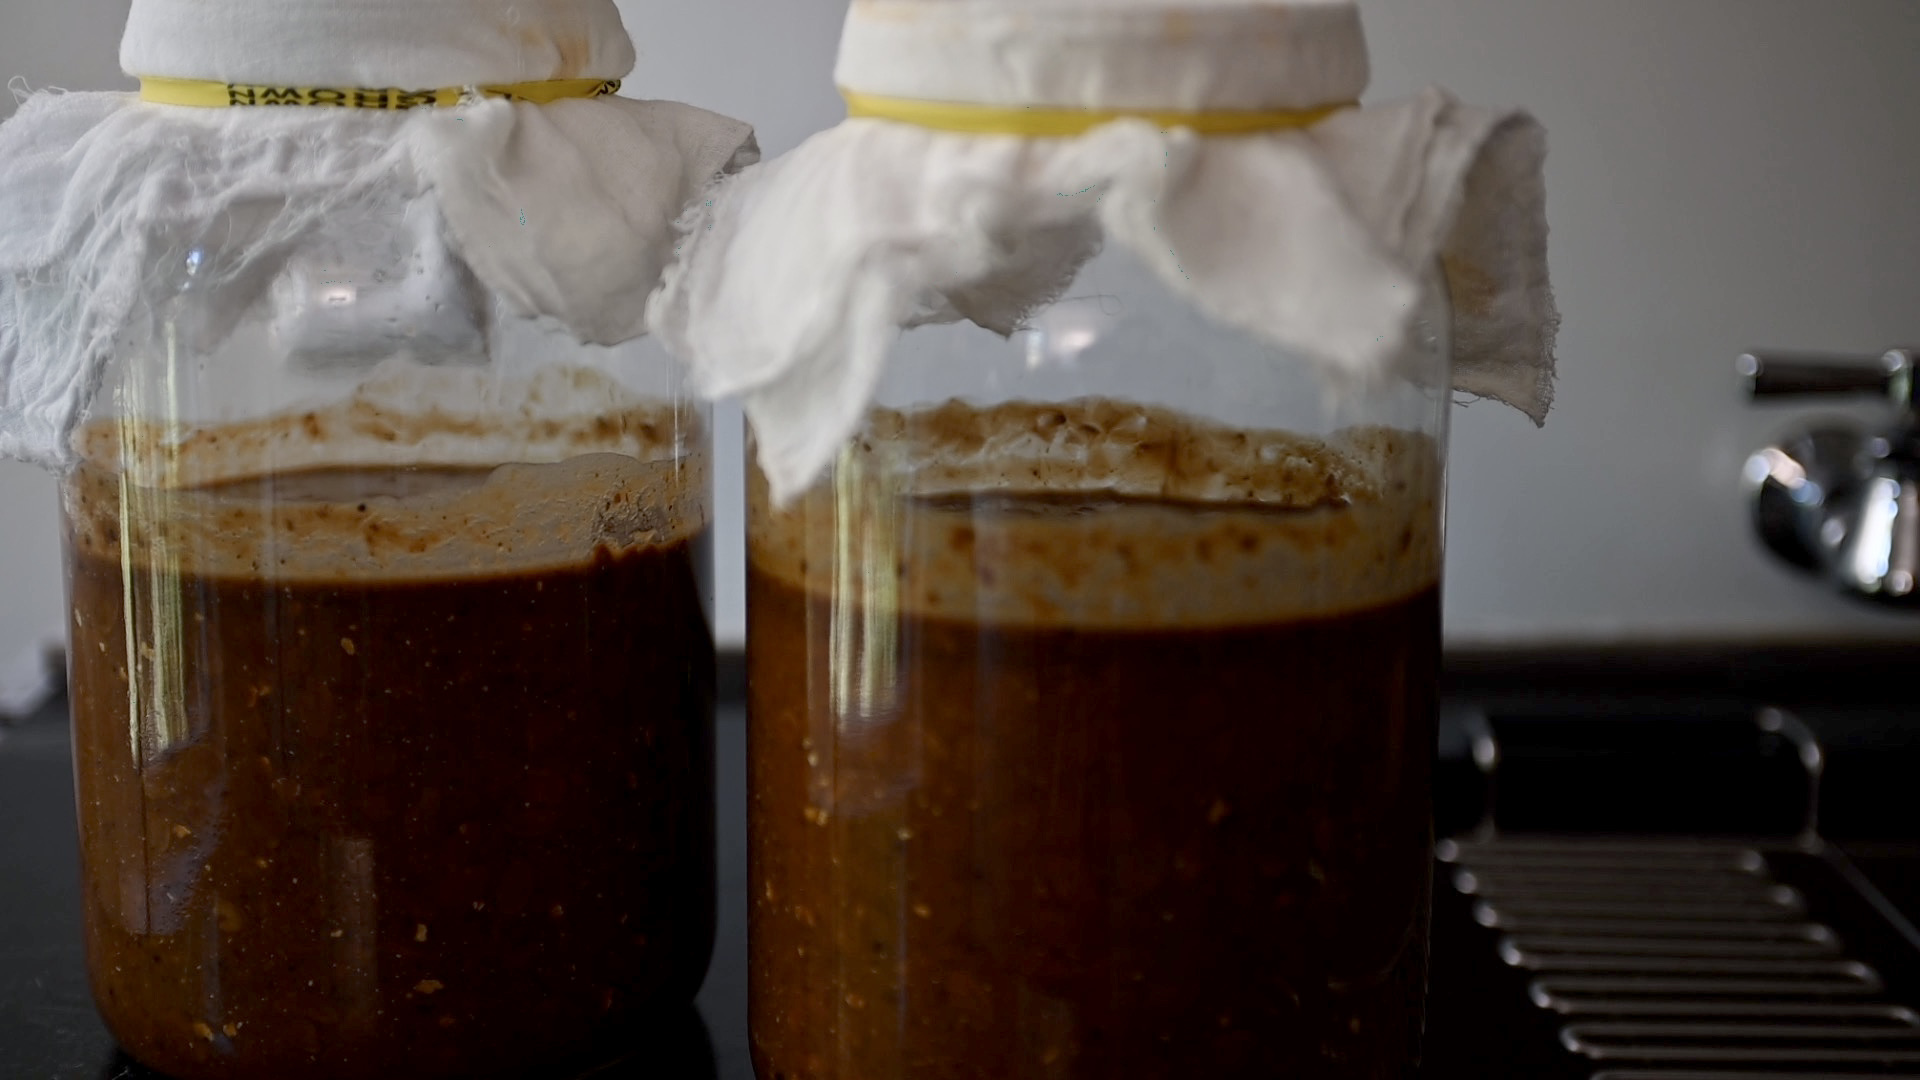
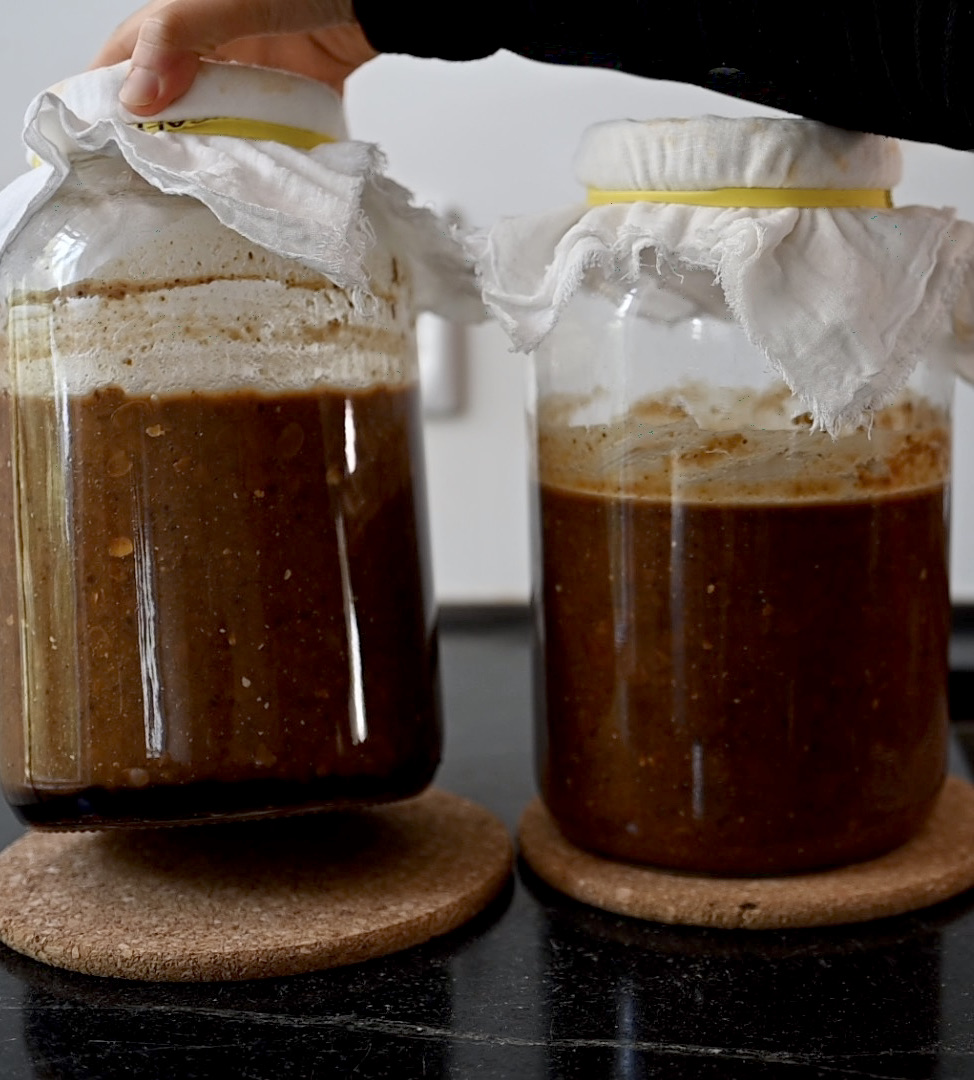
- Prepare the brine: In sterilized glass jars, add 2 cups of very warm filtered-water followed by 2 cups of salt to each jar. (warm water helps the salt to dissolve faster) Mix well, then add 6 more cups of room temperature water to each jar and mix well. Let the salt dissolve as much as you can, then add a portion of the beans to each jar. Mix well, and cover each jar with a breathable cloth. Leave the jars at room temperature.
- Day 7, to about 6 weeks, stir each jar once a day.
- Week 7, stir it every 3 days or so.
- After a few months of the process until reaching 14-16 months, stir each jar once every week or longer.
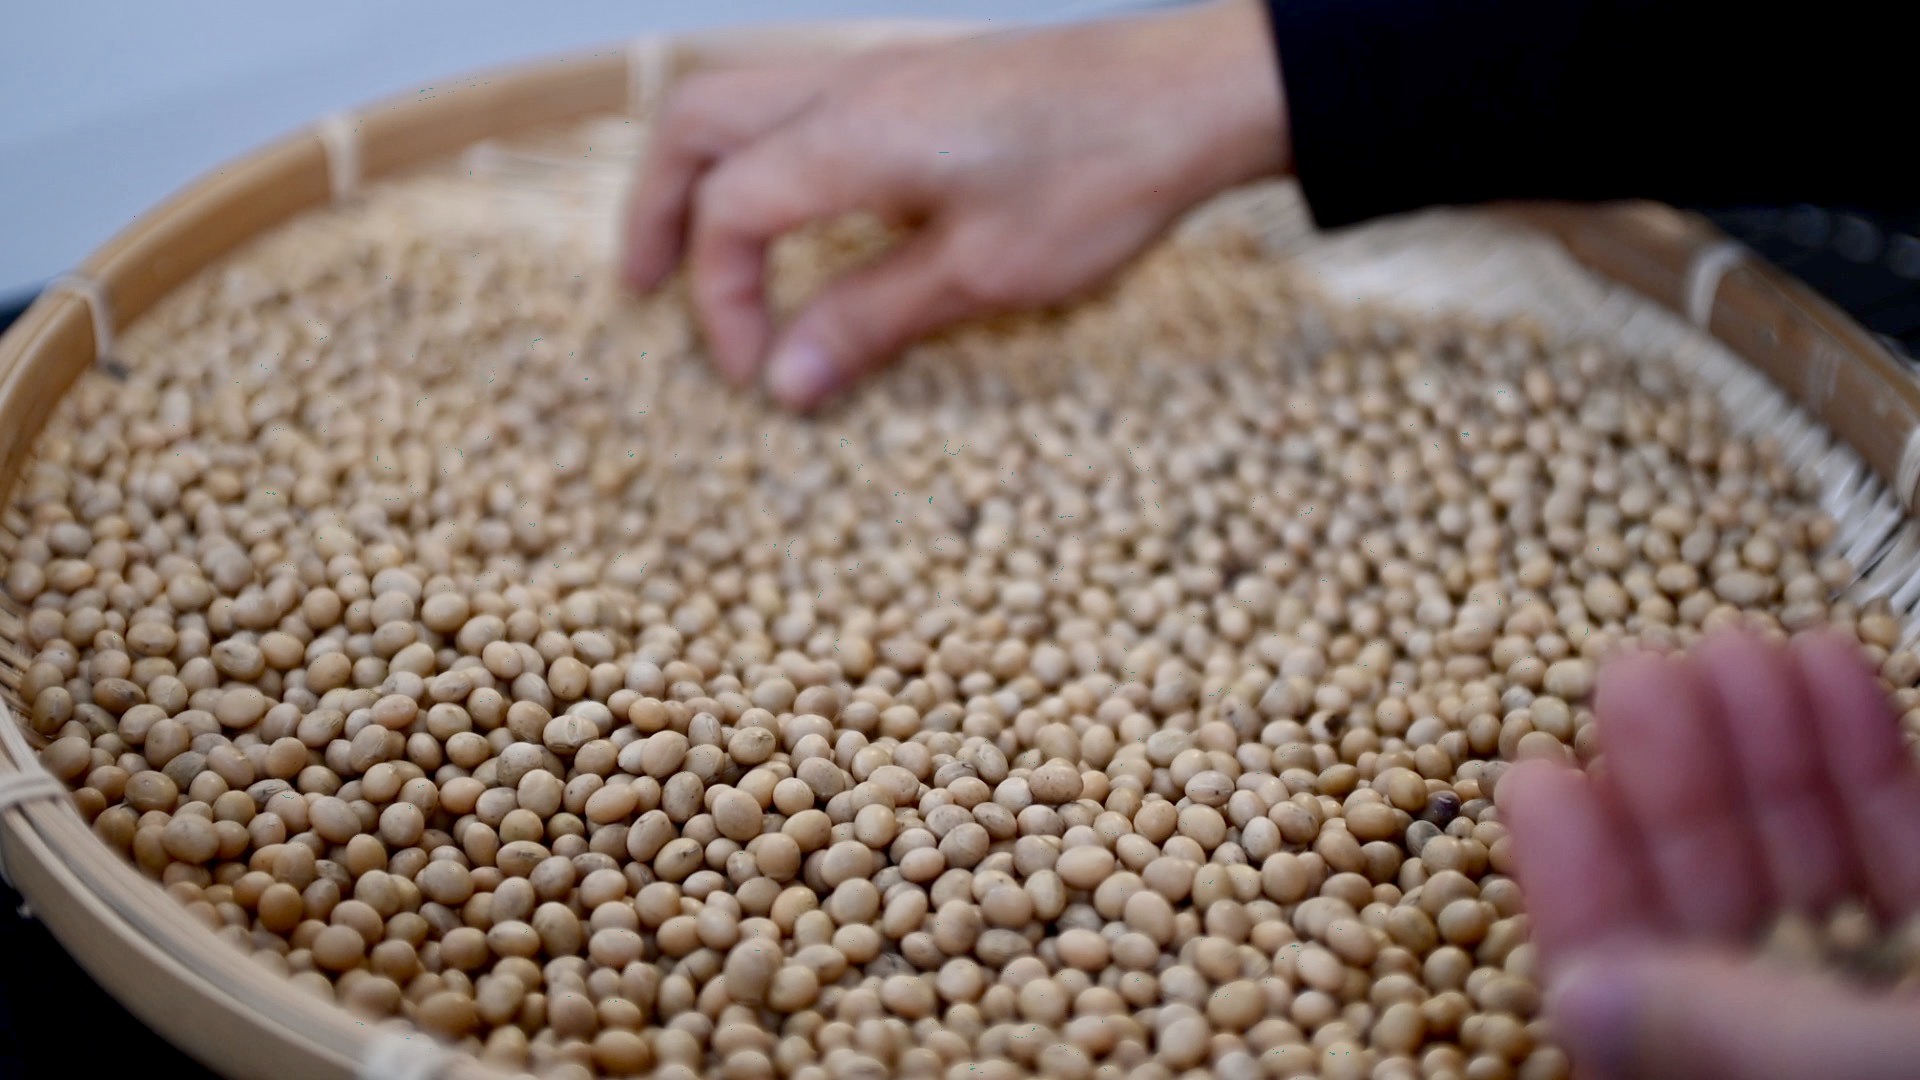
sort out bad soybeans
soak with filtered water overnight

rinse thoroughly
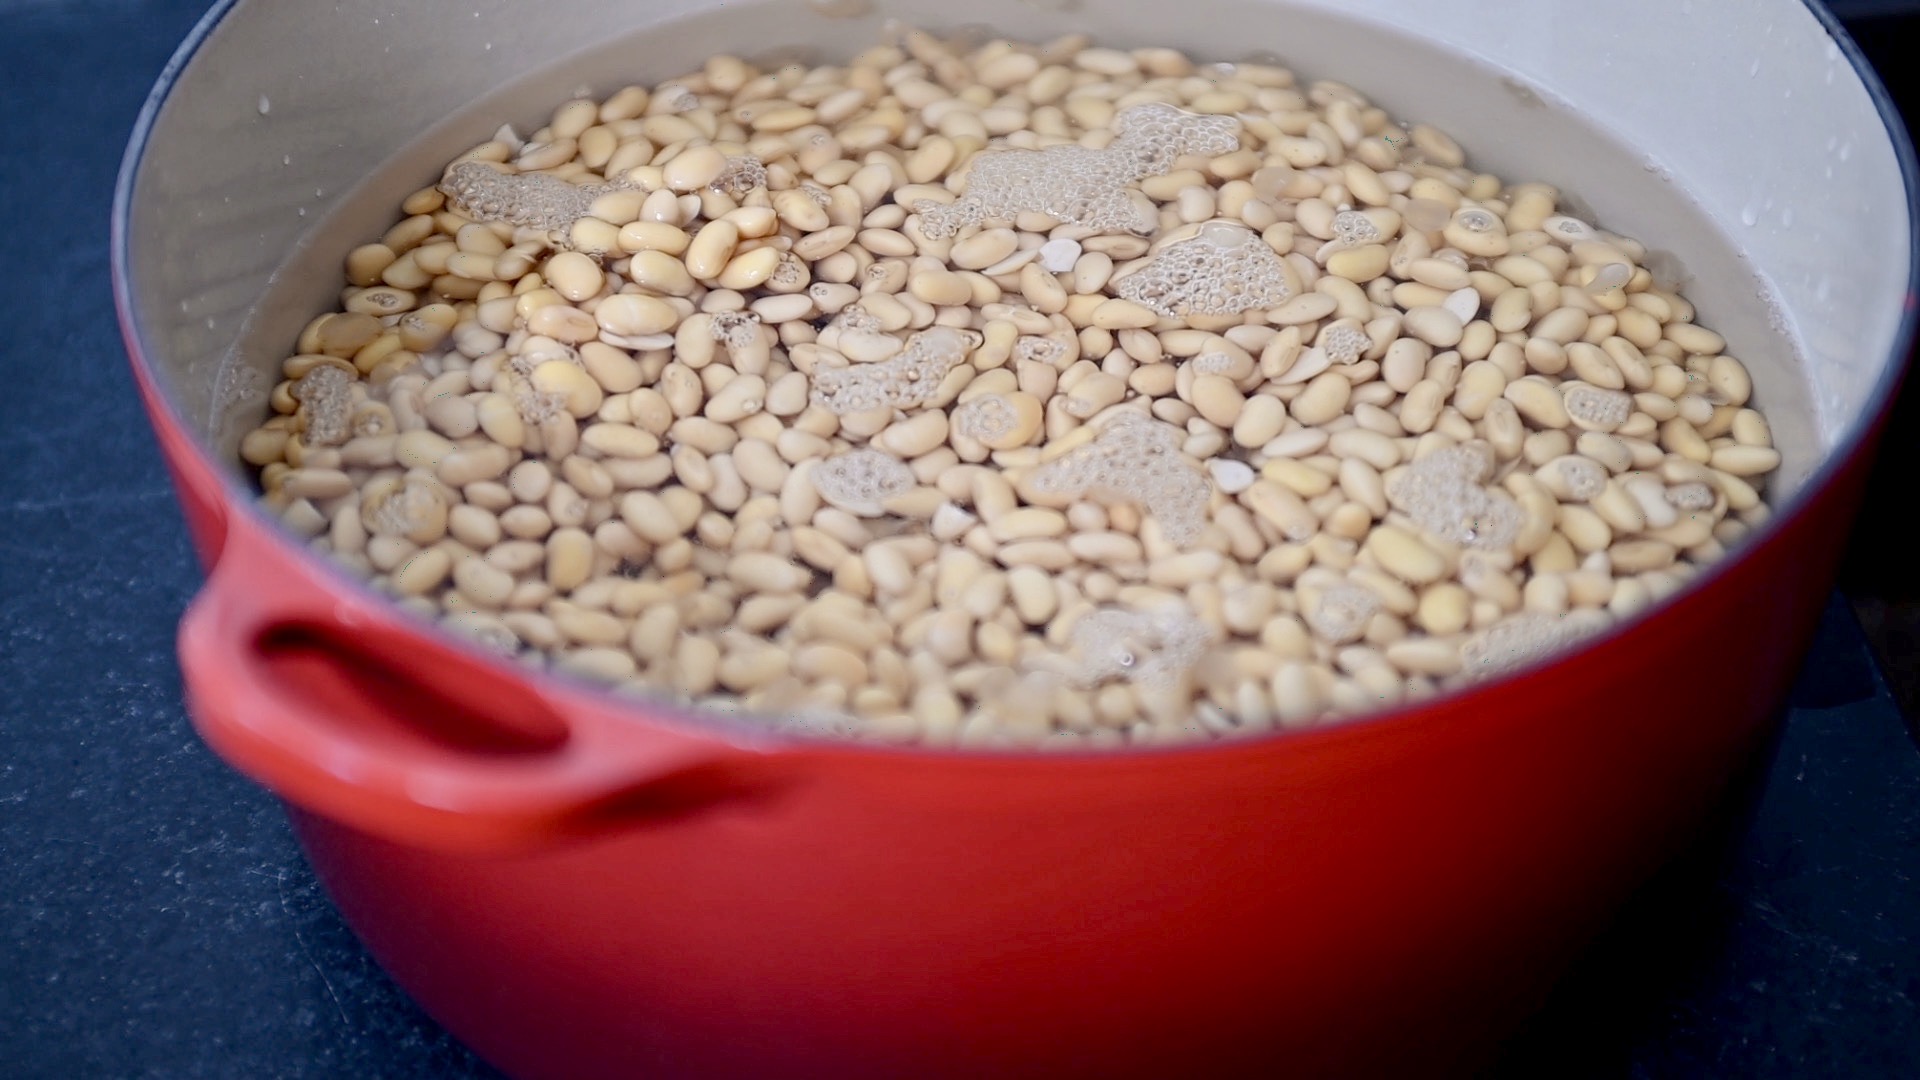
cover double amount of filtered water
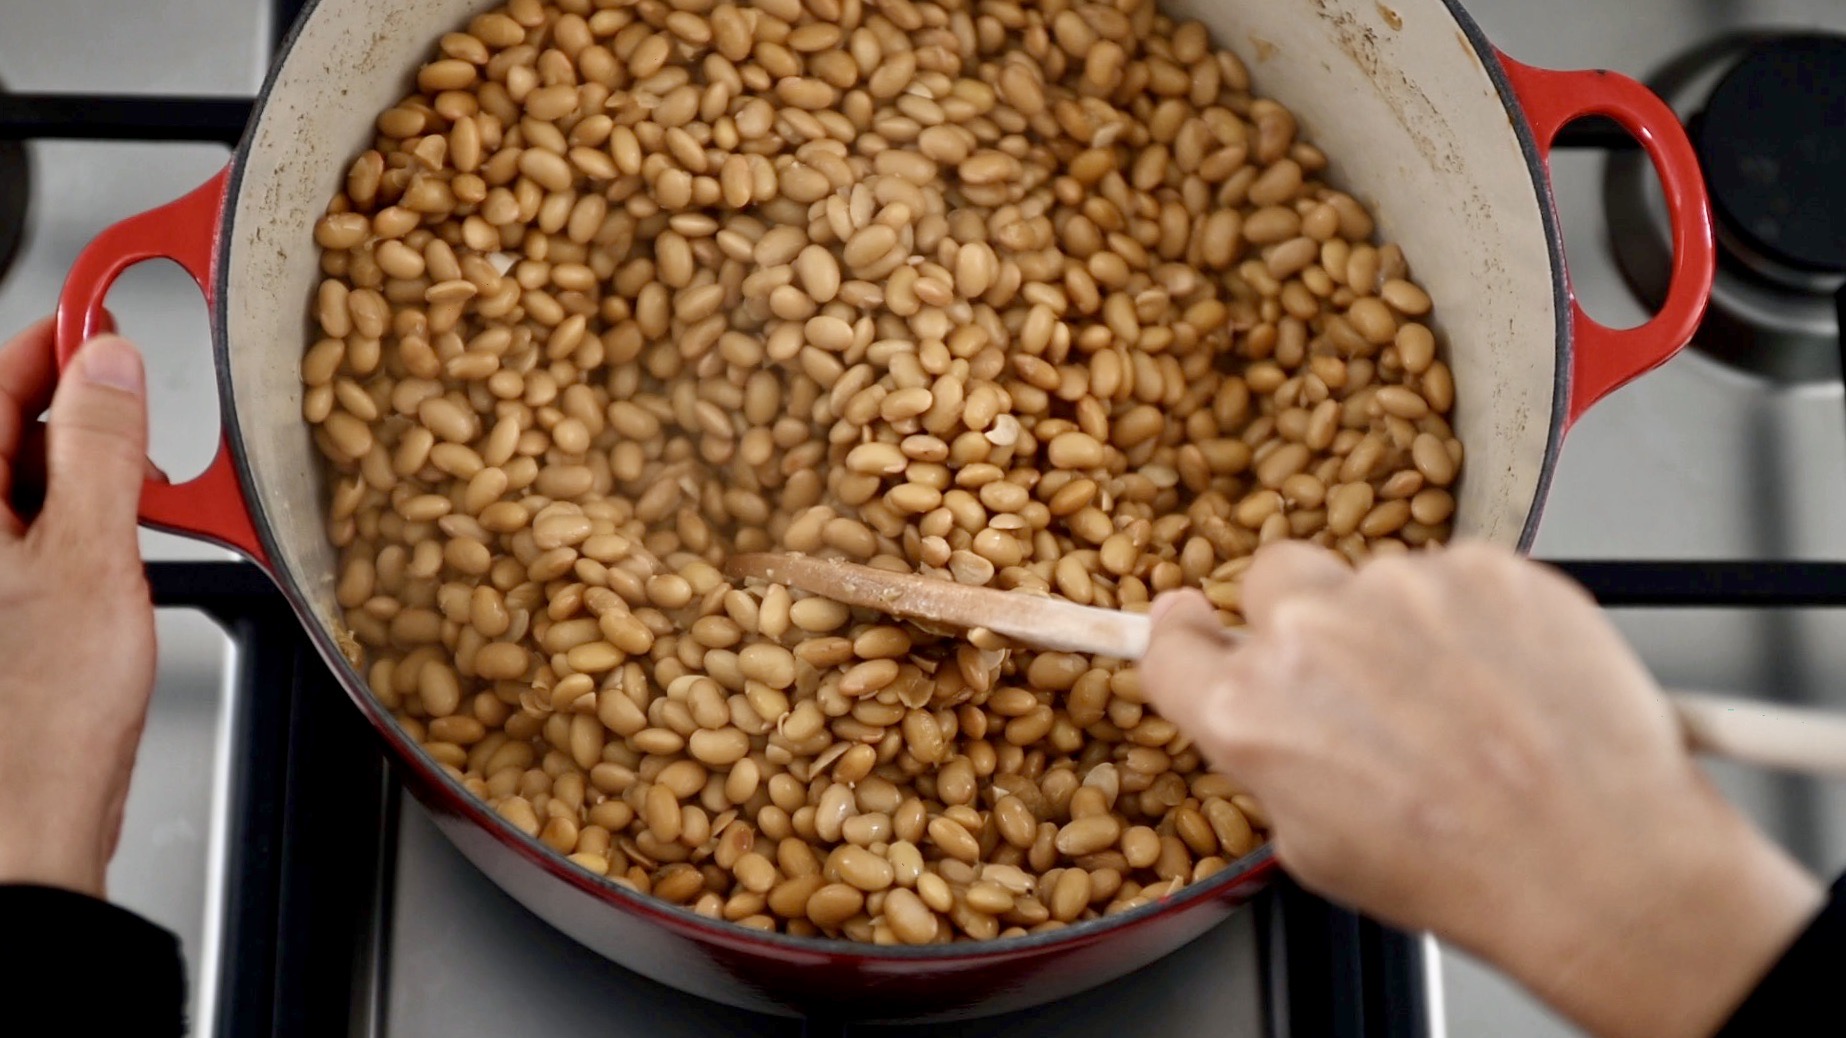
cook until soft and easy to smash
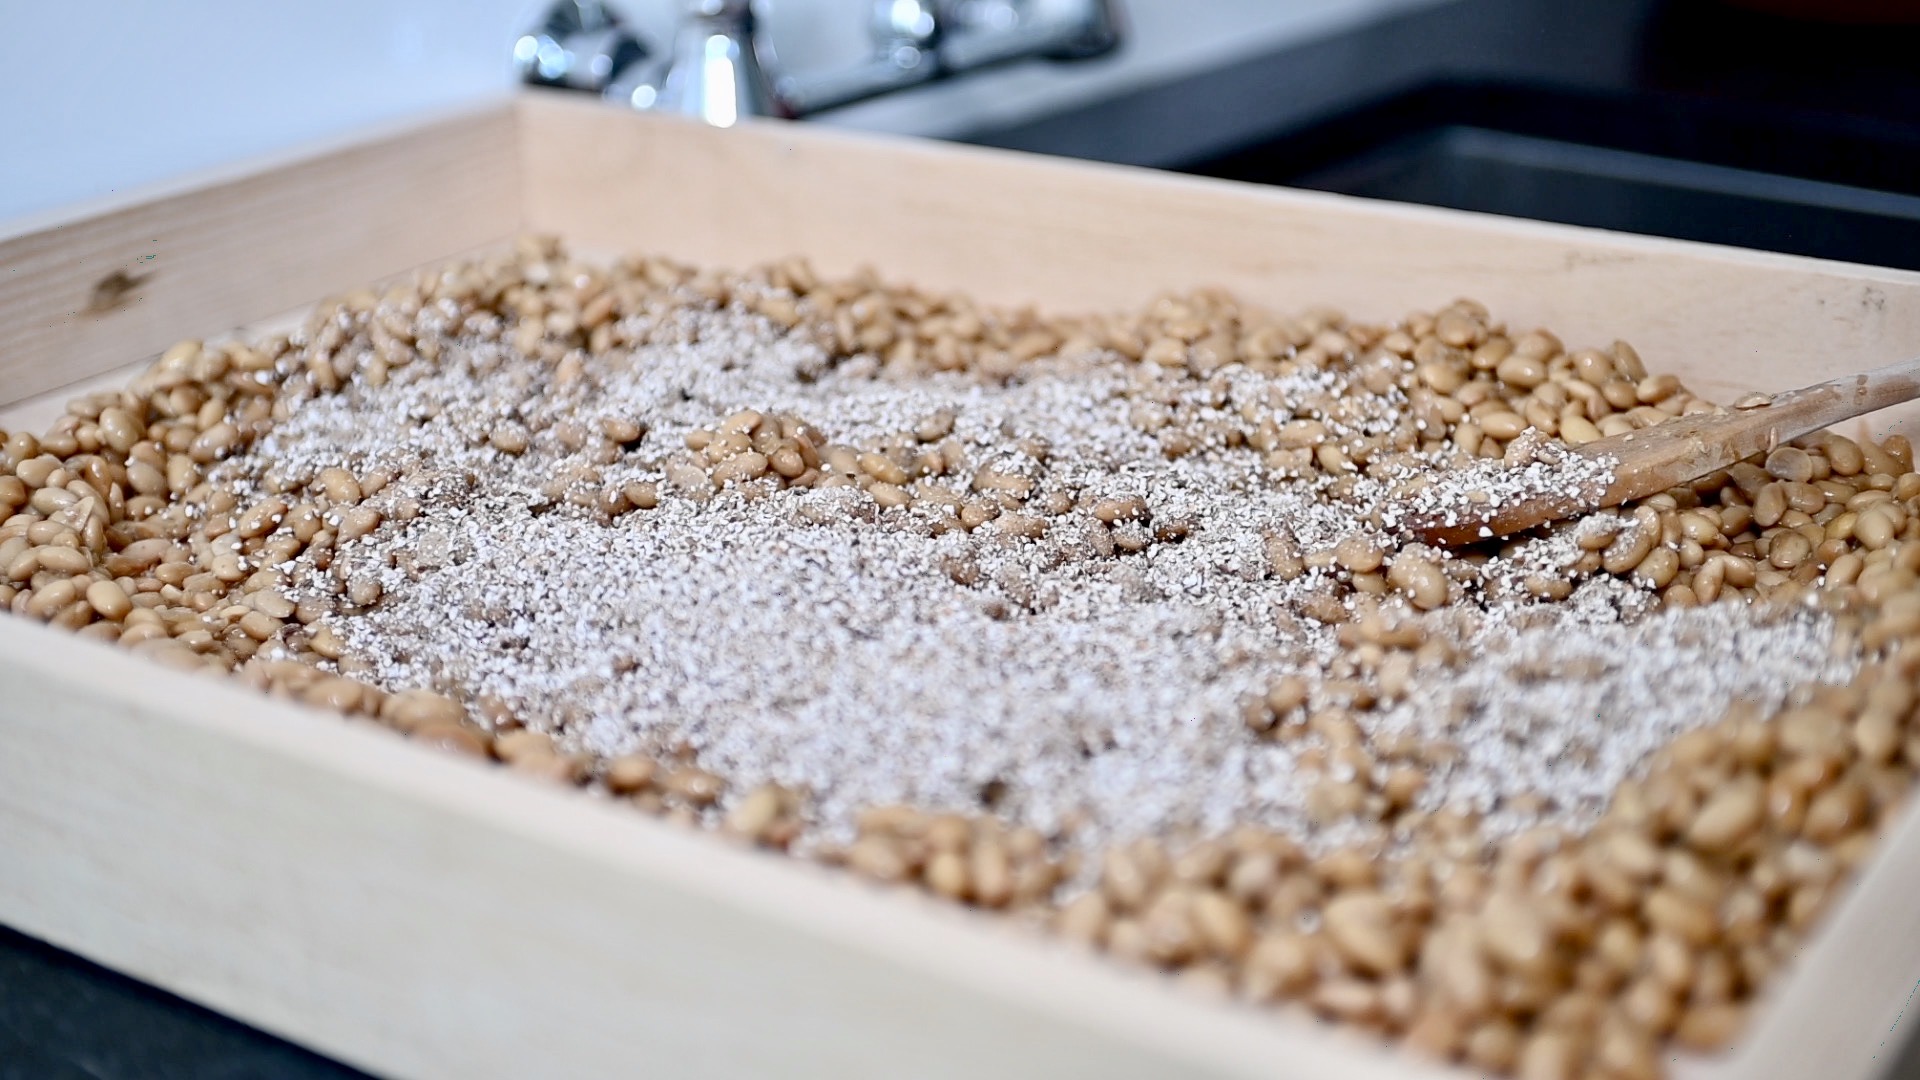
add barley meal
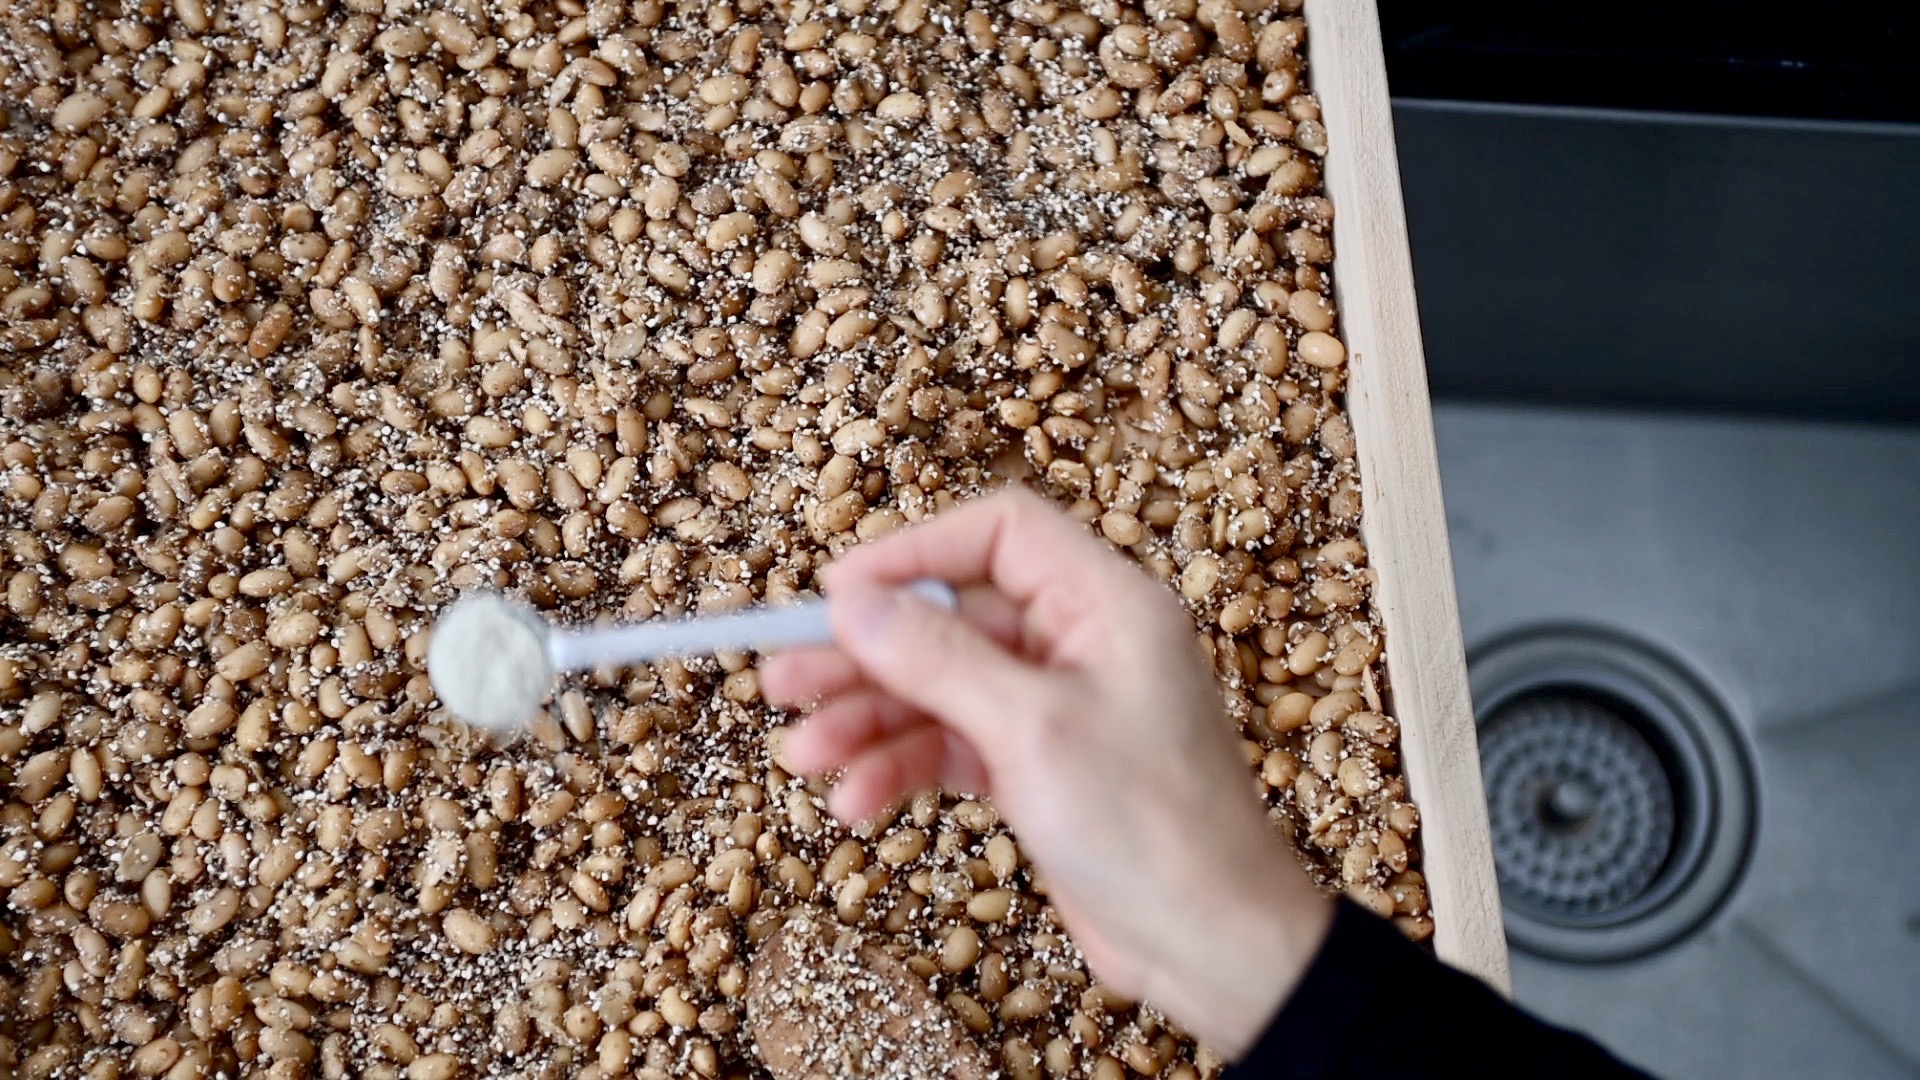
sprinkle in koji mold
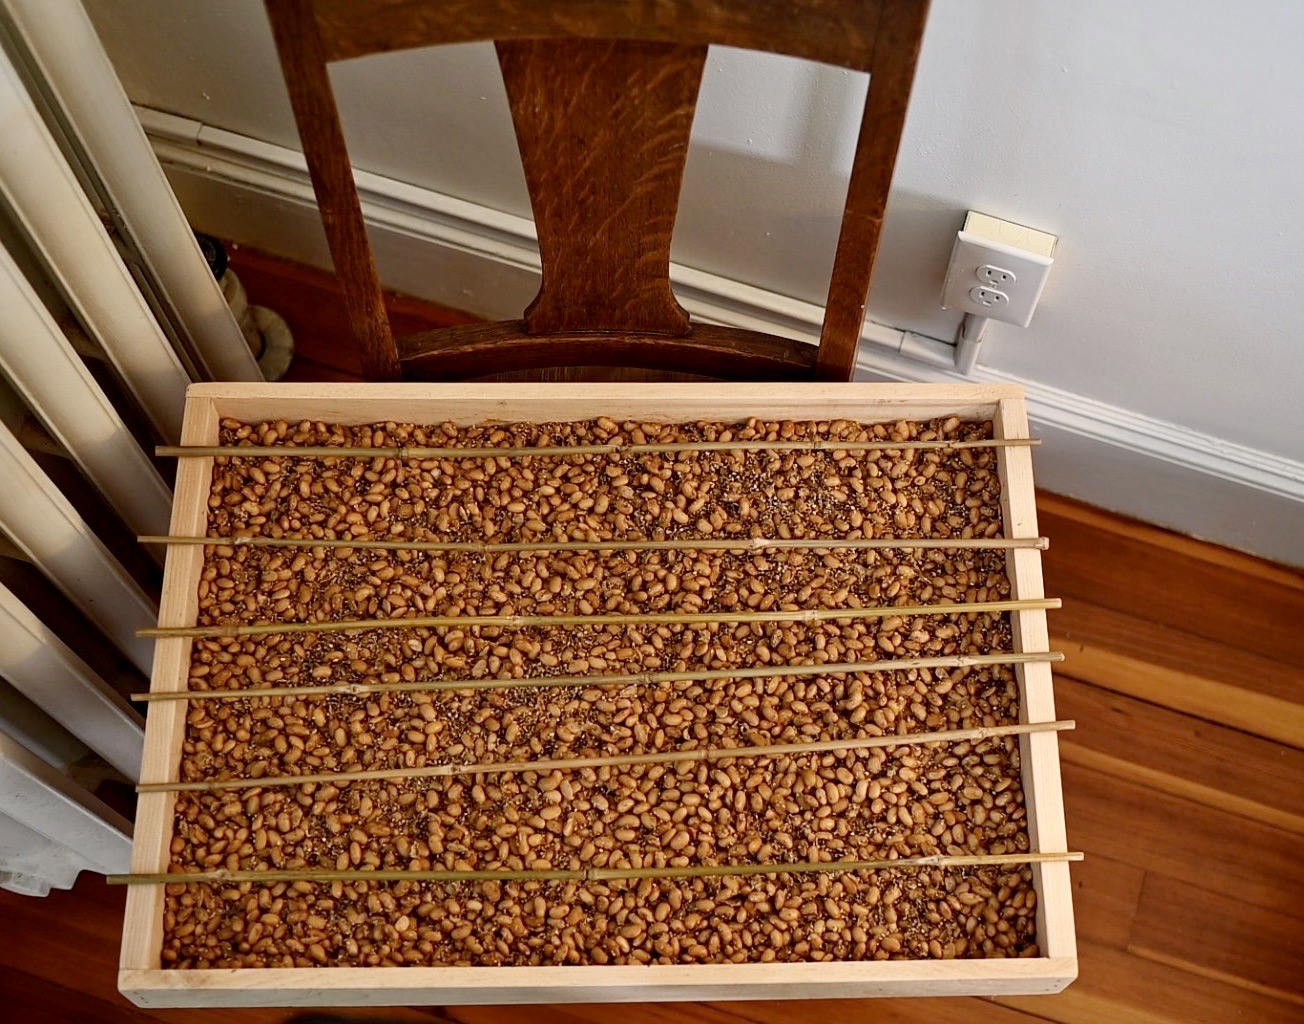
put a few bamboo sticks across the tray
mold starts to grow
the beans are covered with white mold
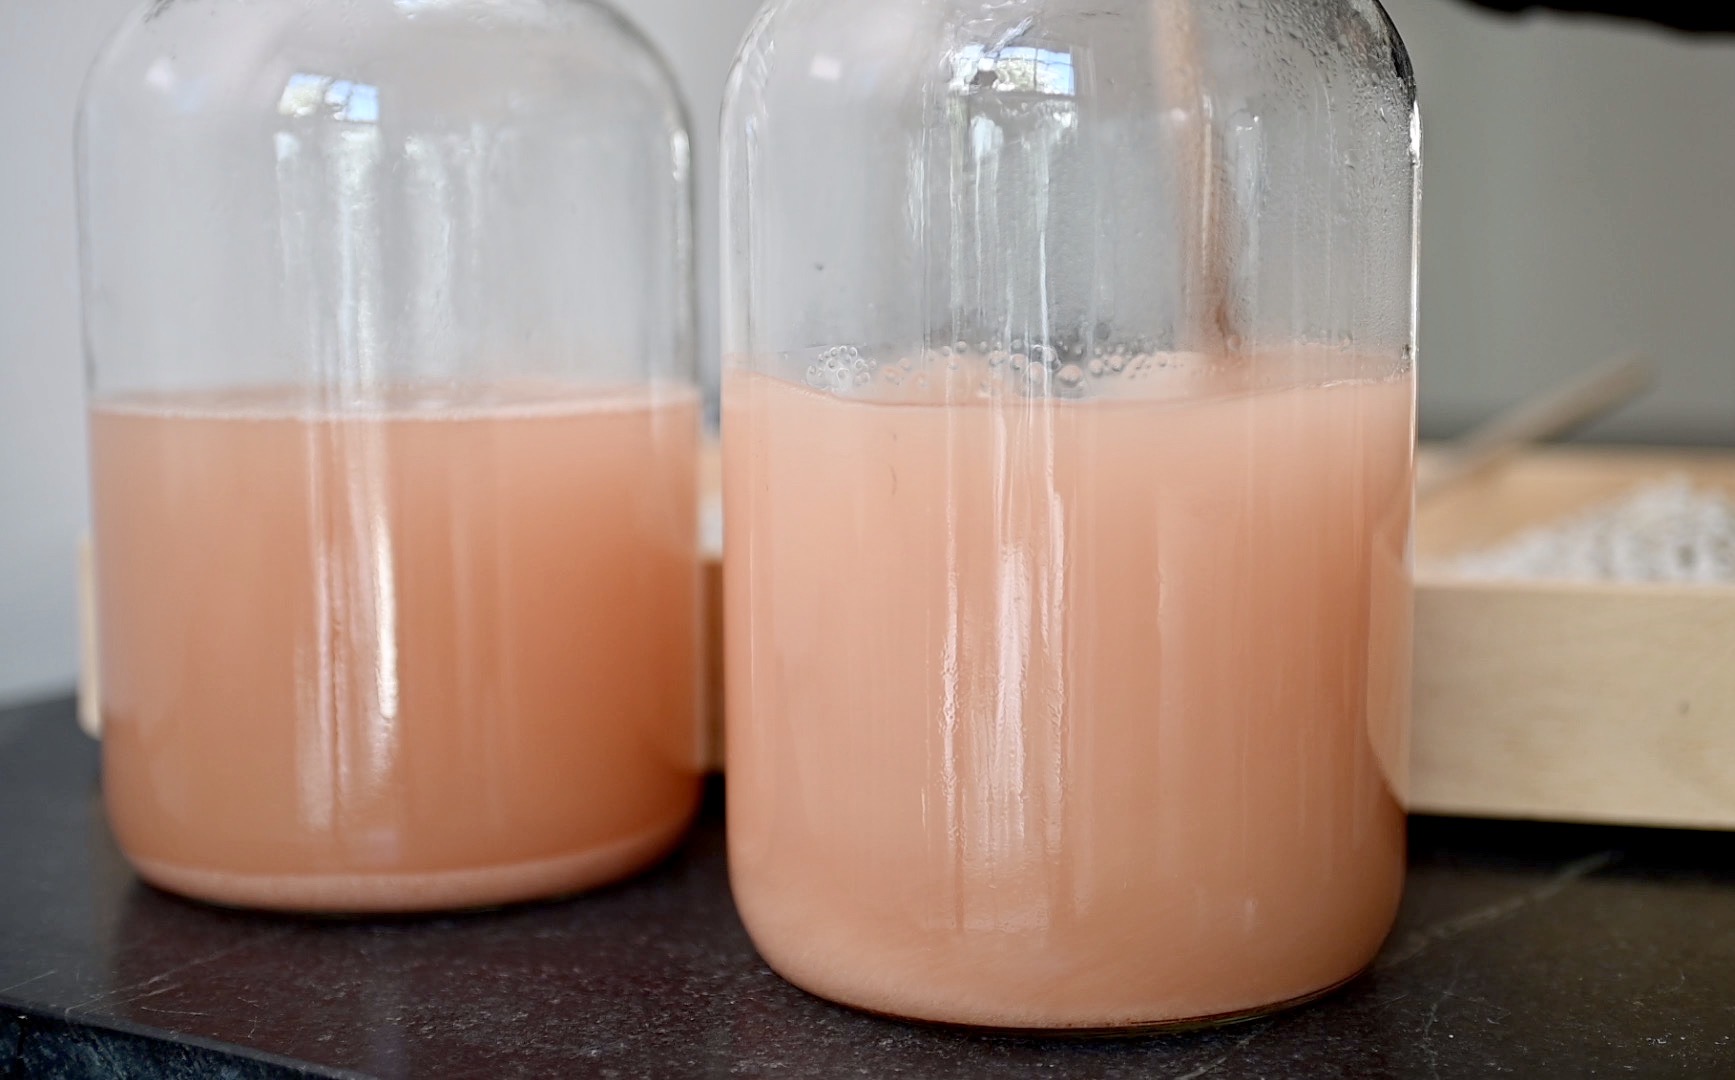
salt brine for Japanese soy sauce
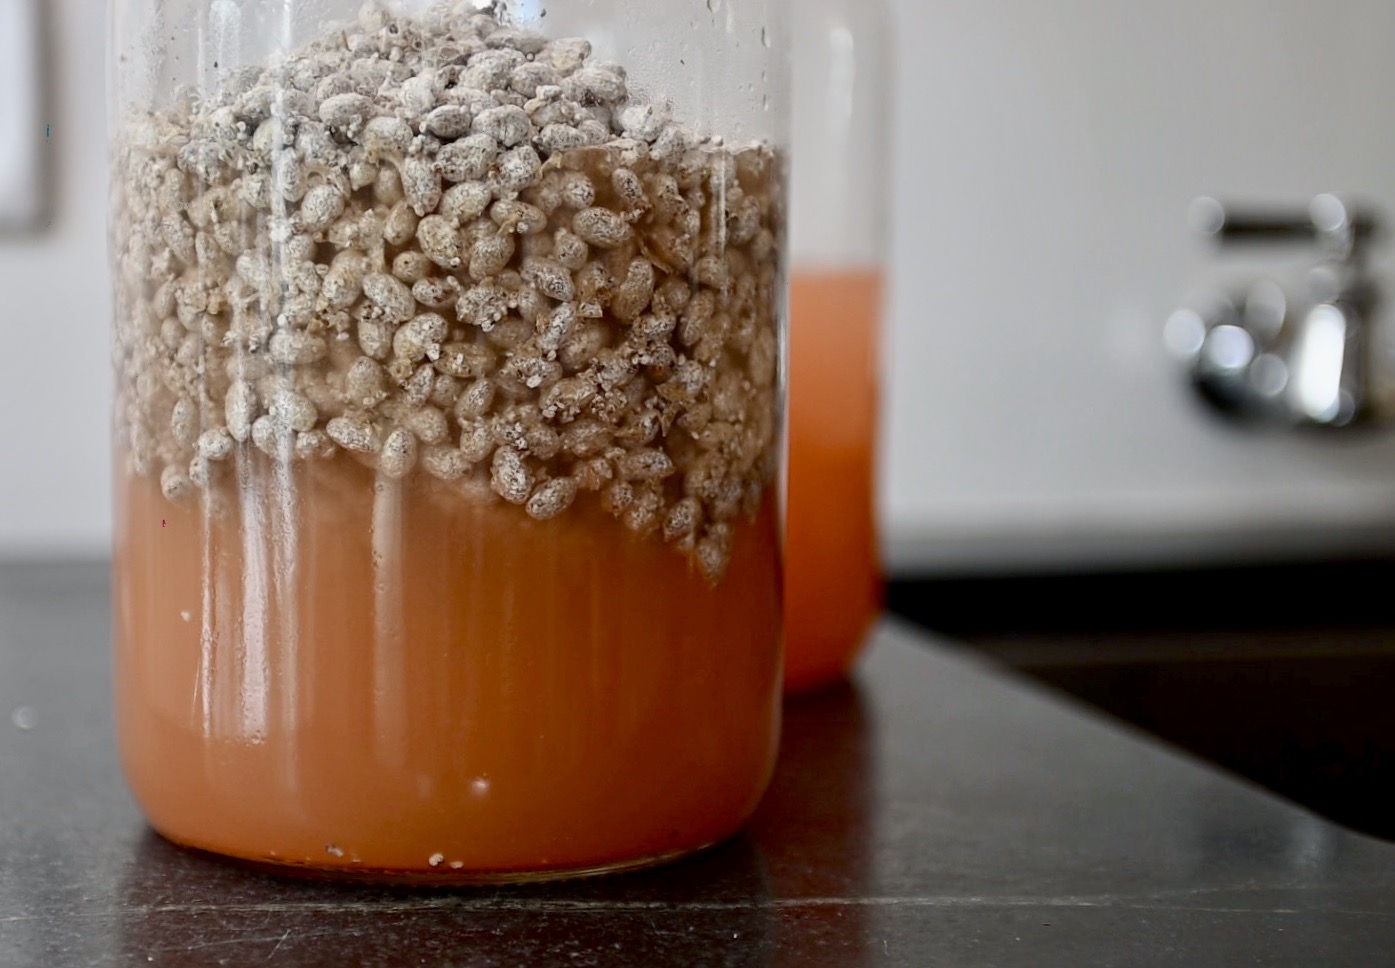
add a portion of beans to each jar
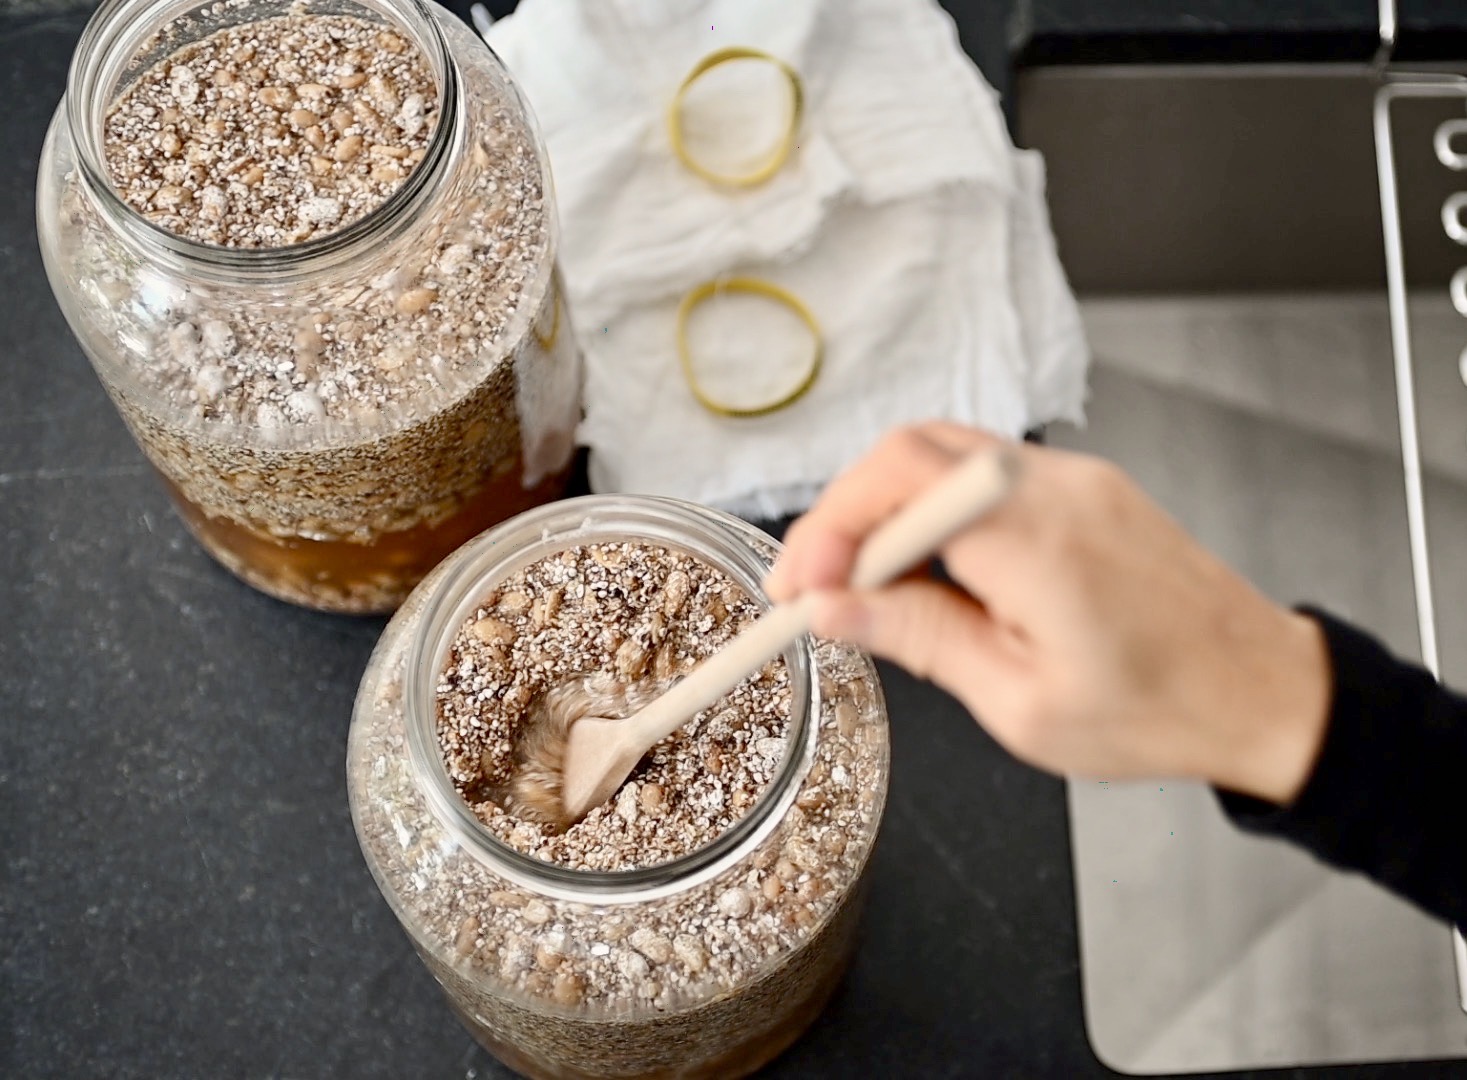
stir once a day during the first 6 weeks
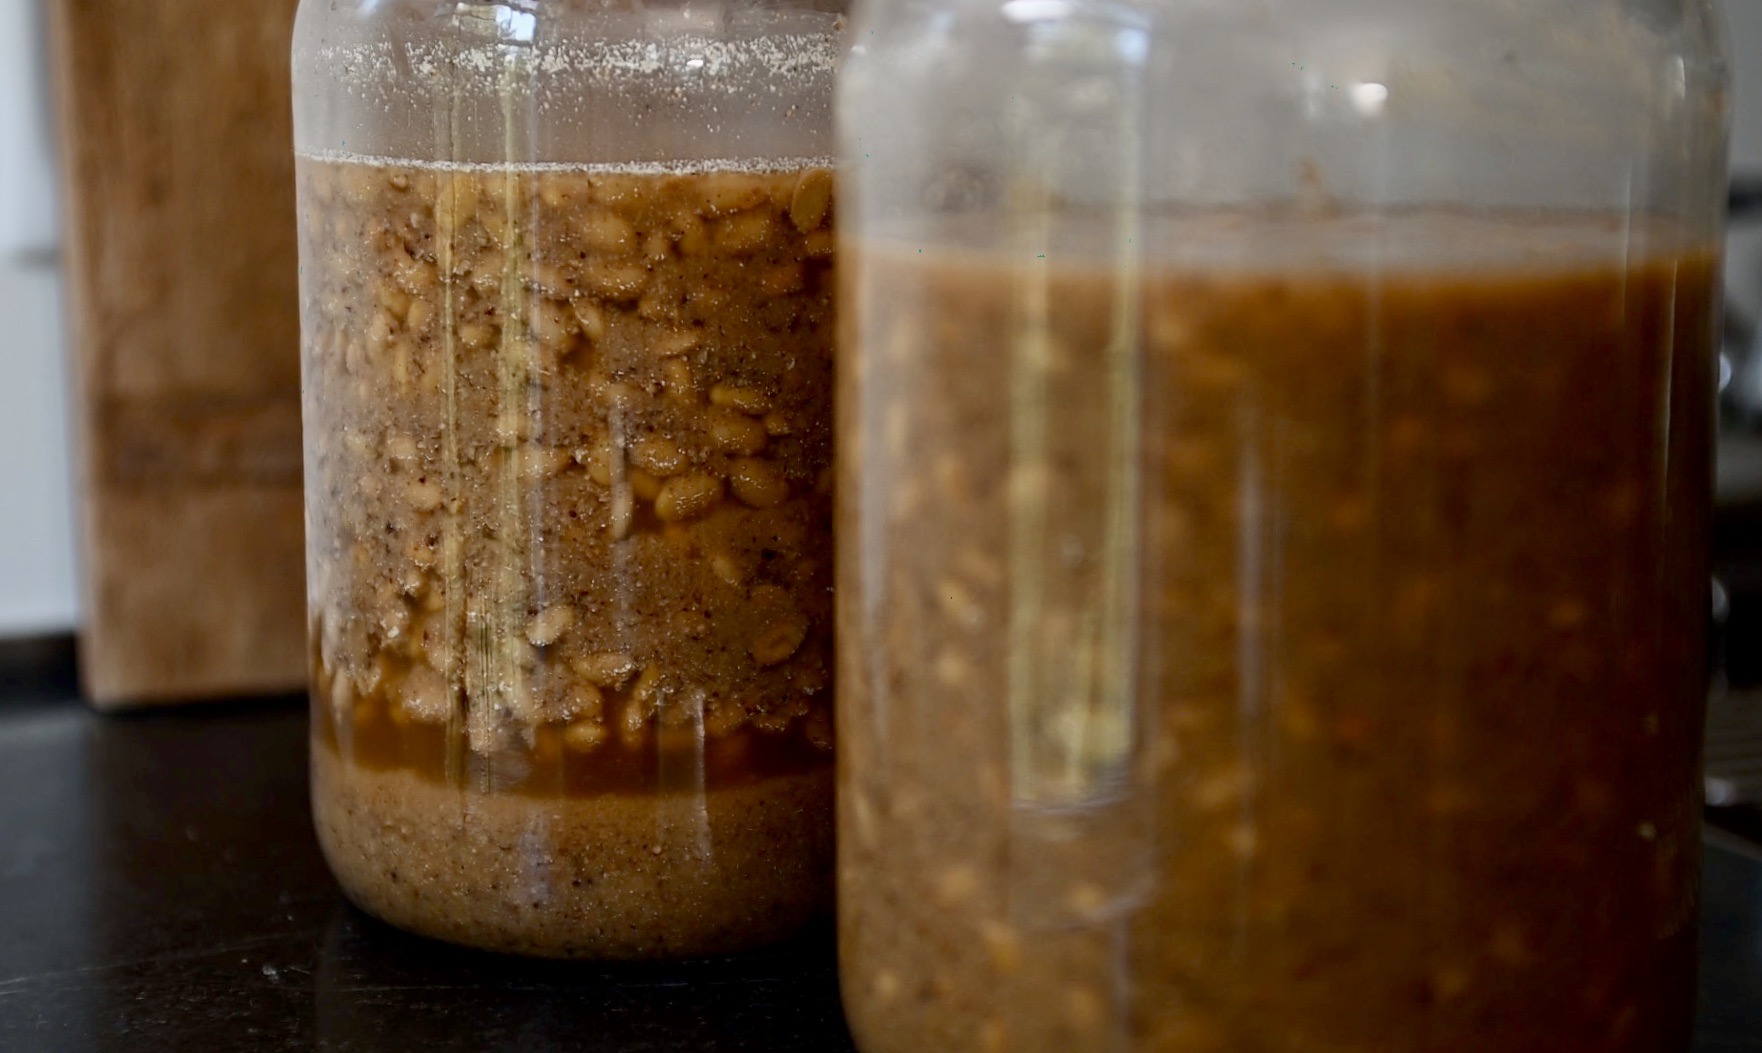
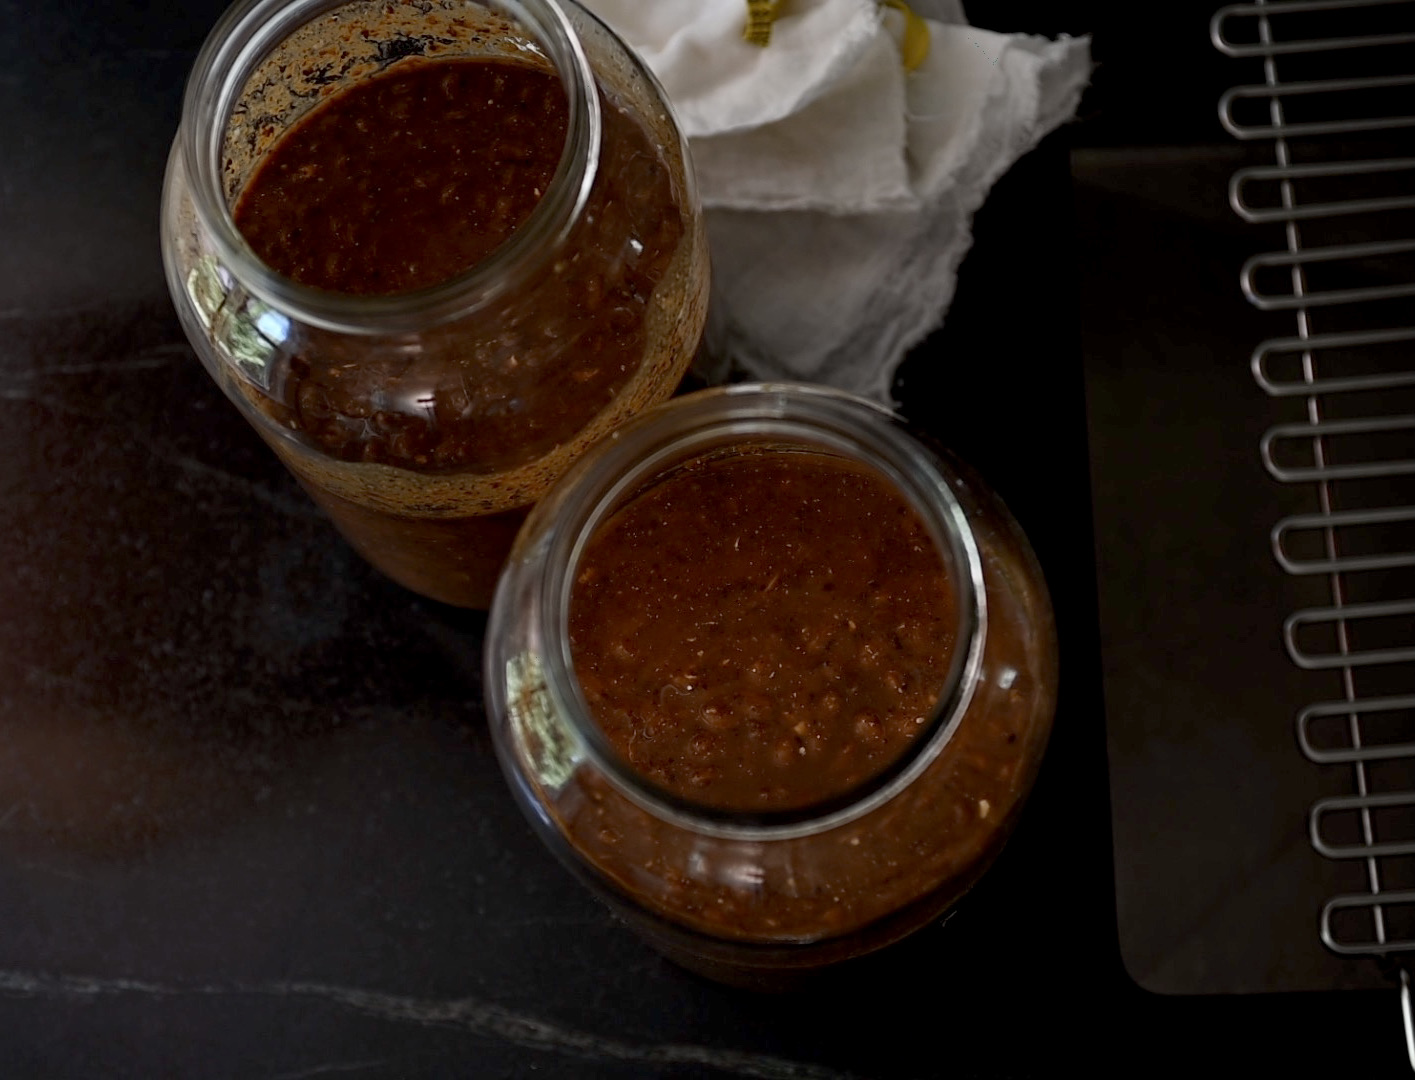
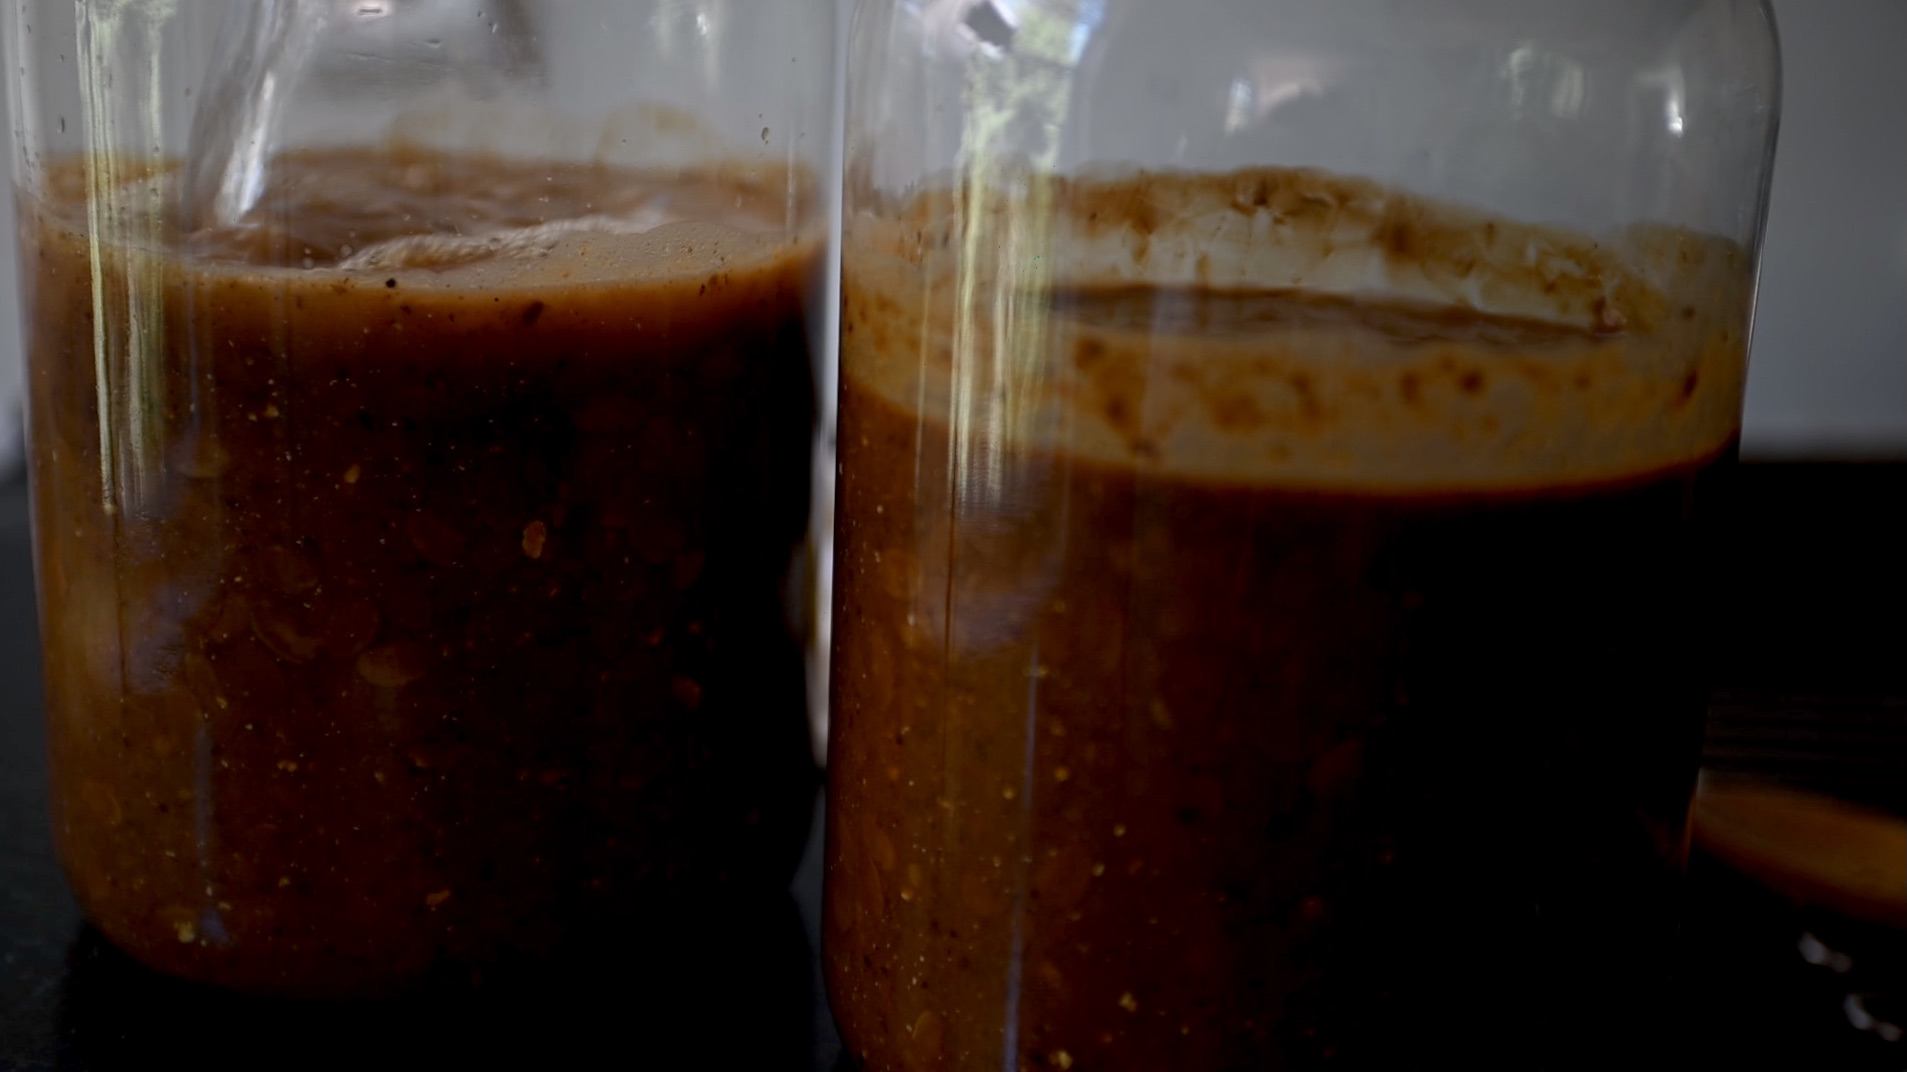
the mixture gets darker over time
I hope you make this now, so we can strain and taste it at the same time when it’s done. I’ll see you again to show you part 2 around February of 2021. Stay in touch!
Part Two, Aging
Continued from for the first part of this process, started in December 2019 and finished here in February 2021.
Here is what to do during the aging process:
- 1st month: stir the jars everyday.
- 2nd month: stir every 2-3 days. Note: around the second month or so, use a clean cloth to wipe down the inner edges of the jar This is to prevent mold from growing on it. Try doing it from time to time, or when you feel like it’s needed. I do it every 2 months or so.
- 3rd month: stir every 3-4 days.
- 4th month: stir every 5-6 day.
- 5-10th month: stir them once a week.
- Note: by month 11, the mash is getting very thick and it’s hard to stir. If you like, add 2 cups of filtered water to it, and no need to add any more salt. I have done it and it’s fine, resulting in more soy sauce. If you decide to add more water, stir it every day for the next 2 weeks and once a week after that.
- 11-14th month: skip step 6 if you don’t want to add water. Stirring it every 2 weeks is enough.
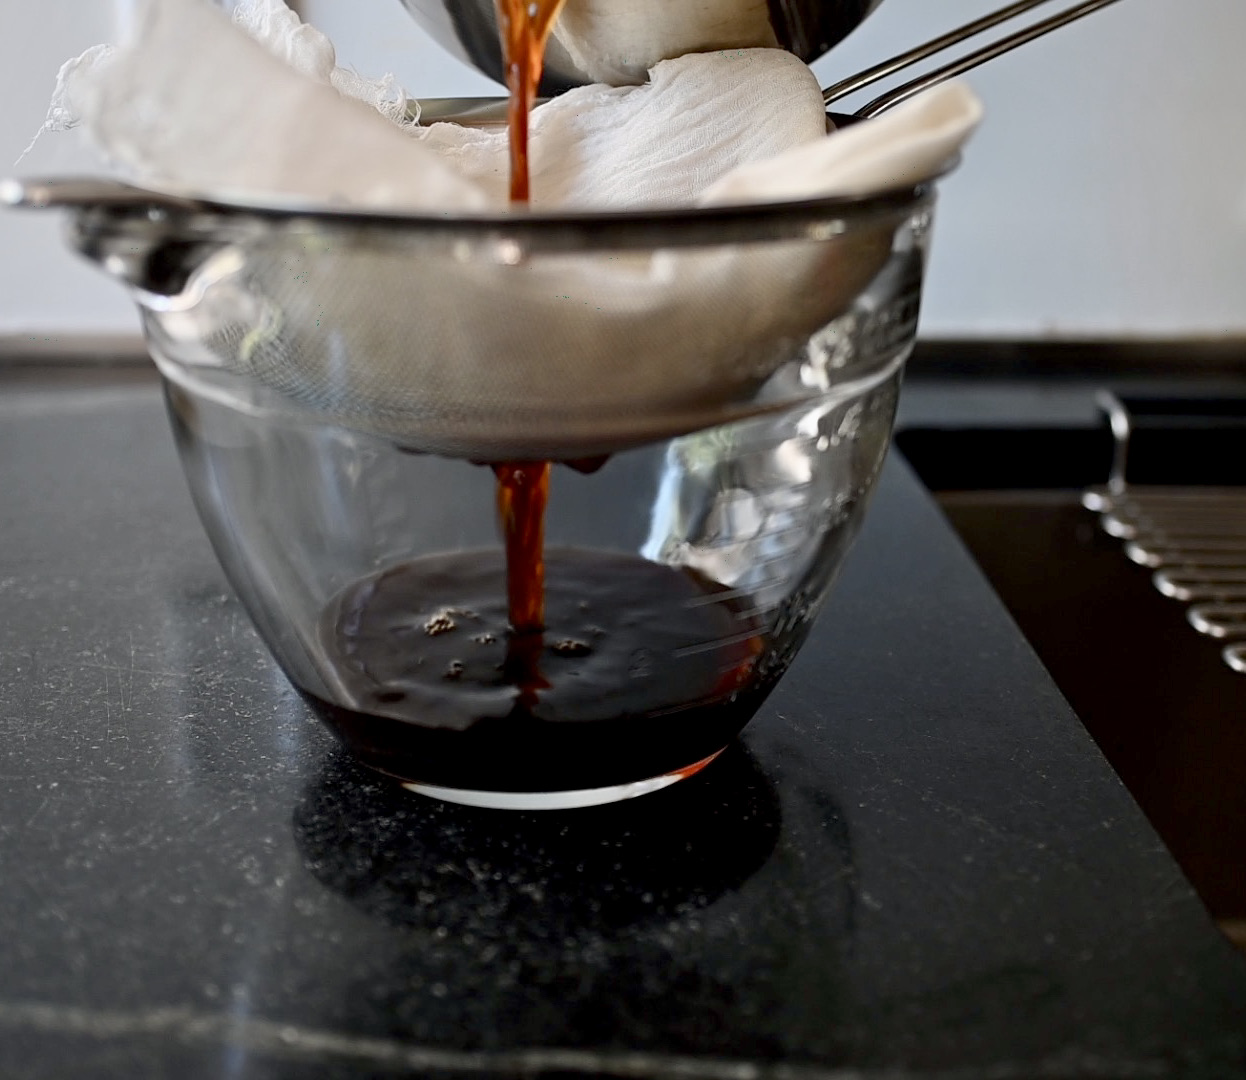
- At the end of month 14, strain it through a cheesecloth placed in a strainer with a container to catch the sauce underneath. Letting it drip without squeezing it is easier. It takes a few hours, but letting it drip overnight is the most convenient. This way you don’t have to deal with the messiness from squeezing.
- The next day, you will have nice fermented soy sauce and bean paste. Now, you need to use your own judgment whether or not to boil your soy sauce. I made 2 jars of it and only boiled one. After boiling the first jar, I didn’t see the reason to boil the second. I watched both jars closely throughout the process and I was comfortable to use it without further boiling.
- If you do boil it, let it cool completely before storing it in glass bottles. You can leave it in a pantry and use it like you do with commercial soy sauce. If you don’t boil it, keeping it refrigerated might be a better idea. That’s what I do.
- As for the bean paste, keep it in glass jars and refrigerate it and use it as miso. Note: at this point, I don’t know how long it will keep.
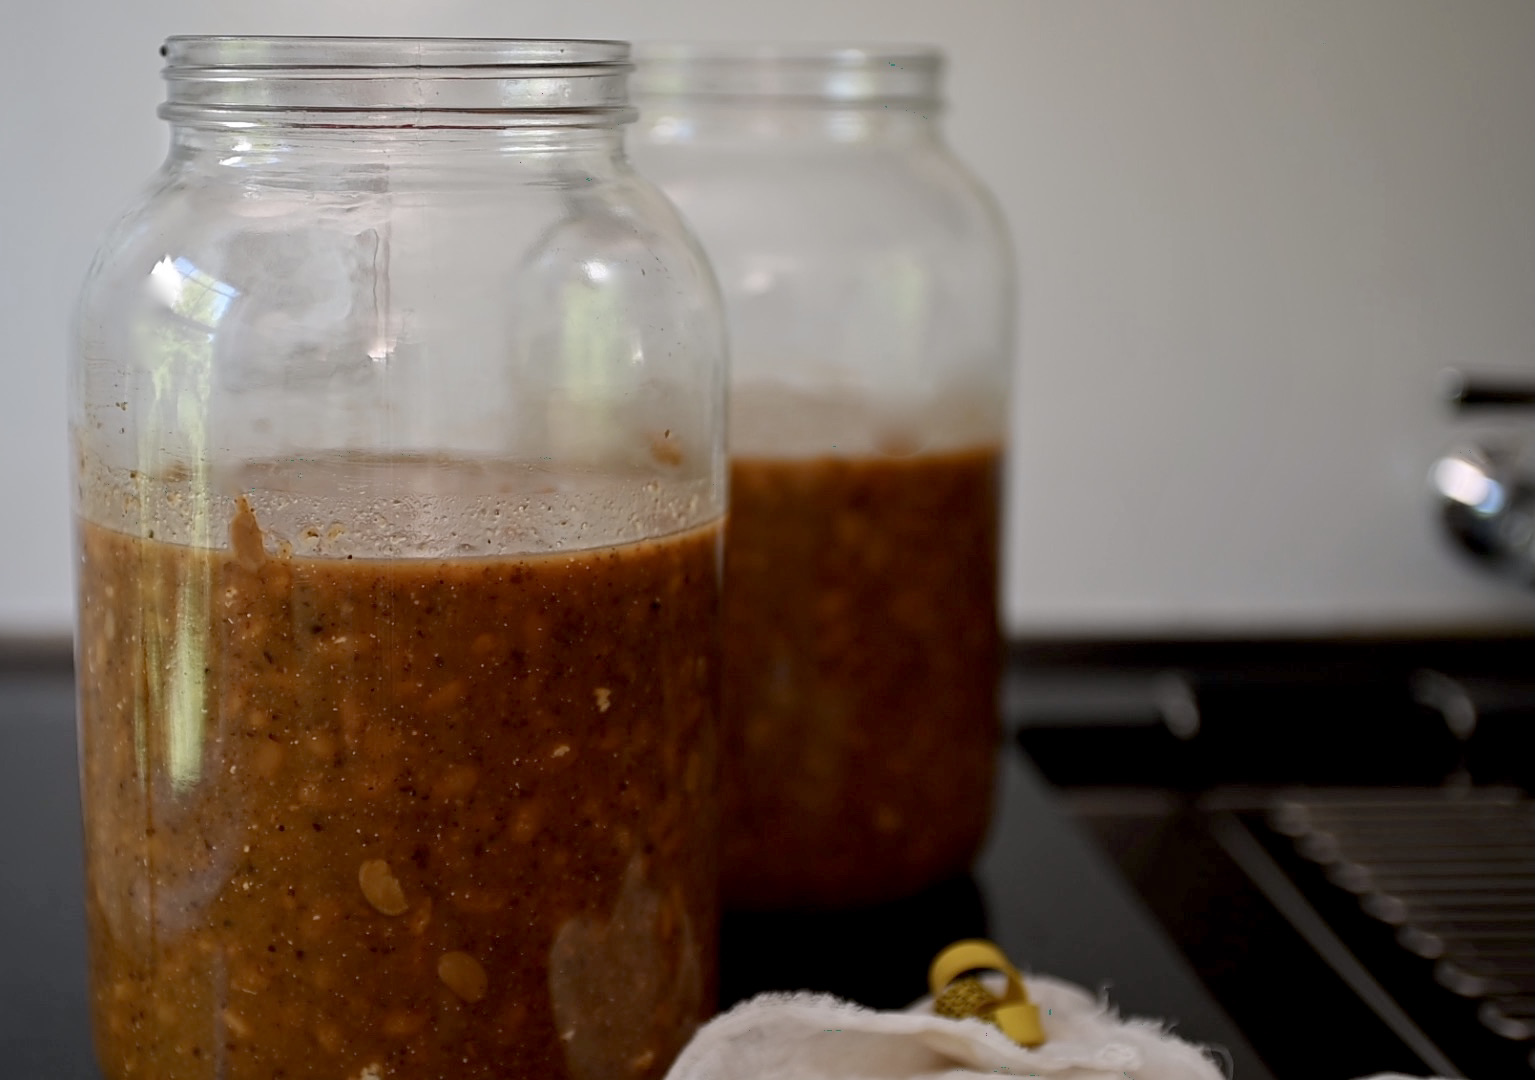
thick soy sauce mash
adding water to the mash
soy sauce separated at the bottom of the added water jar
it’s ready to strain
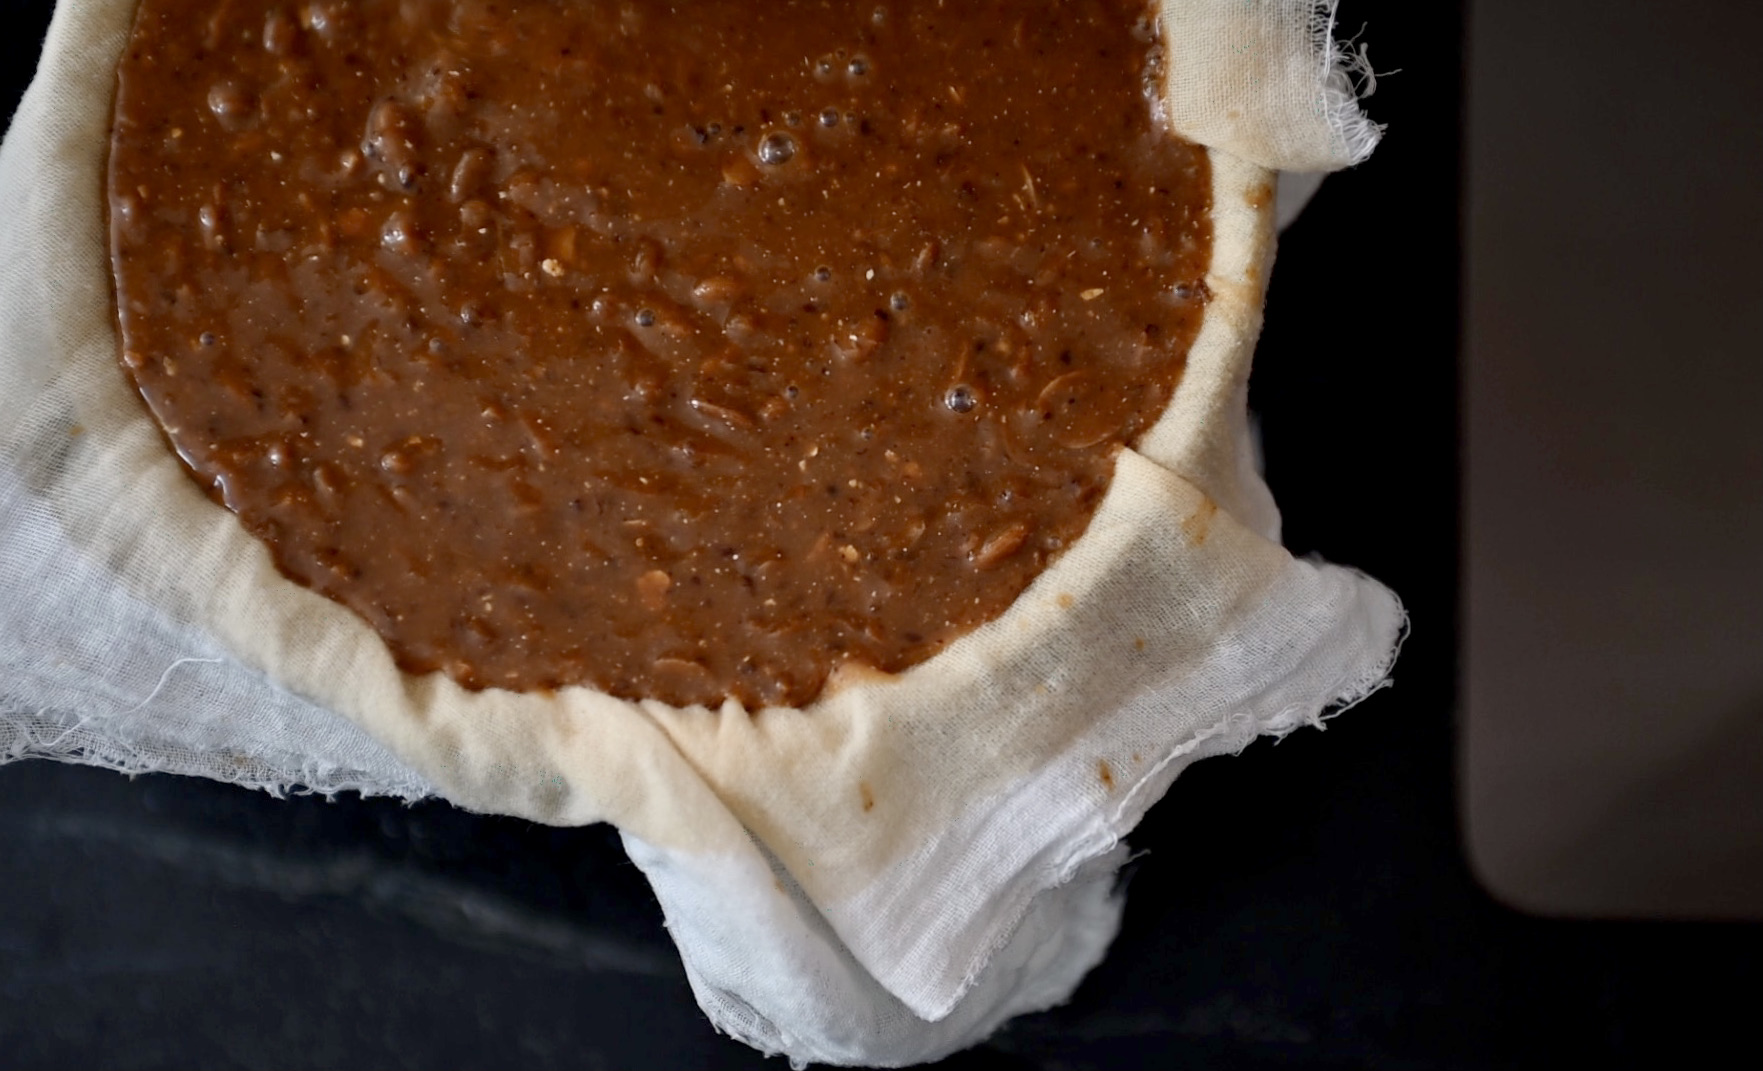
straining the mash through a cheesecloth
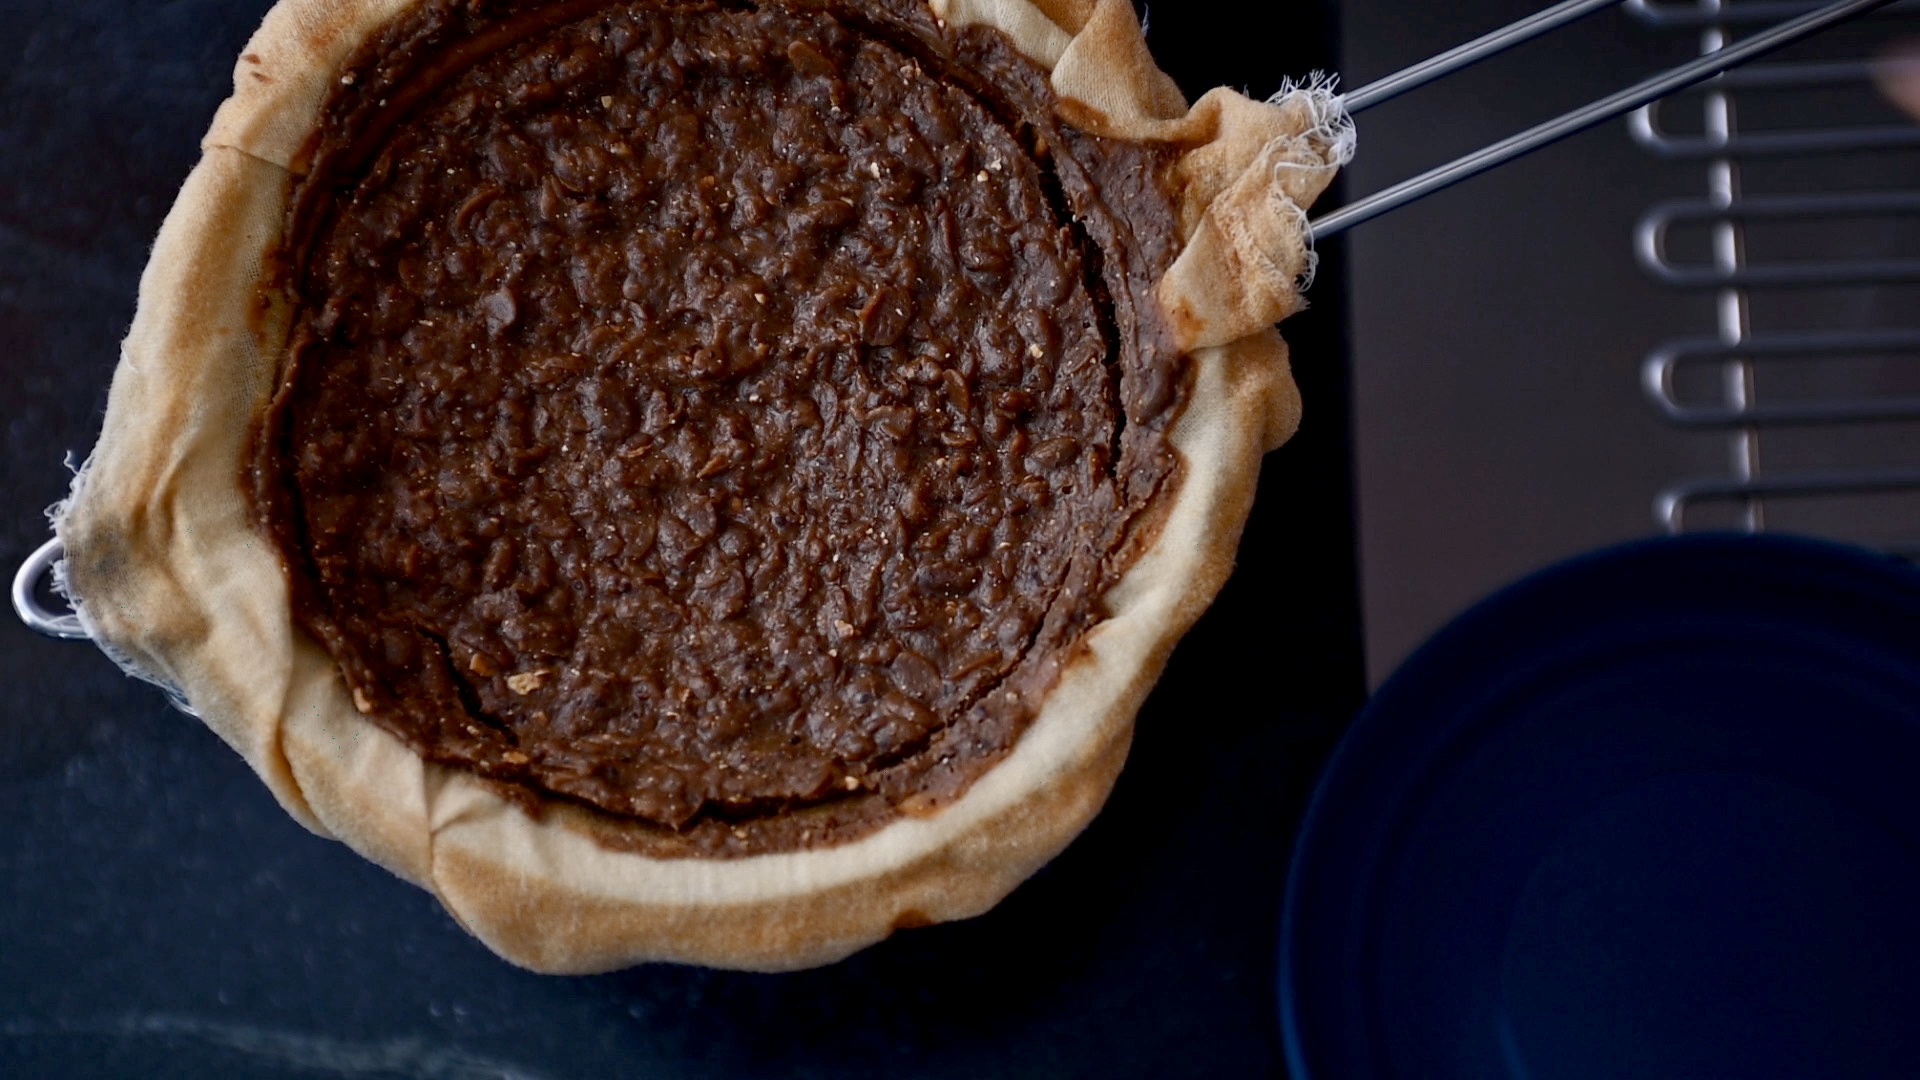
fermented soy bean paste
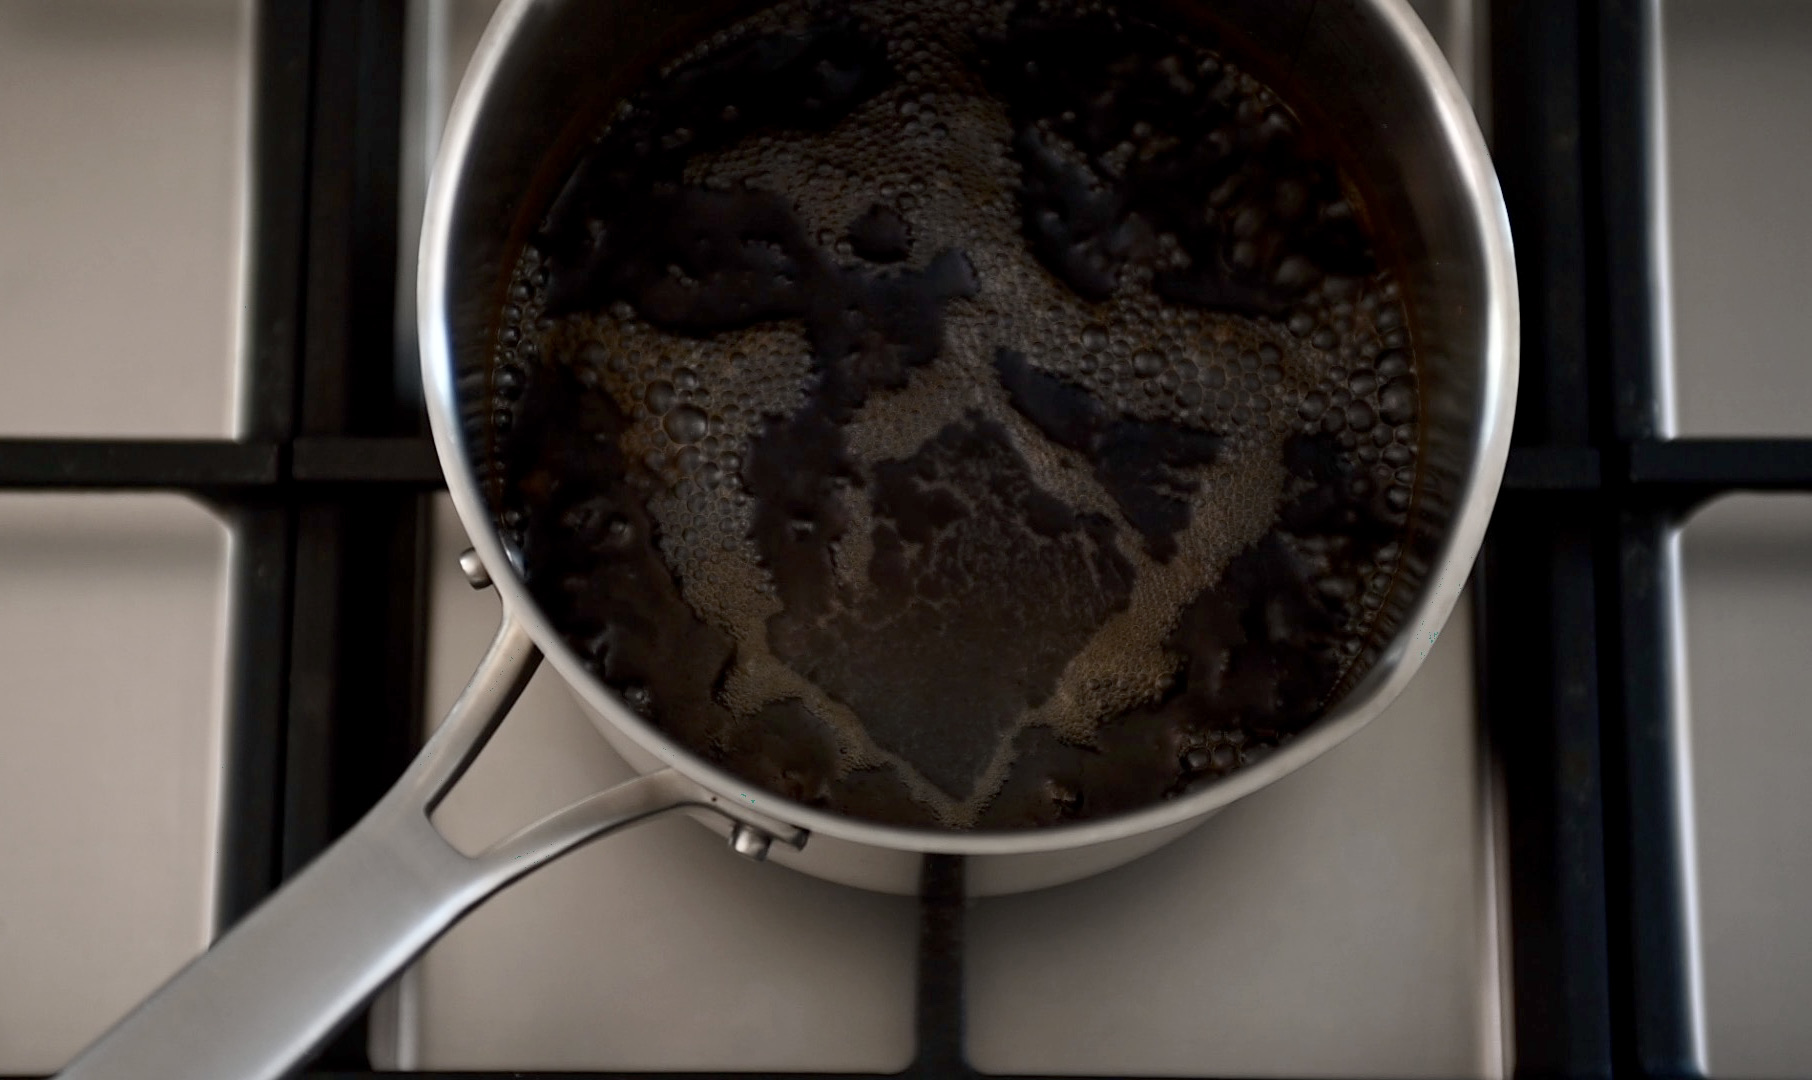
boil it if you prefer
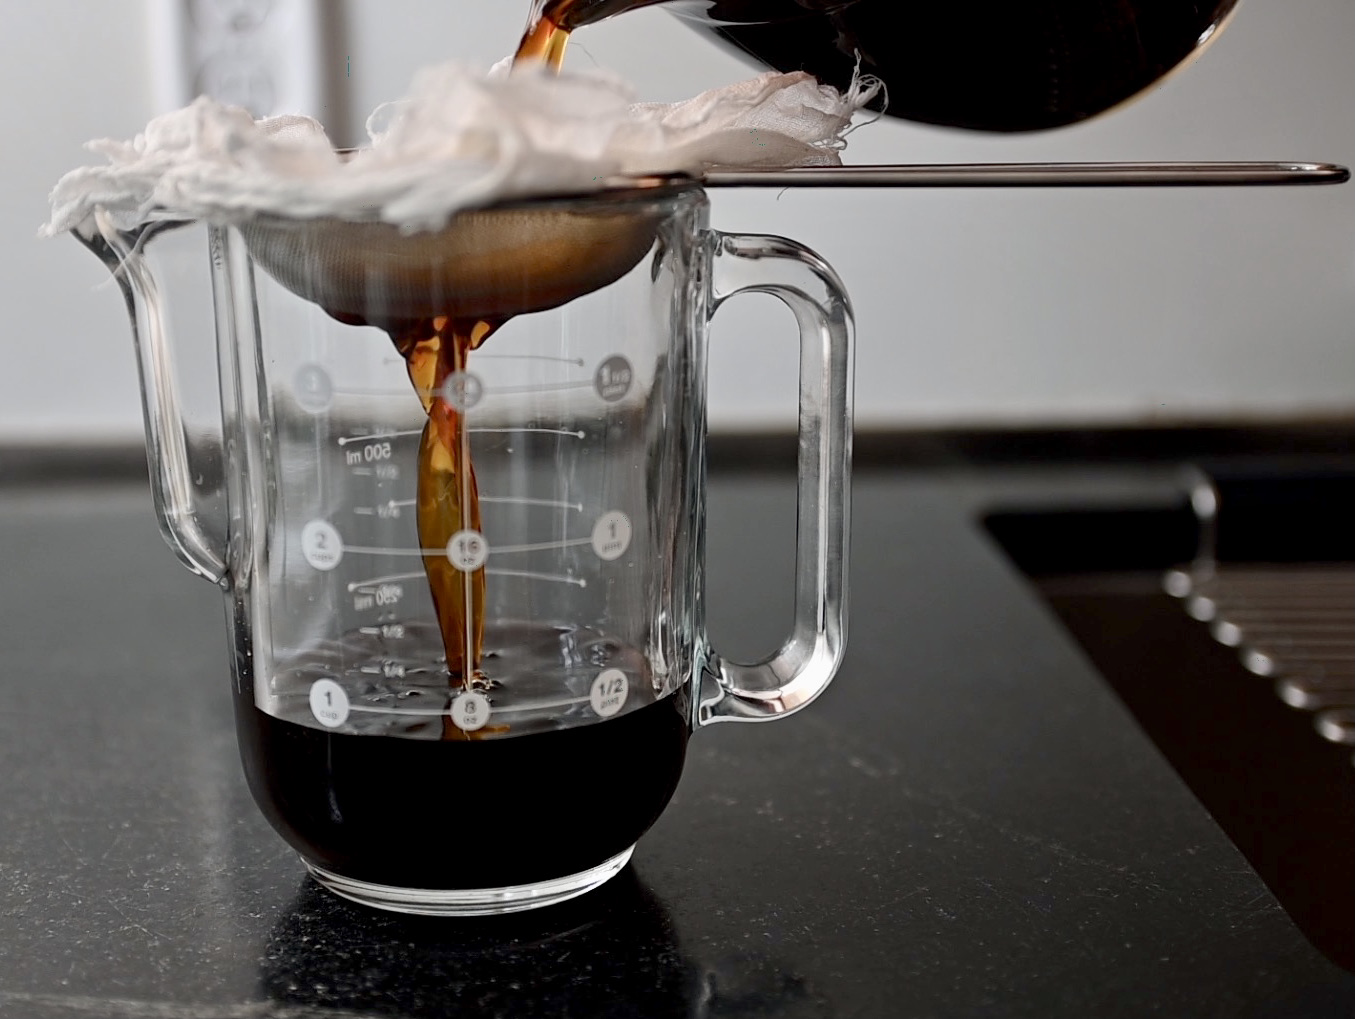
filter it again
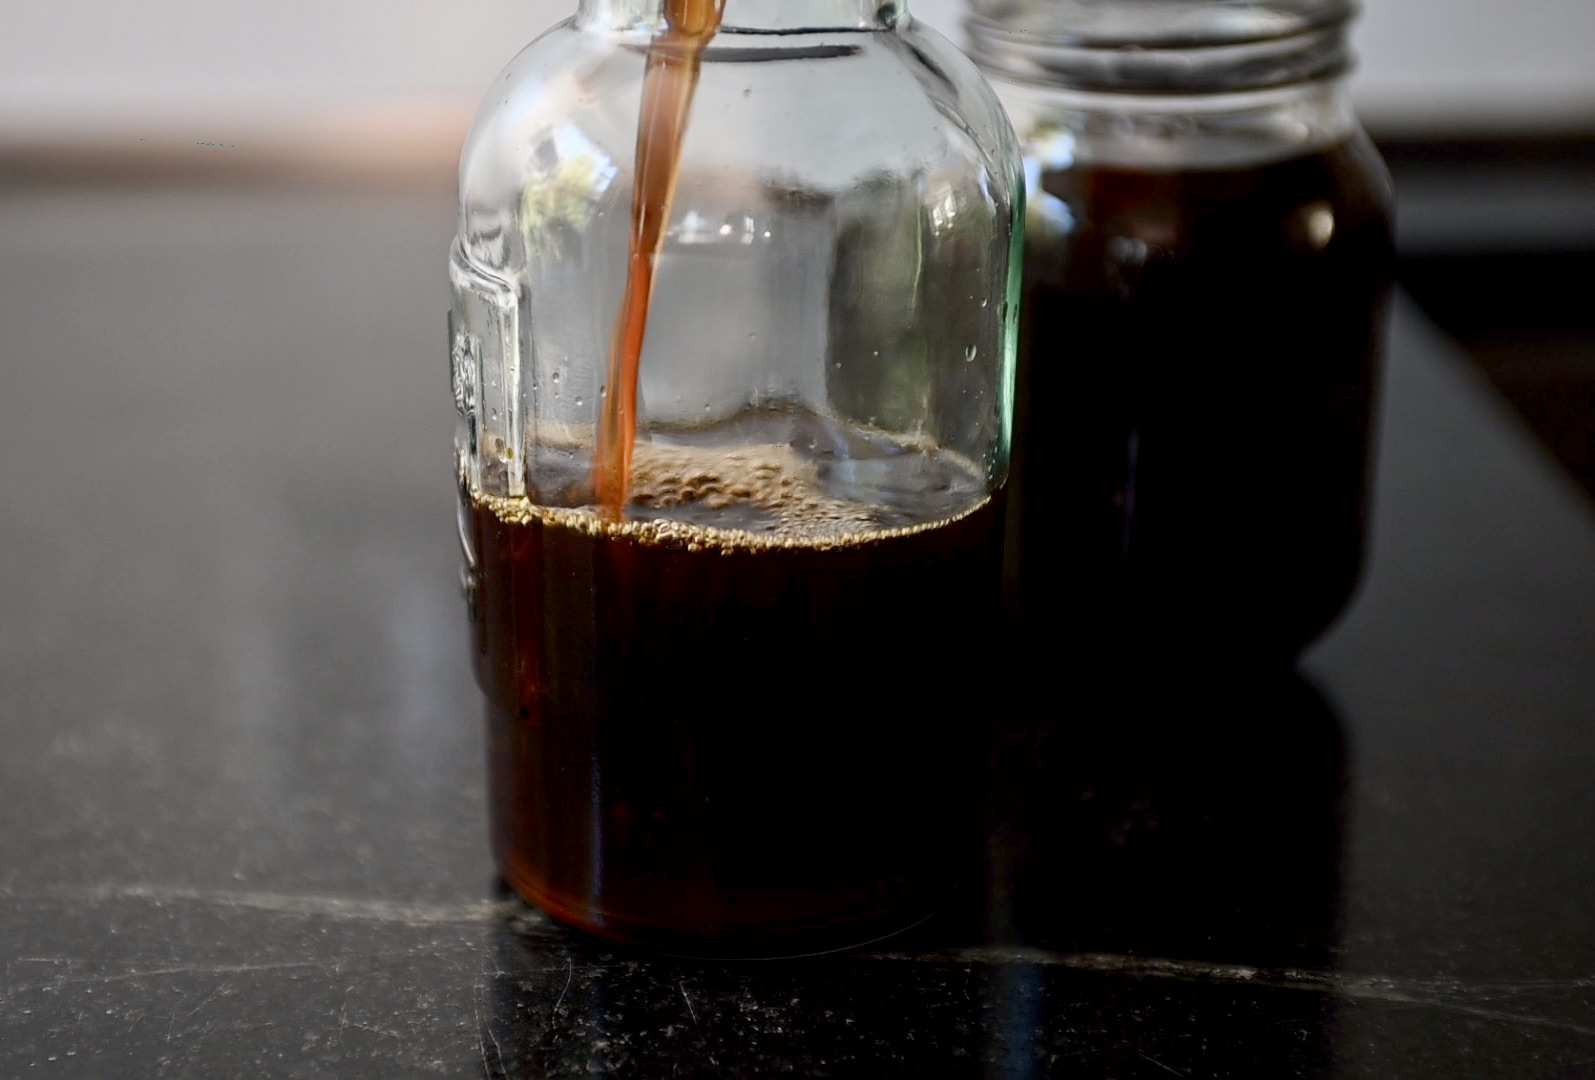
store it in glass bottles
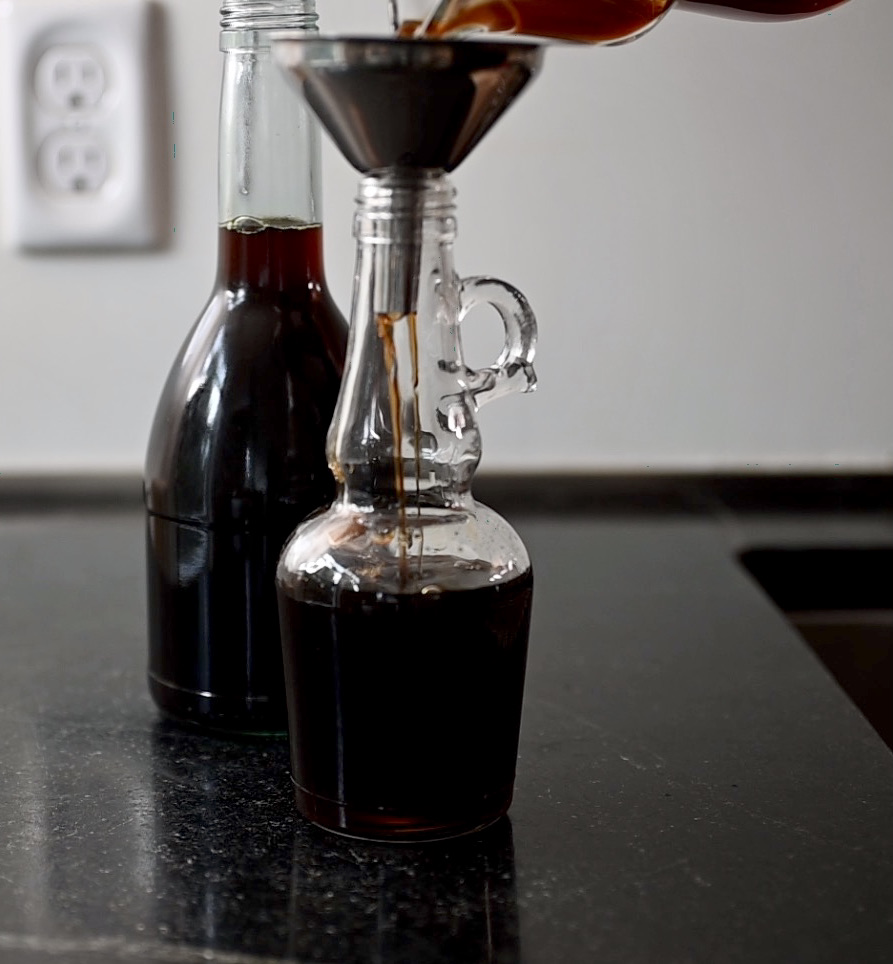
fermented soy sauce
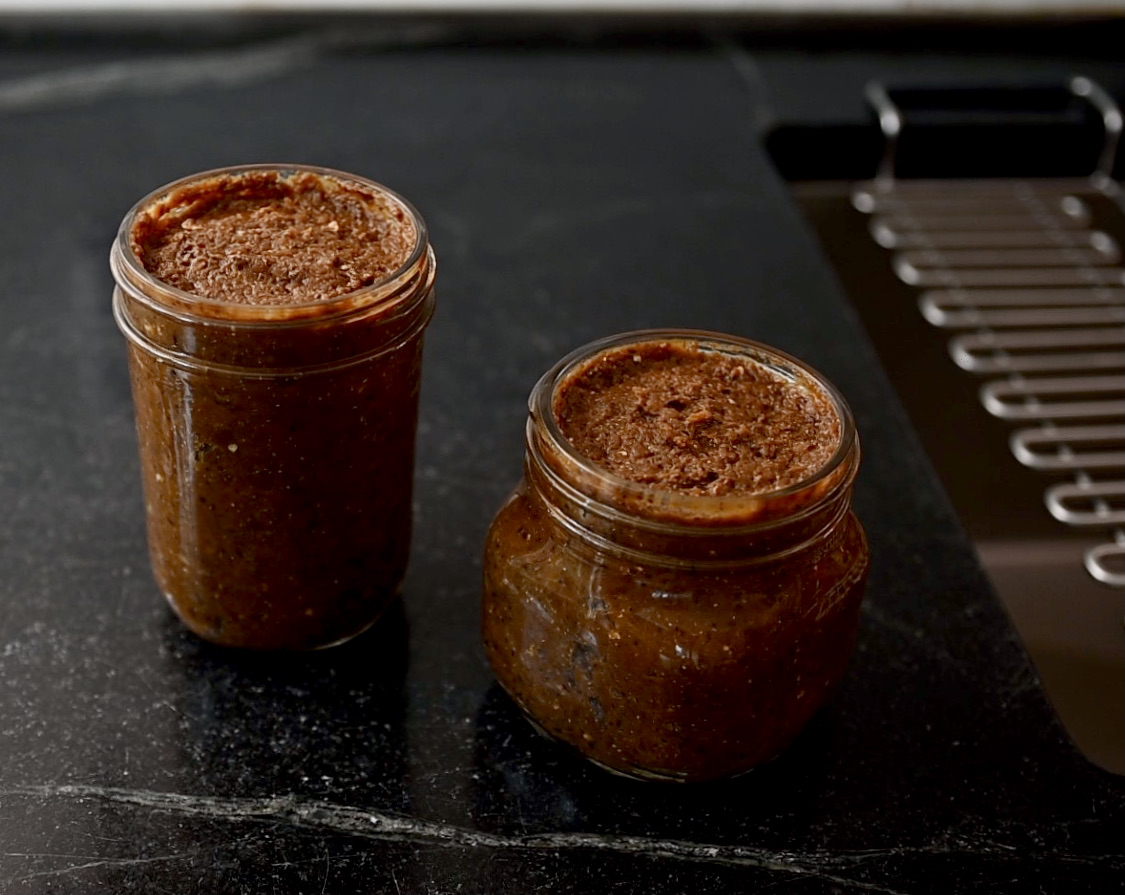
keep the paste in glass jars
I hope you find this helpful for making your own Japanese soy sauce!
hi did you use pink Himalayan salt?