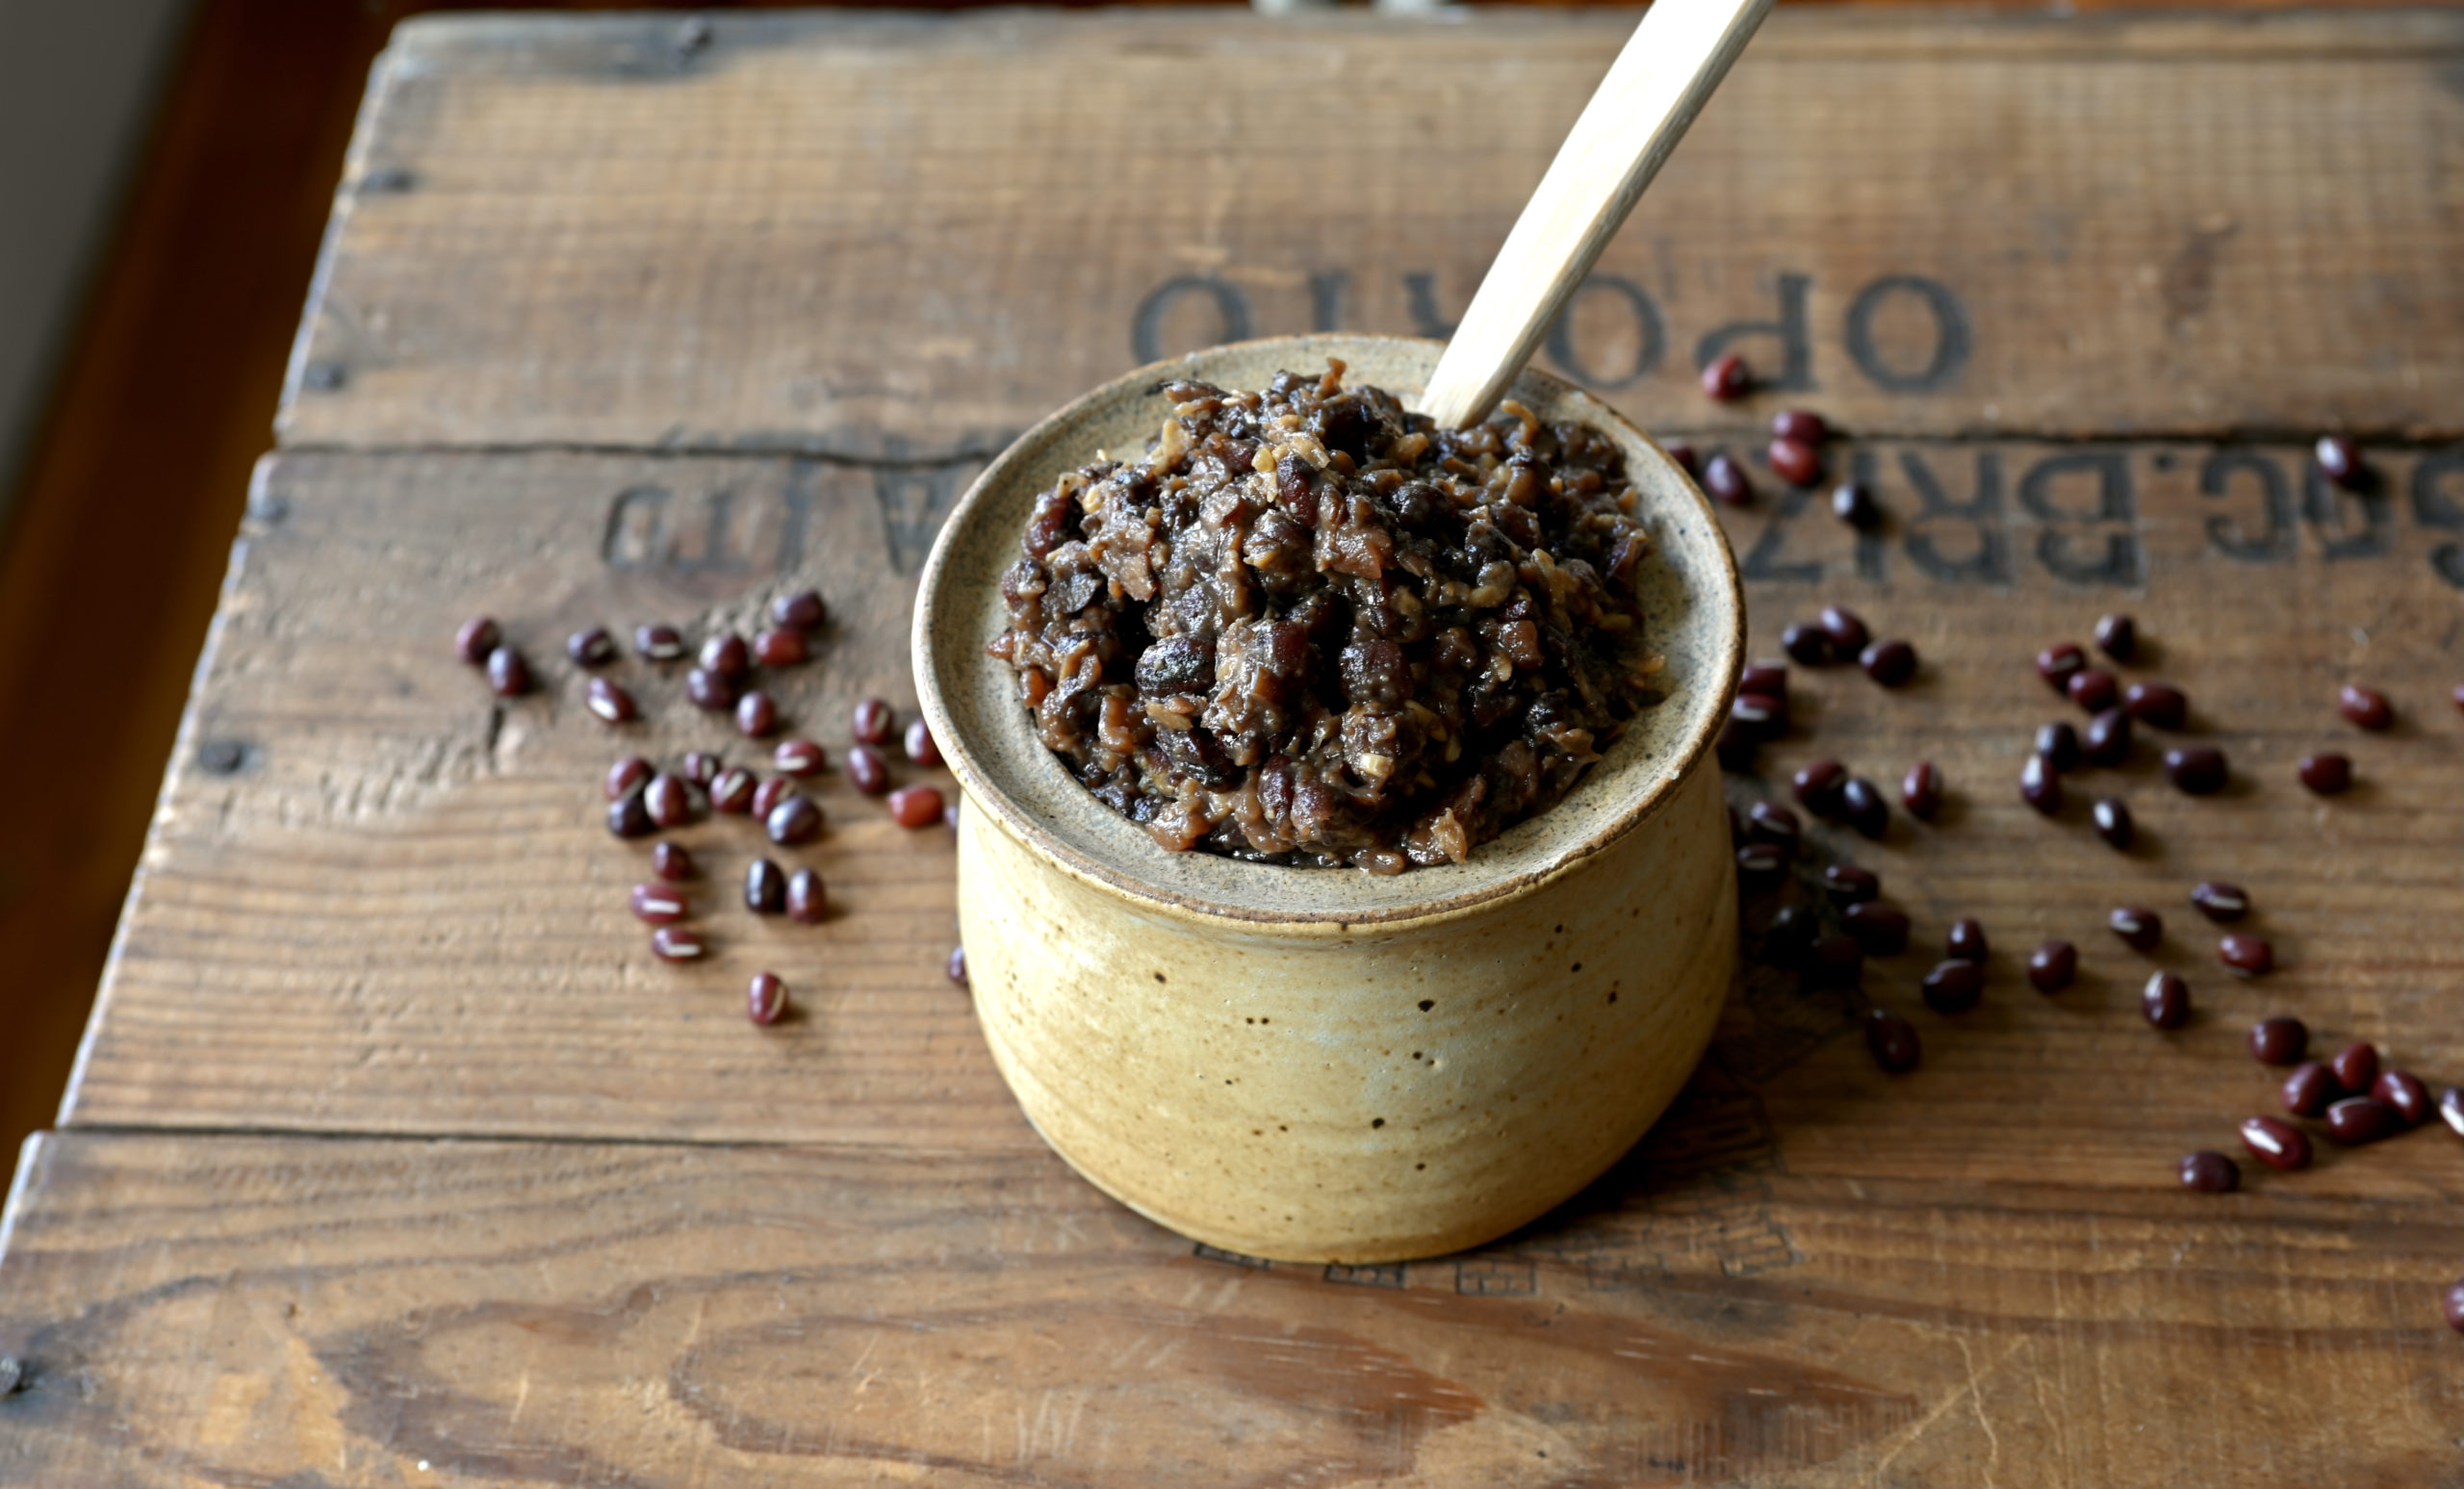
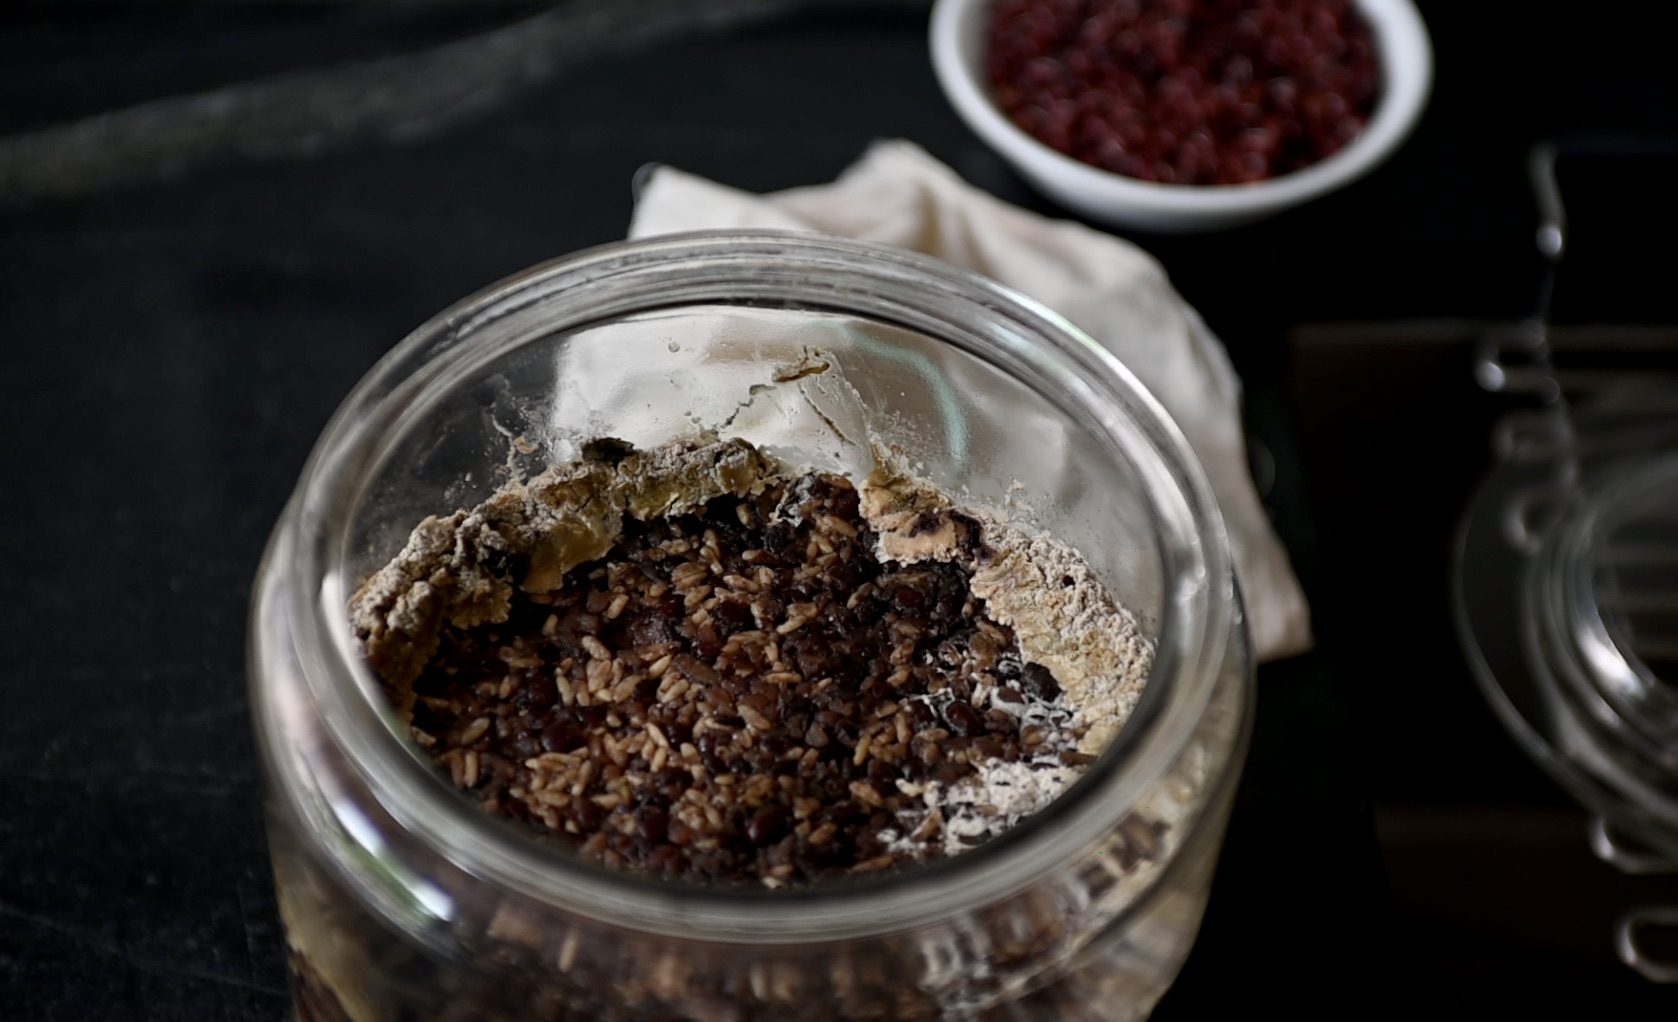
This Red Bean Miso is priceless. It’s soy-free miso made with Adzuki beans that have been fermented for 12 months. It’s full of live bacteria with amazing taste & smell.
As miso is on the top of many healthy food lists, you might be able to find it easily in most health food stores.
The original miso from Asia is made from soybeans, but as more and more people are sensitive to soy nowadays, there are a few Soy Free Miso options out there.
However, if you are in areas without access to those kinds of stores easily, making your own might be the best way to get high quality miso.
The key ingredients for making this miso are beans, rice koji and salt. Mix them together and let it ferment for anywhere from a few months to years.
You can buy rice koji rarely easy, but don’t worry if you think you can’t get it, I made a blog post and video on how to make brown rice koji earlier. You can check it out if you want to make it.
I never thought about making my own Soy-Free Miso until last year when we all had to be home due to the pandemic. So, I spent hours reading and combining the information I learned.
Finally, a few weeks after the quarantine began, I decided to get a few long-term projects started–one of them was Red Bean Miso.
Everything went well until I saw some mold after 3 months of aging. I was so nervous and disappointed, and thought I had to throw it all away.
Despite my fear of the mold I saw, it wasn’t too bad at all. The mold was white, and from what I learned they said it’s harmful. Although, I decided to use my own method.
I scraped off the mold, cleaned the jar, stirred and rotated the bottom part up. Then I packed the miso back and let it continue to ferment.
From this point, I checked on it closely and stirred it every week. I was sure it would be fine to leave it to ferment without stirring it, but I didn’t want to risk it and to be disappointed in the end. So, every week, I checked and stirred it. I also cleaned the sides of the jar to make sure that mold couldn’t grow there.
Doing so, I have to admit that it was more work than I anticipated.
Please make your own judgement whether or not you want to take the same steps.
A year went by, and I finally got my first batch of Soy Free Miso done. With all the work and patience, the result was well worth the effort.
Besides all the things I learned from making this miso, another thing I will do with my next batch is to make it with a few friends. I have too many jars of Red Bean Miso now and it will take me a long time to eat them all. I will definitely share some with my family and friends.
Ready to take on this year-long project? Let me show you how!
Ingredients for making Red Bean Miso:
-
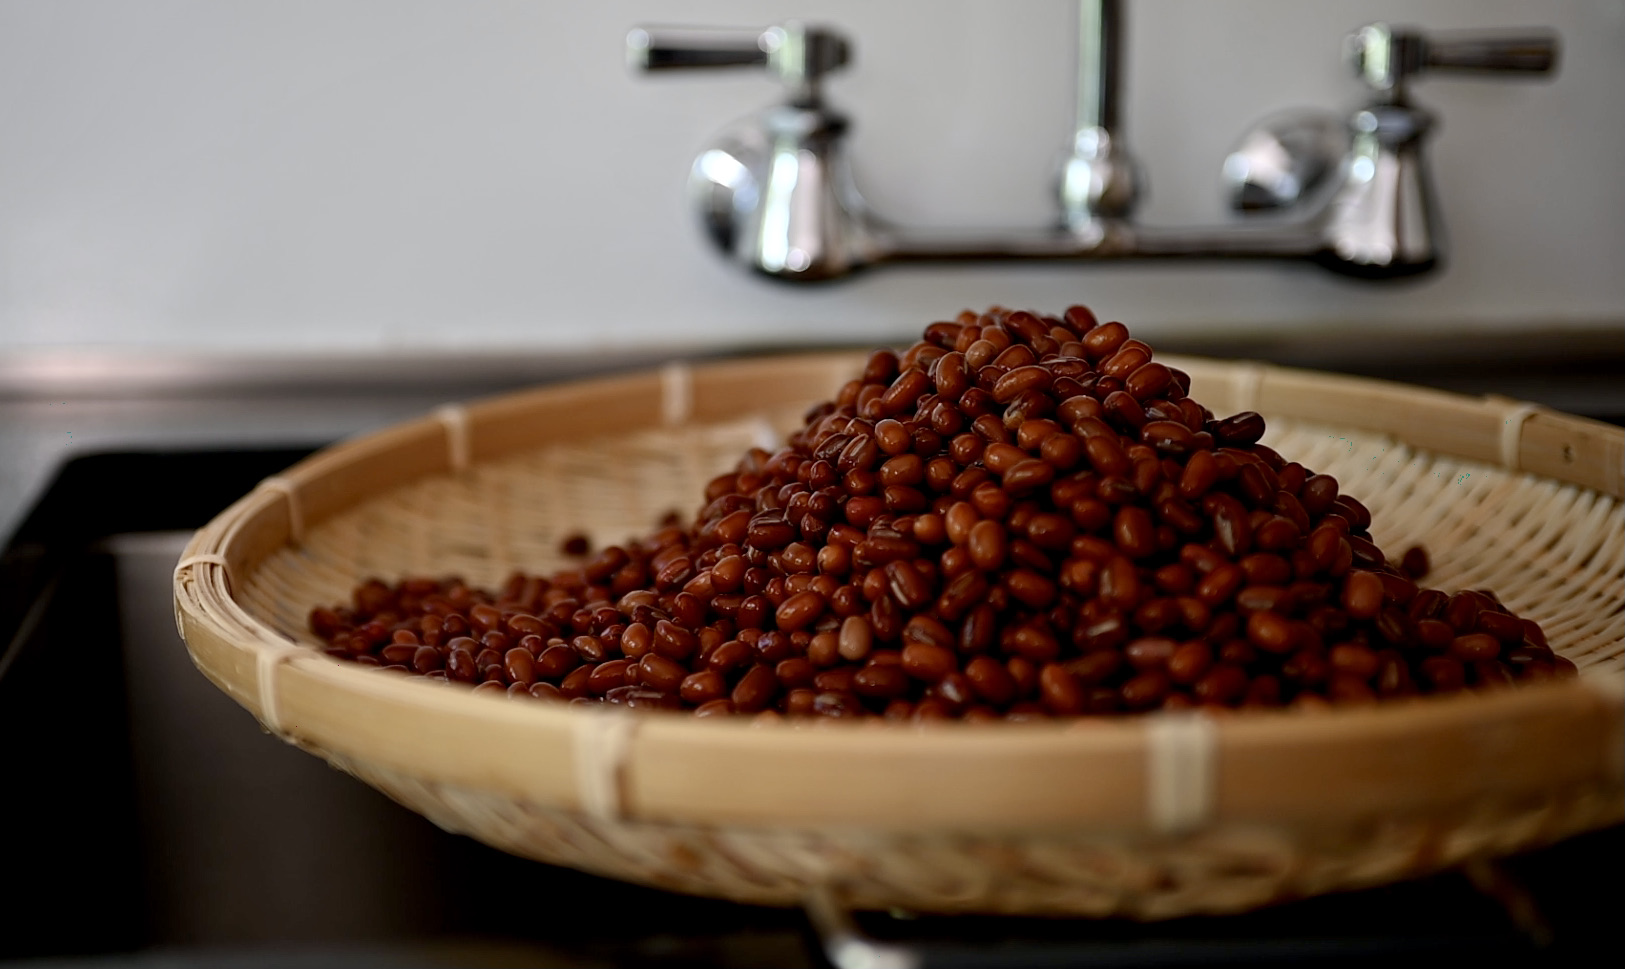
4 cups (960 ml) of Adzuki beans
-
4 cups (960 ml) of brown rice koji
-
1 cup (240 ml) of good salt ( plus 2 TBSP to sprinkle on top)
-
2 cups (480 ml) of bean cooking water
Equipment:
For option A.
-
A big glass jar or a ceramic crock. Note: I use a 1-gallon cookie jar as I want to be able to see what’s going on inside throughout the process.
-
A piece of breathable cloth.
For option B.
-
A big glass jar or a ceramic crock.
-
A piece of breathable cloth.
-
Something round, heavy and flat. I use a marble trivet.
-
2 pieces of parchment paper, the size of the paper should be a little bit bigger than the jar.
Instructions:
-
Wash and rinse the beans thoroughly, and pick out any bad ones. Cover them with filtered water and soak overnight. It usually takes double the amount of water.
-
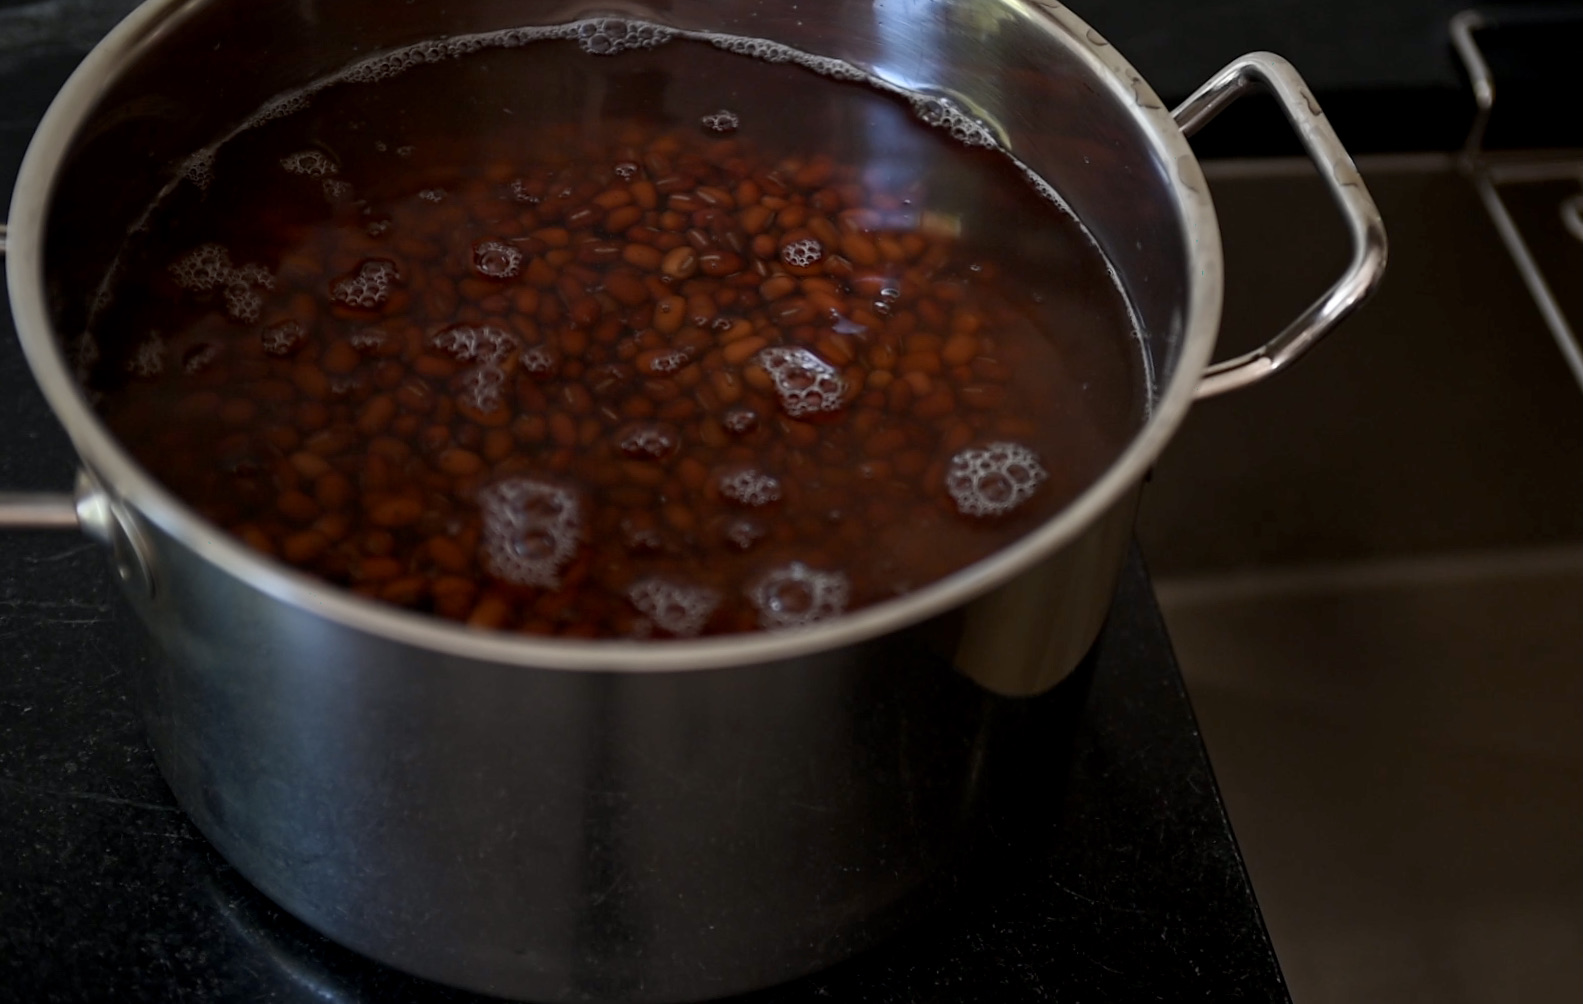
The next day, dump the soaking water and rinse well. Put the beans in a big pot, add double the amount of filtered water and cook on medium heat. Close the lid and leave a small crack open. Note: be careful as it overflows easily when it boils.
-
When it boils, scoop the foam out if you like. Let it continue to cook until soft. If the water is low, you can add more.
-
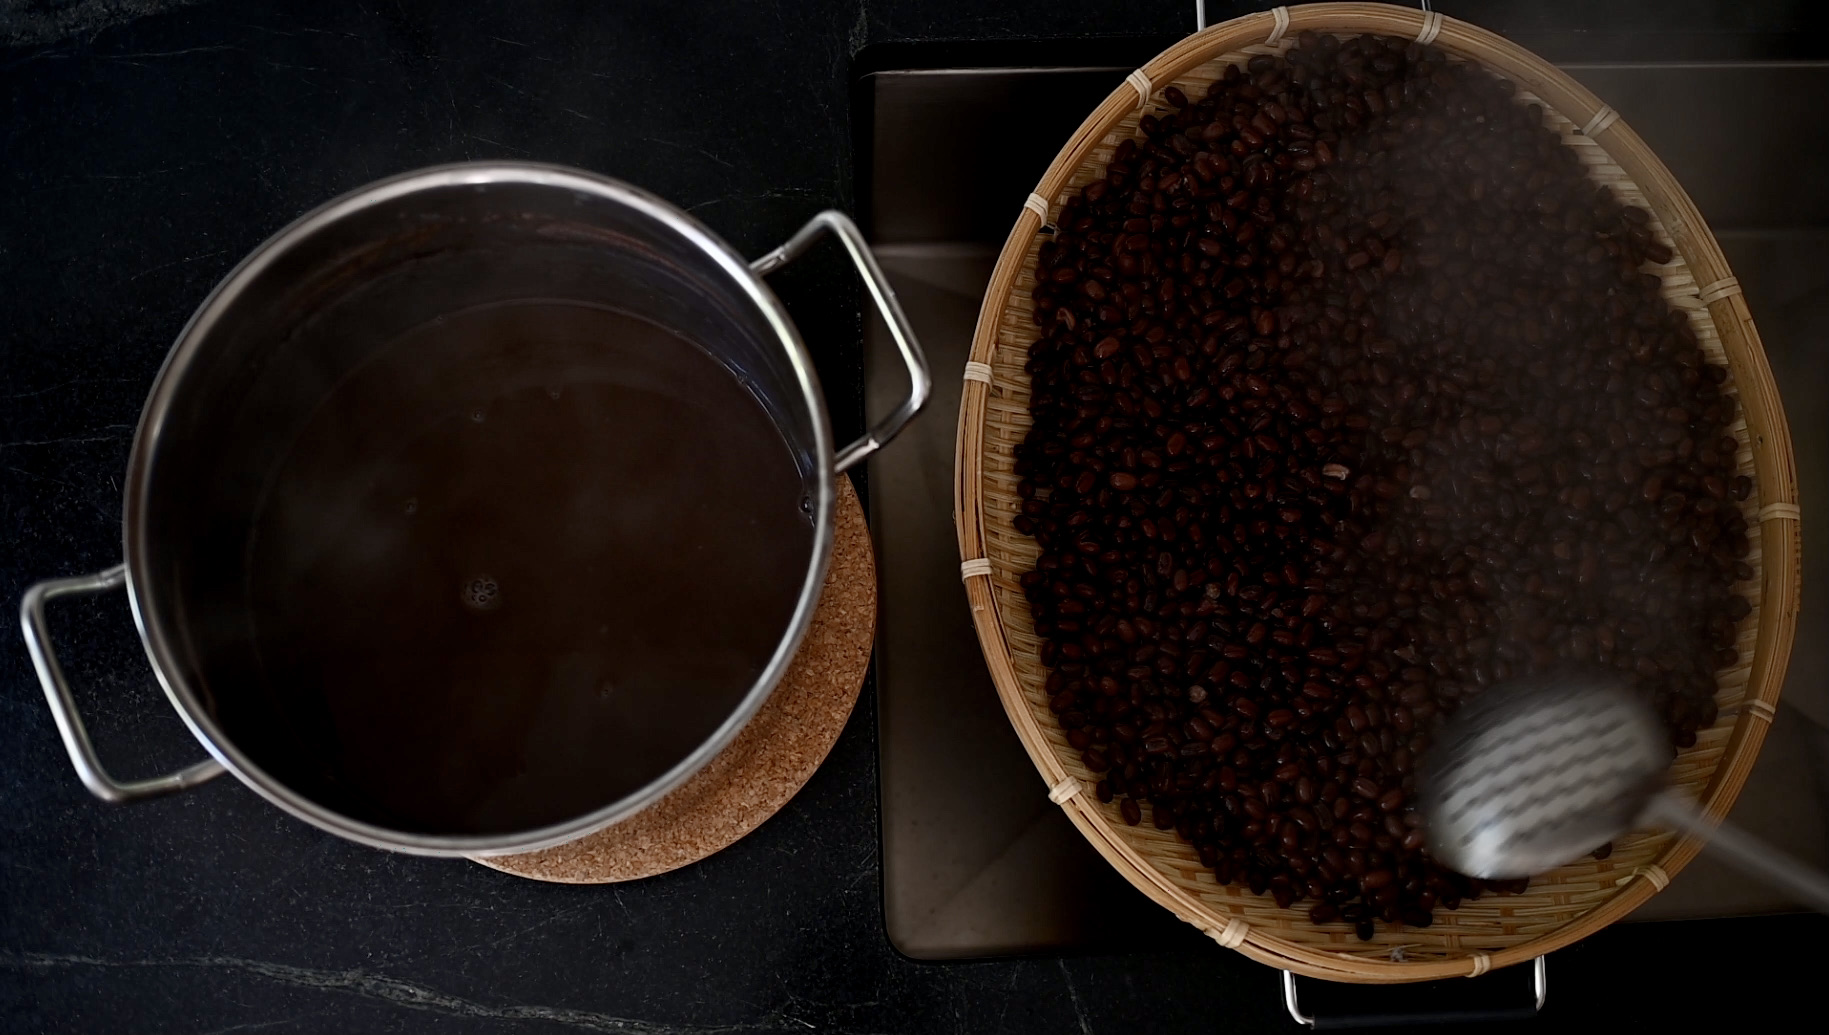
When the beans are soft, separate them and let them cool. Save the cooking water, you should have about 2 cups, or a little more is fine.
-
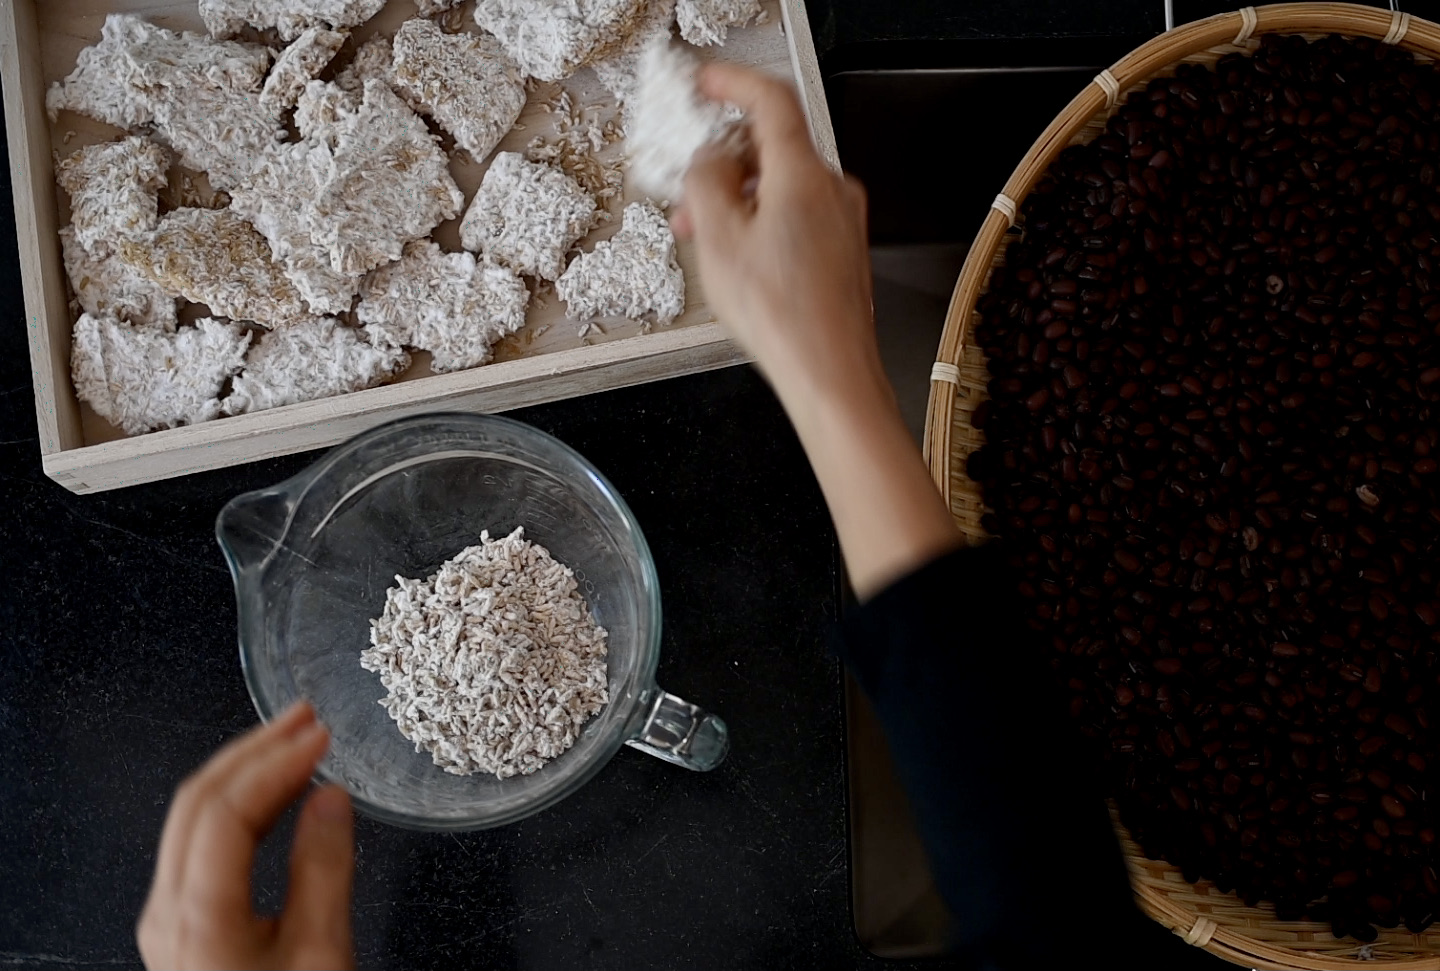
While waiting for the beans to cool, you can prepare the koji and set saide.
-
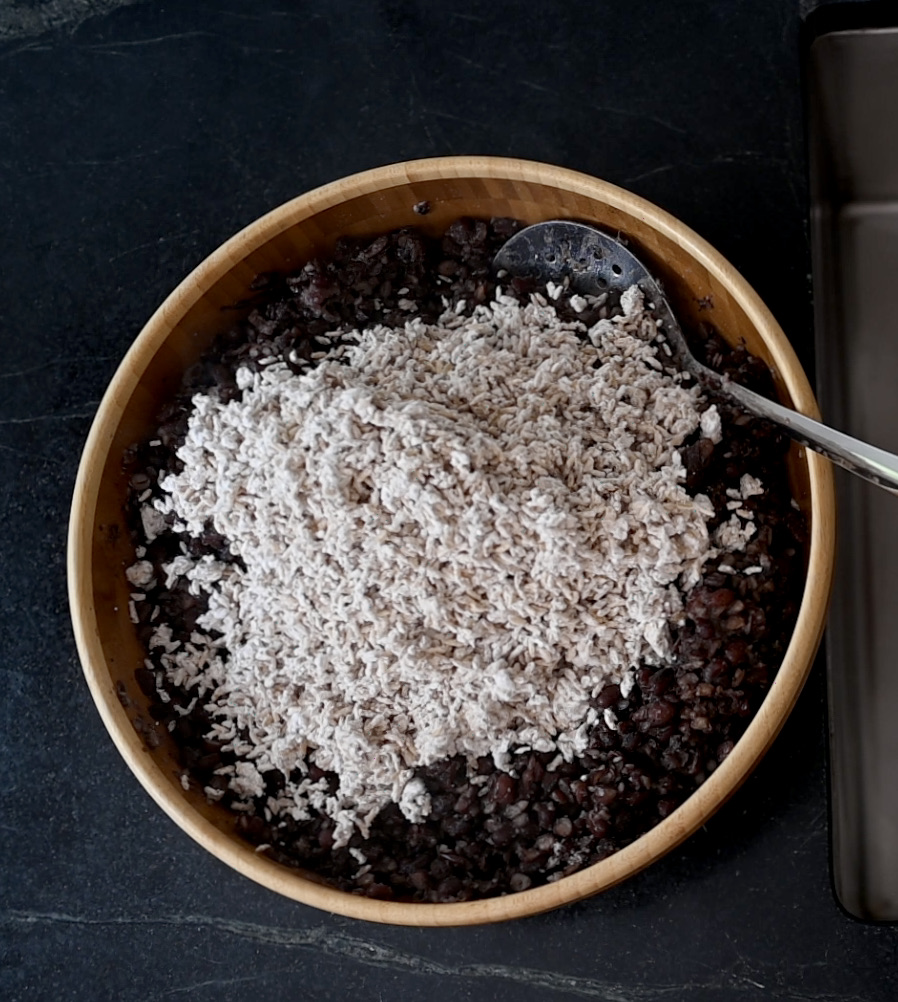
When the beans cool to the touch, roughly process them in a food processor. You can smash them by hand in a bowl or use a mortar & pestle.
-
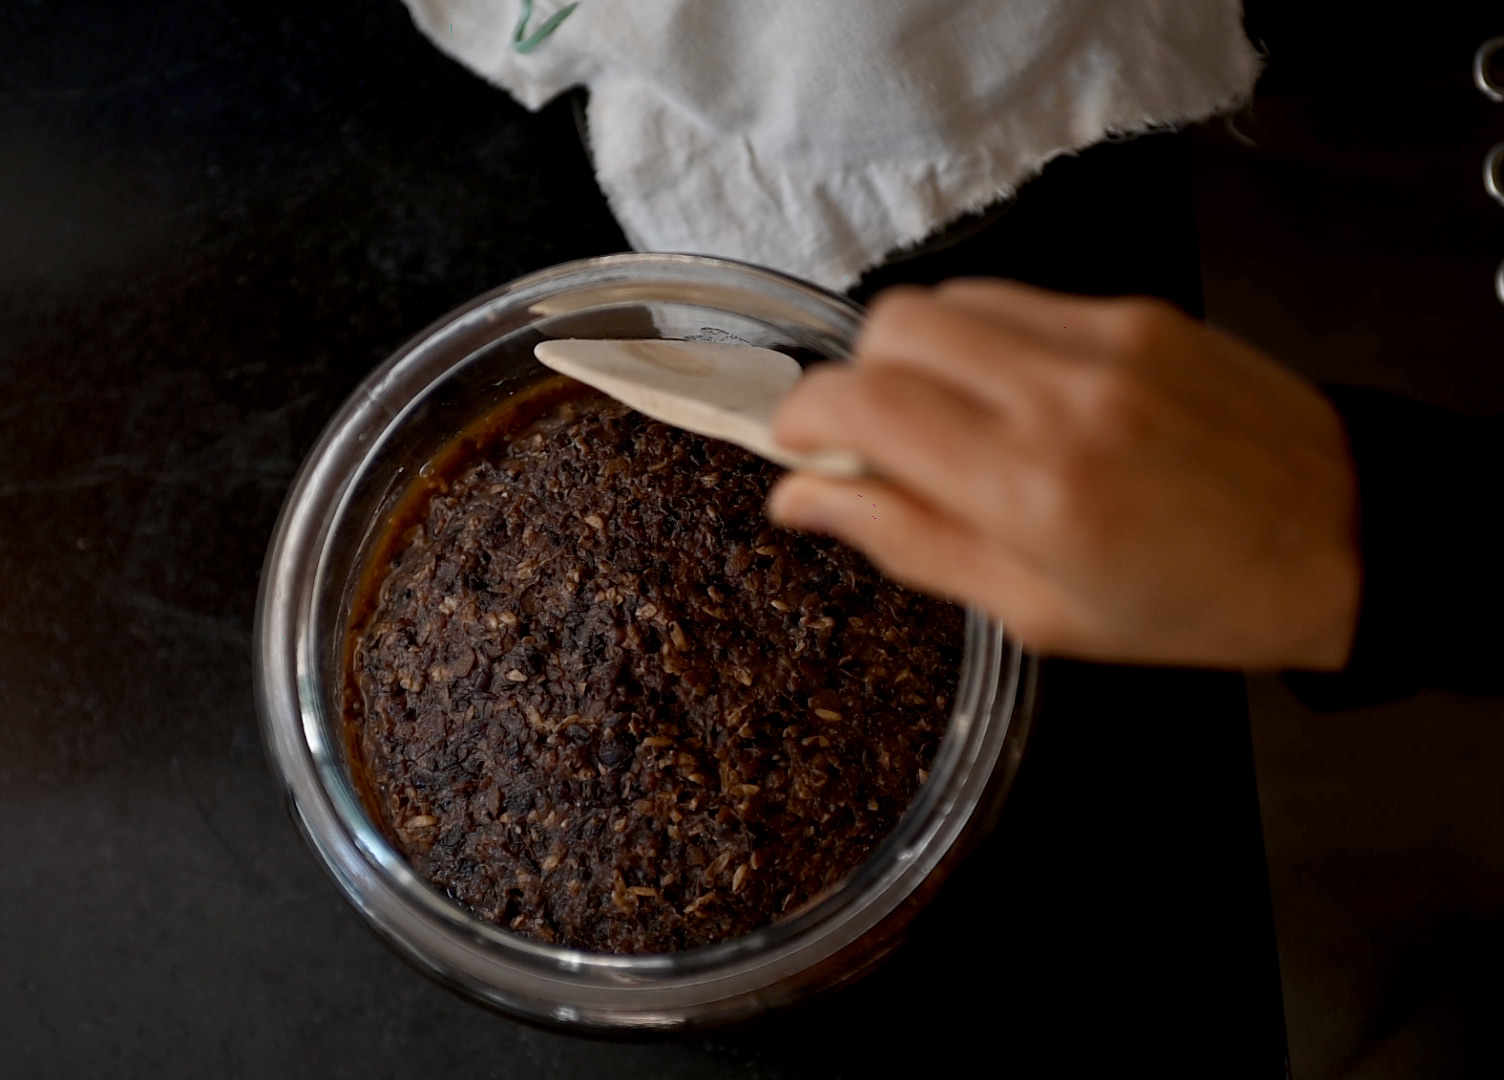
Put the beans in a bowl that’s big enough to mix all the ingredients. Add the cooking water, mix well. Add salt, and mix again. Finally add the koji and mix everything thoroughly.
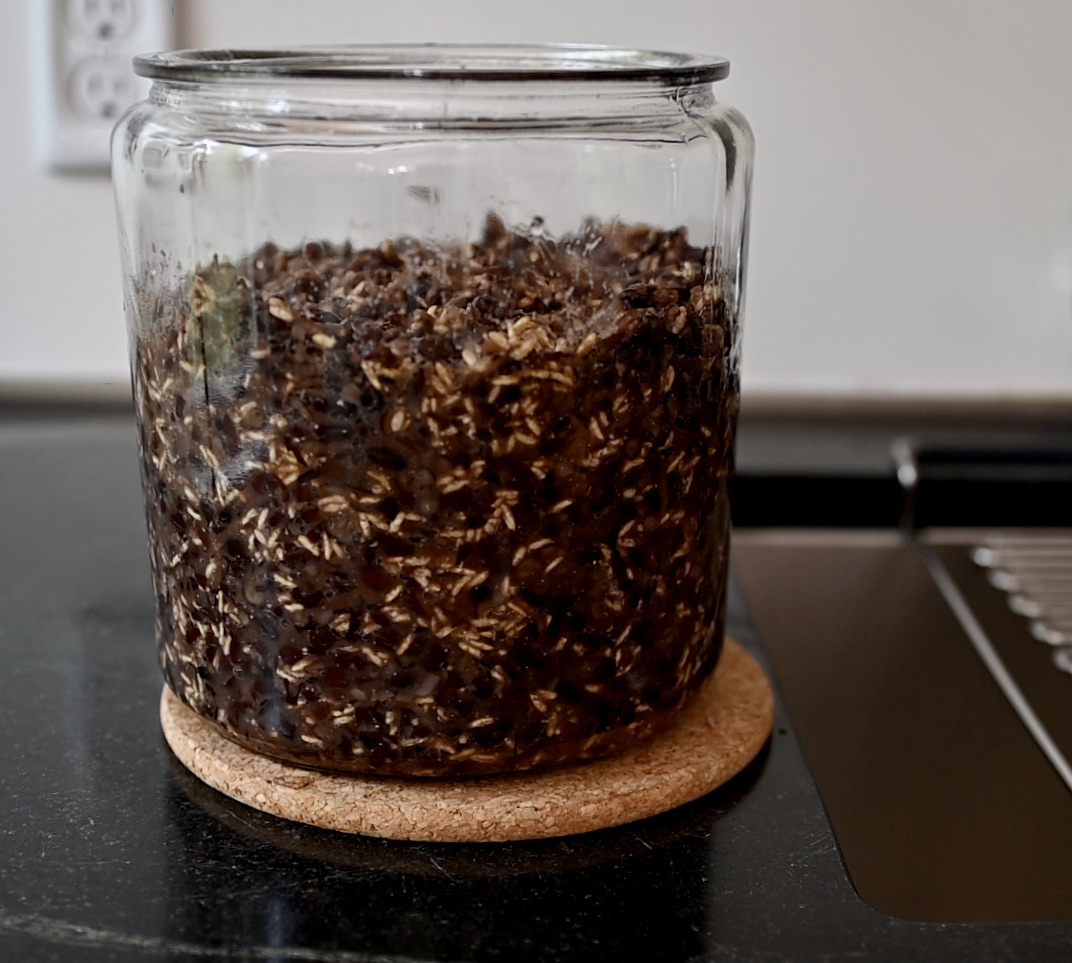
-
Pack the mixture tightly in a clean glass jar. I use a wooden rolling pin as a tamper and it works fine. Wipe off any spilled mixture on the rim.
-
From this point. If you use option A. just cover the jar with a cloth and let it ferment at room temperature away from direct sun for 12 months.
-
Stir it every 3 days for the first month, and about once a week from the 2nd month until it’s done. Note: if you feel confident that mold will not grow, I think stirring it every 2 weeks should be fine. However, I highly recommend checking it as often as you can. Clean the sides of the jar from time to time to make sure mold doesn’t grow on them.
-
If you choose option B. Cover the mixture with parchment paper, then weigh it down with something flat, and put more weight on top. Clean the jar and cover it with a cloth. I put the lid on the cloth and it was fine, the air can still get in.
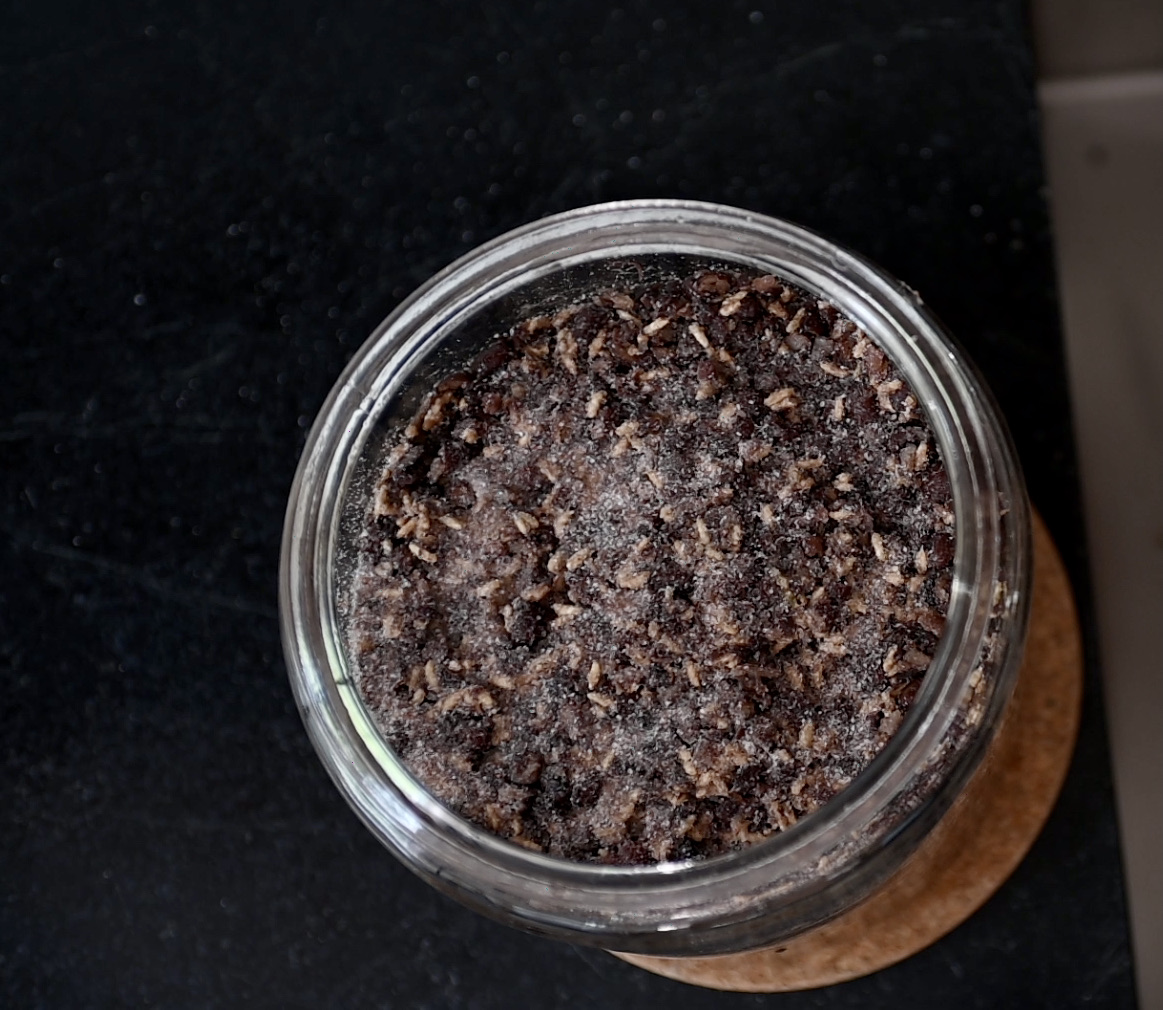
sprinkle salt on the top and sides
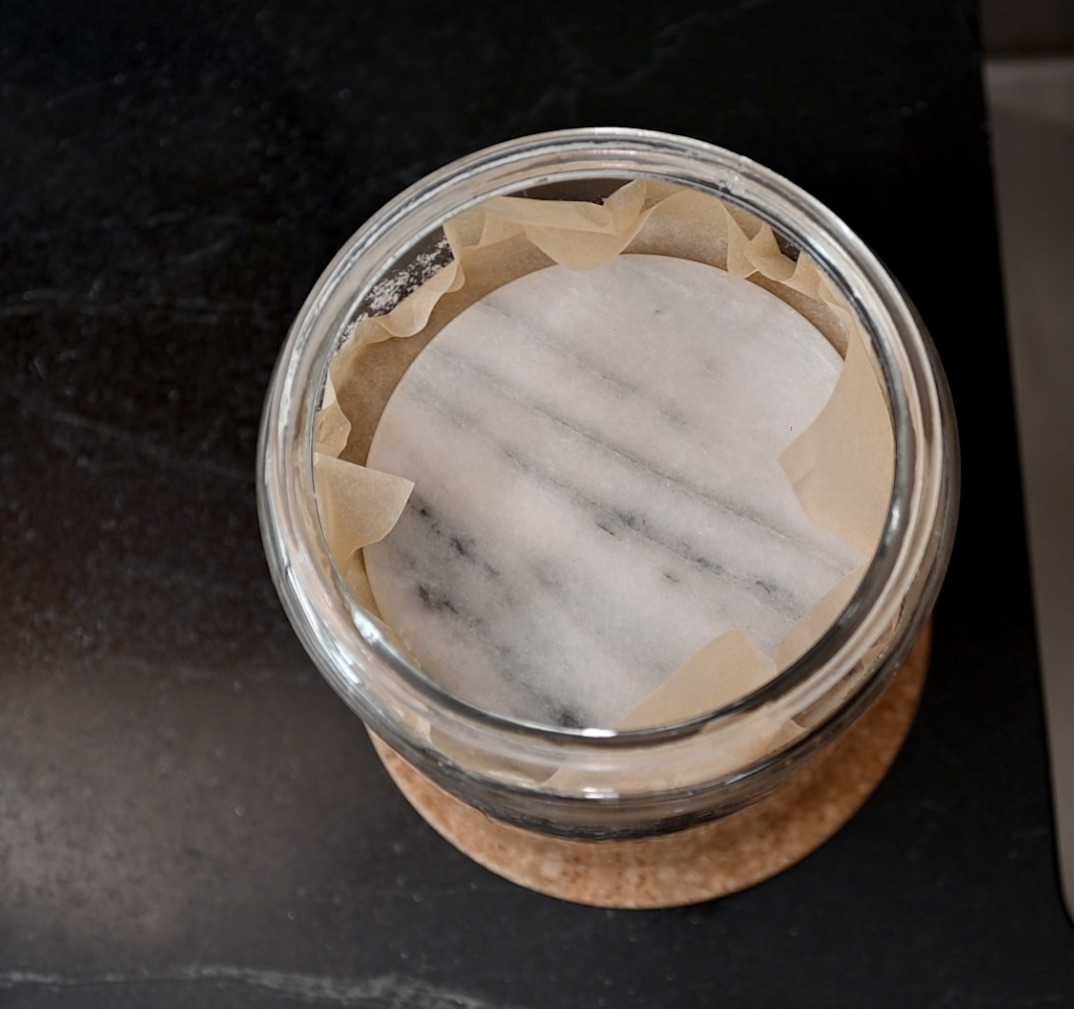
cover it with parchment paper and something flat and heavy
check and scoop out mold from time to time
-
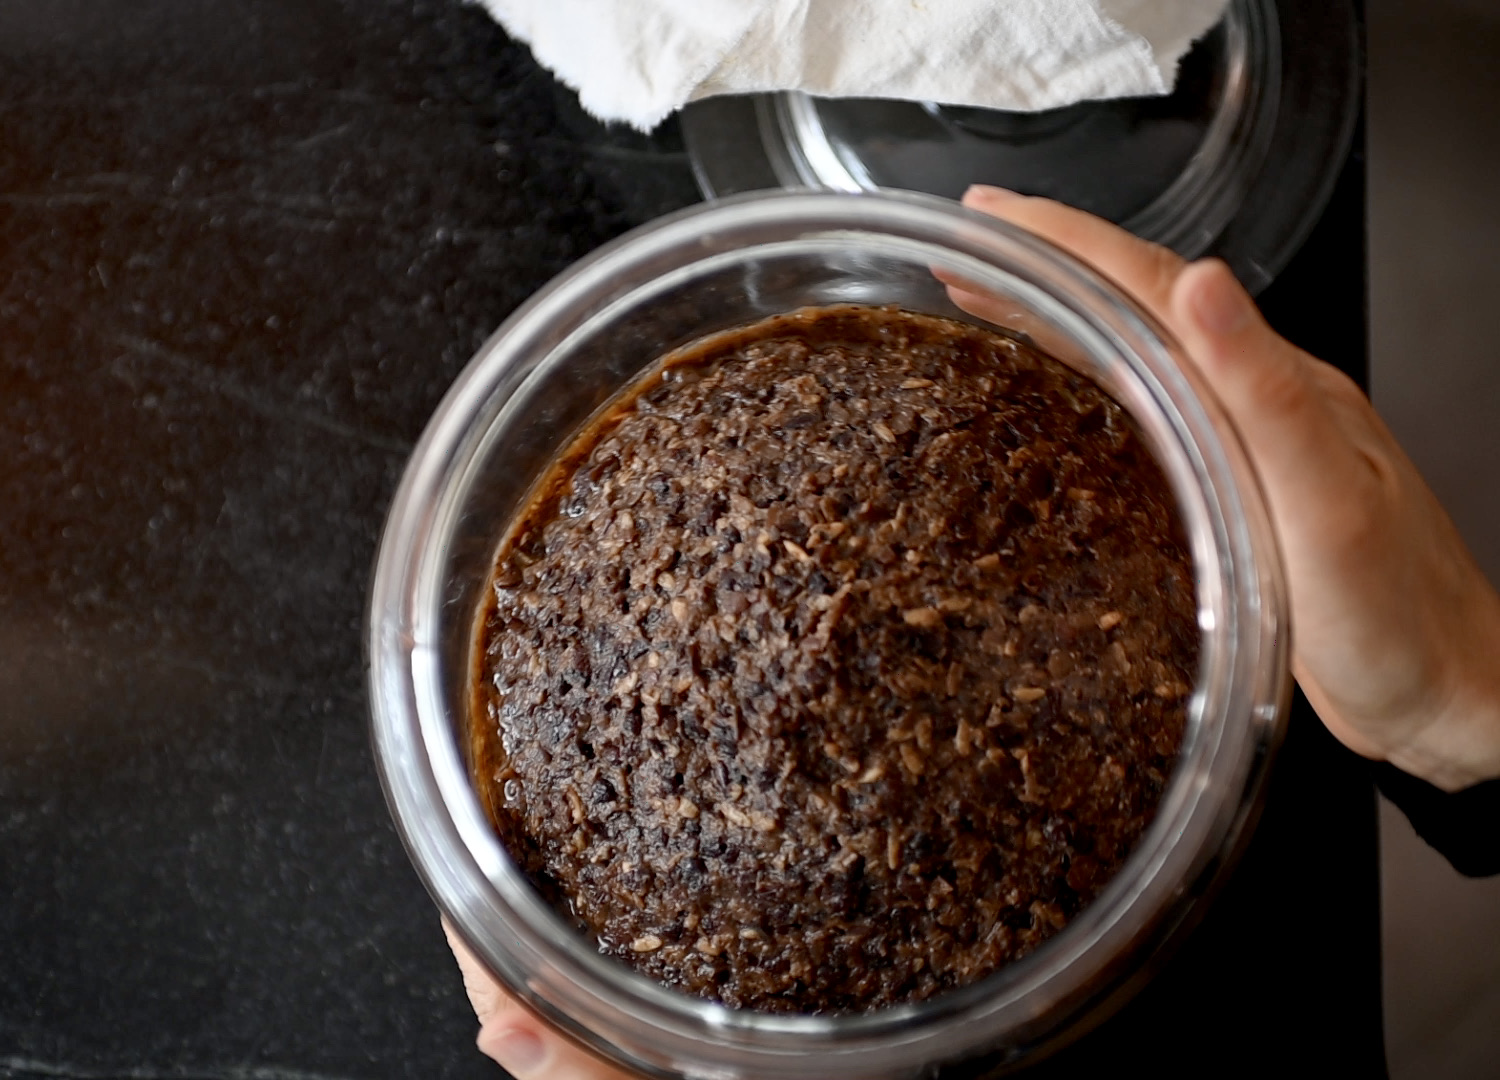
Let it ferment at room temperature. You can put it in a cardboard box and leave it in the pantry away from direct sun. Check it every month or so, if you see any mold growing on it, just scrape it off and cover with new parchment paper. Check until it’s done–which is around 12 months.
-
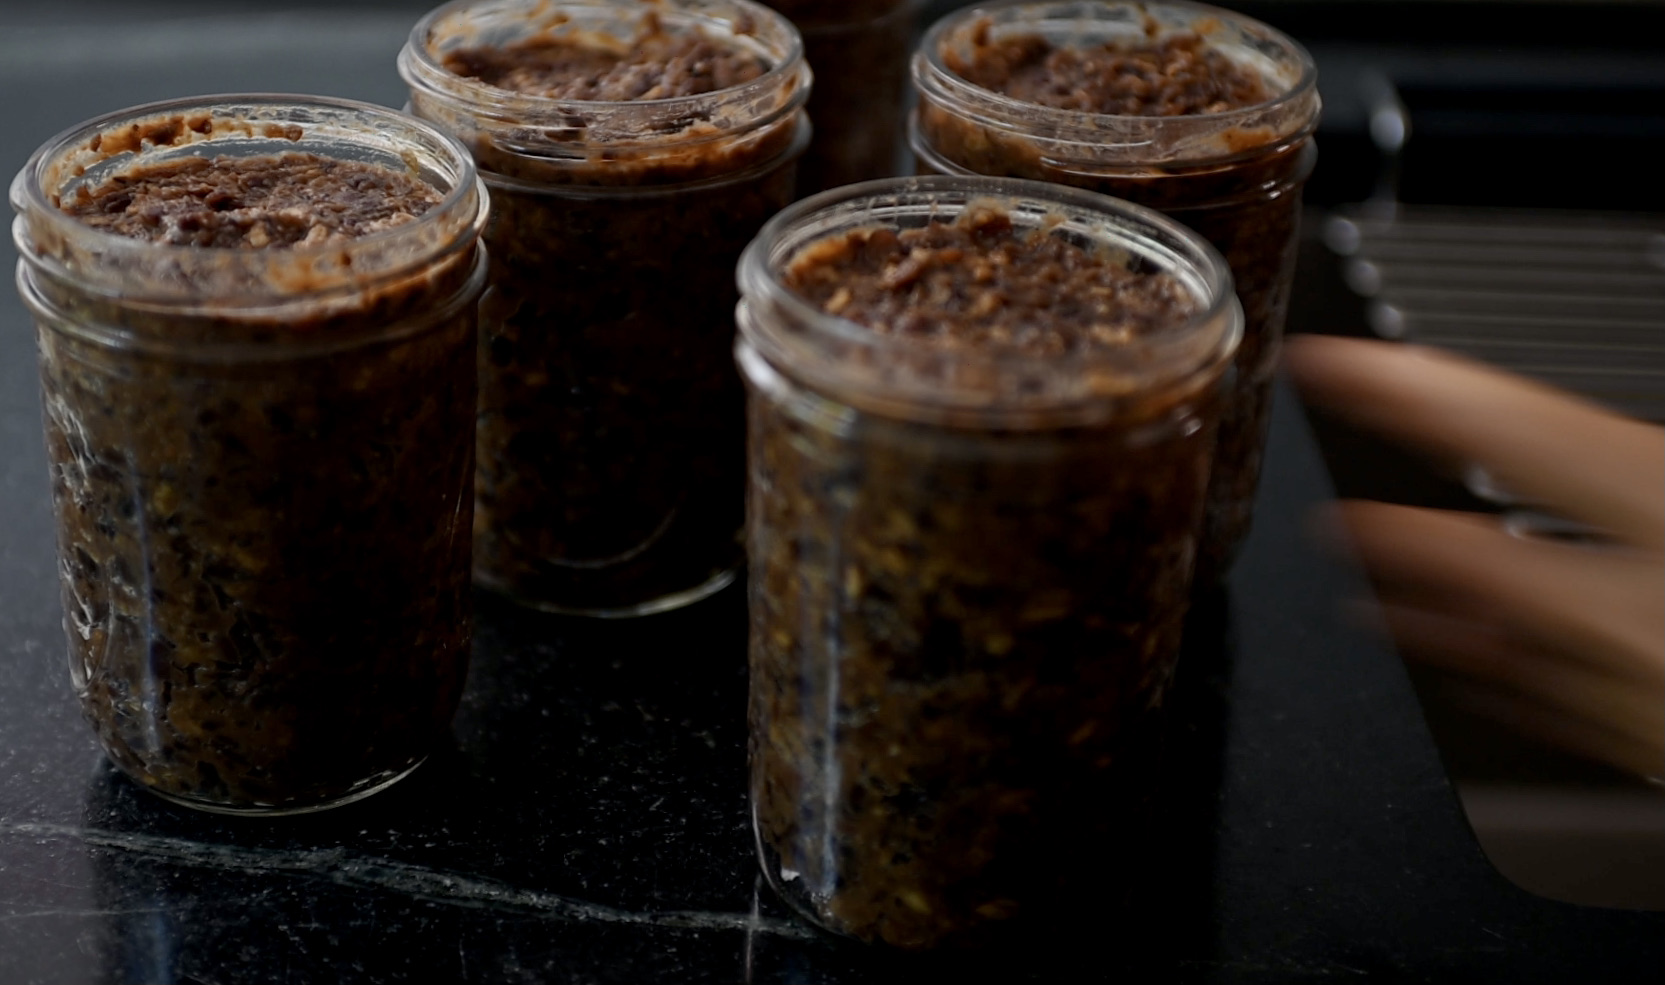
When it’s done, pack it tightly in smaller jars that are easier to use. Keeping them refrigerated will last for a very long time.