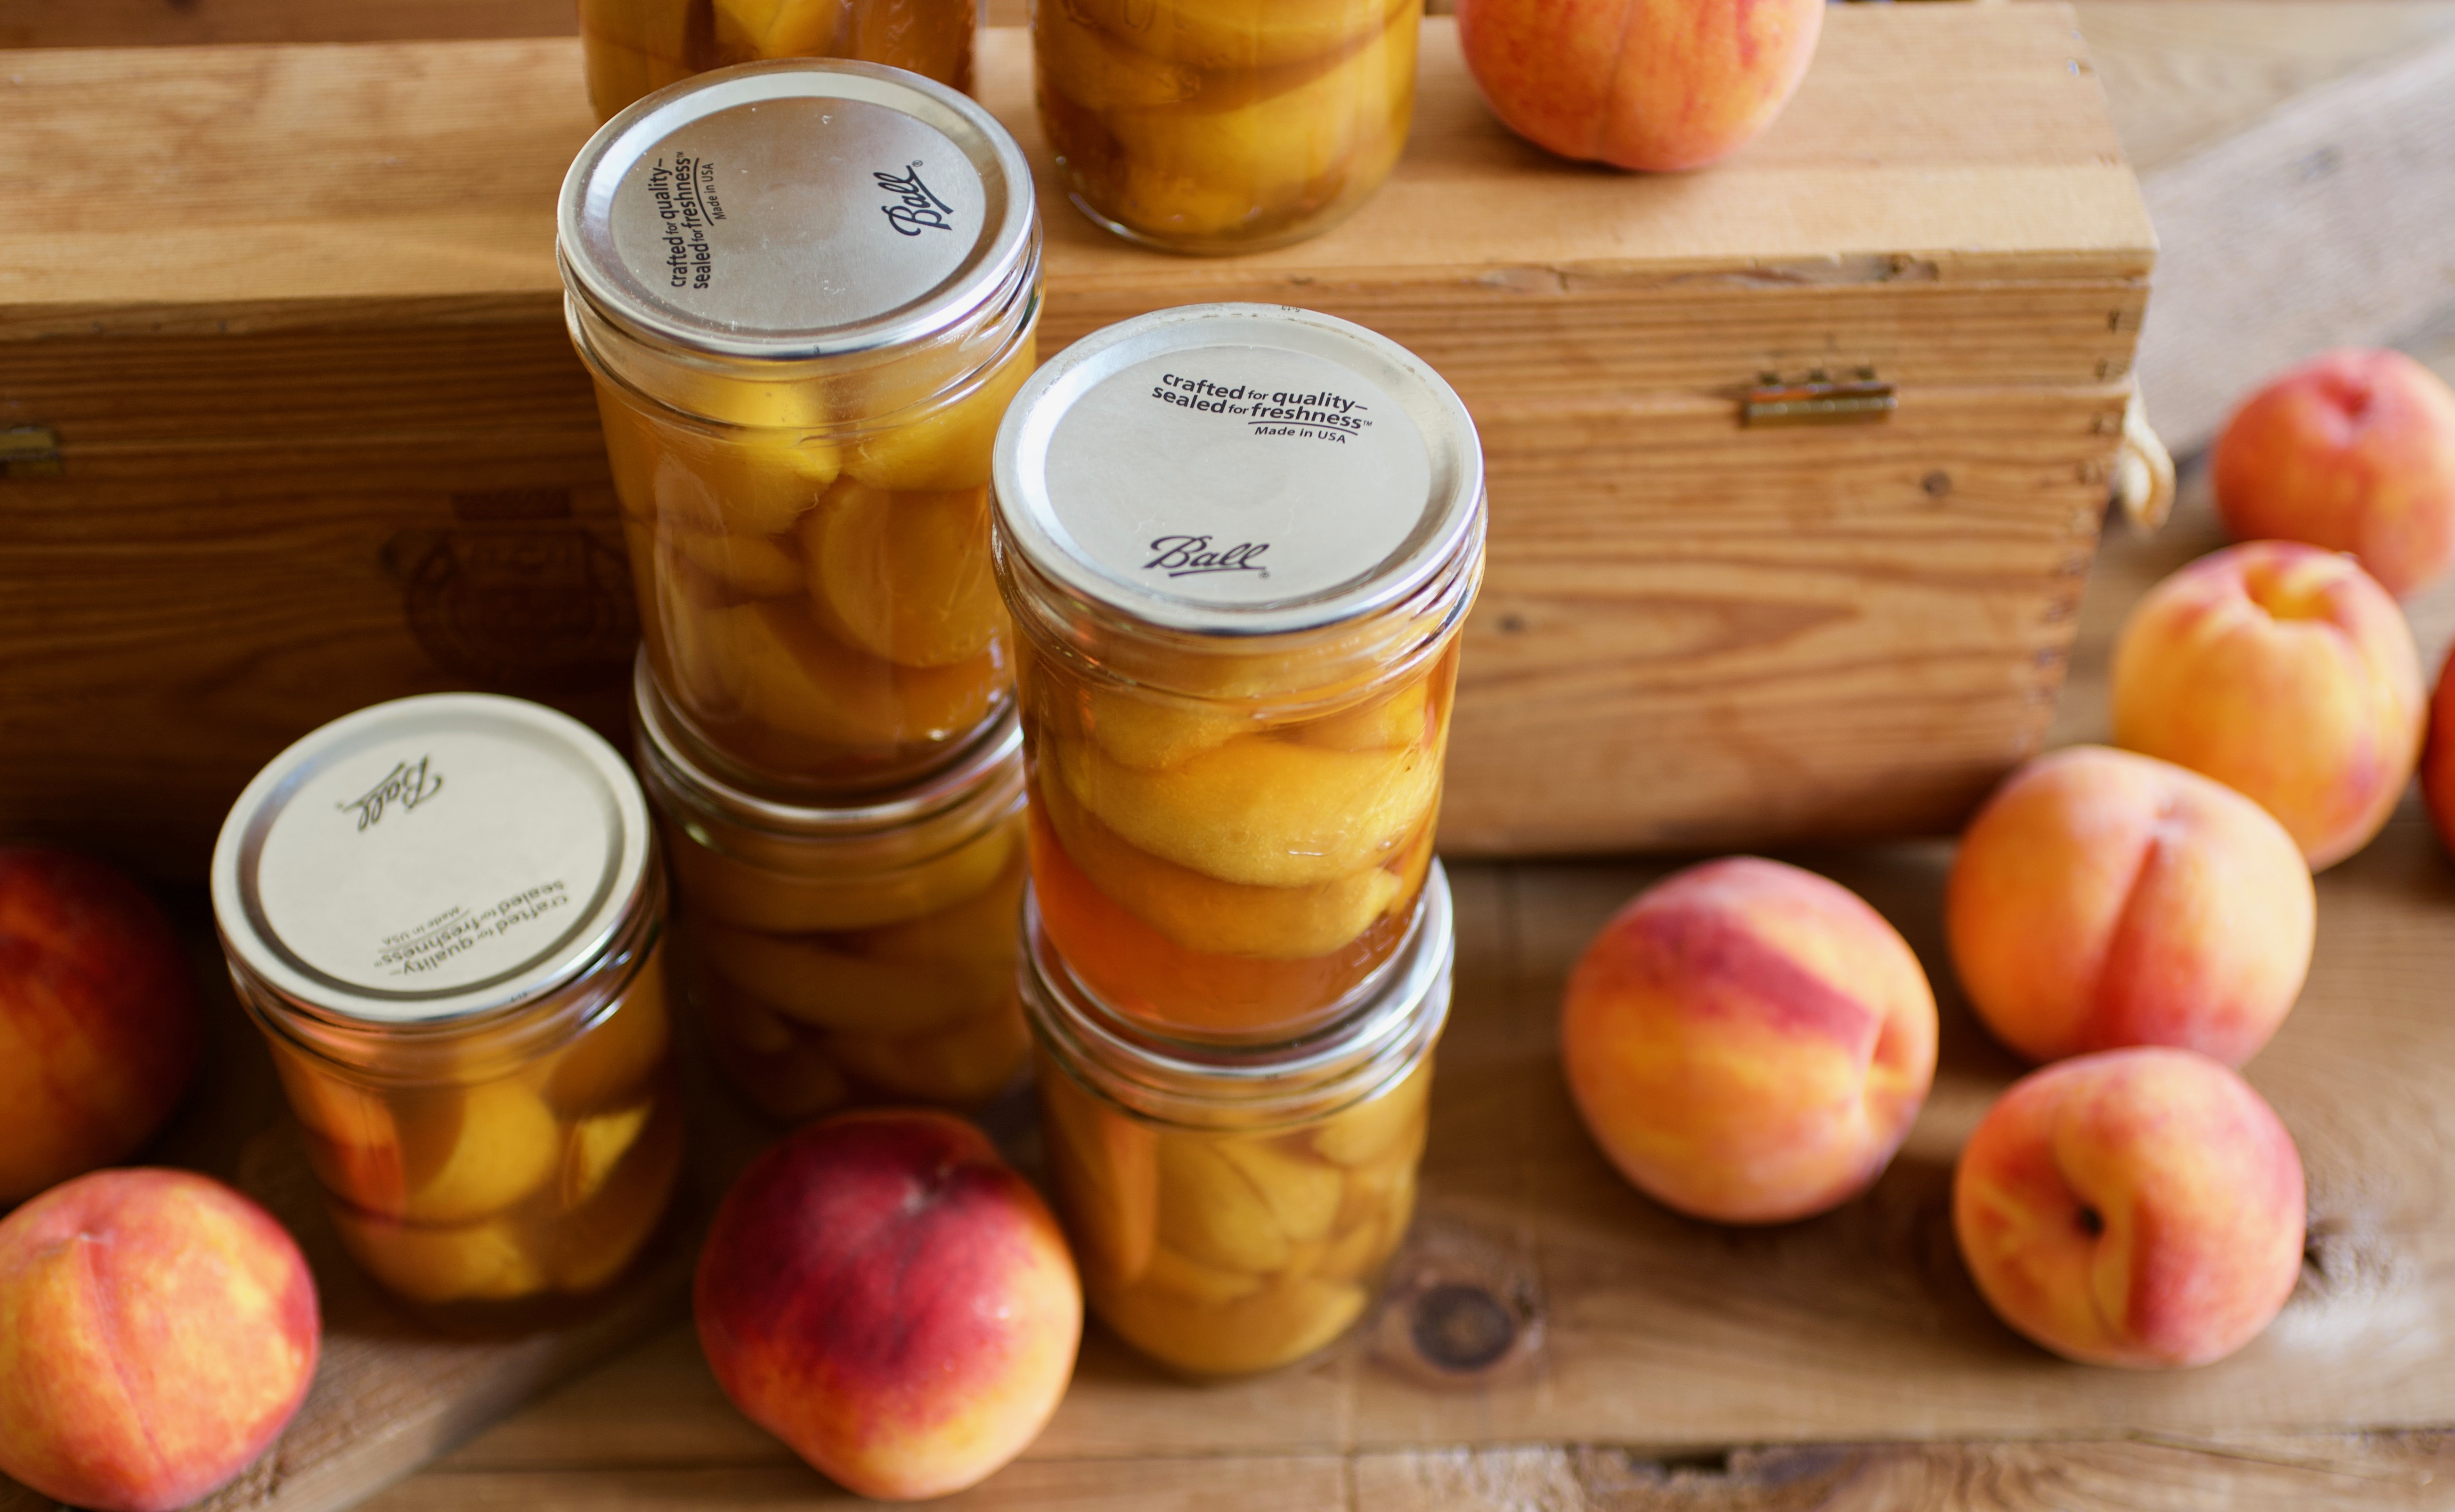
Have you been intimidated by the word canning? This easy & clear step-by-step description of Canning Peaches will help you be confident and enjoy it!
I love peaches so much. Unfortunately its season is very short and I can only enjoy juicy- local peaches a few weeks during the summer each year. I know we can buy peaches from far away lands all year round in stores, but they are never the same. The ones I buy locally during the season have ways better taste.
About a decade ago, I stumbled on a bumper sticker that said “I eat Local because I Can” with a picture of a mason jar. I was so motivated and inspired by it. Ever since, I started learning how to preserve more local food including canning for winter months.
I usually dry and freeze most of my summer fruits. Drying is a great way to preserve the food. I can just leave them in jars anywhere in the house. However, sometimes it can be hard to eat dried fruits when I want to eat something soft.
Freezing gives me the fresh taste, but it requires a lot of room in the freezer. To be able to fit what I want to freeze, I have to use a lot of plastic bags. I try to freeze with mason jars, but they take so much space in the freezer too. So, freezing is not my first choice anymore, but I still freeze a few jars of apple juice, and cooked beans from time to time.
Canning was what I always wanted to do as I can enjoy them as a soft but not too sweet dessert. However, I was intimidated and overwhelmed with the process and info I read. It took me a while to get out of my comfort zone and learn to can well, and Canning Peaches was the first one I wanted to do.
I followed every step and details according to the directions, but once I got comfortable, I started to experiment with doing it my way.
Reducing the sugar by almost half is what I do nowadays, and my Canning Peaches method works fine like this. I also replace refined white sugar with whole-unrefined sugar–the kind I use in my daily cooking, and it works well too.
There are 2 ways to can: one is called hot packing, and the other one is raw packing.
Hot packing takes longer as you need to cook the peaches in the syrup before packing. With the raw pack method, you can skip the cooking process and pack what you want to can directly to the canning jars.
Hot pack canning leaves no bubble as there is no air in the fruits, and the fruits don’t float when they are done. Raw packing on the other hand leaves a few bubbles here and there. The fruits also float when they are done.
I like raw pack as I don’t mind a few bubbles and the floating, plus I can skip another step. Most of the time I don’t get bubbles and the fruit doesn’t float either.
As for the brine, you can choose how light or heavy you want your syrup to be. I personally like light syrup that is only sweet enough to act as a preservative.
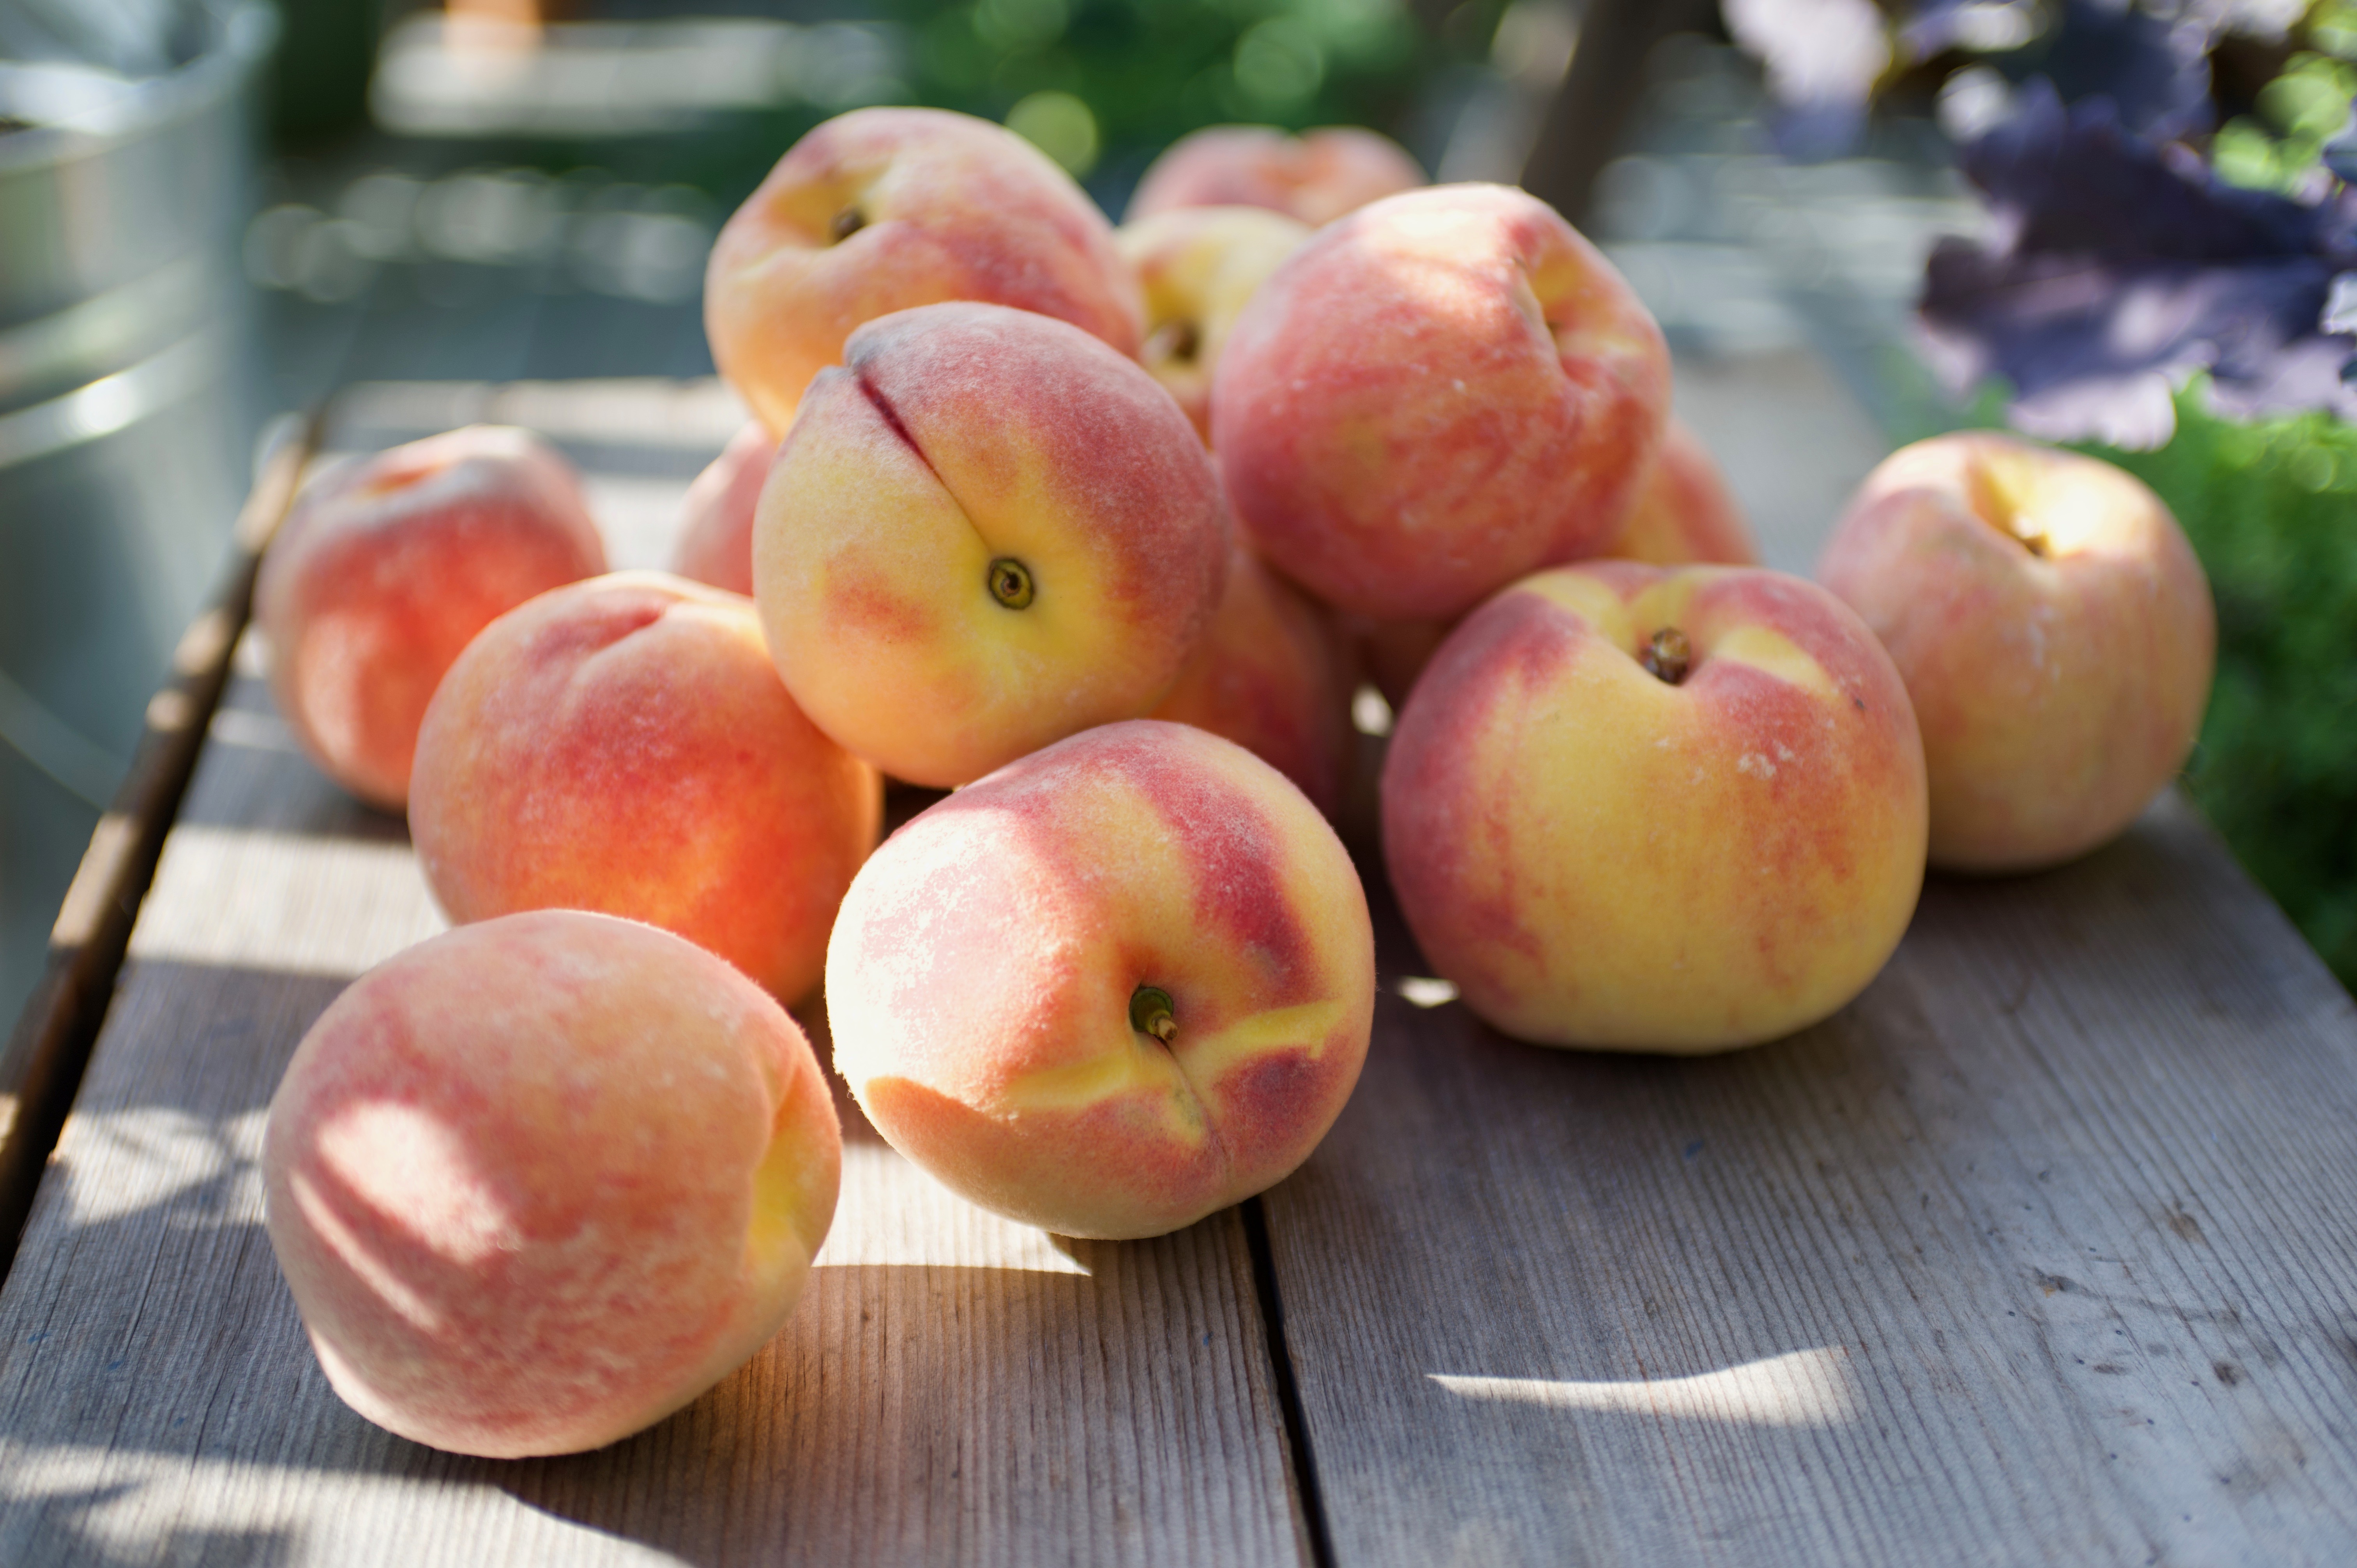
For the peaches, I buy a lot of local peaches every summer. However as they are not fully ripe from the tree when they pick them, I let them ripen more at home. Right when I get home, I lay them a single layer on a flat surface for a day or two. This way they become soft and easy to peel.
Some articles suggest to blanch firm peaches for a few minutes so they are easy to peel, but I prefer to let them ripen fully instead
As Canning Peaches (any canning) requires a lot of hot water in a canning pots, I usually do at least 2 batches at a time.
Ready to preserve the local-summer freshness because you can? Let me show you how!
Things you need for Canning Peaches:
Note: the quantity of peaches depends on how much you want to can. I’m showing you how to can one batch (7) 1-pint (0.5L) jars.
- Ripe peaches. It takes about 2 medium size peaches per pint (0.5L) jar
- 1 ⅓ cups (310ml) of sugar. (I use whole unrefined cane sugar.)
- 7 or more cups (1.7L) filtered water. I like to make a extra to make sure I have enough.
- A water bath canning pot
- 7 1-pint(0.5L) mason jars with bands and new lids.
Instructions:
- If the peaches are still firm, lay them on a flat surface and let them soften for a day or two. When the peaches are soft to the touch, they are easy to peel.
- Wash and rinse the fuzz off and set them aside.
- In a canning pot, fill it about ⅓ of the way and bring it to a boil.
- While the water is boiling, prepare the syrup: in a small-medium size pot, mix the filtered water and sugar. Stir, let the sugar dissolve and keep it warm on low heat.
- When the water boils, sterilize the jars, the bands, and the lids.
- Peel and cut a peach into 8 pieces (you can cut them in half or 4 pieces if you prefer) and put them in each jar up to the rim.
- Pour the syrup in and leave about ½ inch (1.3 cm) from the rim. Use a knife to let the bubbles out.
- Wipe off the jar rims with a clean cloth.
- Put the lids on and secure with bands, then arrange them on the pot rack.
- Put the rack in the pot and add more water to make sure there is about 2 inches (5 cm) of water above the jars.
- When the water boils start the timing according to your region’s guidelines.
- Remove the jars from the water when it’s time. They make popping noise right after they come out of the water (the popping noise is a sign of the jars sealing.) Let the jars cool completely. (overnight is best.)
- When the jars completely cool, remove the bands, and examine each jar to make sure they are all sealed tight. (the reason to remove the bands is if a jar doesn’t seal properly, its lid will come loose. If we catch this early, it can be eaten right away or put in the fridge. However, if we don’t see it until weeks or months later, we have to discard them.)
- Store them in a dry place to enjoy during the winter months.
Have you canned peaches before? Please share your experience with me–I’d like to hear about it!
Хорошая статья