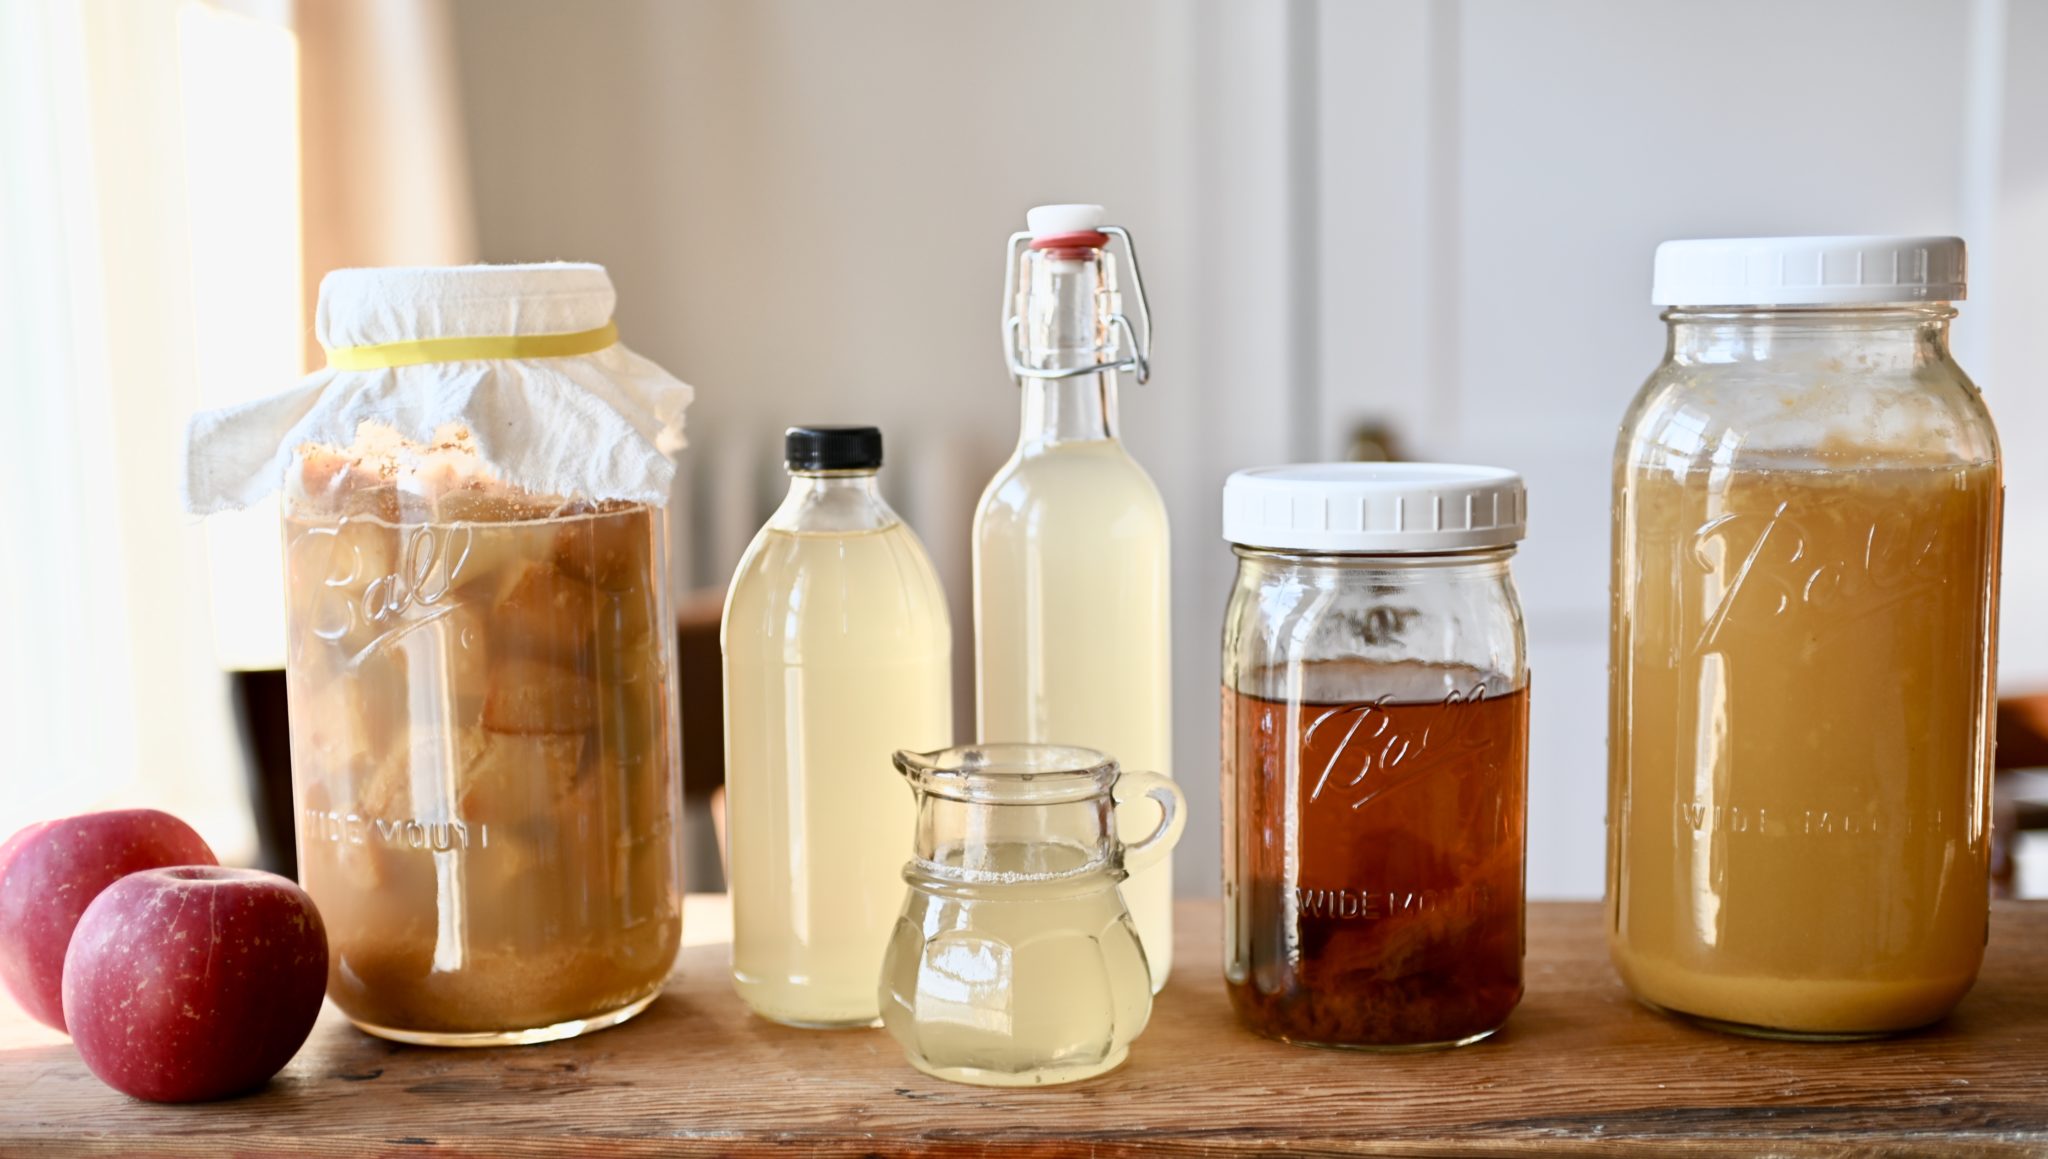
This complete guide of Homemade Apple Cider Vinegar will walk you through from start to finish. From using cultured apples to growing mother–you’ll know it all.
Apple Cider Vinegar is a wonder food that most households have it in their pantries. The health benefits of it is phenomenal. It’s versatile. Besides consuming, it can be used for almost everything.
I love fermented foods and believe that we need good bacteria to keep our gut healthy. When the gut is healthy, we don’t tend to get sick as often.
So I ferment a lot. From fermenting whole grains, making water kefir and lacto-fermentation to soy sauce. Of course, Homemade Apple Cider Vinegar is one of them. I always make sure to have one batch of vinegar going so I don’t run out and have to buy it.
homemade apple cider vinegar from fresh apples
As you know, good quality Apple Cider Vinegar is not cheap. However, knowing how good it is, I would still want to pay the price if I don’t know how to make it myself.
Making vinegar takes time and patience. Although after a few years of making it, I can assure you that it’s not hard at all. The actual work only takes a few minutes each day during the fermentation time and the rest of the work is to wait for the bacteria to do its job.
first time trying to make it!
There is no way to rush the fermentation process, so most of the time is waiting.
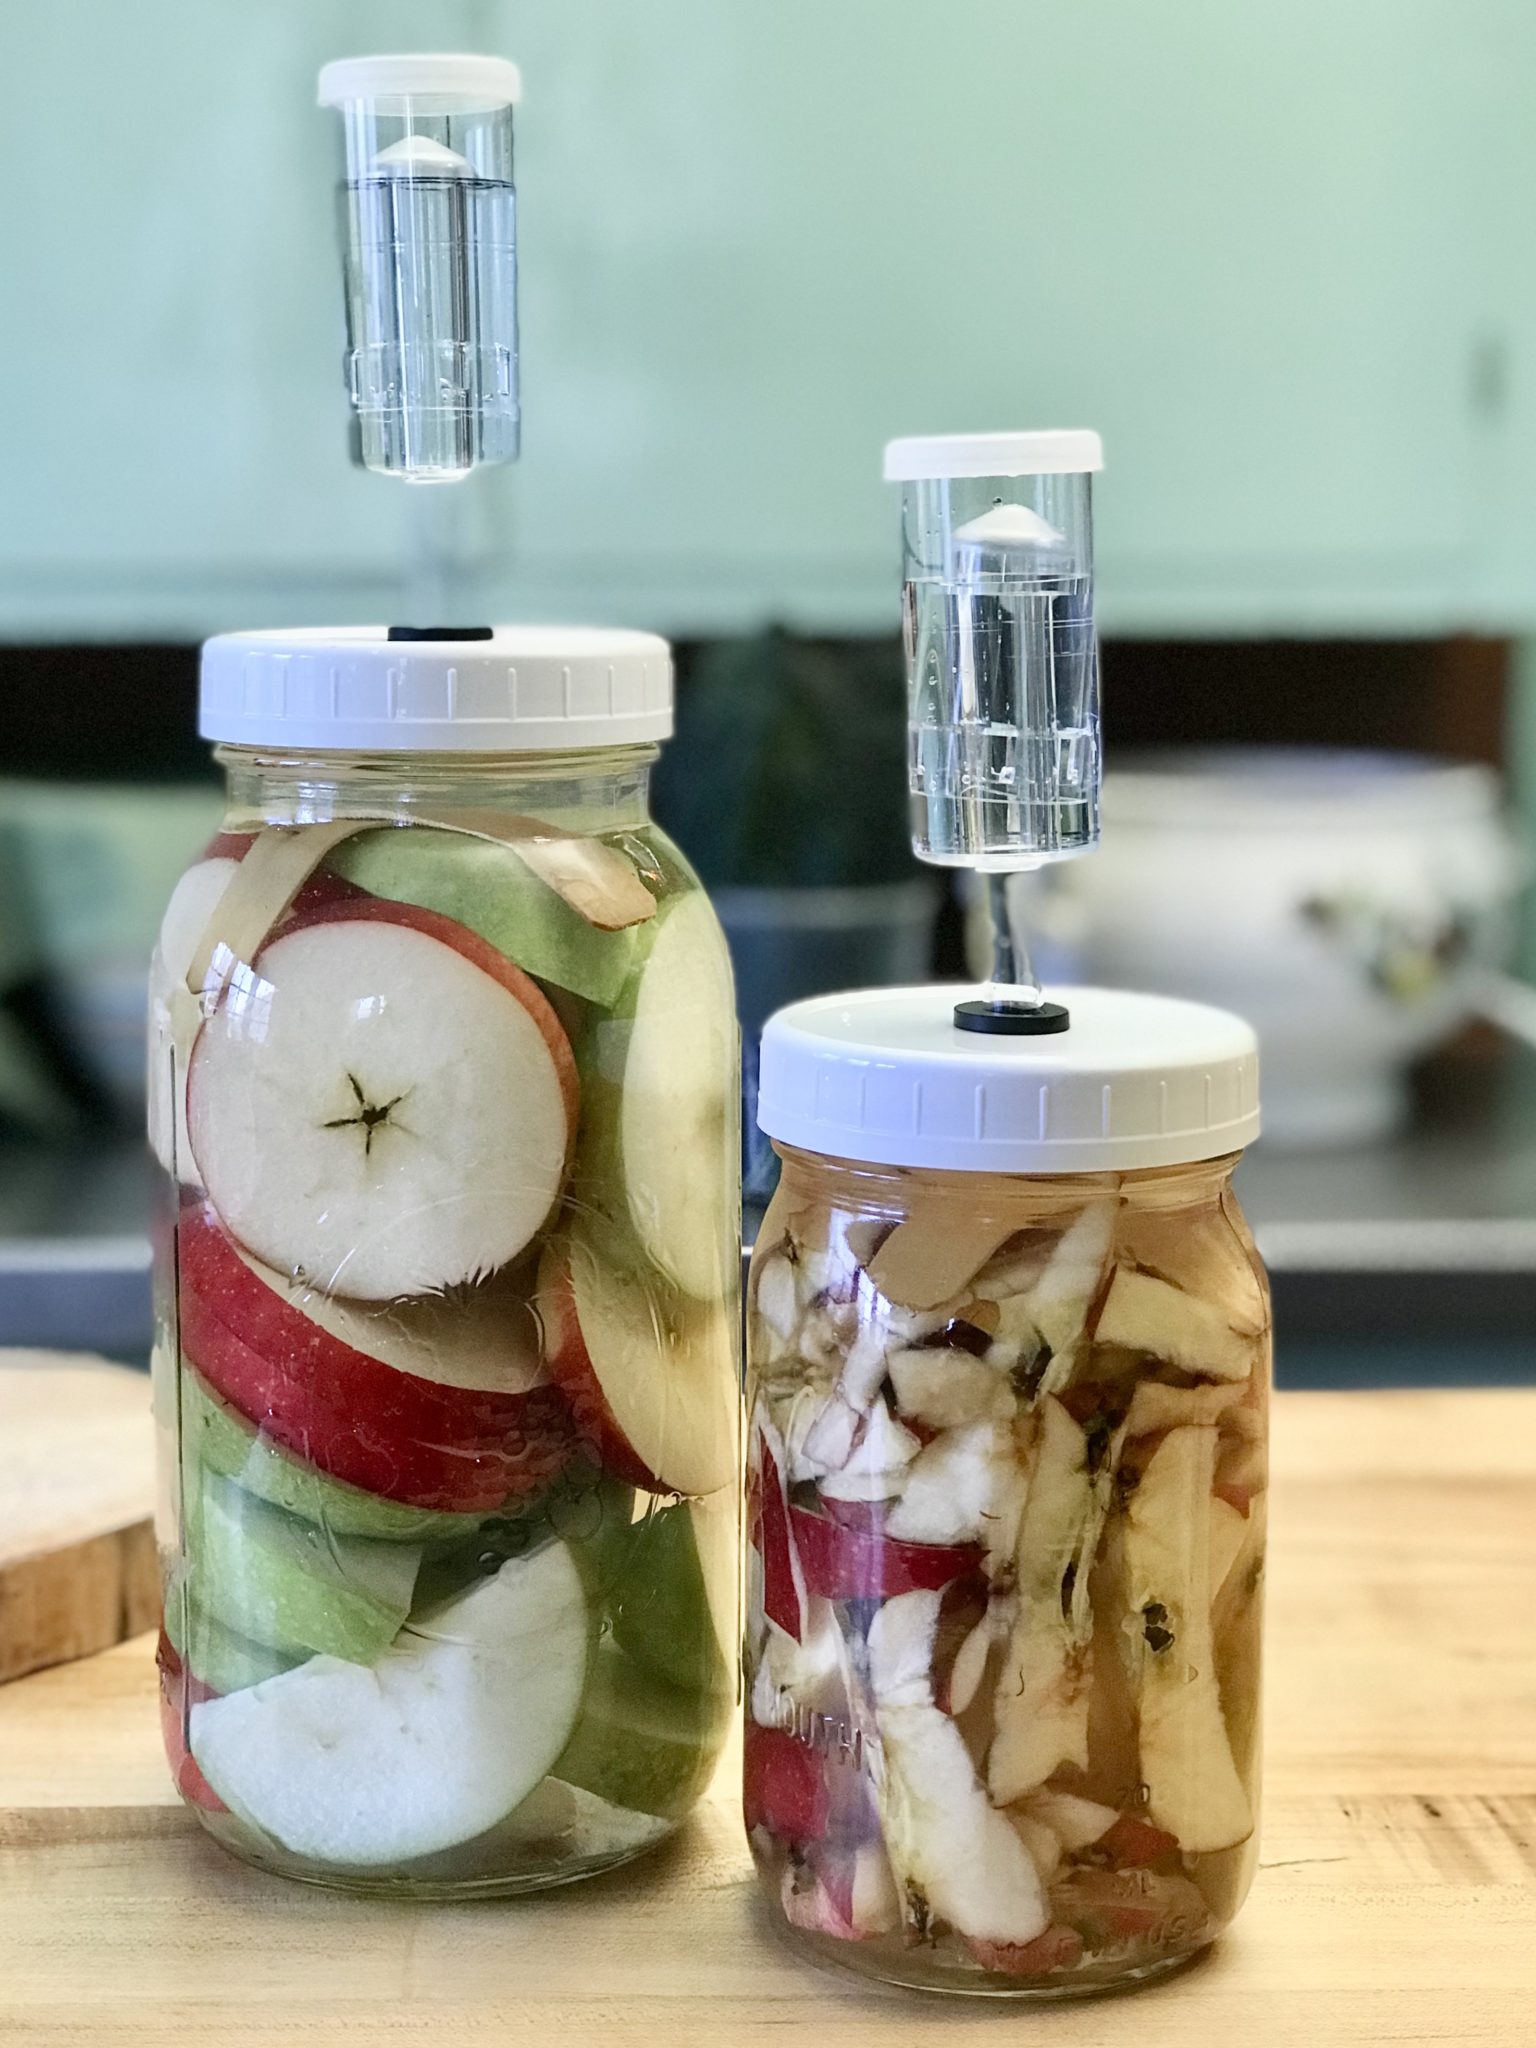
I started making my own Homemade Apple Cider Vinegar a few years ago. Back then, I couldn’t find any clear instructions. I just chopped apples, and added them into a jar with water, used something to weight down the apples and closed the lid tight using an airlock. I kept the jar in the pantry and waited patiently for the magic to happen.
A few months went by, the apples were still looked fresh and pretty in clear water. They didn’t show any sign that they would turn into vinegar any time soon.
It took me almost a year for the apples to break down and the water to turn brown like vinegar. Even Though the color looked right, but it didn’t taste anywhere near the real store-bought apple cider vinegar. I finally gave up and composted the apples.
Later, I learned that bacteria is the important part in turning apples into vinegar. To have bacteria work for us, we need to feed it, and the food that bacteria eats is sugar.
The other important thing is to make sure that air can get into the jar.
So, I tried it again. This time, I added water to the apples along with sugar. Instead of using an airlock to seal the jar, I use breathable cloth to cover it.
Long story short, after a little bit of work each day for two months, I got my very first batch of real Homemade Apple Cider Vinegar that tasted so real and so good.
Years of making my own, I’m so proud to share this with you. Believe me, it really is simple to make your own Apple Cider Vinegar.
Ready to make your own? Let me show you how!
Ingredients: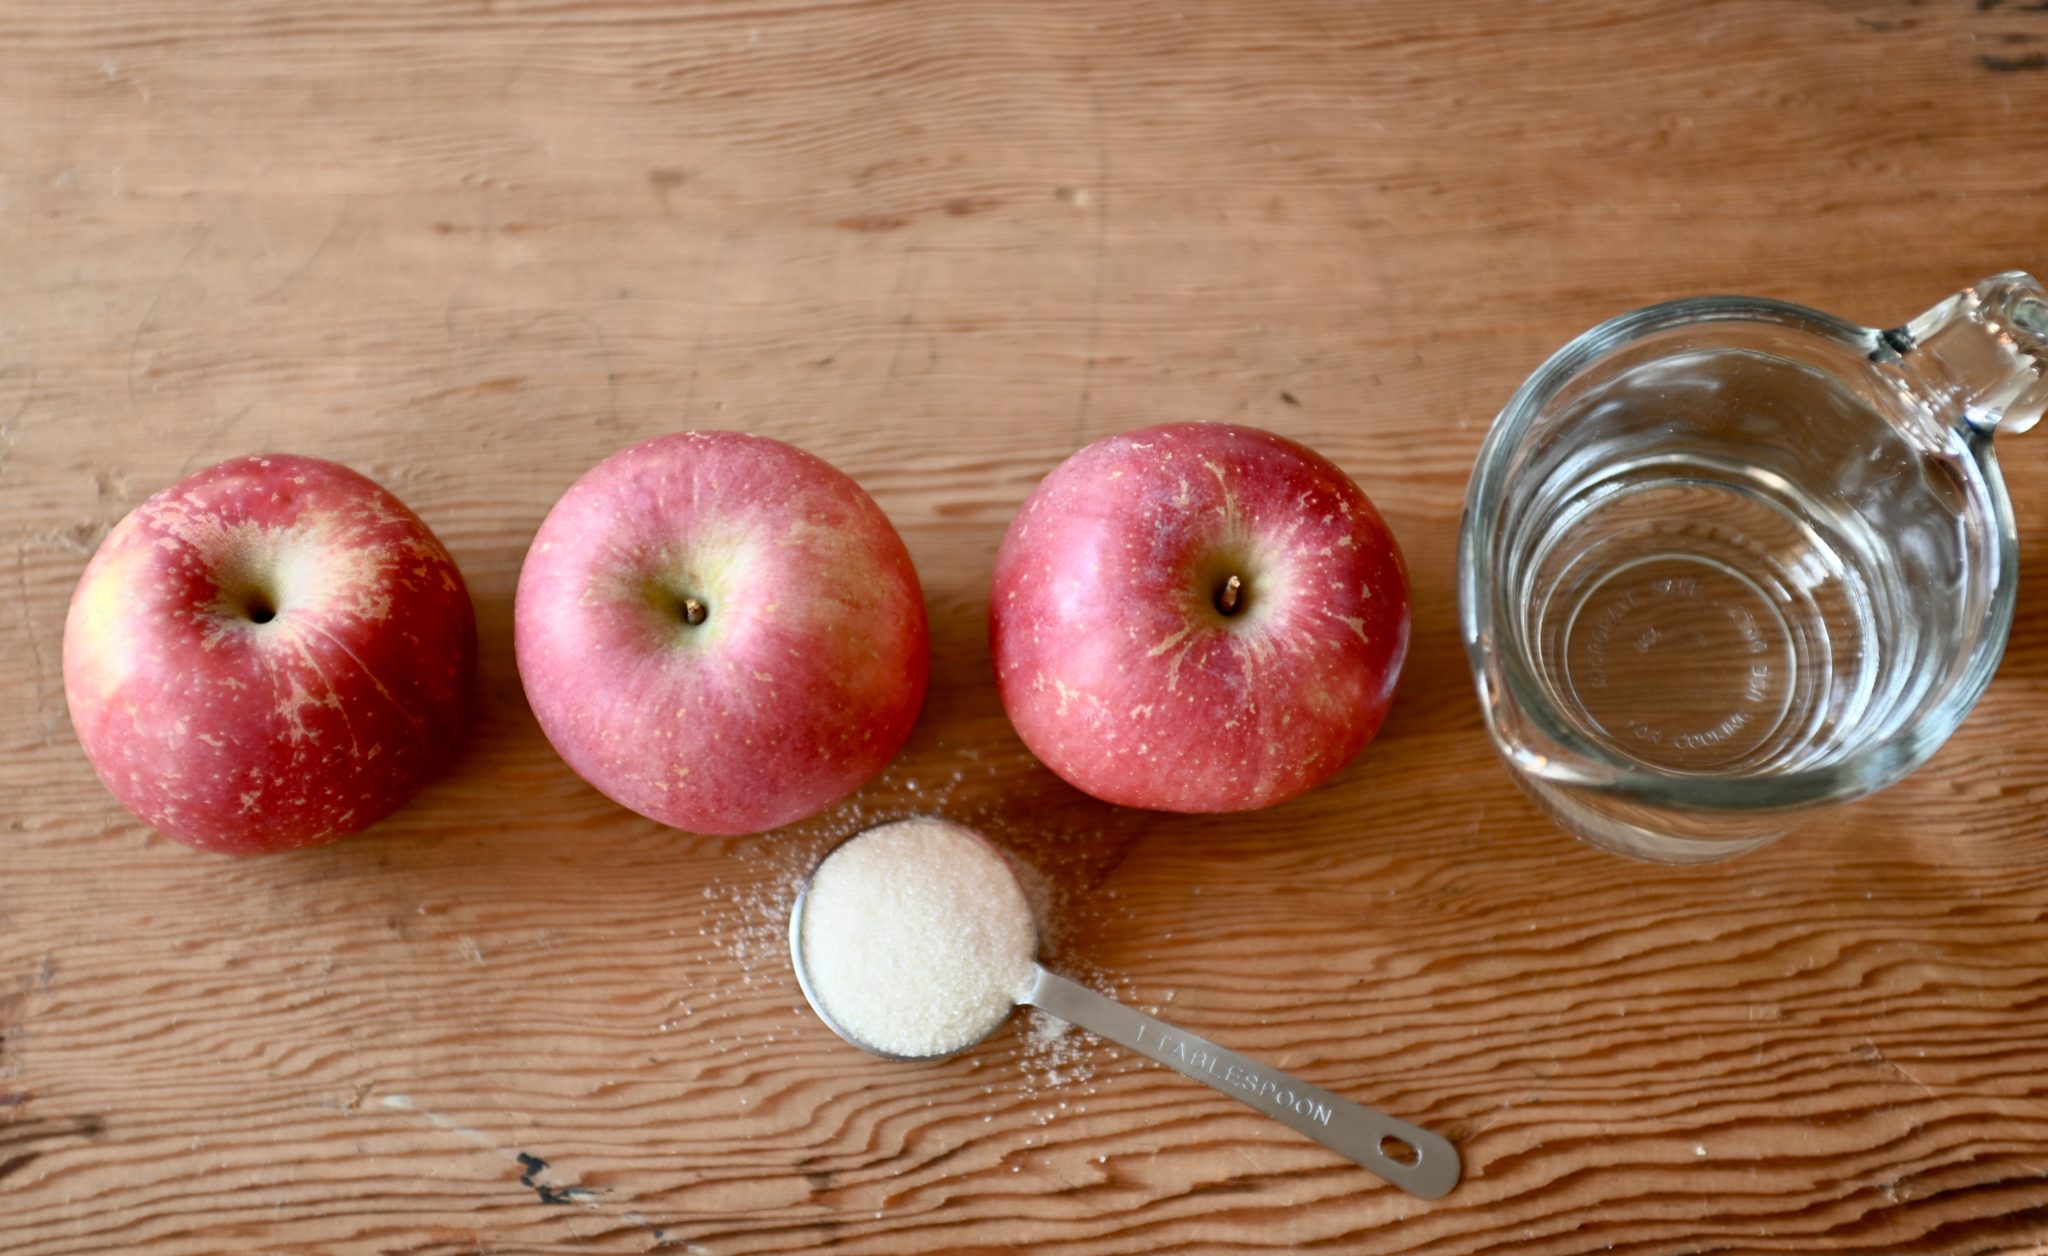
Note: this recipe is for ½ gallon (2 L) jar
- A few apples (organic apples are preferable)
- ¼ cup (50 g) of sugar. (I use unbleached white cane sugar)
- Filtered water
Instructions:
Note: I’m going to break down the instructions into 3 detailed-sections.
Section 1: Let’s start making Homemade Apple Cider Vinegar from scratch.
- Day 1: Wash the apples well, cores and cut them into chunks. Put them in a sterilized jar, add sugar followed by water to the shoulder. (I tried using apple cores before but it’s not my preference, you’ll see why in section two)
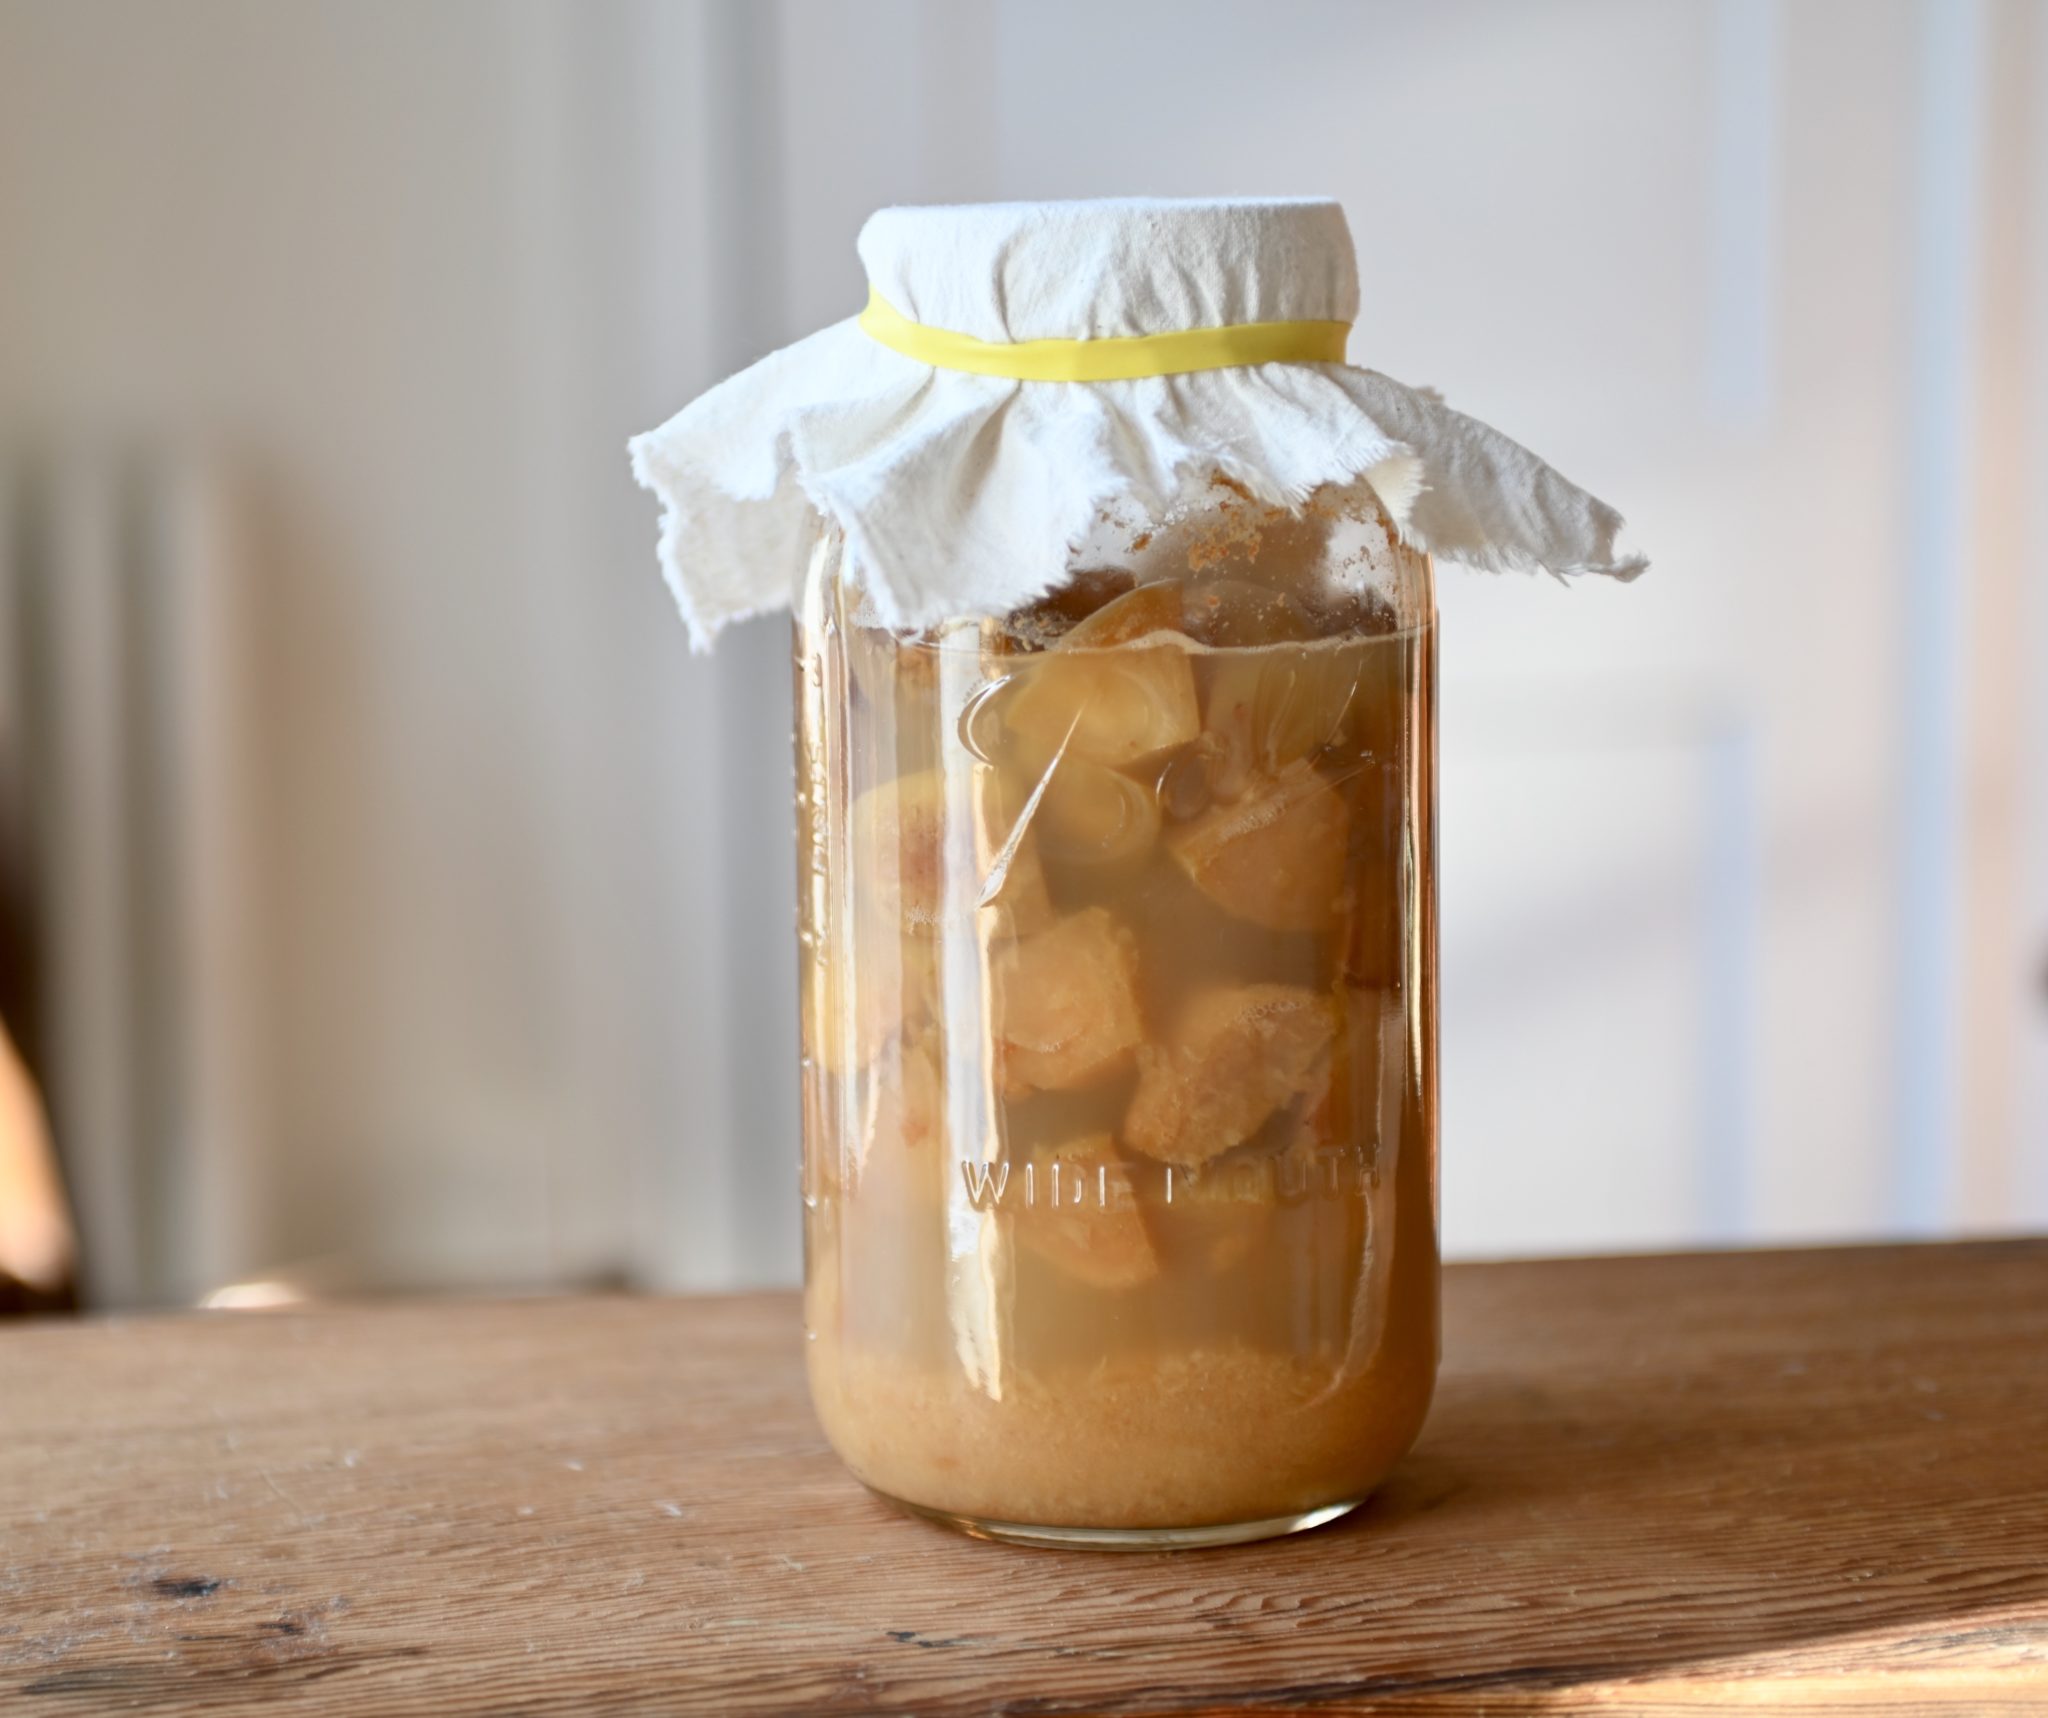
- Use a stick to consolidate the apples pieces. Cover the jar with breathable cloth and secure it with a rubber band.
- Put the jar somewhere it can rest undisturbed to ferment.
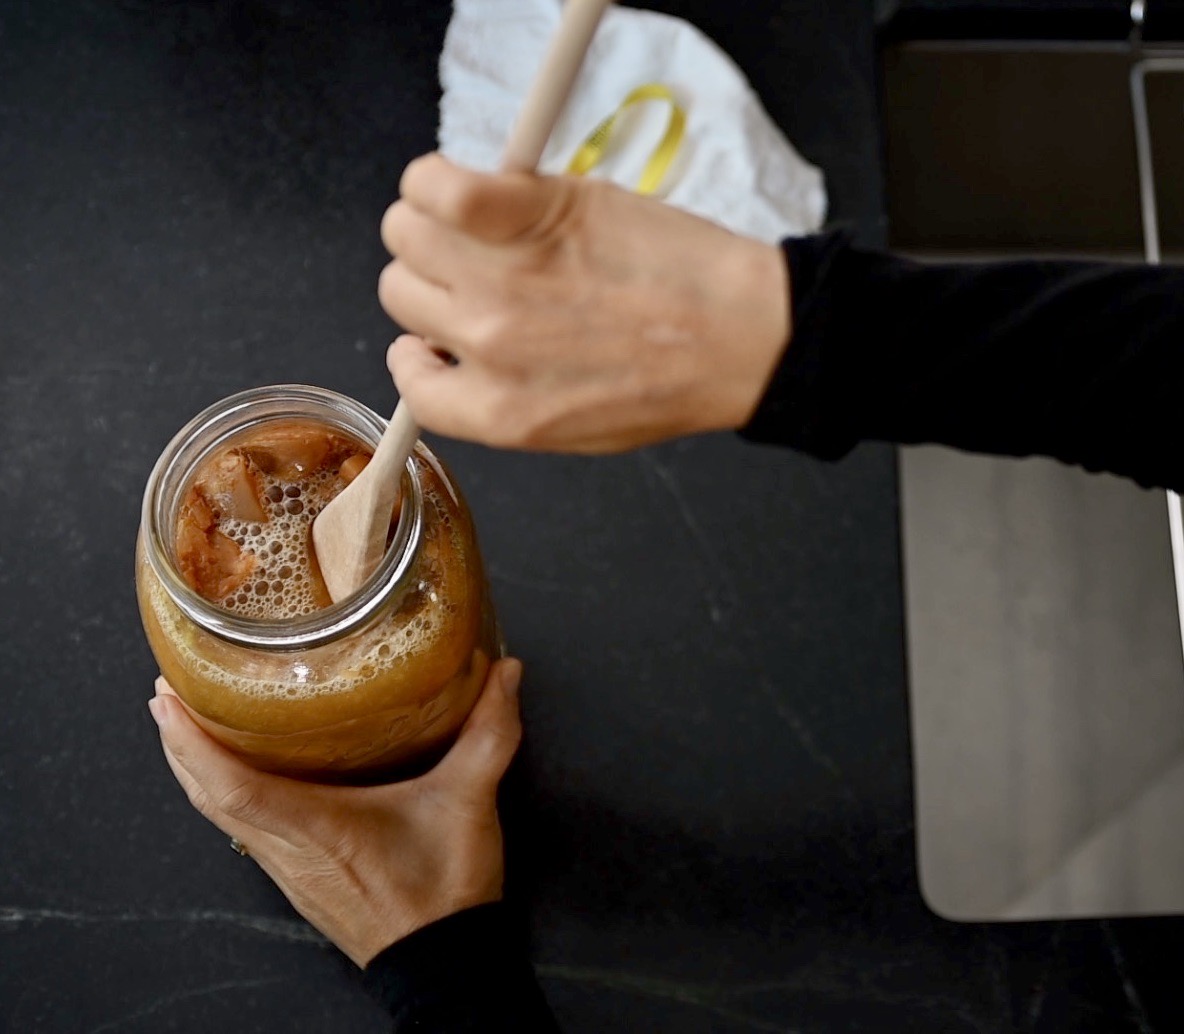
- Day 2 to 7: Once every day, use a stick to push them down to rotate them so they all can shift to be under the brine. Cover and put it back to ferment. Note: This step is important to prevent bad mold growth. Doing this, bad mold never has a chance to grow.
- Day 8 to 14: Repeat the process of pushing and turning the apple pieces every day if you can, but every other day works fine too. During this week, you can see some bubbles forming, and you can smell alcohol during the process. Cover and put it back to ferment.
- Day 15 to 22: Now, you can see a lot of bubbles and the alcohol smell is stronger. That’s a good sign of fermentation, keep repeating the process every other day. Note: don’t worry if you miss a day, just do it as soon as you remember it. Cover and put it back to ferment.
- Day 23 to 30: You can see that the bubbles subside and things are calm, and the alcohol smell is less. Repeat the process every 2-3 days. Cover and put it back to ferment.
- Day 31 or 32: The first fermentation is done.
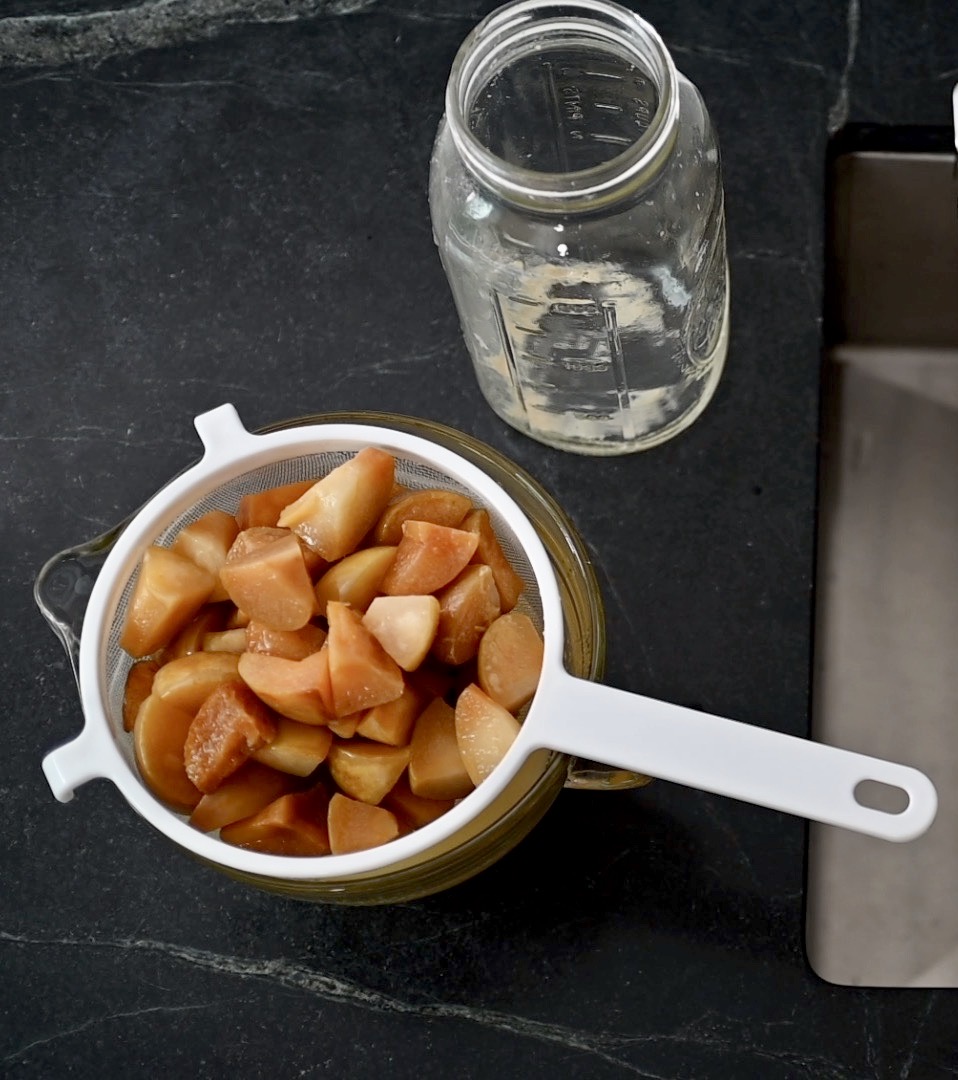
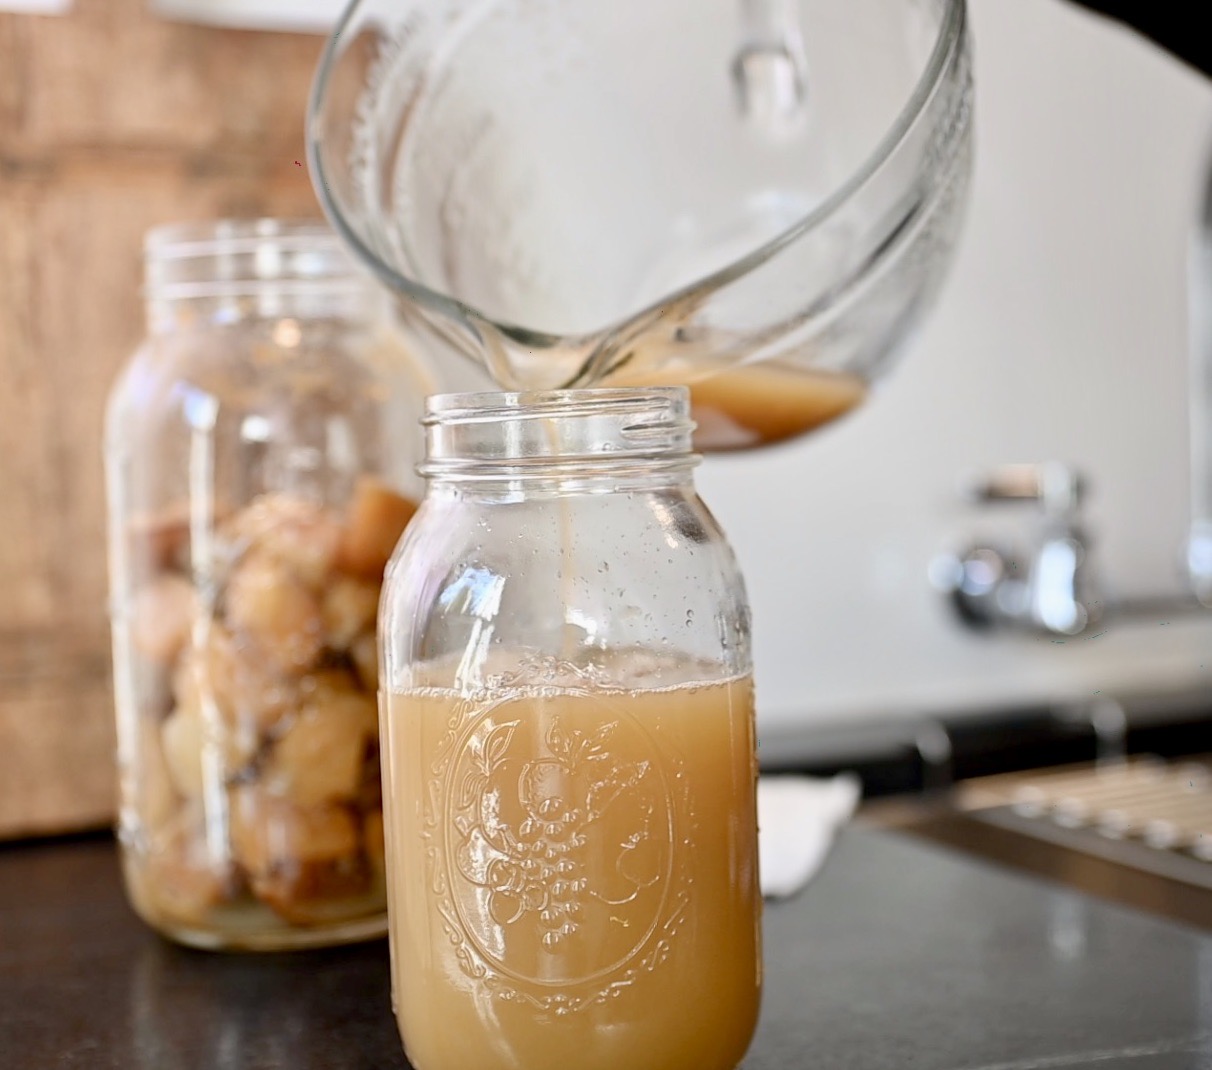
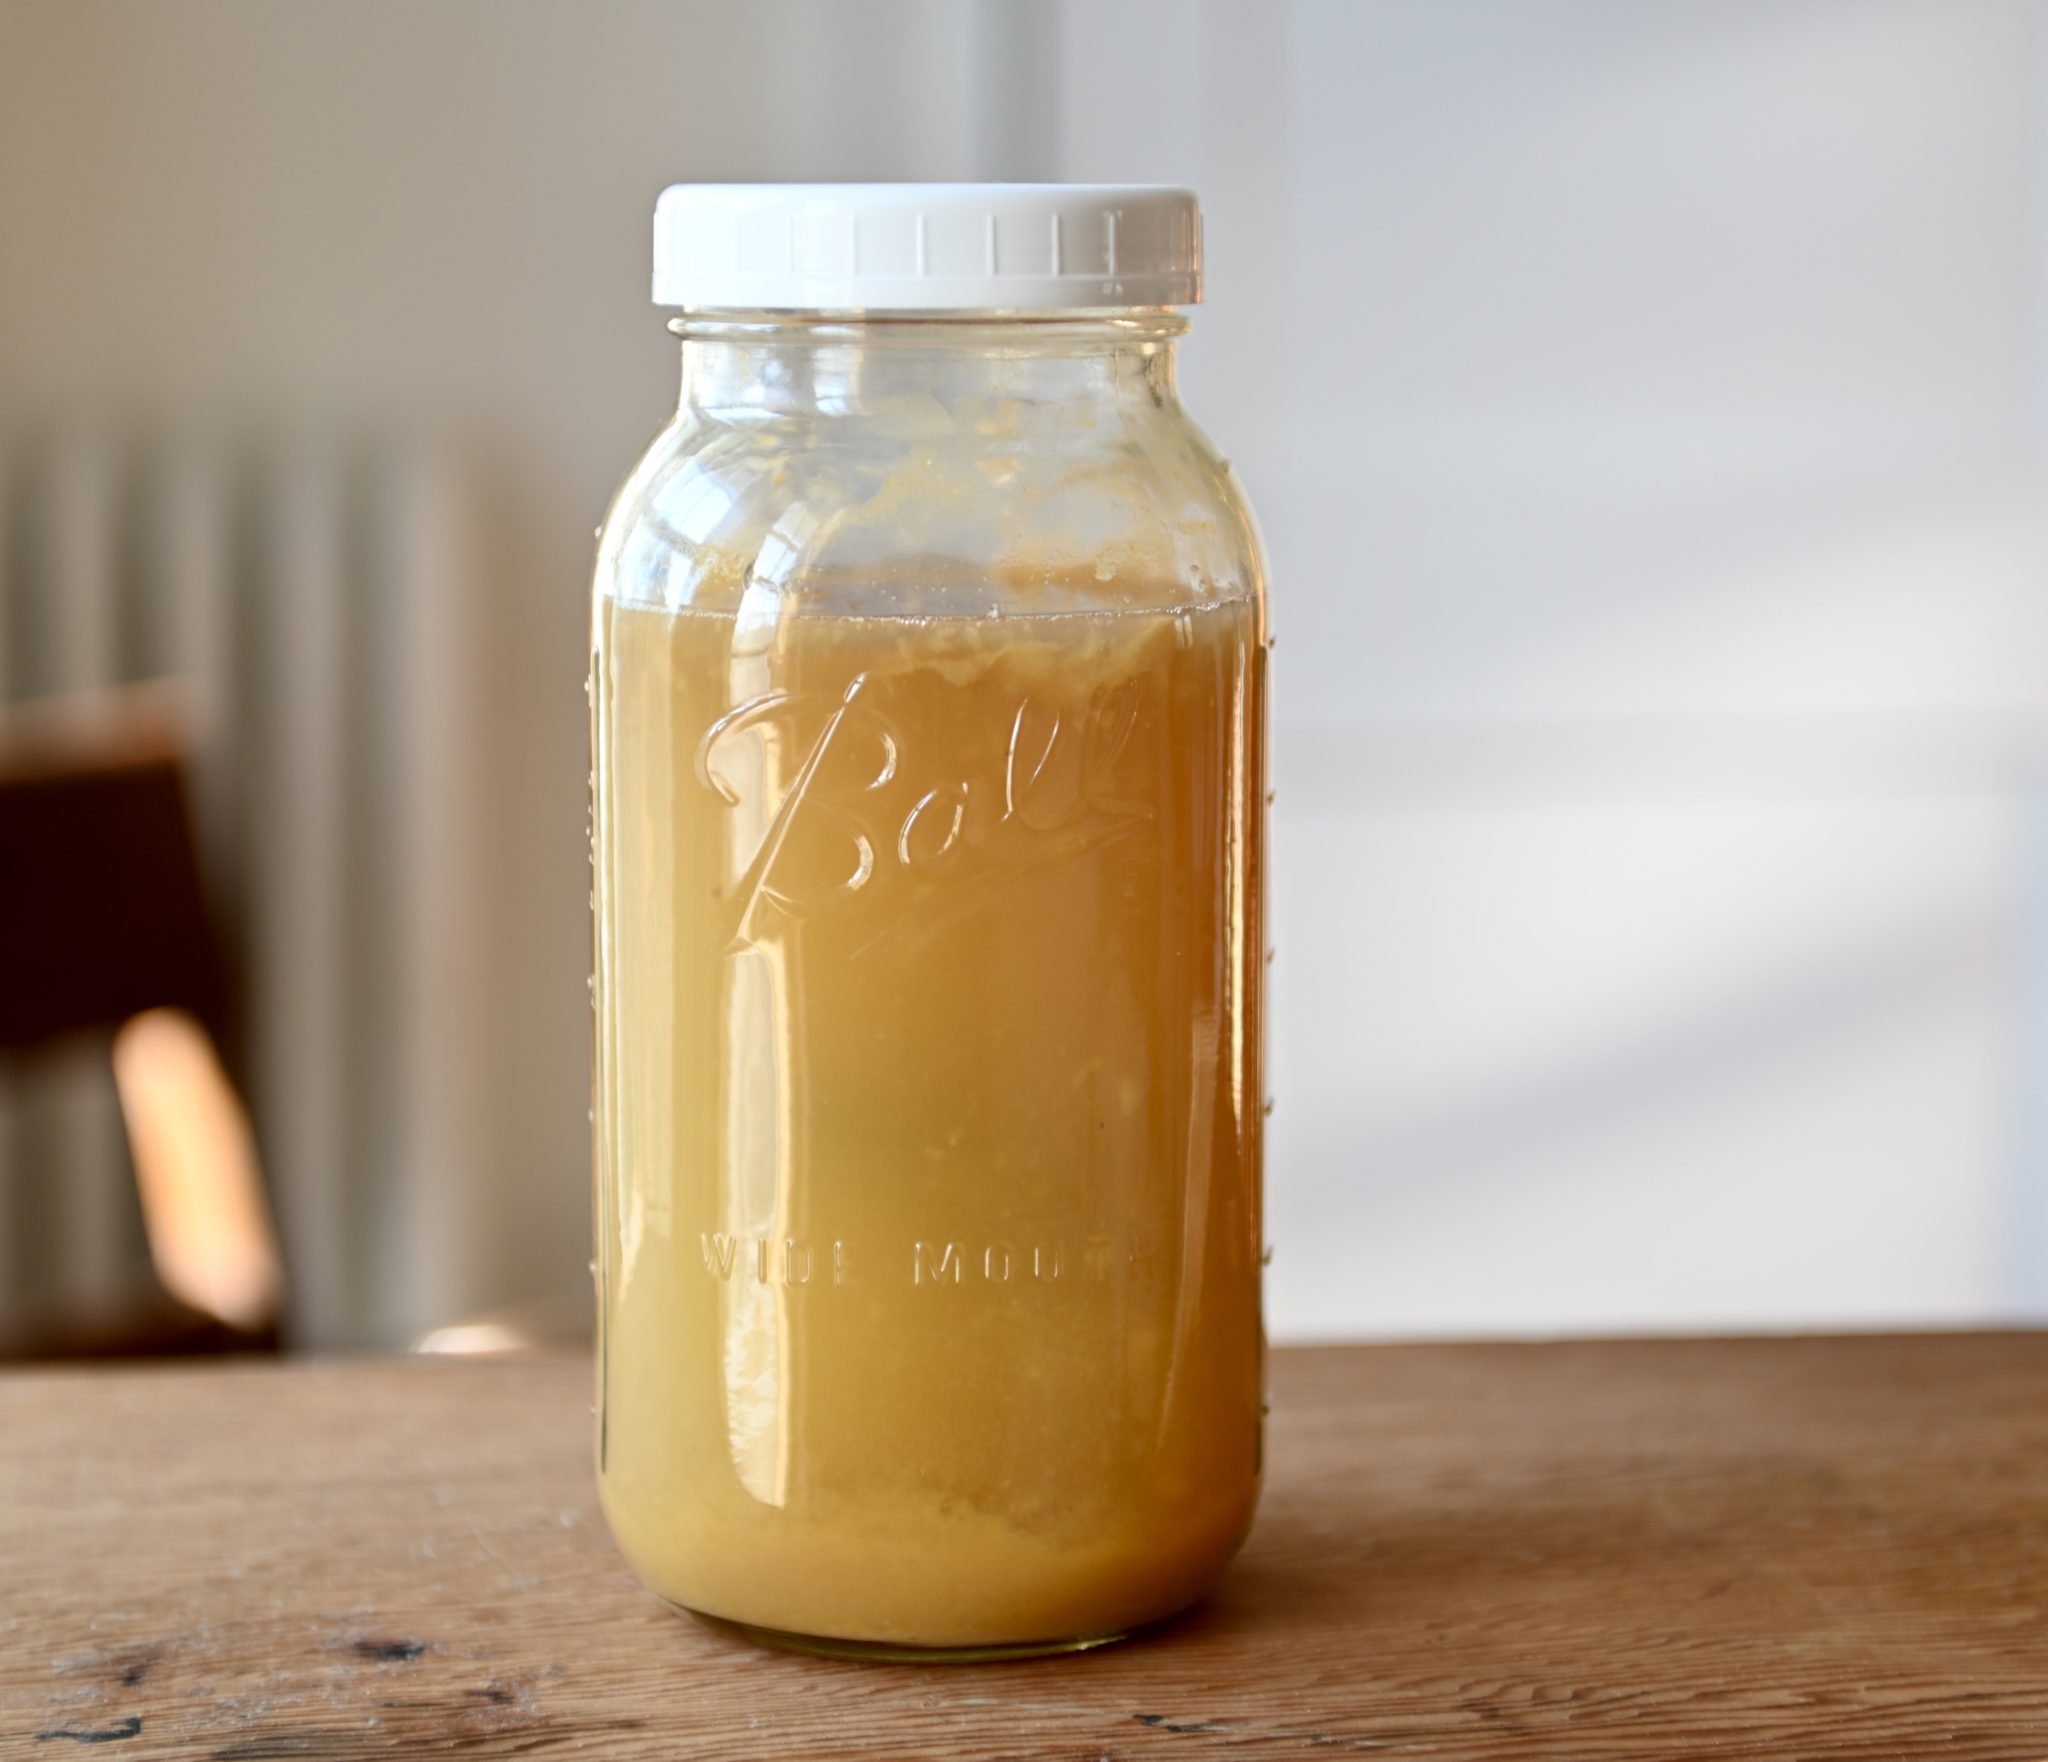
- Strain it with a non-metallic strainer. (save the cultured apples in the jar if you want to do what I do in section 2) At this point, you can still smell alcohol. The liquid has not fully developed to Apple Cider Vinegar yet.
- Transfer it to a glass container and lightly close the lid, it still need some air to ferment. Put it somewhere it can rest undisturbed for the second fermentation for another 3-4 weeks.
- After 4 weeks, the liquid has turned into finished vinegar. It smells like vinegar without any alcohol, and tastes so good.
- If you like clear vinegar, strain it through a few layers of cheesecloth. Keep the sediment to eat separately. It’s so tasty and full of good bacteria.
- Bottle it, tightly close the lid and keep it in a cupboard. No need for refrigeration. It will last forever–if you let it.
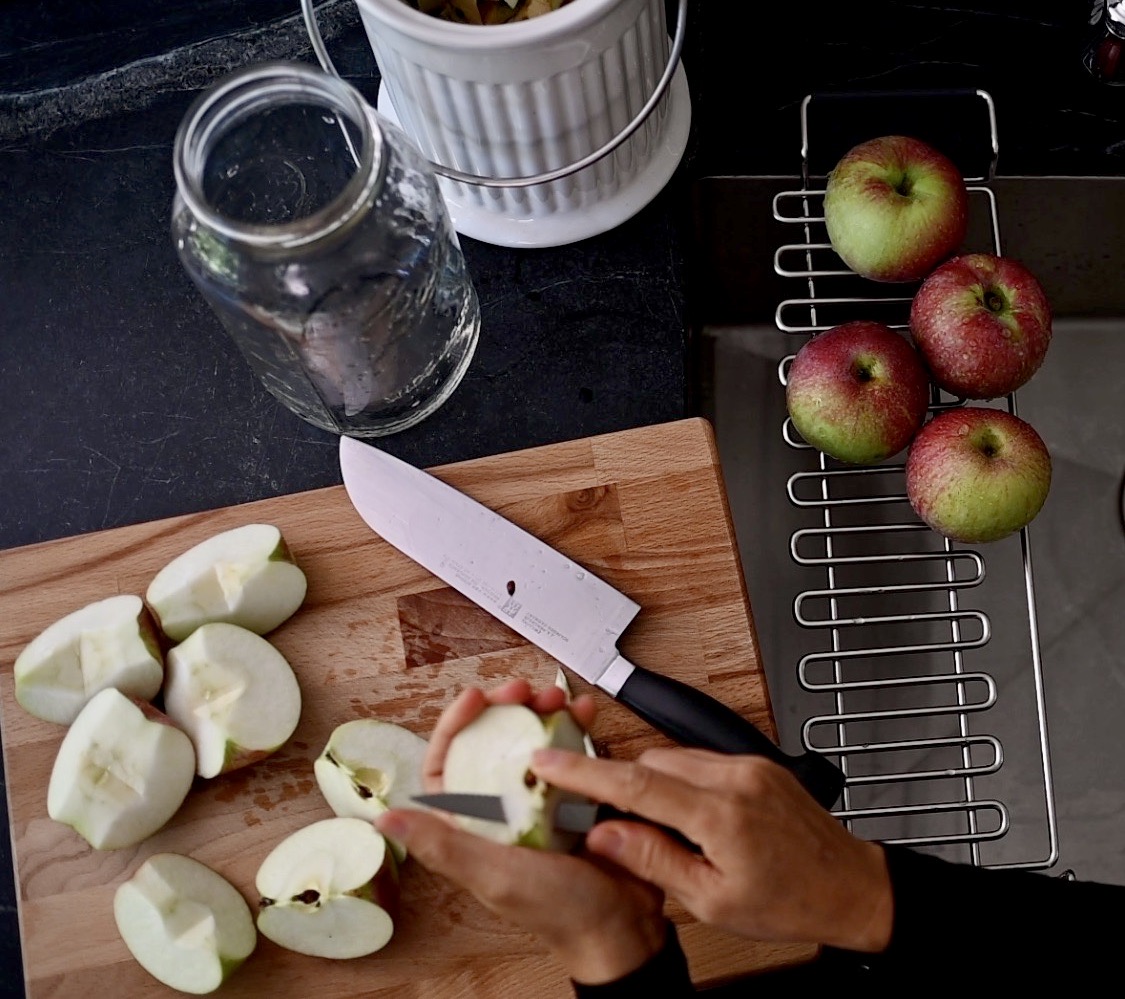
quarter, core, and cut the apples into small chunks
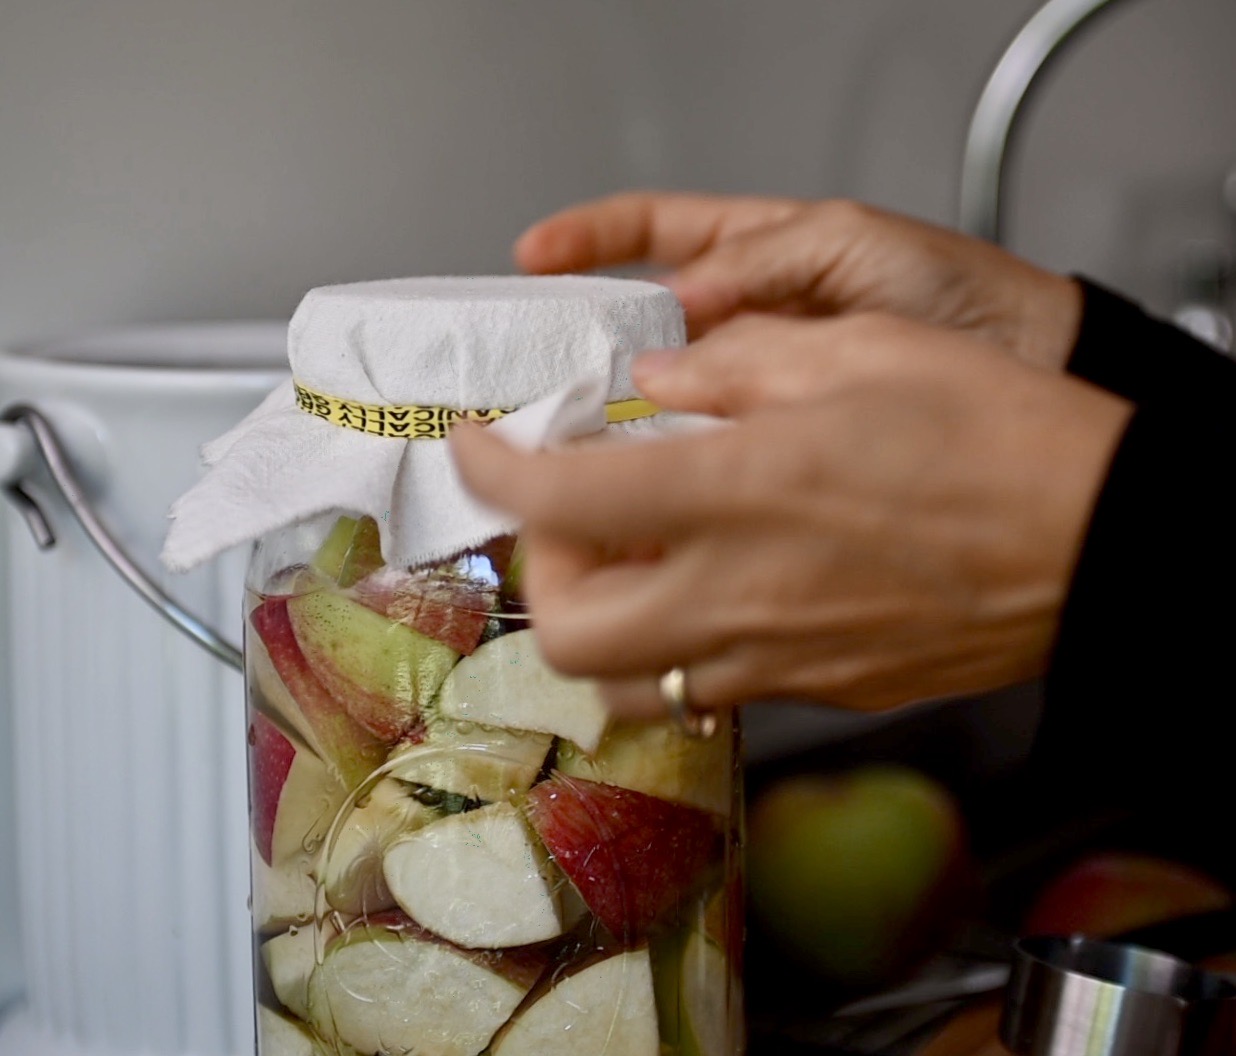
cover the jar with breathable cloth
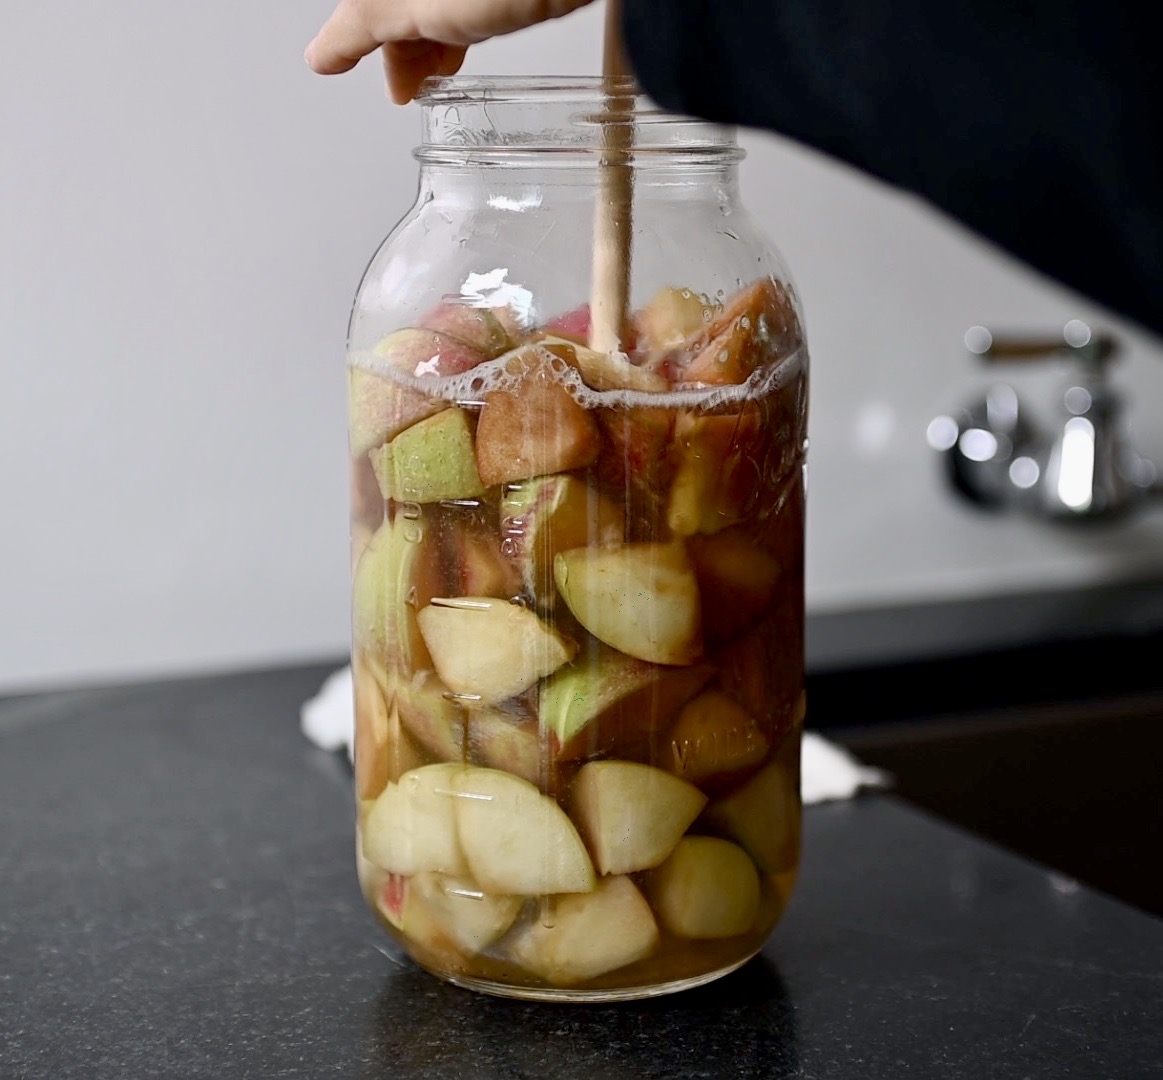
push down the pieces everyday
fermentation is going really well
don’t throw the cultured apples away
let it ferment again for another 3-4 weeks
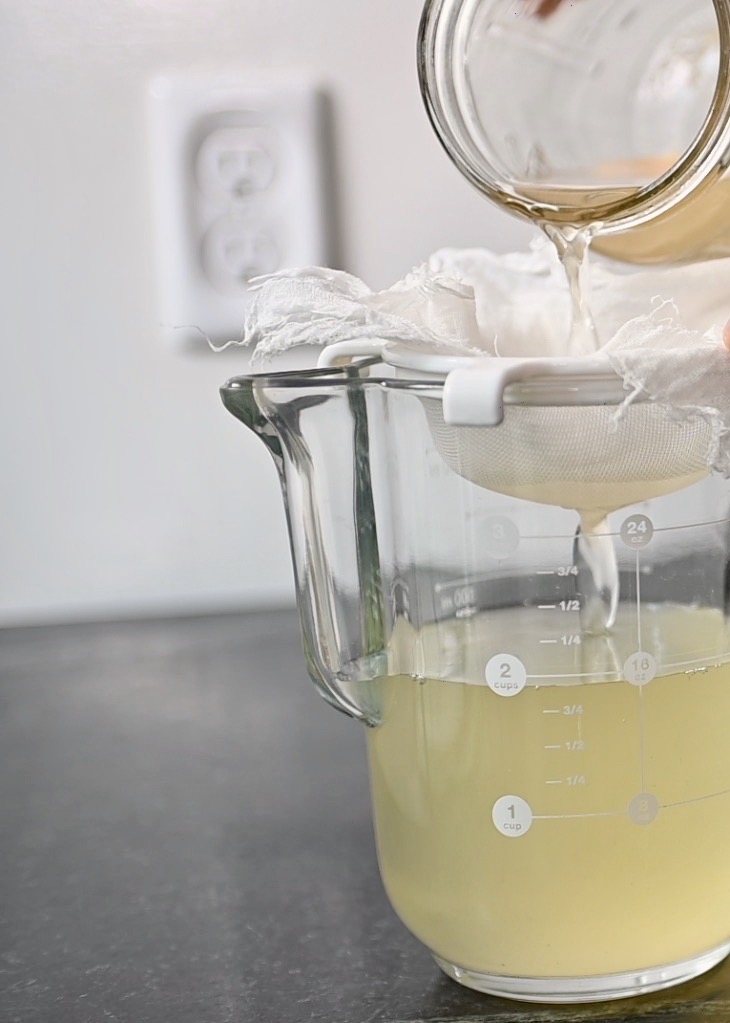
if you want clear vinegar, strain it through cheesecloth
Section 2: The cultured apples.
You can use the cultured apples from the first batch to jump start your next batch of Apple Cider Vinegar without going through section one.
- Feed the cultured apples with fresh-squeezed apple juice. Cover the jar with breathable cloth and let it ferment for 3 days. Stir once is enough.
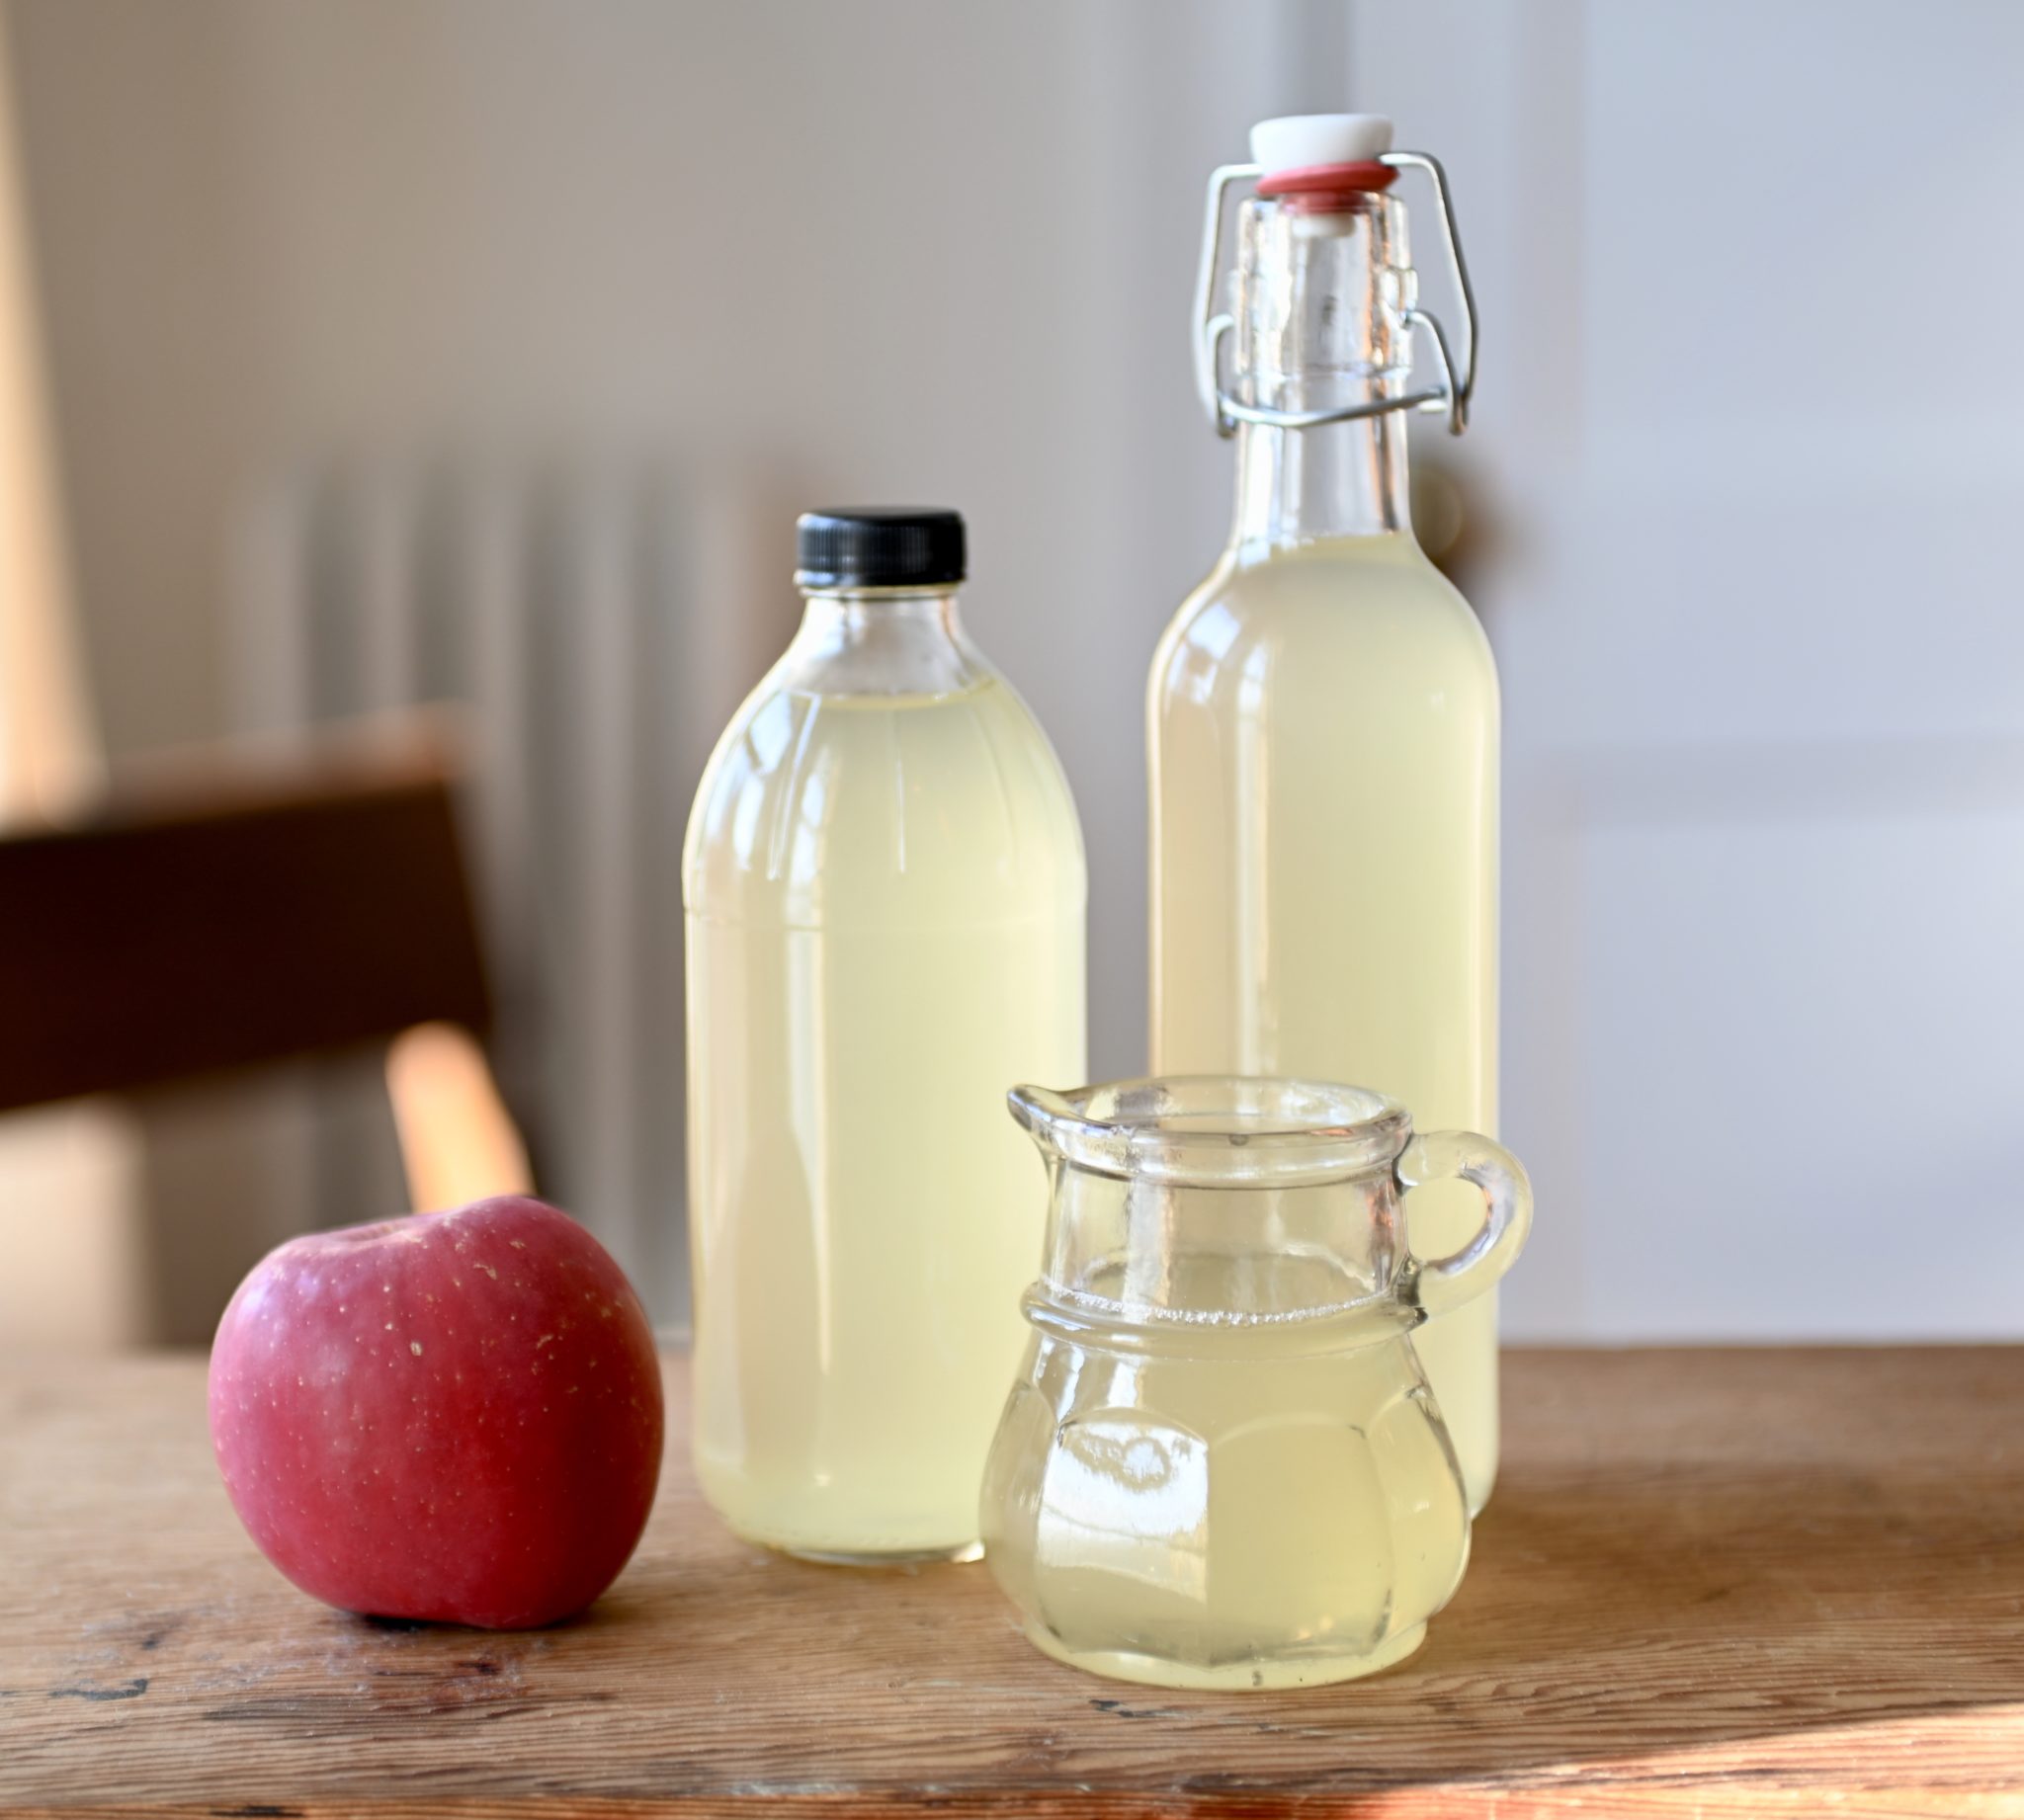
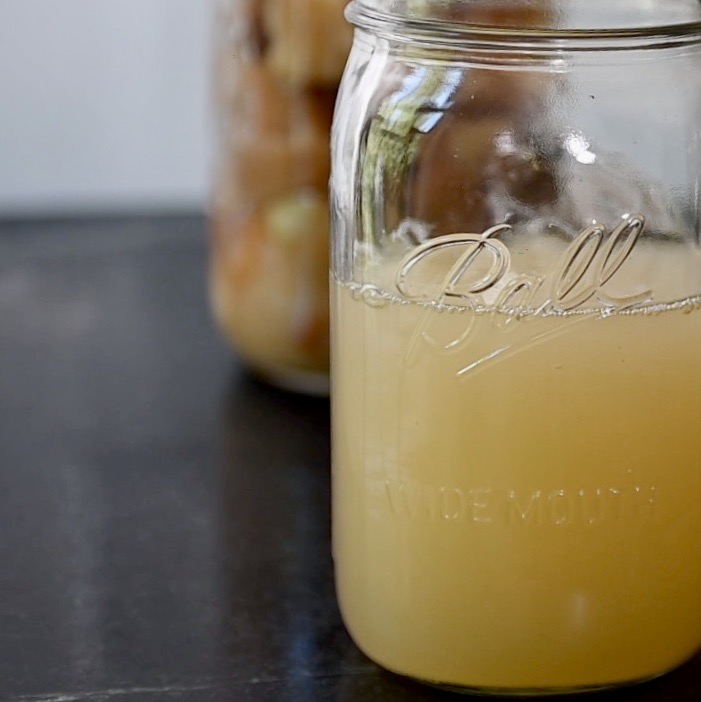
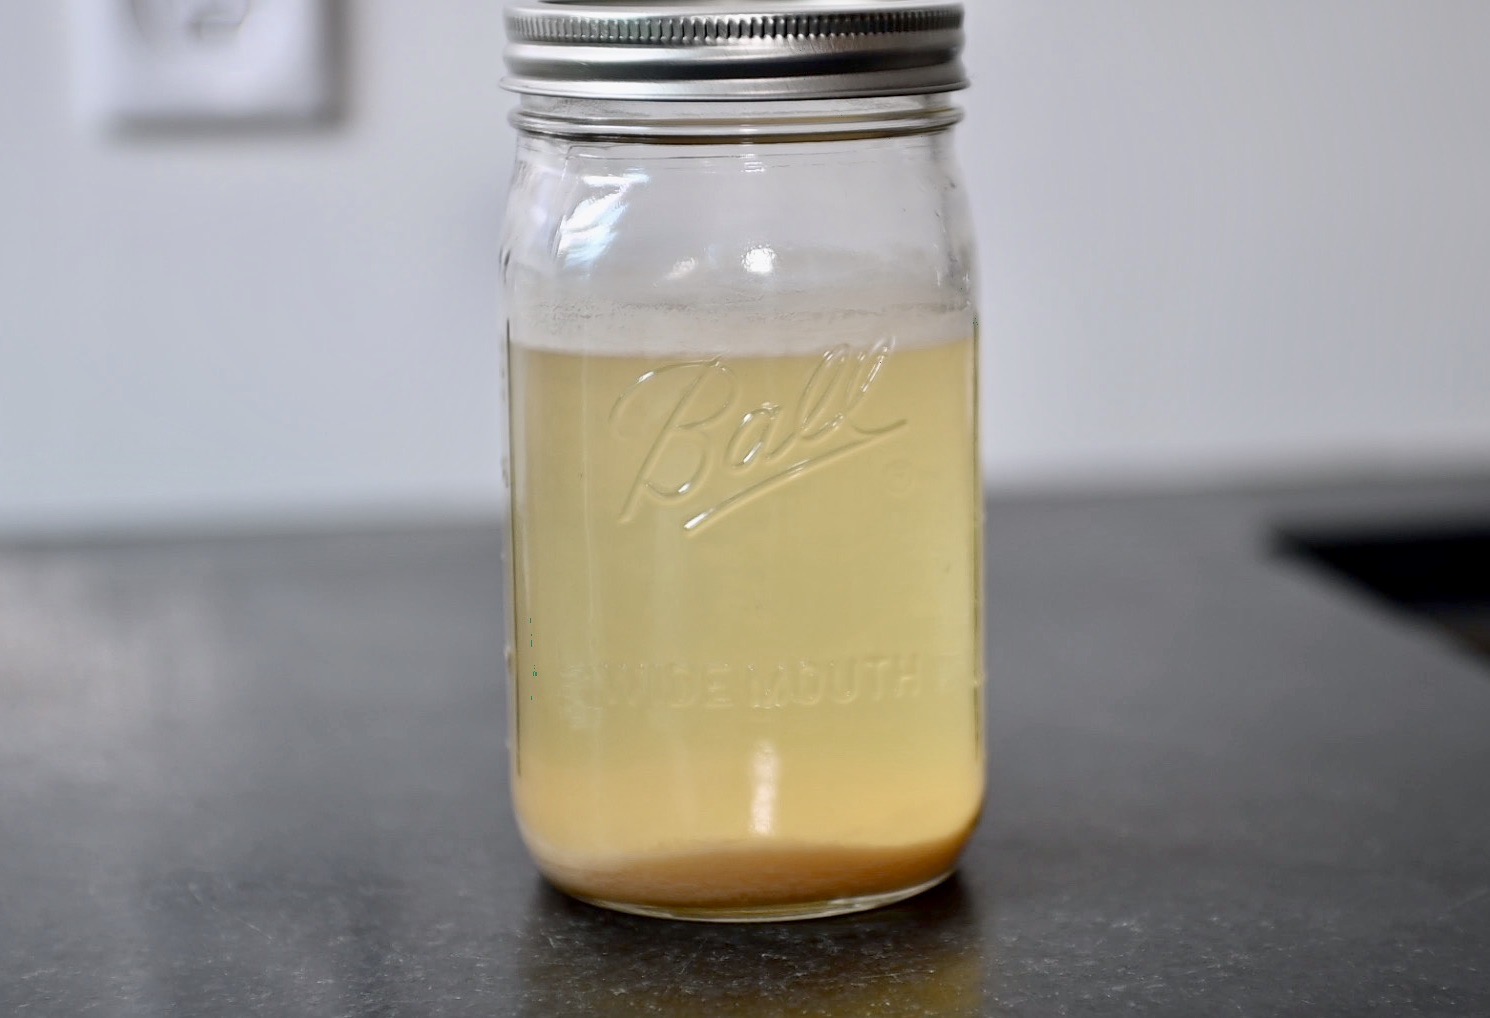
- On day 3, if you want to stop the fermentation, (like I often do) strain it. The apple juice has turned into fermented apple juice, that’s full of good bacteria. It’s extraordinary tasty with a small amount of alcohol. Drink a small amount at a time and keep it refrigerated.
- If you want to turn it into vinegar, let it ferment for 3-4 weeks. Stir it a few times during the fermentation.
- After 3-4 weeks, strain it, and let it go through the second fermentation for another 3-4 weeks. Note: keep the cultured apple in the jar and feed more juice to it if you want to make more fermented apple juice or vinegar. These cultured apples will not go bad. However it will get smushed eventually. Then, I eat the mushed-cultured apples. It tastes so good, just like applesauce but raw-fermented. This is why I don’t use apple cores to make Apple Cider Vinegar.
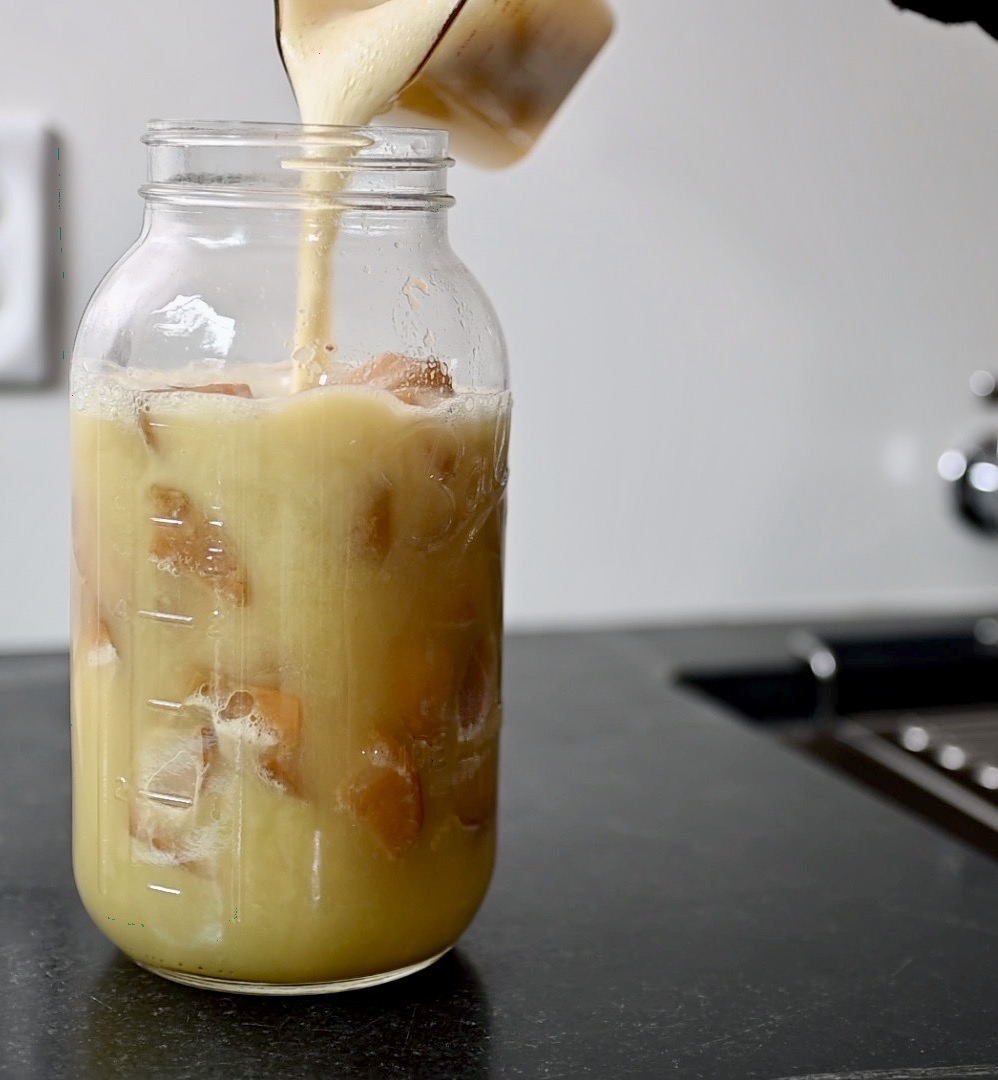
feed fresh-squeezed apple juice to the cultured apples
let it ferment
this fermented apple juice is so tasty!
Section 3: The Mother
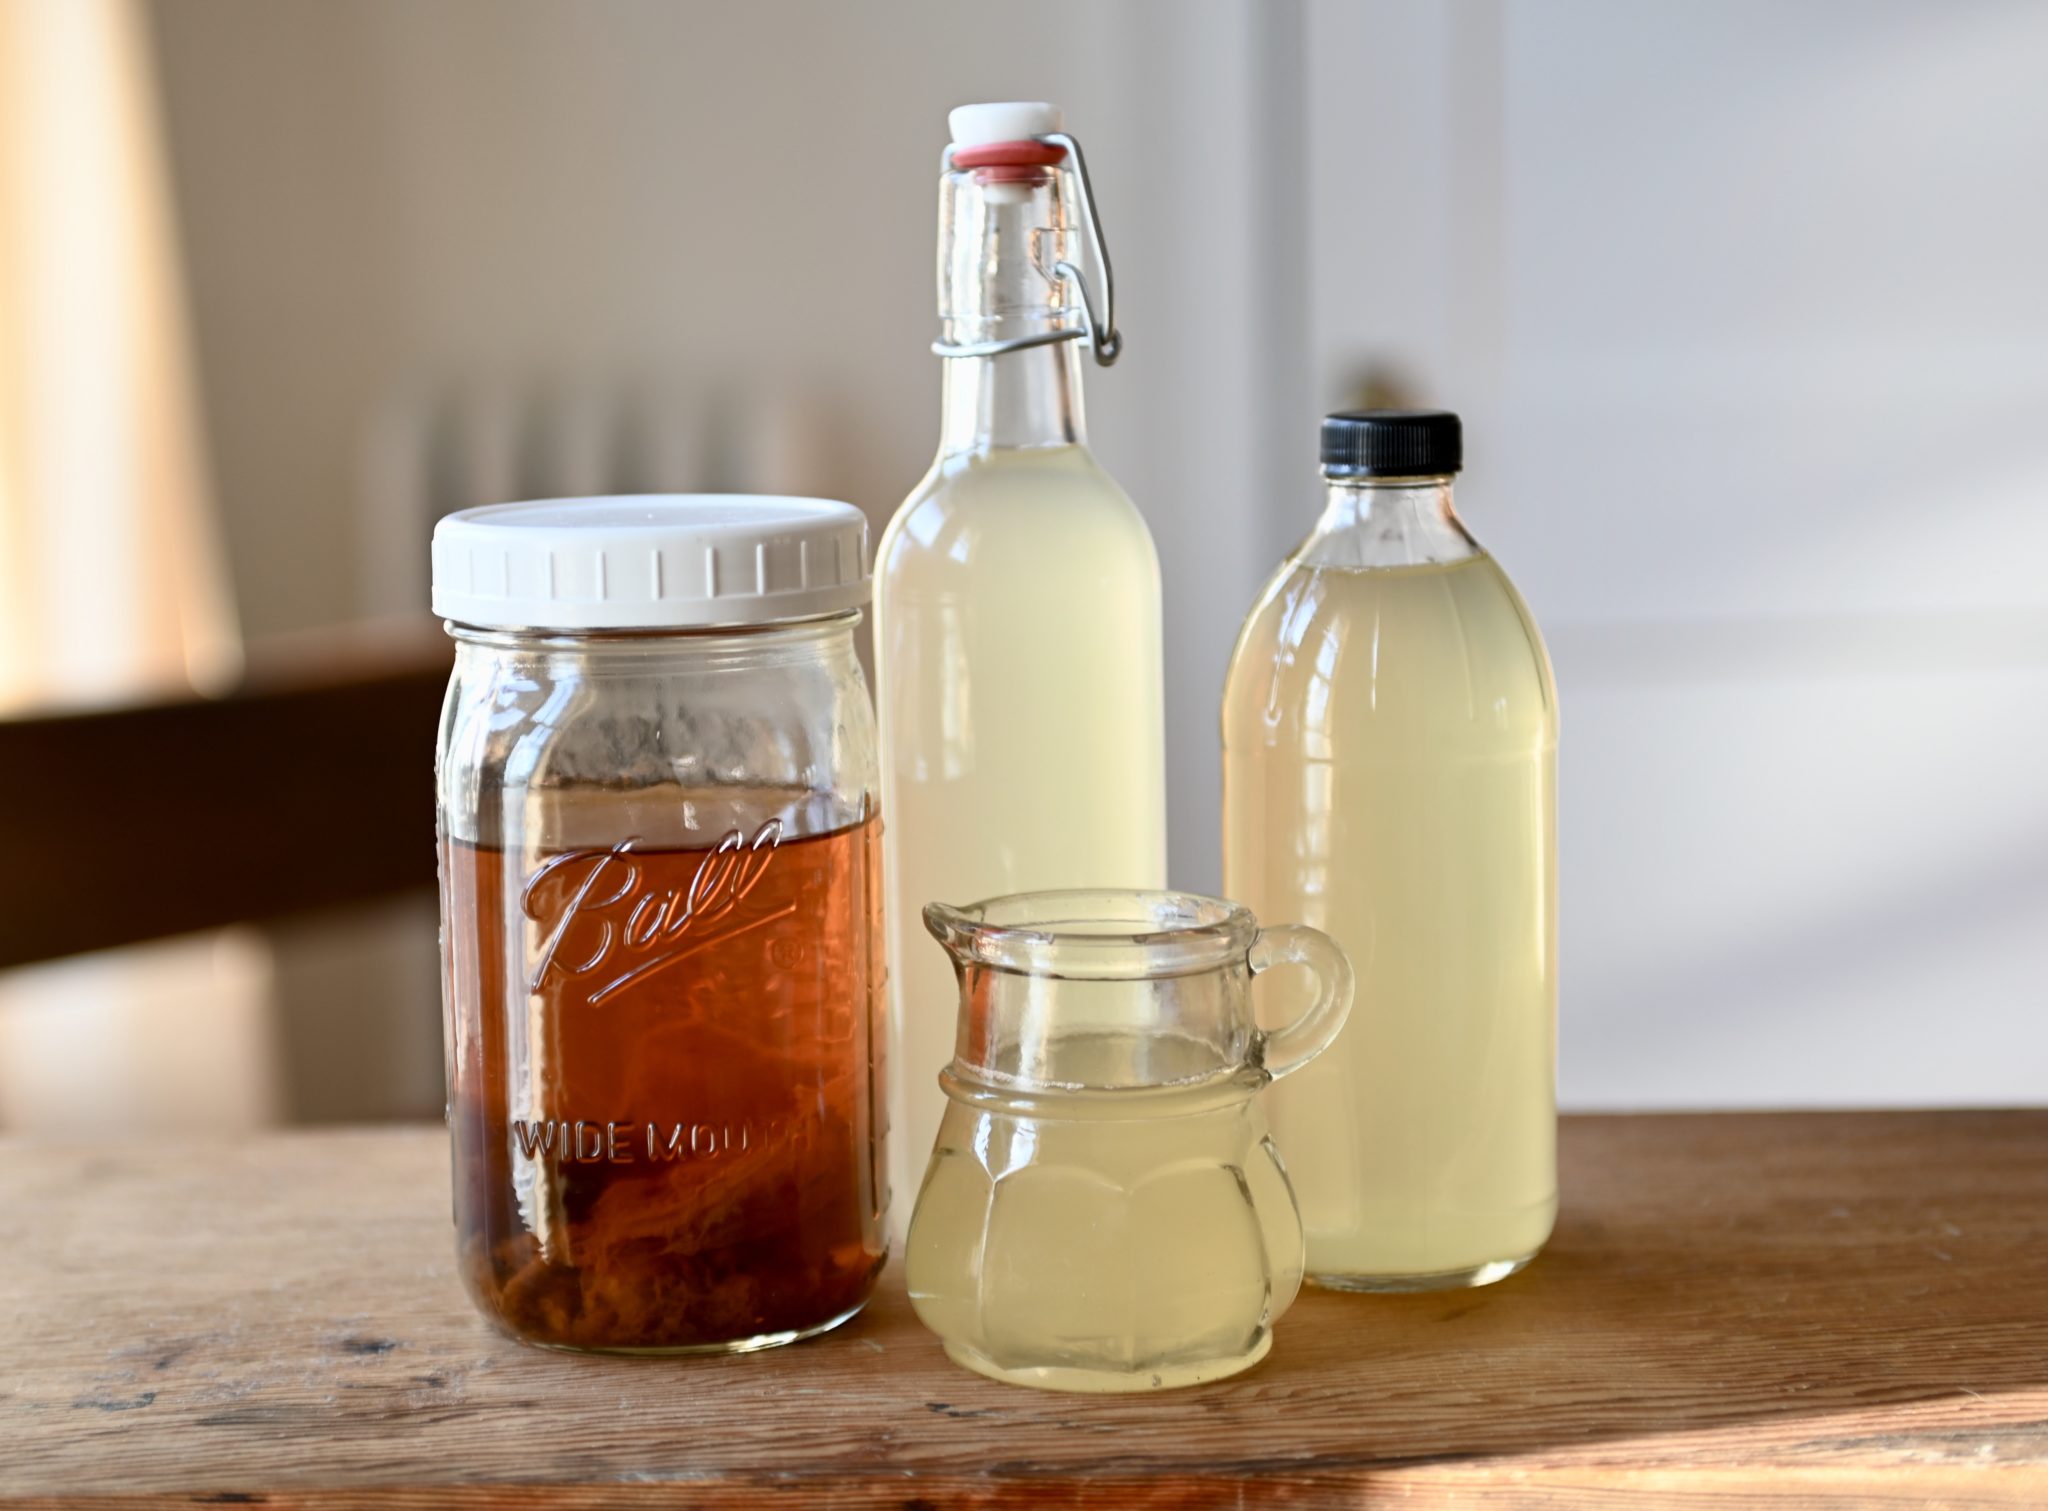
If you let the finished Apple Cider Vinegar age, it will develop the mother (which looks like SCOBY in kombucha) You can use the mother to jump start your vinegar without going through section one.
- Add the mother to fresh-squeezed apple juice. Let it fermented undisturbed for a month or so (no need to stir it).
- Strain and let it go through the second fermentation for another 3-4 weeks. The mother can be used repeatedly to make Apple Cider Vinegar, and the mother will keep forming more and more. You can share it to you friends and family, so they can make their own vinegar without going through section one. Note: to store the mother: always keep it submerged in vinegar if you aren’t using it.It will last forever.
finished vinegar with sediment
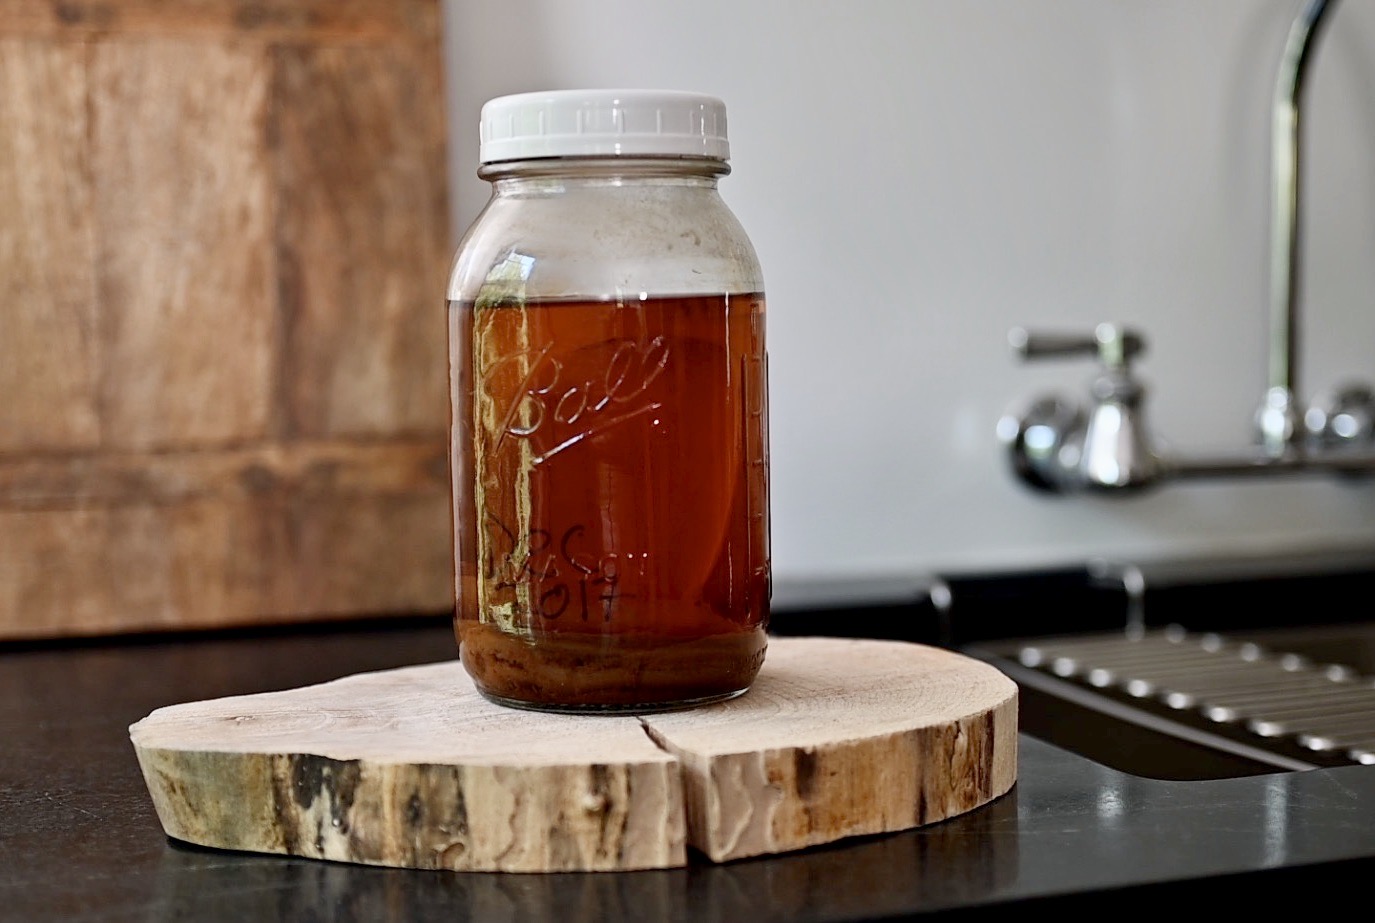
aged vinegar with mother
add the mother to fresh-squeezed apple juice
the mother can be used the make vinegar repeatedly
Have you made Apple Cider Vinegar? Share it with me, I’d like to hear about it!
Amazing work and your detailed explanation!!!! Greatly appreciate it!
🙏🏼 Thank you
I can’t found organic apples where I live, can I just use peeled apples ?
Love you for this sharing heart. But can I use any other fruit instead of apples? Pls reply
Yes, you can definitely use other kinds of fruits too!
In south of Mexico they make vinegar with mangos : same way as you said for the cider vinegar. By the way… Thank you so much for all what you share with us !
This is amazing!! Thank you so much for your time and effort. I follow your youtube channel. I made my first batch of cold pressed virgin coconut oil by following your videos. I use it on my dreadlocks, my daughters hair,our skin and to cook with. I’m super stoked to try this. I have a plethroa of patience. So I know I can knock this out. I wish I knew how to make homemade mango butter. I hear there is a chemical process it goes through and it is difficult to replicate. Too bad it works wonders for eczema. Learning to make things from scratch makes me soo happy not just because Im saving money but because it always tastes soooo much better and is much more healthier and rewarding. Thank you for everything you do!! I can’t wait for the next tutorial 🙂
You’re very welcome, and thank you so much for your kind words. I agree with you about making things from scratch, and that’s what I’m trying to do with the food I eat.