Organic whole grain cereal and whole oatmeal were the ideal options for healthy breakfasts in my family for a long time. It was easy and convenient to open a box of cereal, or to cook oatmeal straight from the storage jar in the morning. However, I completely changed my way of eating whole grains since 2013, when I learned how phytic acid might be associated teeth problems.
Soaking and fermenting whole grains can reduce phytic acid, and this method was how people in the past prepared their grains before consuming them. Unfortunately, nowadays, people aren’t spending time doing it much. I was fascinated with what I learned, and it steered me to prepare grains in these ways.
Are you ready to try eating fermented whole grains properly prepared in a traditional way?
I’m going to show you first how to soak or ferment and cook raw whole grains, and the second one is how to soak rolled oats & barley flakes. I used both of them mostly for breakfast.
What you need for soaking or fermenting and cooking raw whole grains
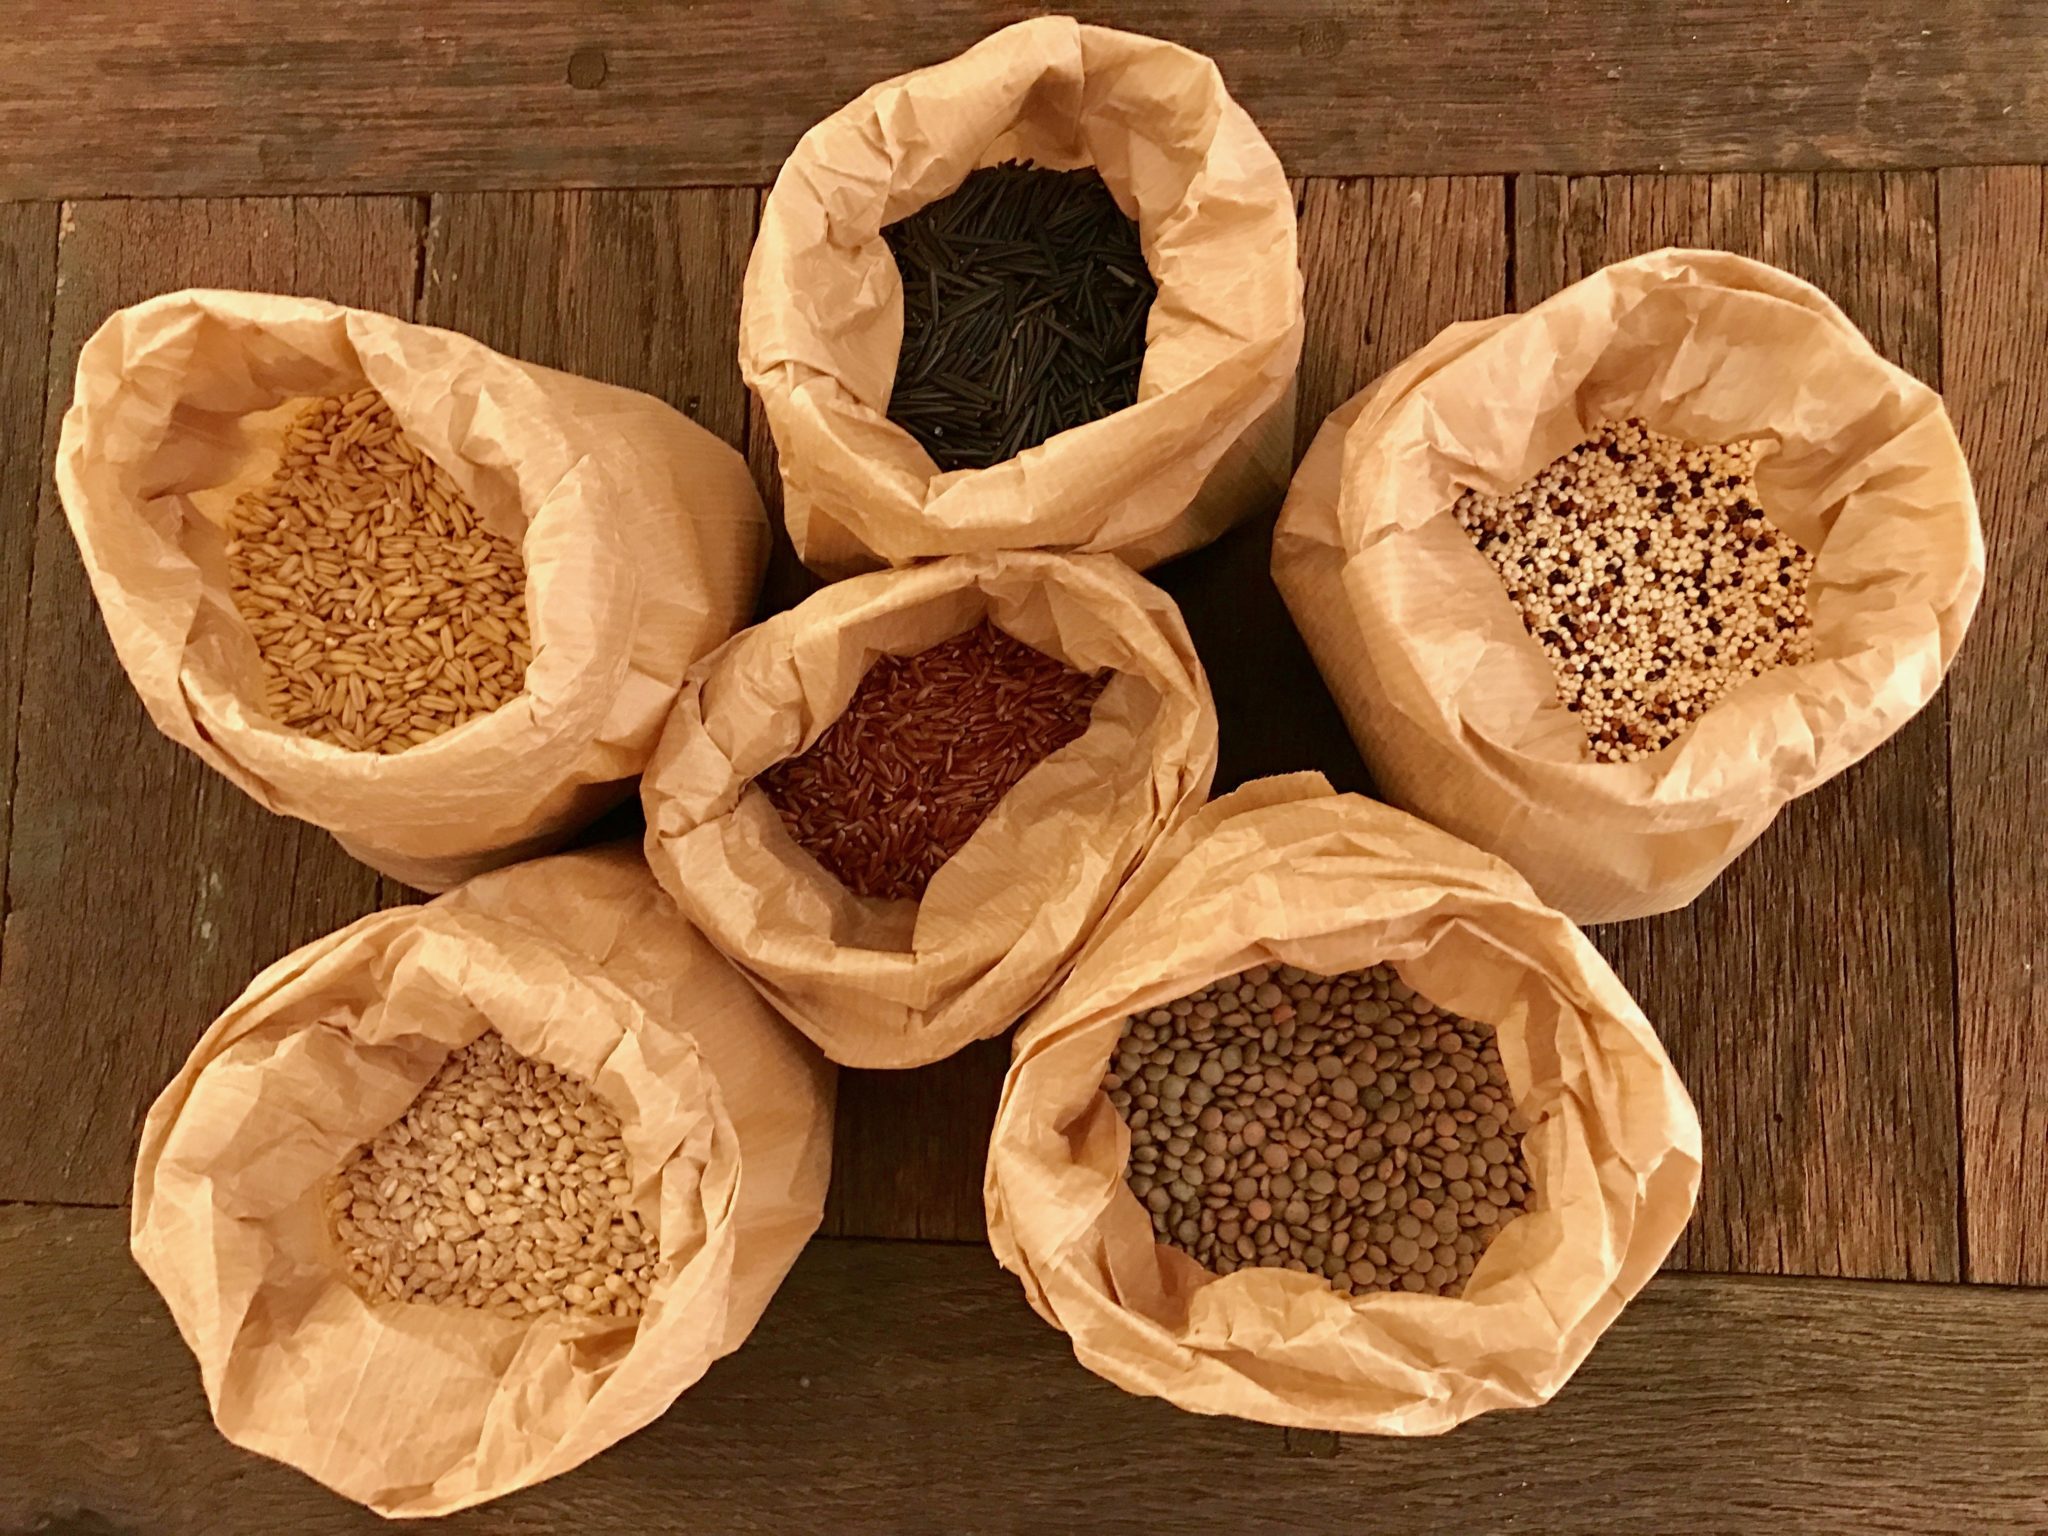
- whole (raw) grains of your choice. I usually get organic oat groats, barley, wild rice, red rice, quinoa, and lentils.
- A glass jar, or the pot that you are going to cook them in if you can spare it for 2 days
- Filtered warm water
- 2 Tbs (30ml) or 1 oz of liquid whey
- Patience and a good attitude.

Whole grains of choice in a jar
How:
1. Combine all the grains of your choice together, and store them in a jar
2. Put 2 cups of the grains in a prepared glass jar, then wash and rinse them a few times.You can adjust the amount according to your needs later when you get used to doing it.
3. Pour warm water over to cover them by twice the height of the grains, and make sure to leave some room for them to expand.
4. Put liquid whey in and mix well. Leave the jar on the counter for 2 days, but dump the water out and replace it every day. You don’t need to put any more whey in when replacing the water as the grains are already activated.

Leave the jar on the counter for 2 days, but change the water everyday. you don’t need to put new whey in
On day three.
- Dump the water and put the grains in a pot and cover them with filtered water about one inch (2.5 cm) above the top of the grain. I use the method I learned in Thailand by measuring the water to the first knuckle of my finger. It might be funny, but it’s so much easier and faster this way as I don’t have to use a measuring cup–it always works!

Dump the water out and put new filtered water in, then put the grains in a pot

It’s easy and fast to measure the water up to your first knuckle without using a measuring cup.
- Cook on medium to high heat, and stir occasionally to make sure it doesn’t get burnt on the bottom.

cook on medium heat ‘ti the water dries, turn the heat dow to low and sim for 20 minutes
- When it boils, turn the heat down to low, and keep stirring once in awhile. As the water dries to the top surface of the grains, turn the heat down and sim for 20 more minutes, then turn the heat off, and let them cool.
- Once they cool completely, put them in containers and store them in the fridge. If you make a lot, store the rest in the freezer.

after the grains are cooked store them in containers
Now that you have your fermented grains pre-cooked, you can create your own way of eating them, or you can eat them the way I do.
And next, what you need for soaking or fermenting rolled oats & barley flakes
- 1/2 cup (120 ml) of rolled oatmeal and 1/2 cup or (120 ml) of whole barley meals. (I started out with one cup (240 ml) of each meal and adjusted the amount according to my needs later when I got used to doing it.)
- Warm filtered water.
- 1 tablespoon of liquid whey.
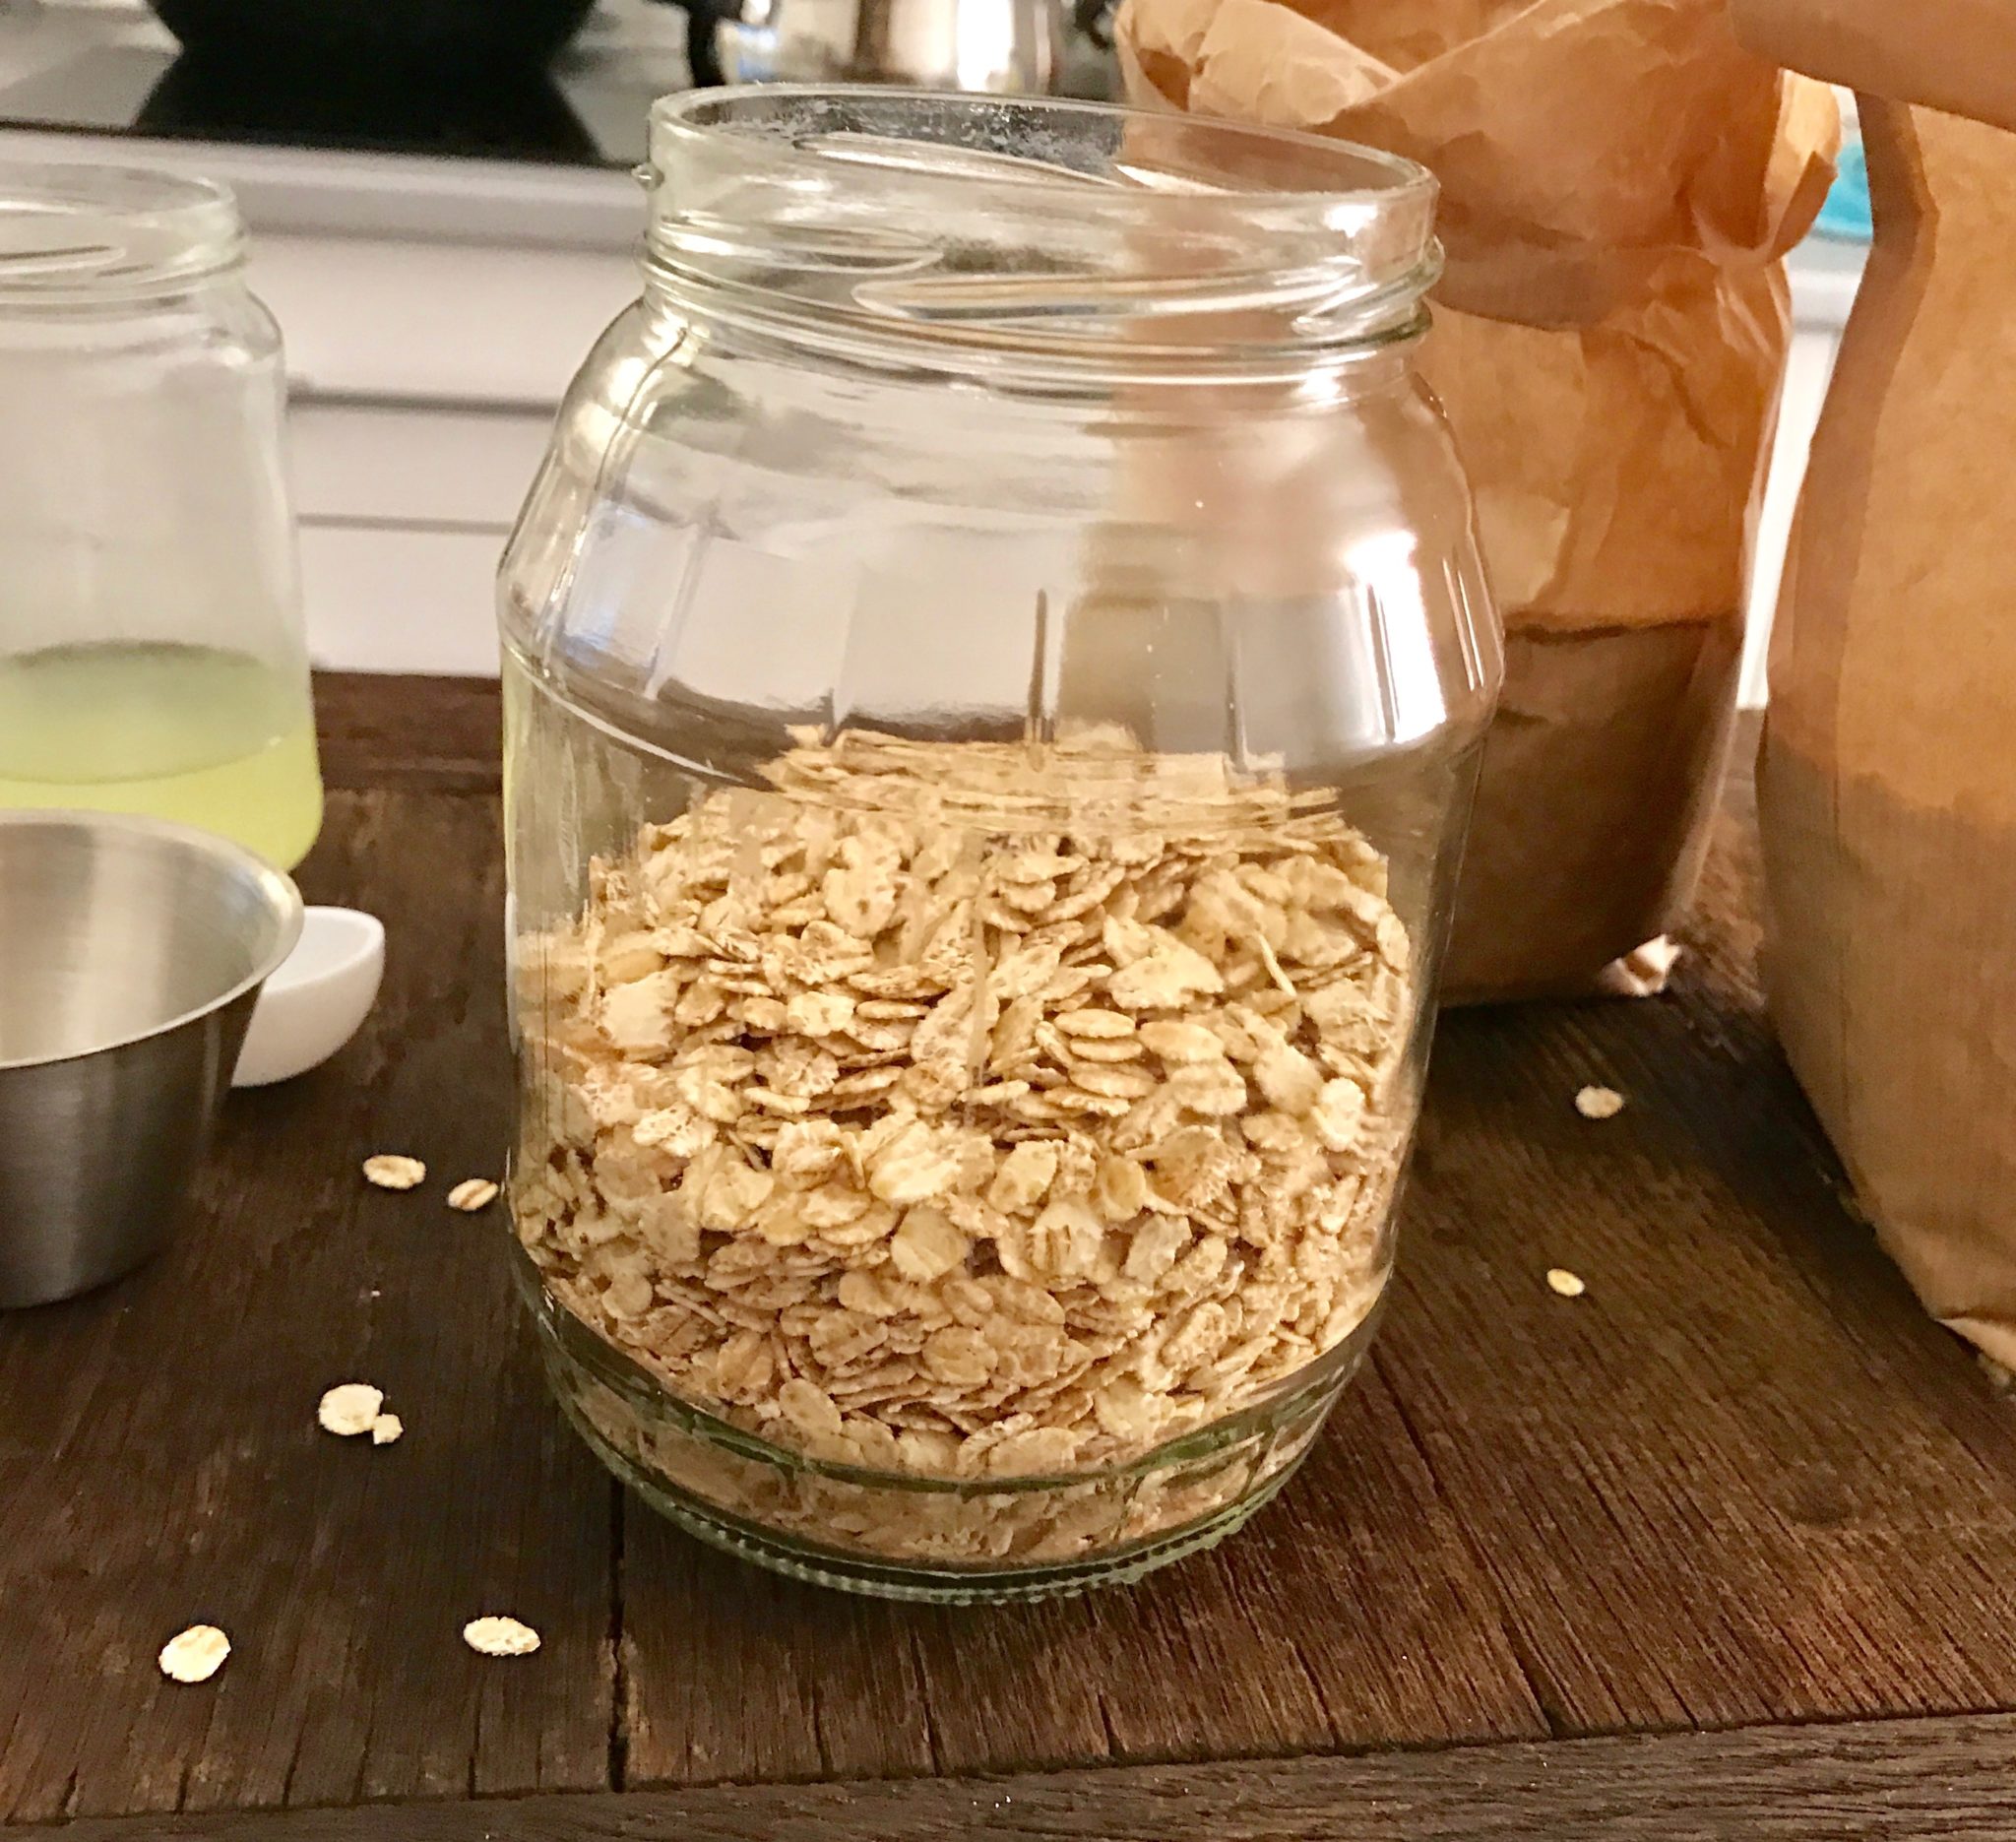
Mix rolled oats and barley flakes in a glass jar
How:
- Put the meal (oatmeal and barley) in a jar, and cover them with lukewarm water. Put the whey in, and mix well.
- Leave the jar on the counter. Change the water after the first day, and let them soak for another day. No whey is needed after the first day.
- Put the jar in the refrigerator if you don’t use them all at once. They are fermented now and should last about a week in the fridge.
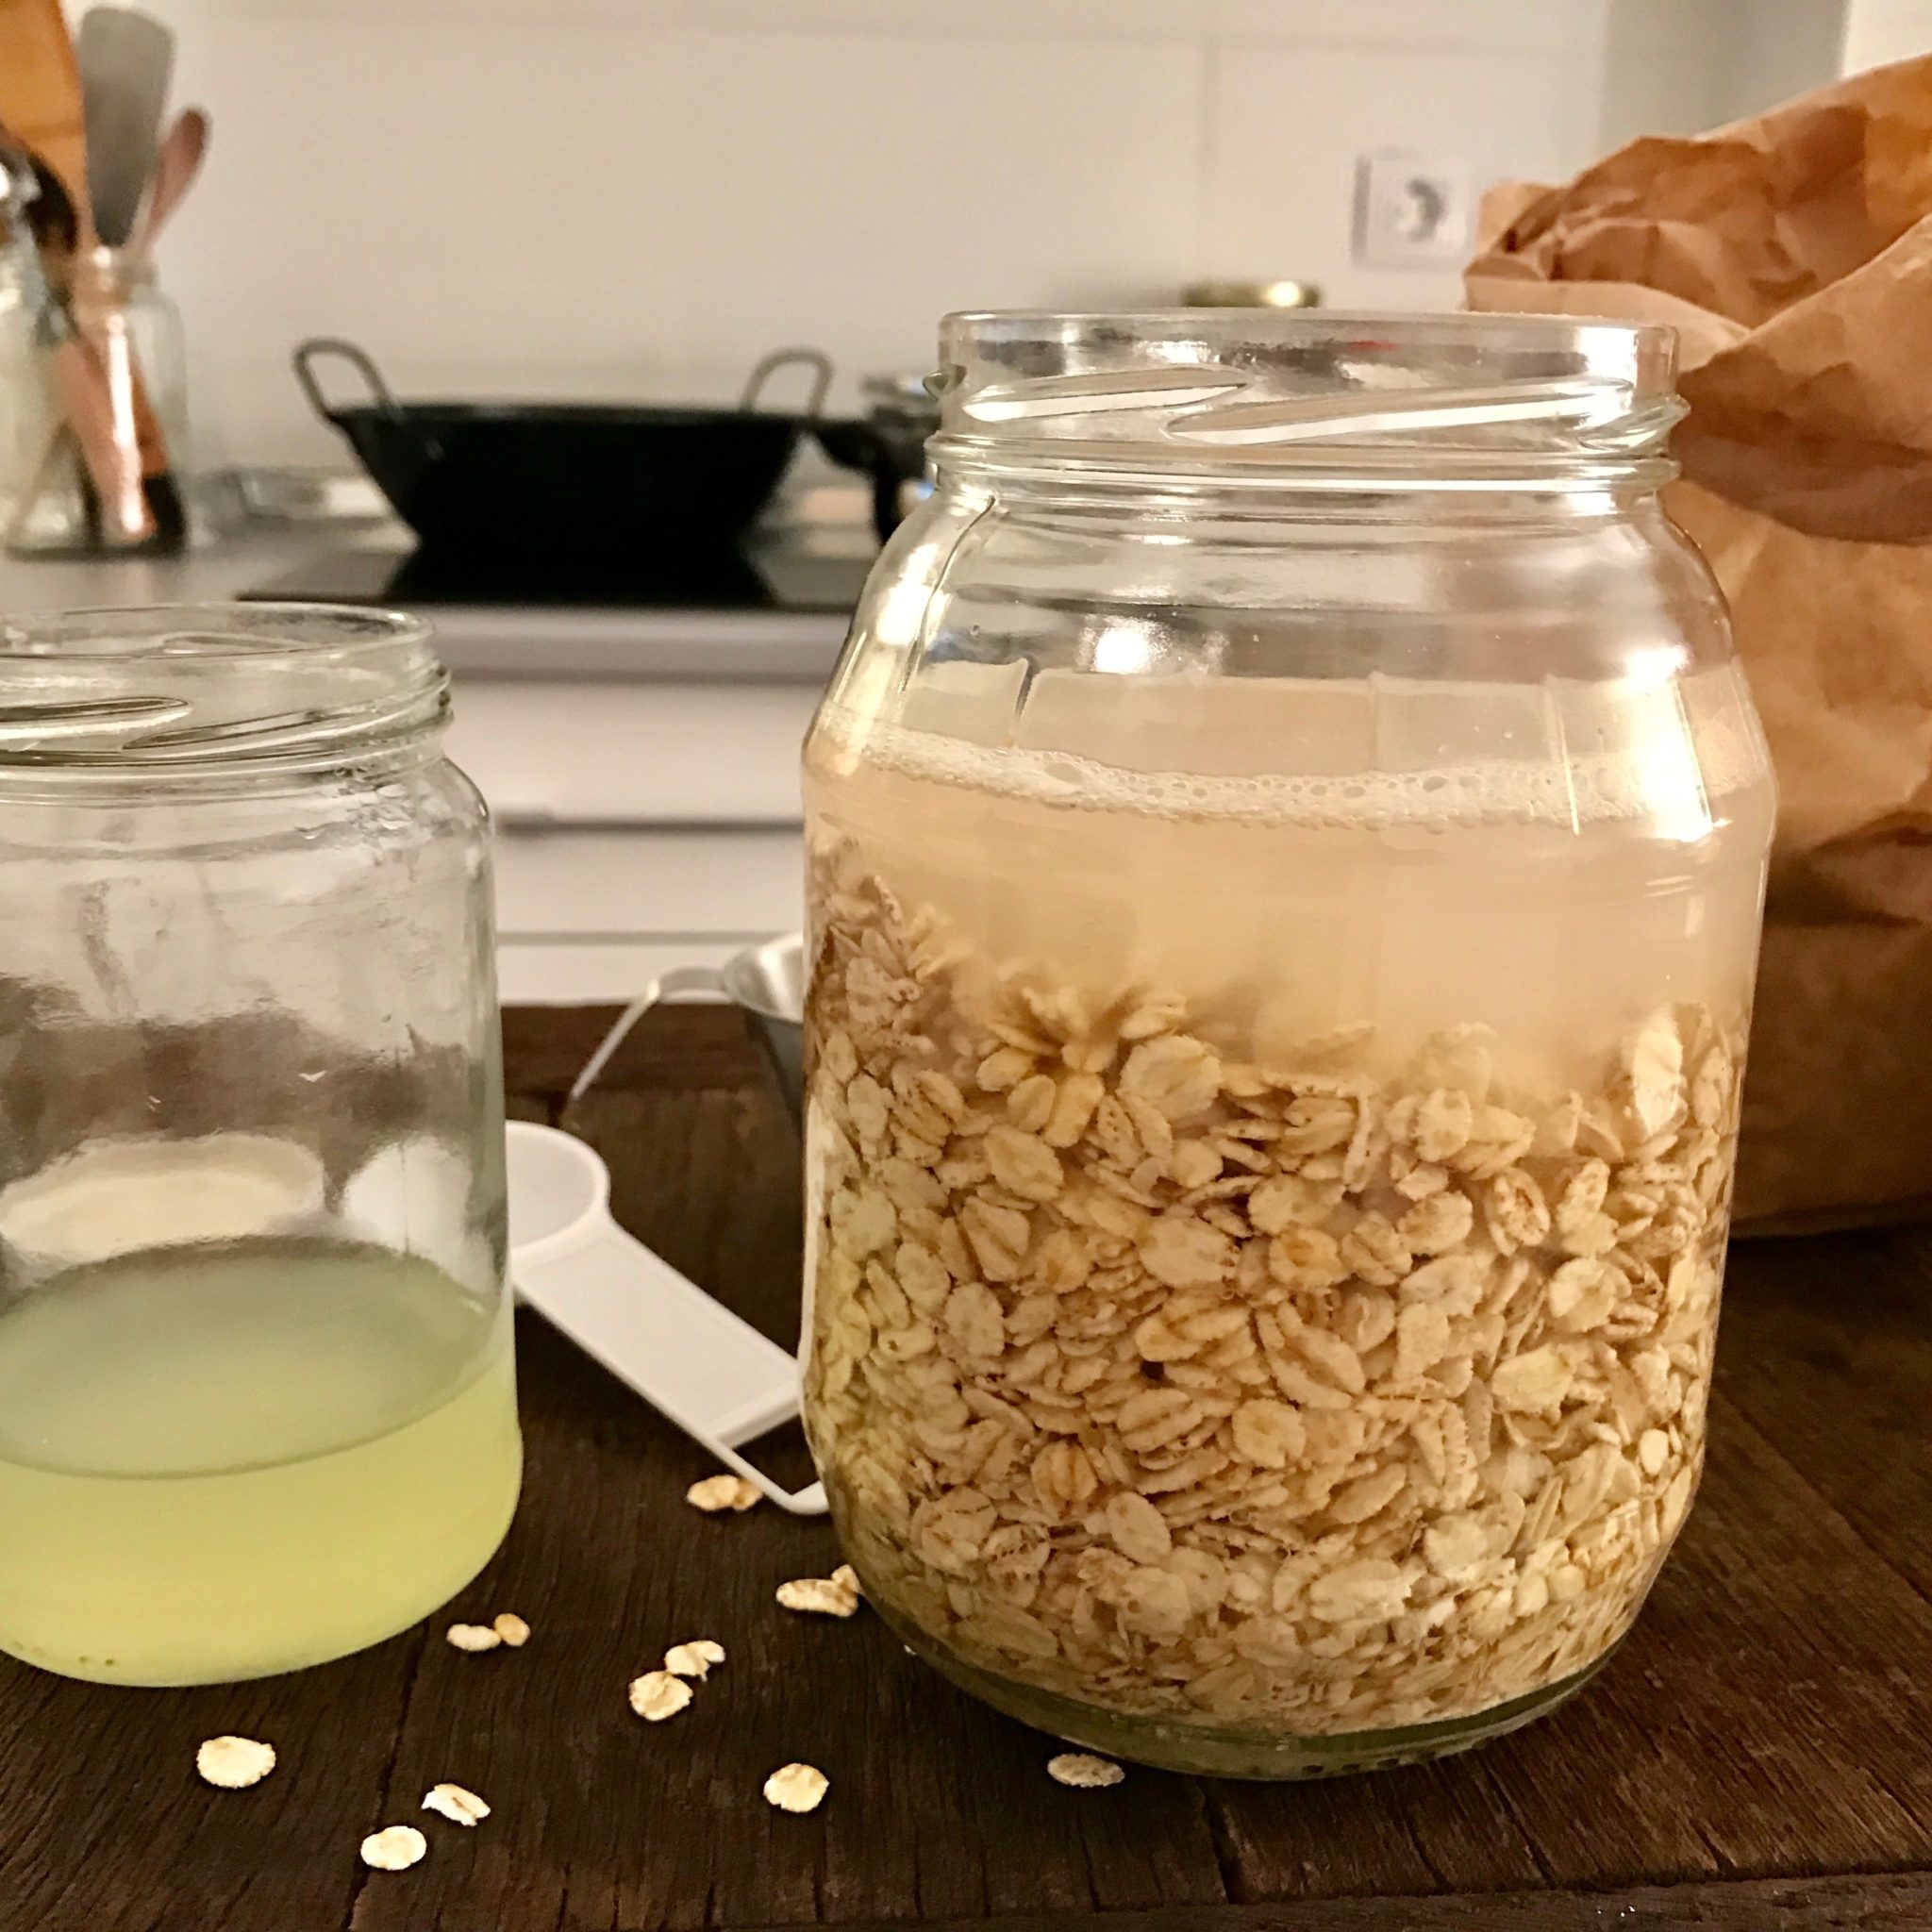
Mix rolled oats and barley flakes in a glass jar, cover them with lukewarm water, add 1 tbsp of liquid whey
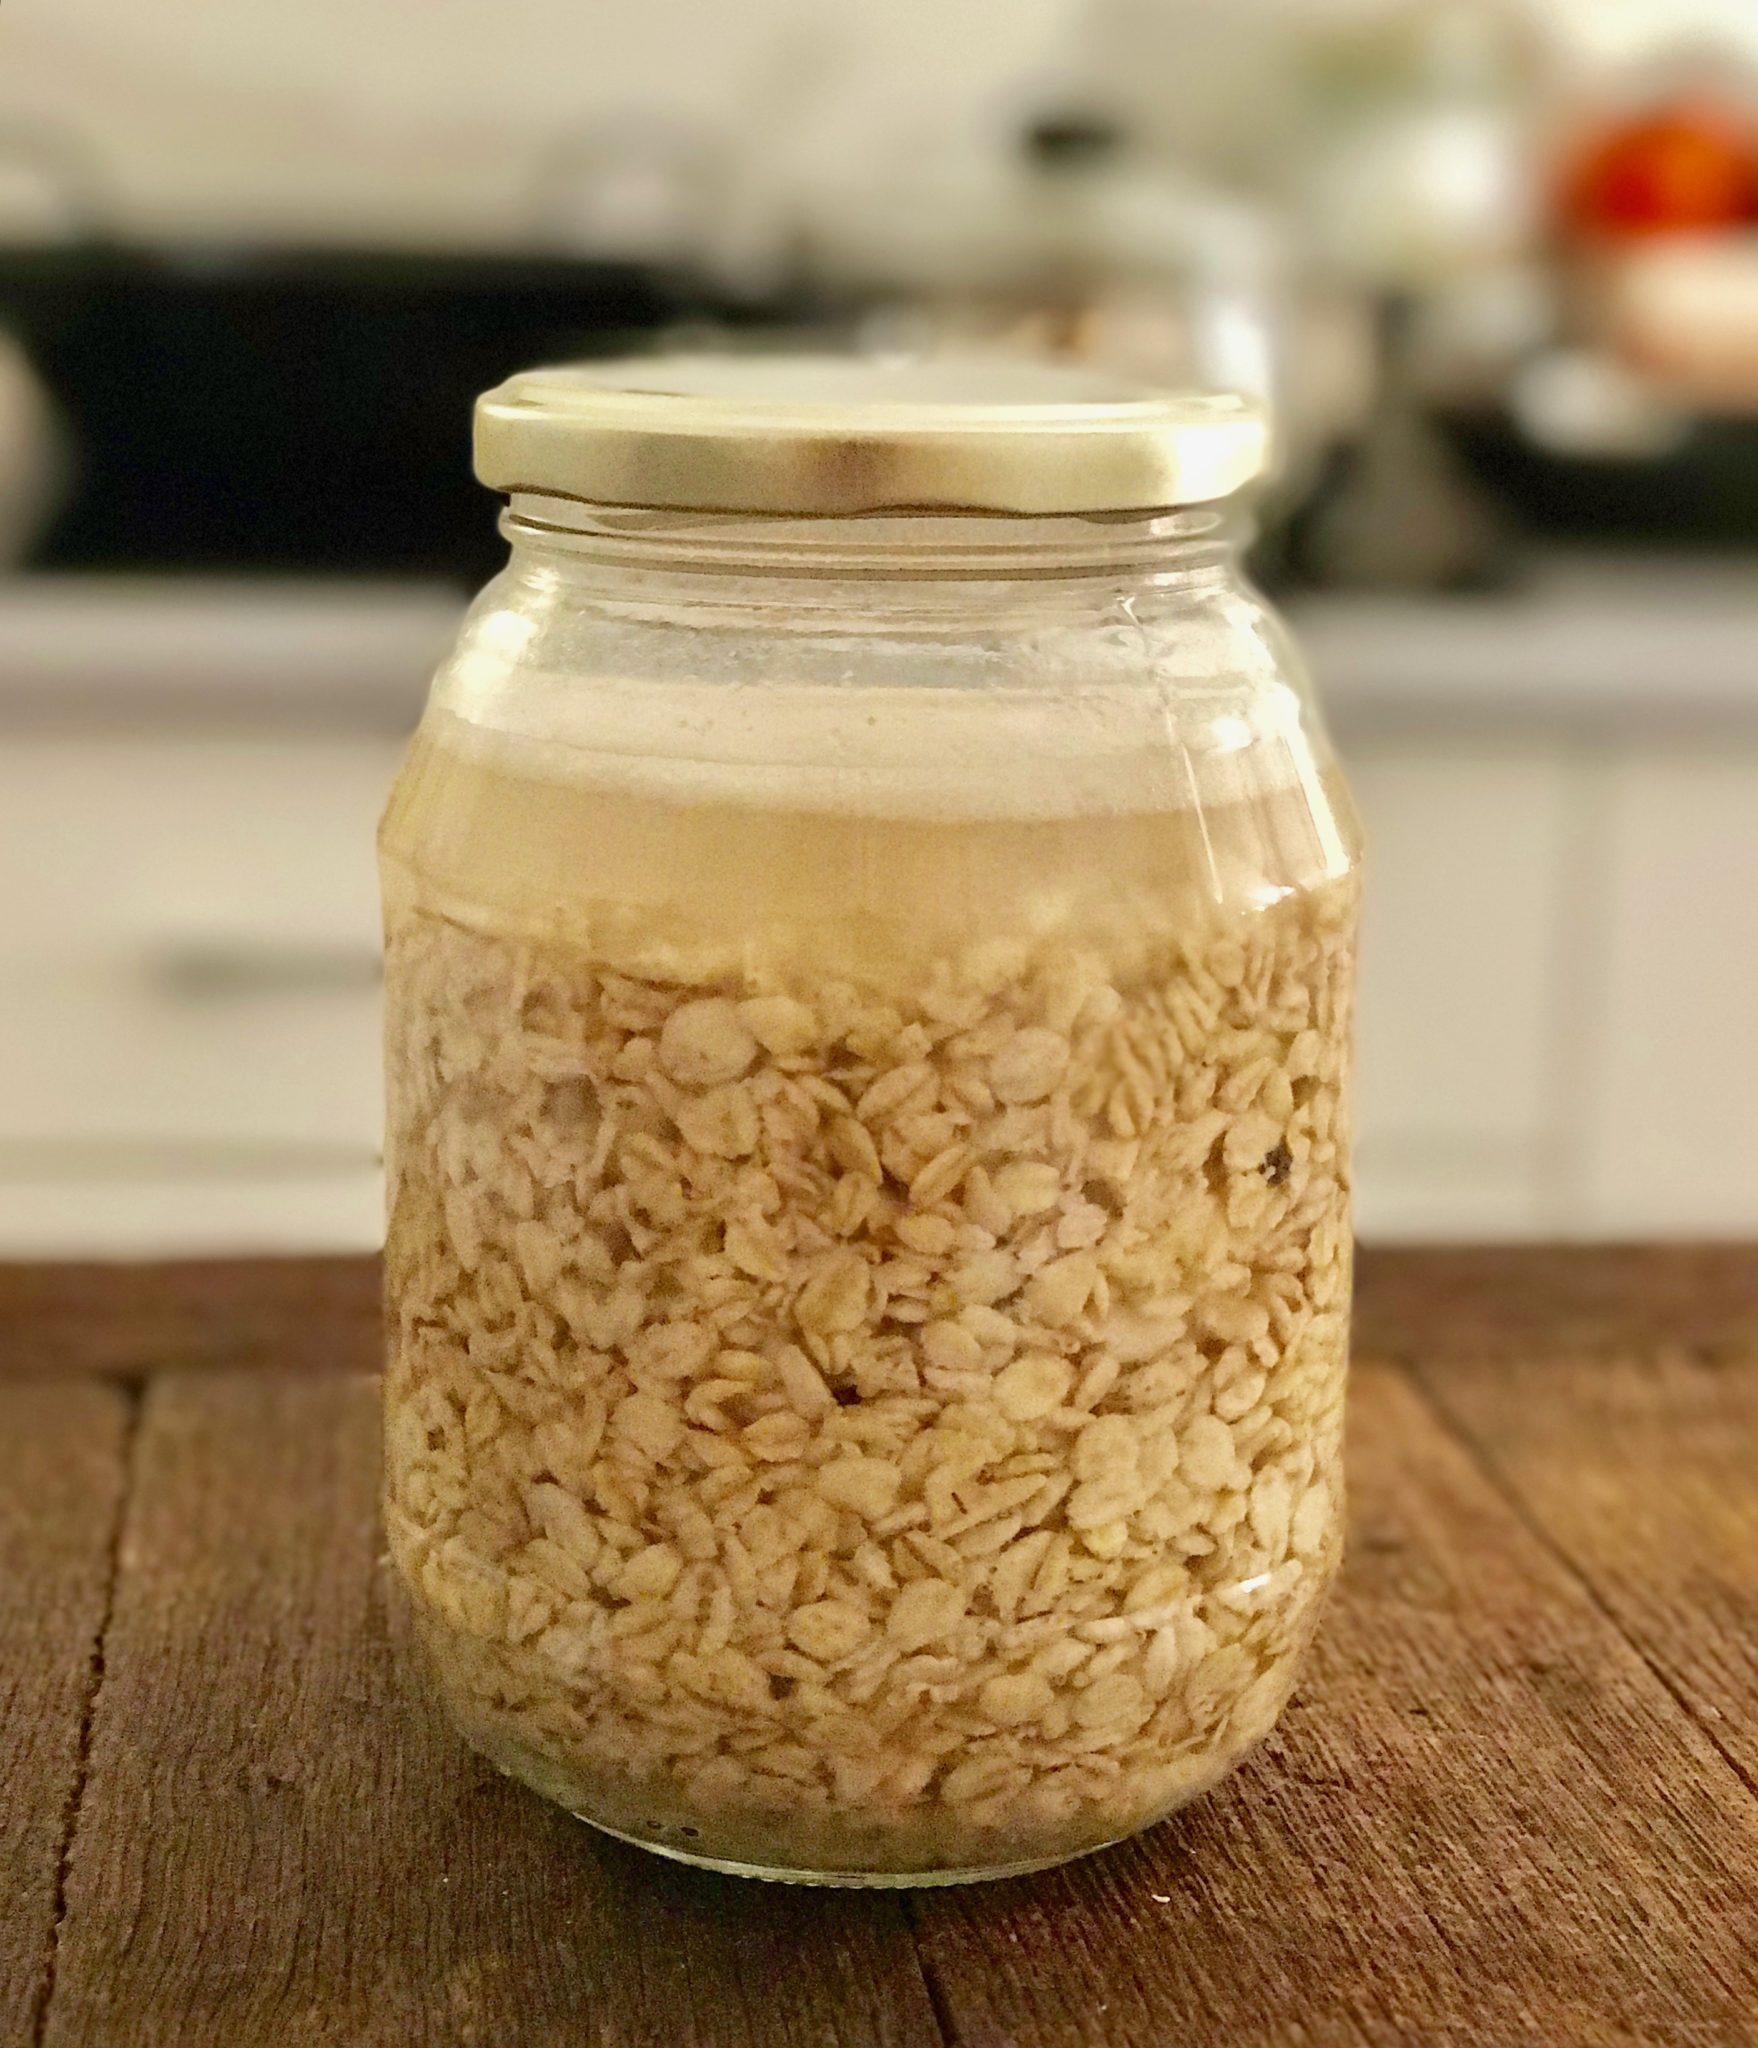
Leave the jar on the counter for 2 days, change the water each day without new whey
Now that you have mixed- fermented rolled oat & barley, you can cook them the way you cook and eat them like you do with regular rolled oats, or eat them like this.
Note:As you can see, fermenting and cooking grains takes some time, and that’s probably why not very many people do it anymore, but it is not too difficult really when you get used to it. To make it easier for me, I usually cook enough grains to last about two weeks, and put the amount I can eat within 3-4 days in a container in the fridge, and freeze the rest.
Have you tried soaking or fermenting your grains? Please share your experience with me, I’d like to hear about it!
I’ve learned about fermenting grains about two days ago. Your blog is very helpful and easy to understand. Thanks for your efforts! I have a question: what kind of lid should be used during soaking? How tightly should be the jar closed?
When I made the video, I was living in Spain and I didn’t have all the kitchen equipment I needed, so I used recycled jars and lids. Now, I’m living in my own home and have all the things I need, I use 1/2 gallon mason jars and sprouting lids. They are very handy to rinse. Please check out my shop page to see the exact kind I use.
I’m so glad you’ve found my blog and that it is easy to understand. I used to use regular lids without any holes when I made this video and rinsing was complicated, but now I use mason jars with sprouting lids and it is much easier. For some time I was using just a screen secured under a canning band too as a homemade sort of sprouting lid. If you use a regular solid lid it is best not to secure it too tight, because the fermenting grains need to burp.
Hey there..
I totally agree about fermenting the grains. But there’s a catch here. We (south indians) believe anything that’s put in fridge after cooking is dead… Energy wise. Why don’t you buy a pressure cook and cook these fermented grains on a daily basis….
I try not to own many things.
I have been meaning to start soaking my grains so exicted to have this tutorial!!
I’m glad you find it helpful, it works great for us!